一.了解junit
junit是一个开源的java单元测试框架,java方向使用最广泛的单元测试框架.
所需要的依赖
<dependencies>
<!-- https://mvnrepository.com/artifact/org.seleniumhq.selenium/selenium-java -->
<dependency>
<groupId>org.seleniumhq.selenium</groupId>
<artifactId>selenium-java</artifactId>
<version>4.0.0-alpha-7</version>
</dependency>
<dependency>
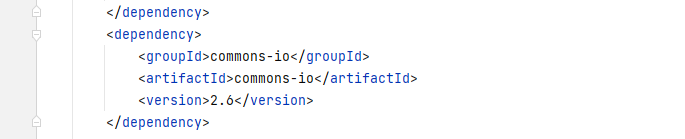
<groupId>commons-io</groupId>
<artifactId>commons-io</artifactId>
<version>2.6</version>
</dependency>
<dependency>
<groupId>org.junit.jupiter</groupId>
<artifactId>junit-jupiter</artifactId>
<version>5.8.2</version>
<scope>test</scope>
</dependency>
<dependency>
<groupId>org.junit.platform</groupId>
<artifactId>junit-platform-suite</artifactId>
<version>1.8.2</version>
<scope>test</scope>
</dependency>
<dependency>
<groupId>org.junit.platform</groupId>
<artifactId>junit-platform-reporting</artifactId>
<version>1.8.2</version>
<scope>test</scope>
</dependency>
</dependencies>二,注解
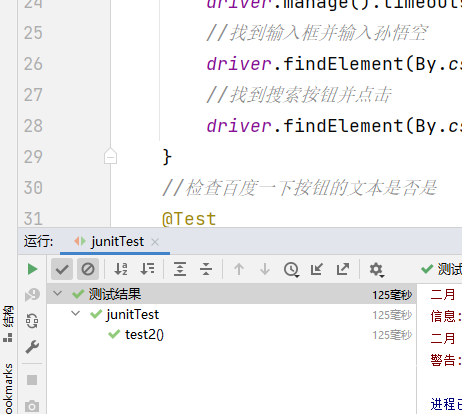
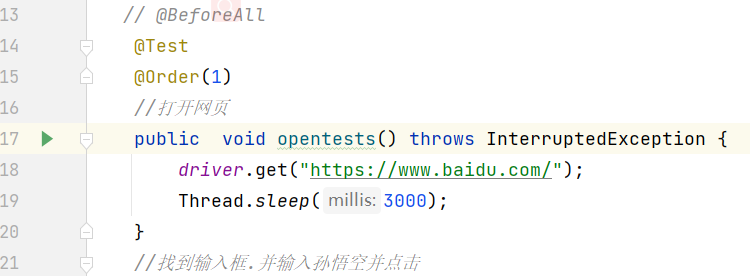
1.@Test表示
这是一个方法/一个用例
但是他的顺序是不固定的.我们需要指定顺序
2.@BeforeEach/@BeforeAll
@BeforeEach表示被注解的方法执行前都要执行一遍
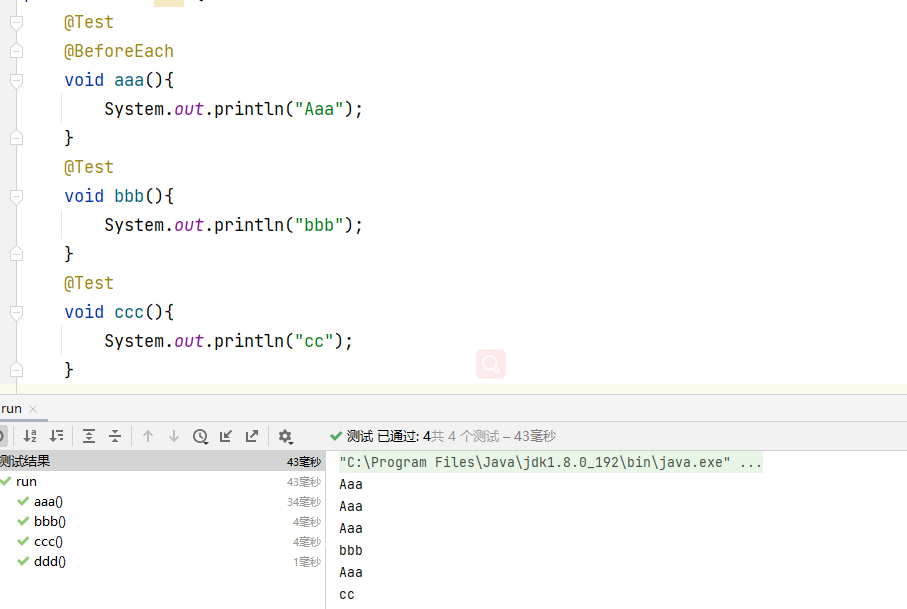
注意只要@BeforeEach就行
否则就会先执行aaa然后因为需要先执行一遍aaa然后再执行一遍aaa再往下执行bbb
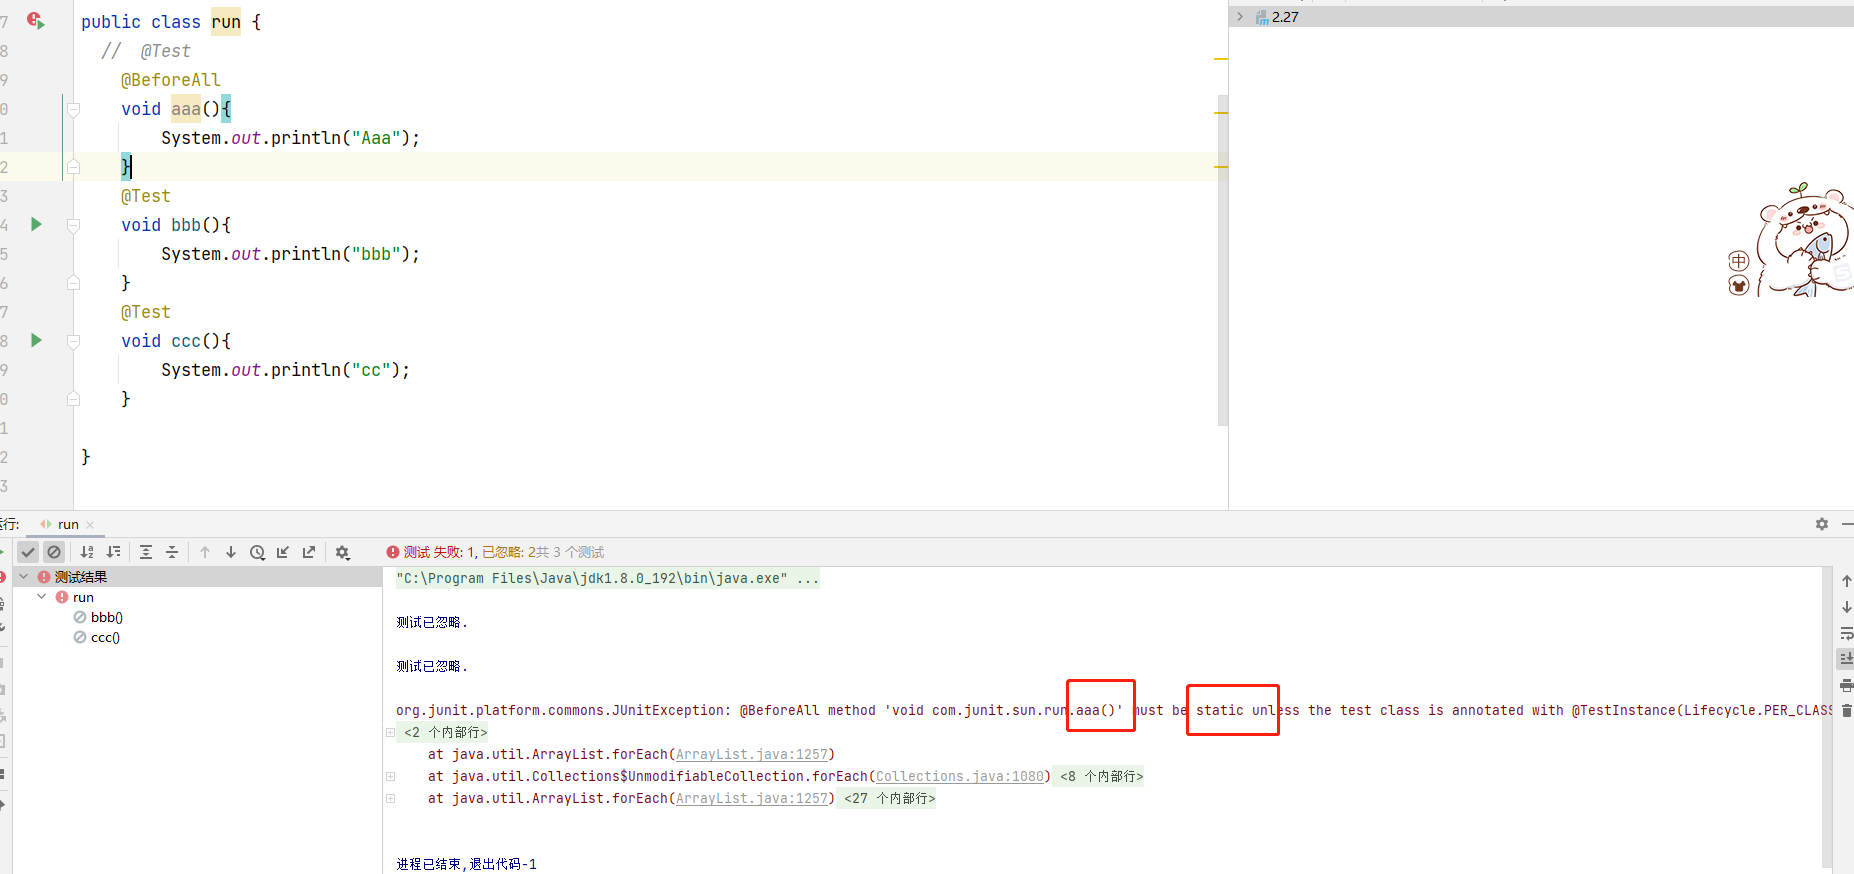
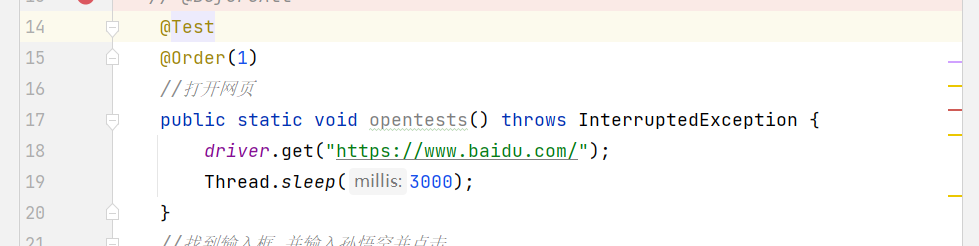
@BeforeAll:所有方法之前执行一次
注意:被BeforeAll需要用static方法
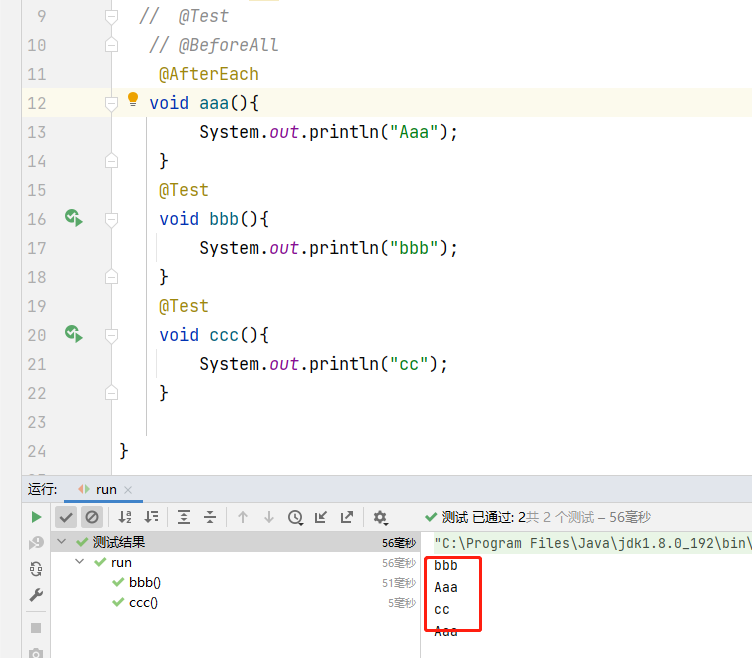
3.@AfterEach/@AfterAll
@AfterEach 其他方法执行后都要执行一遍
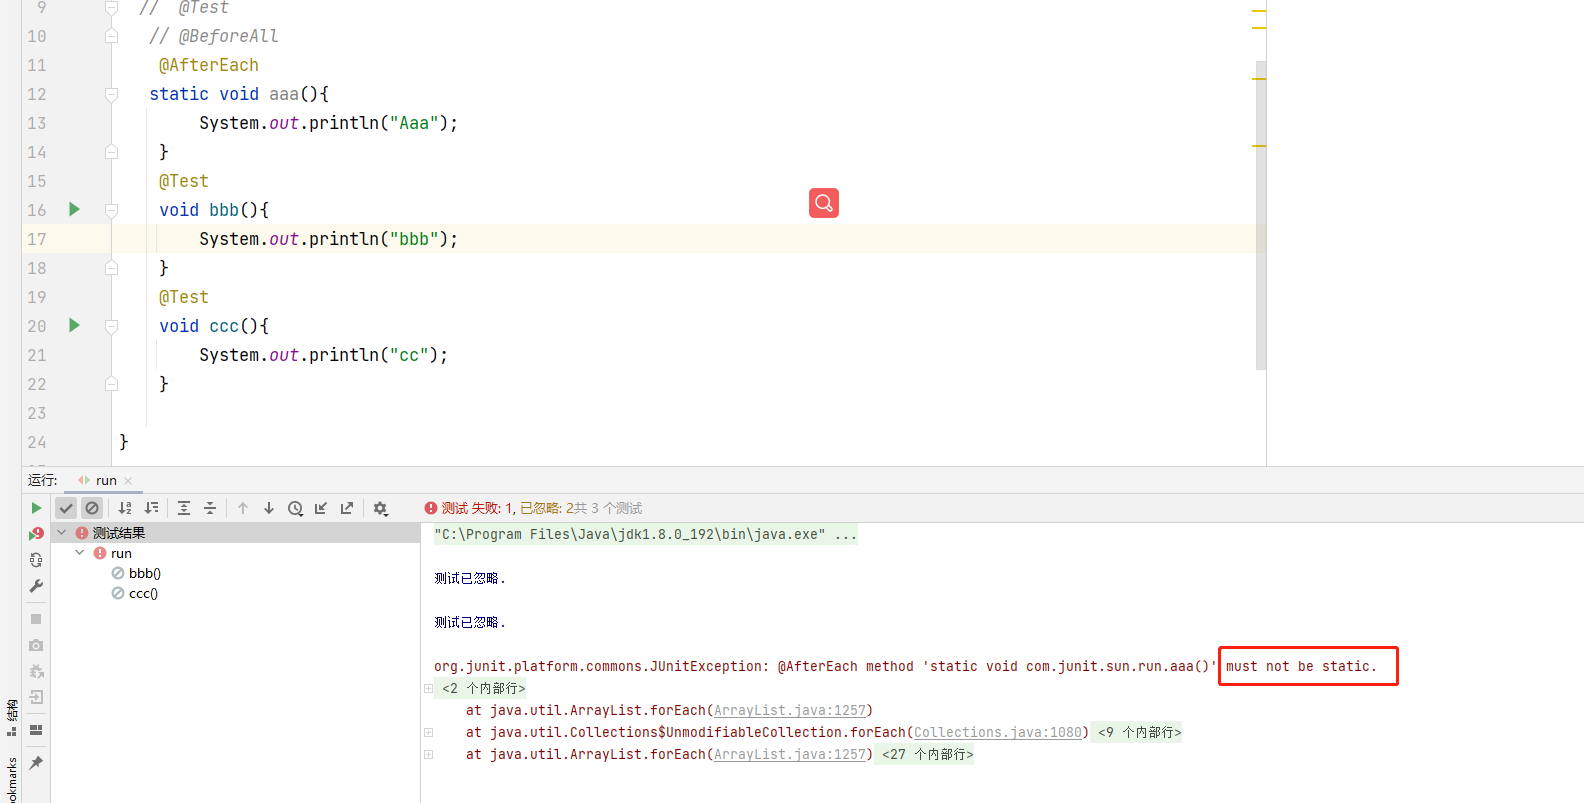
注意只有被ALL修饰的才要static 其他的都不能用static
@AfterALL同理
三.断言
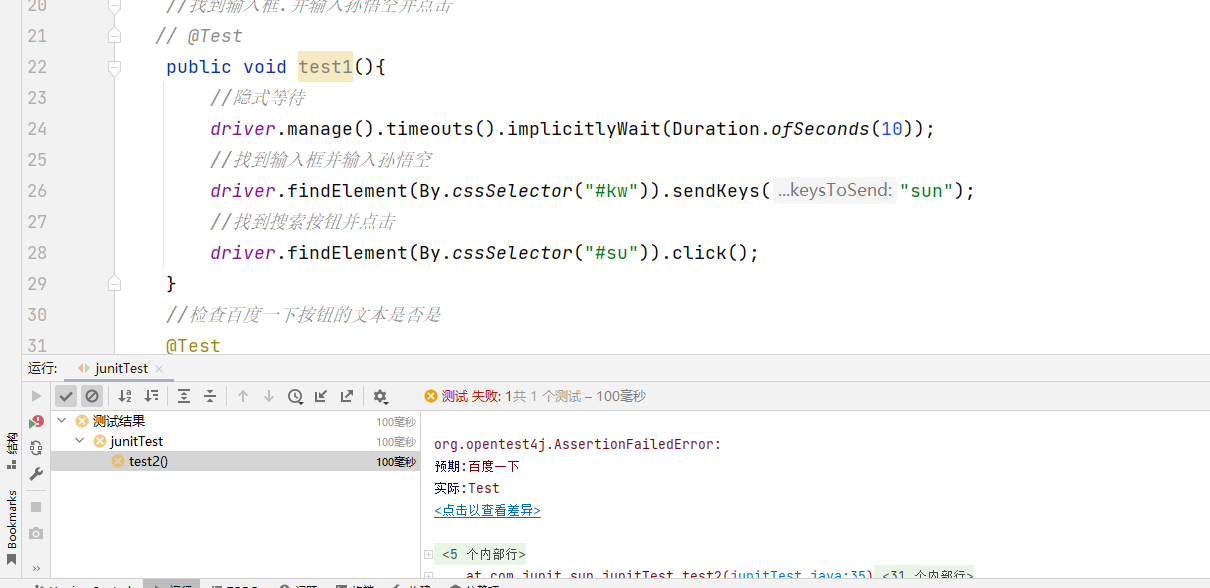
写自动化测试要么是正确的要么是错误的,不能因为错误就停止所有程序,所以需要断言
junit提供了一组Assertions类来编写

1. Assertions.assertEquals(expect,actual)
校验期望值和实际值是否匹配
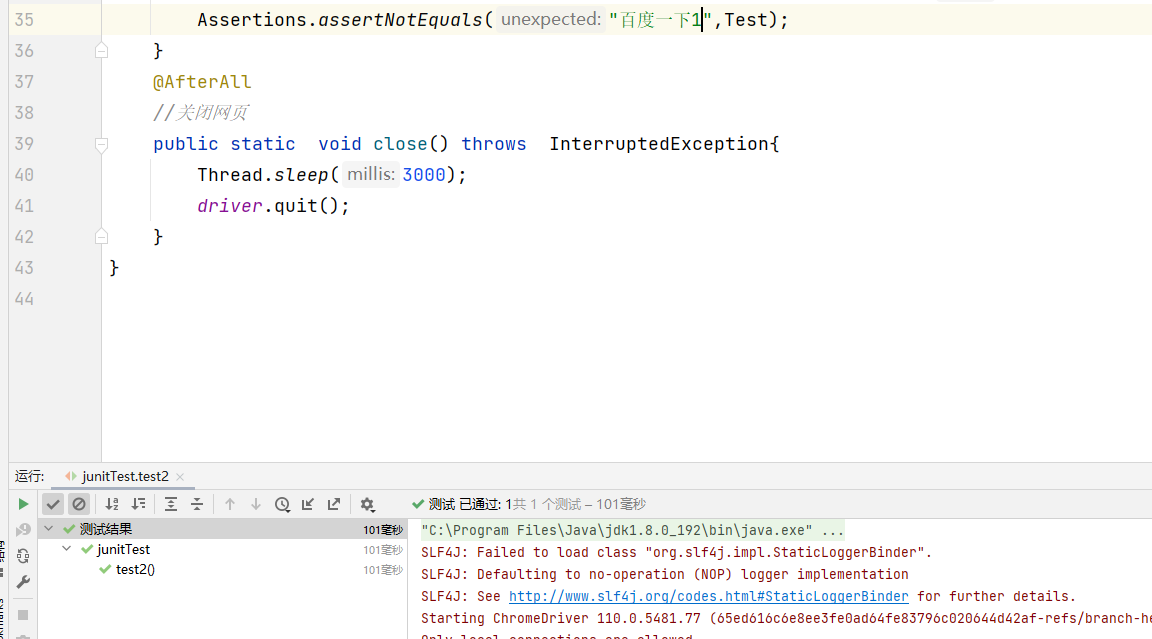
2.Assertions.assertNotEquals(Expect,actual)
检验是否不匹配
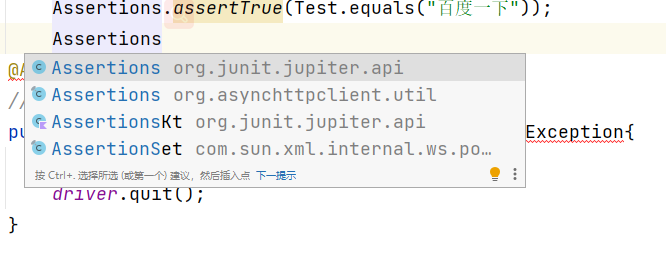
3.Assertions.assertTrue()/Assertions.assertFalse()
参数是表达式,结果是boolean类型

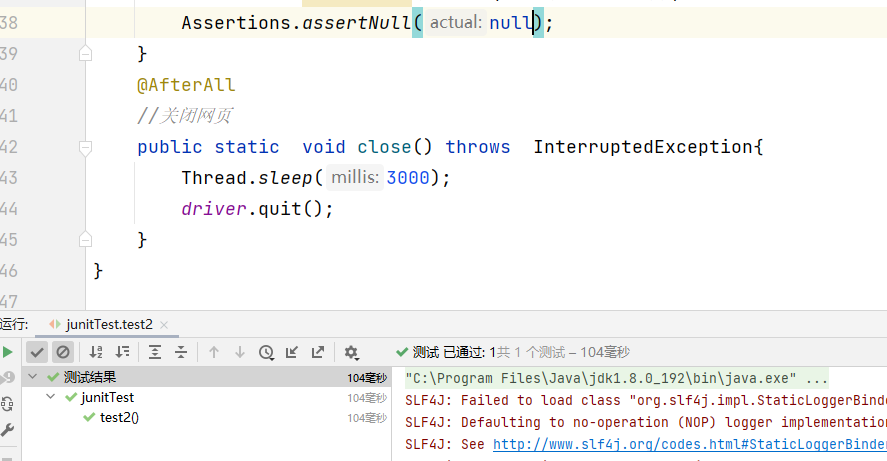
4.assertNull()/assertNotNull()
检验是否为空

四.用例执行顺序
juit的默认执行顺序是不确定的.官方文档没有明确指出
我们仍然可以使用junit里提供的方法来手动设置用例的方法
通过方法排序---通过-@order注解来排序
第一步.在类外标注当前类使用方法来进行排序

第二步在每个注解下标注顺序
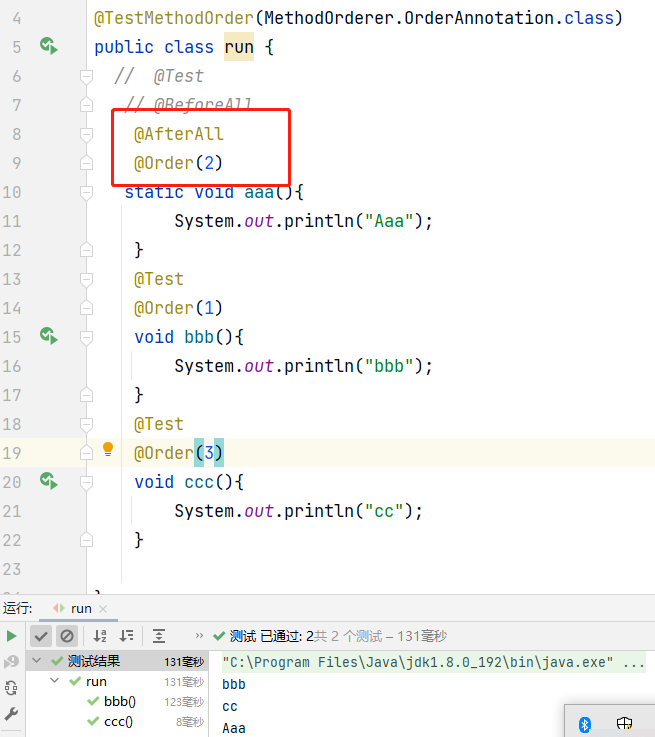
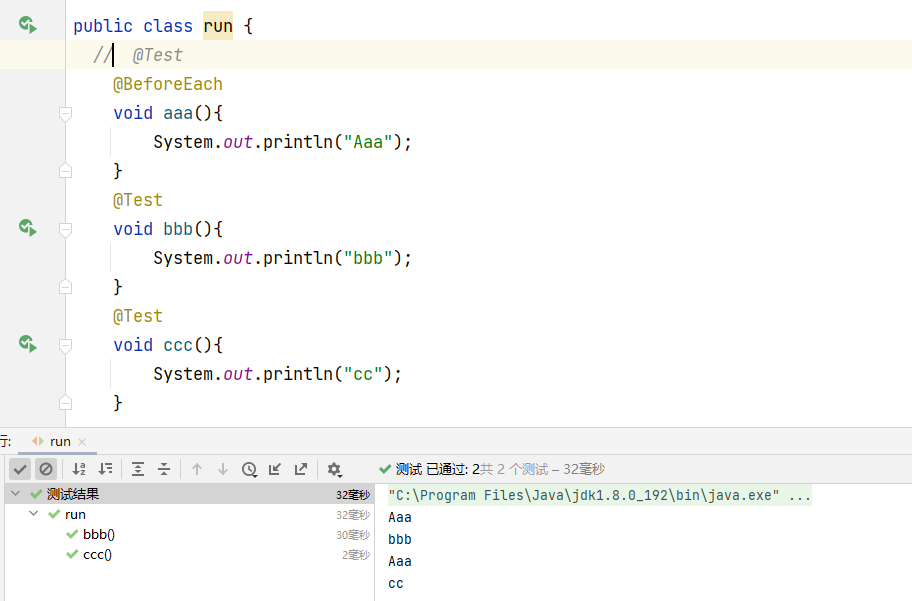
如果被static修饰,就直接无视,没有排序了
无视原有的After Before
面试问题:为什么需要用到junit里的排序方法
junit里的方法有方法顺序排序,标签排序
首先会把方法的类定义在类外声明当前类类用方法进行排序
然后类里明确标注具体的执行顺序
如果用例之间存在关联关系,那么就需要手动指定用例的执行顺序
但是我们再编写测试用例的时候进行保持用例的独立性
五.测试套件suite
1.指定对应的的类 添加到套件执行
先创建一个专门的类来进行运行.把同一个包里要运行的类放在一起
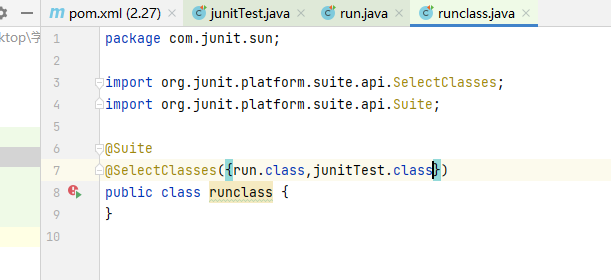
注意:
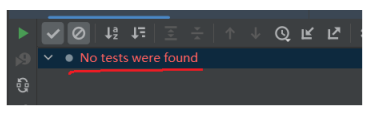
包下必须有命名包含Test\tests的文件 并且有对应的执行注解,否则则会提示找不到对应的用例
2)指定包.添加到套件中执行
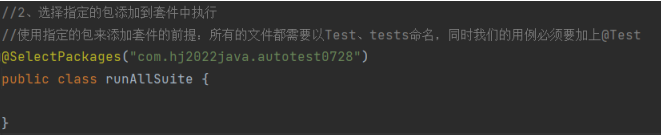
注定必须在同一个包下进行测试
六. 参数化
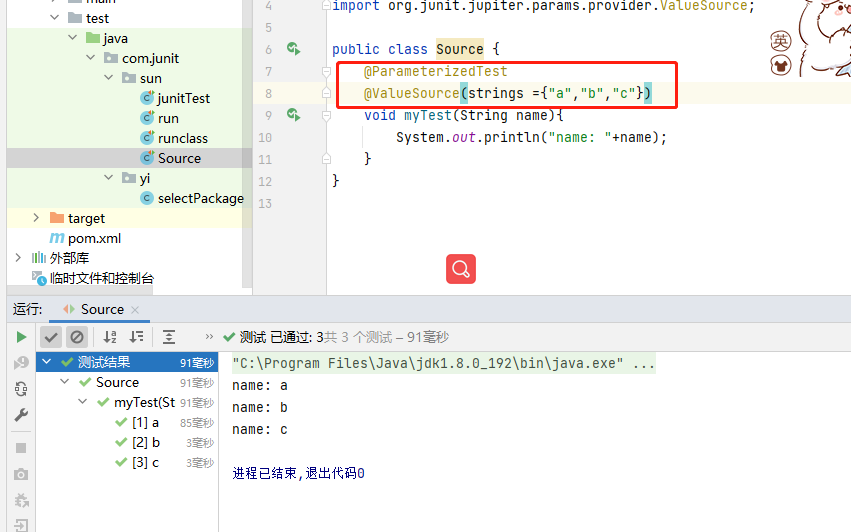
@Parameterizedtest 标注方法类型为参数化
不需要再添加@Test注解,如果添加了,则用例则会多执行一遍
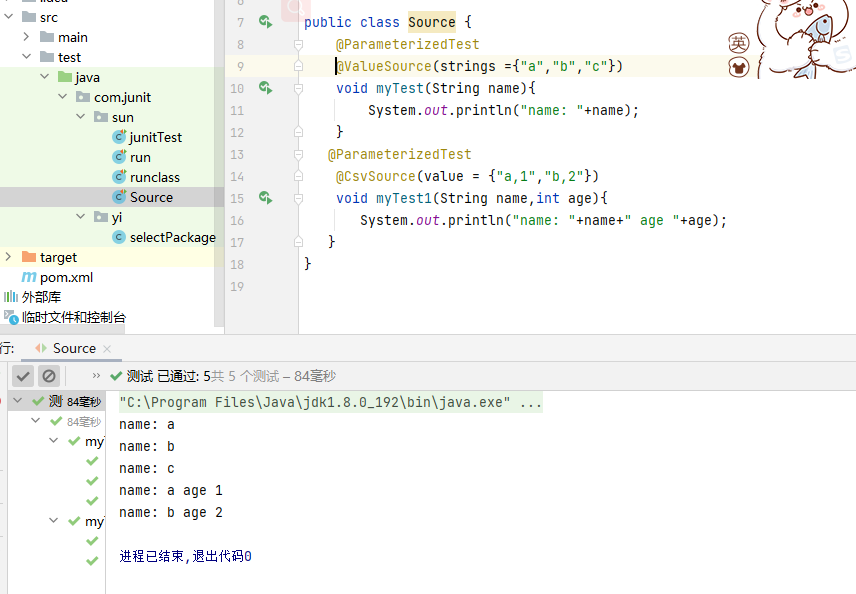
1.单参数
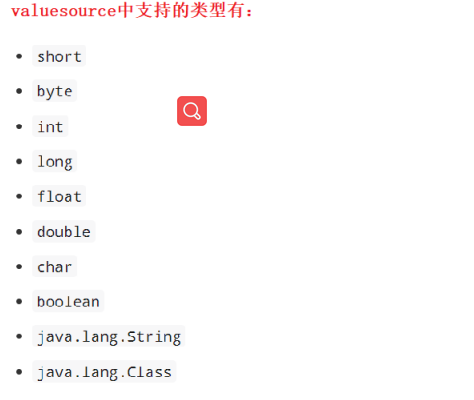
@ValueSource(类型={参数1,参数2...})
其中的类型 对应原生类型,int->ints float->floats
2.多参数
@CsvSource

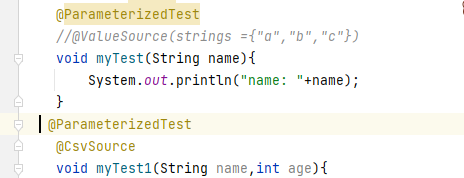
注意就算多个方法指定来源,都要同时用参数注解(@ParameterizedTest)注明
手动指定分隔符
用delimiterString
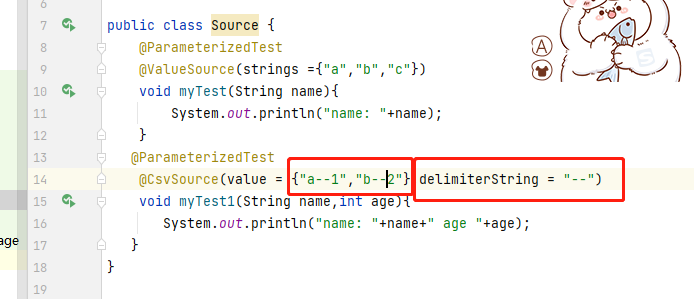
如果参数中含逗号,要么指定分隔符,要么就用单引号' ' 作为转义字符

3.指定文件路径.csv
如果参数非常多,在代码中编写不太好看.可以借助文件注入的方式来添加
@CsvSource(指定文件路径)
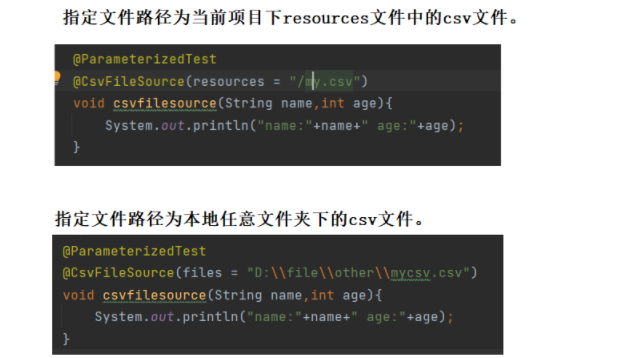
相对路径下 一定要在前加上 /
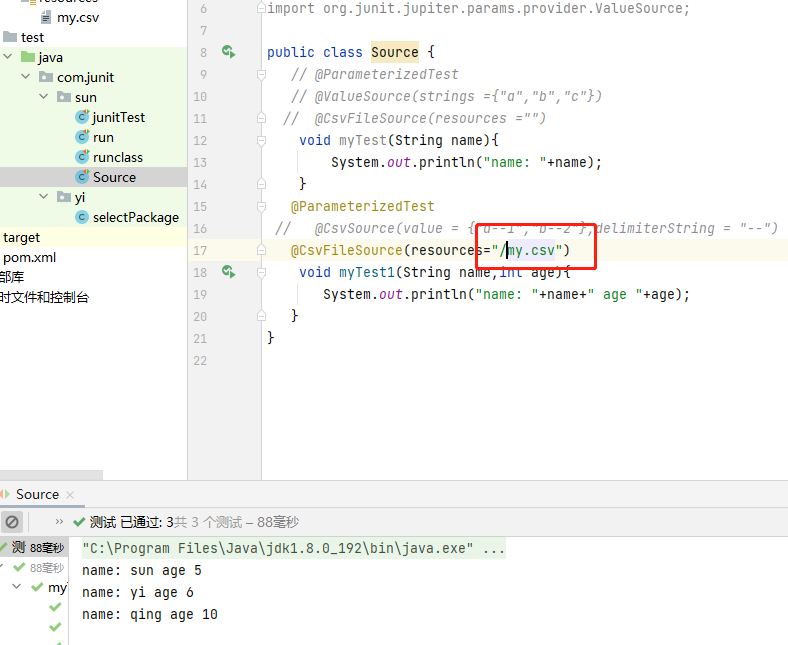
绝对路径不用加
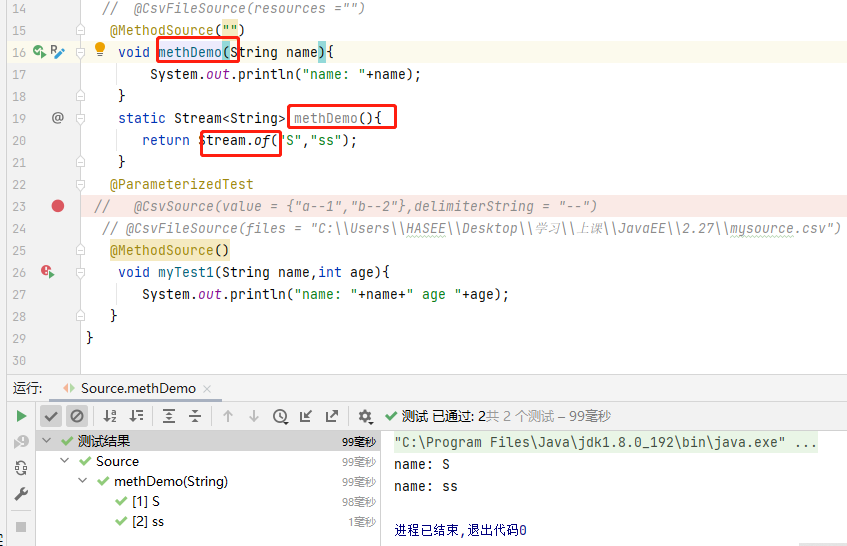
4.动态参数
4.1单参数
@MathodSource("")参数为数据来源的方法名,如果不指定数据来源.则默认找用例同名的静态方法
提供数据的方法,返回值是Stream流
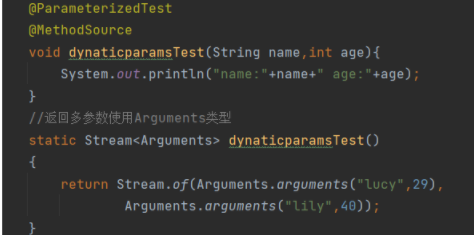
4.2多参数
返回多参树用Argurment类
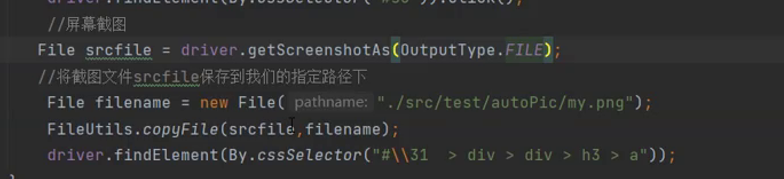
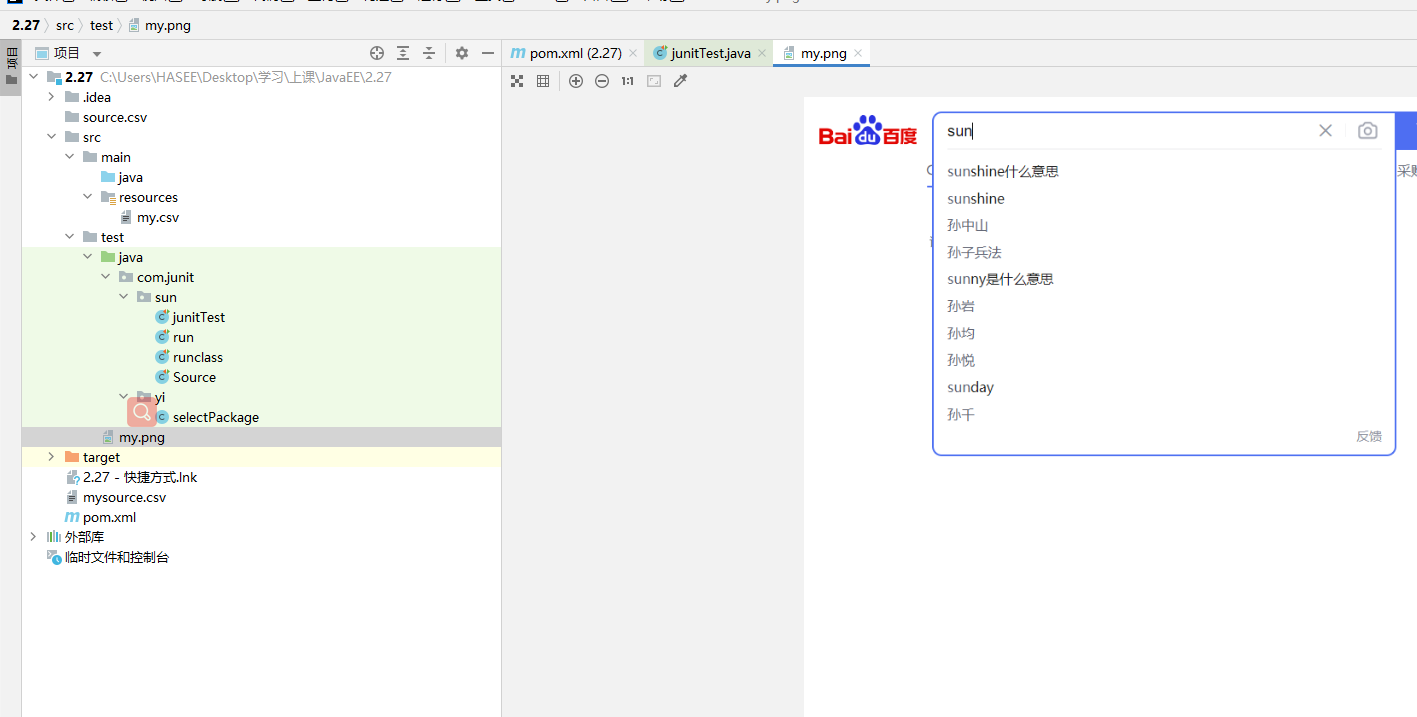
七.执行屏幕截图
加路径的时候要加上要保存的名字