win10系统中Pensieve算法部署与运行
- 一、环境配置
- 1、Anaconda环境配置
- 2、Pycharm安装
- 3、Pensieve安装包配置
- 4、Pensieve数据集生成
- 5、Pensieve代码运行
- 6、Pensieve代码修改
一、环境配置
1、Anaconda环境配置
下载并且安装
Anaconda 官网下载地址:https://www.anaconda.com/download/
1、直接一路点击确定就好,非常简单,也可以参考教程Window10下Conda安装教程
2、安装完之后最好通过cmd控制平台进行测试一下conda -V
2、Pycharm安装
下载并且安装
pycharm官网下载地址:https://www.jetbrains.com/pycharm/download/?section=windows#section=windows
1、安装可以看这个安装教程
2、由于我们已经下载了conda解释器,所以不需要单独现在python解释器,直接安装结束就可以了。
3、Pensieve安装包配置
3.1 下载Pensieve源代码
打开链接Pensieve源代码,然后直接下载压缩包并且解压
3.2 通过Pycharm打开源代码
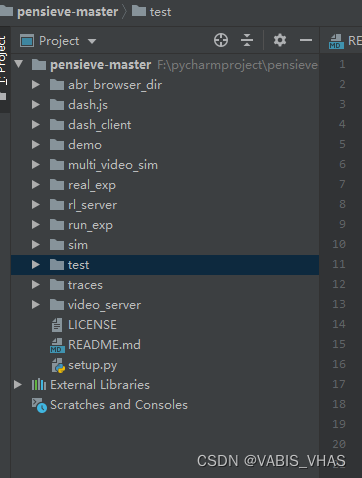
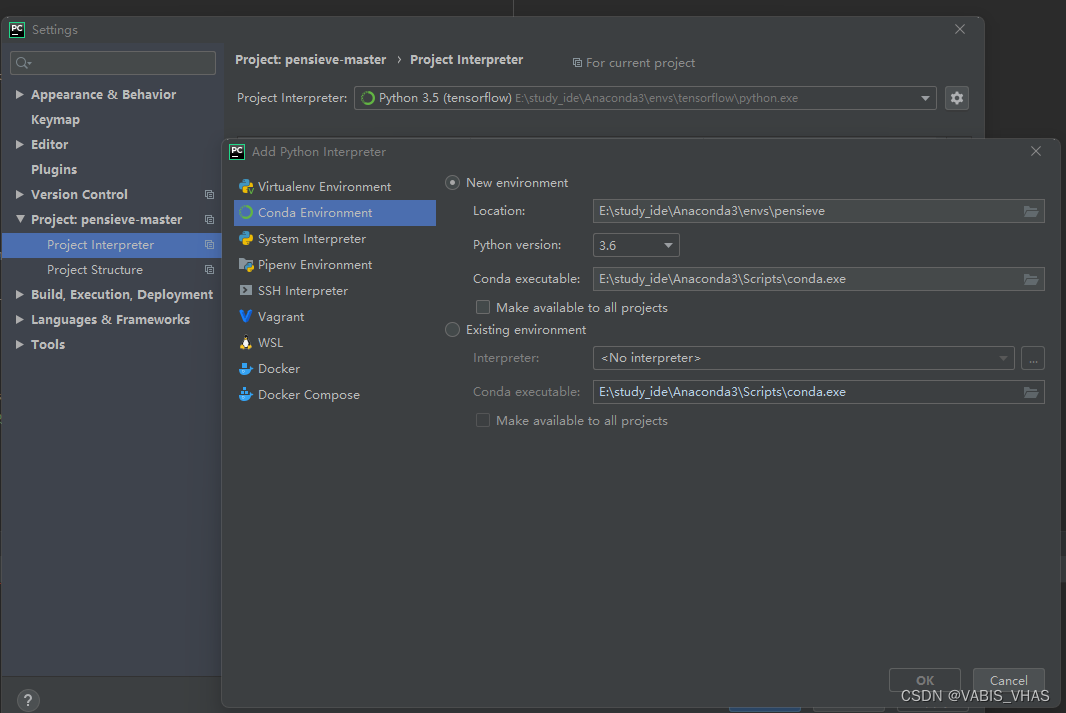
3.3 配置pensieve-master项目的解释器
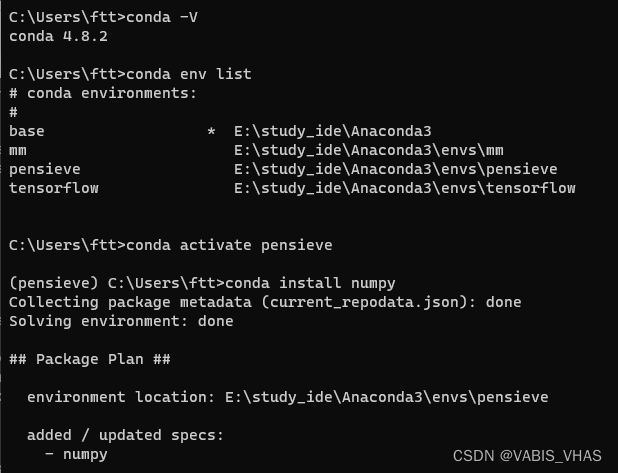
3.4 安装numpy
通过
win按键+R按键,打开window10的运行文档界面,输入cmd,进入命令行界面。
执行以下代码。
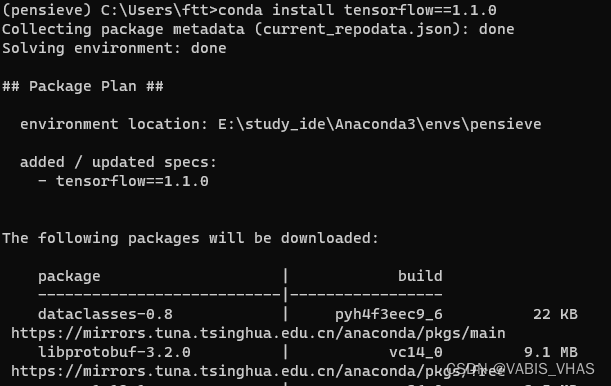
3.5 安装tensorflow==1.1.0
3.6 安装tflearn==0.3.1
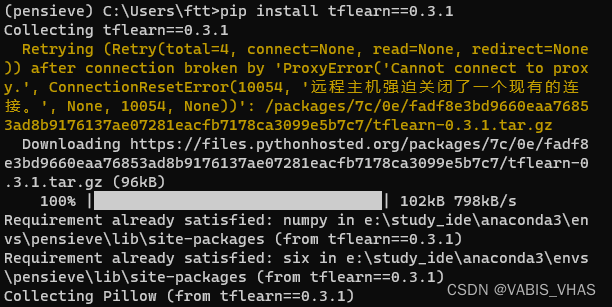
由于我采用的是清华的镜像(下载源,这是因为采用conda默认的国外下载源,下载速度太慢了),但是tflearn==0.3.1在清华镜像源中找不到,所以我考虑采用pip下载源进行下载。
执行以下命令:
conda install pip
pip install --upgrade pip
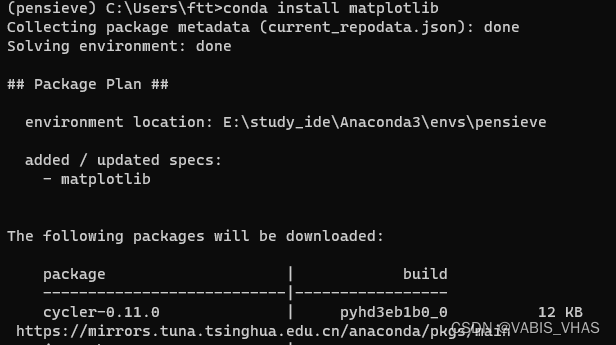
3.7 安装matplotlib
4、Pensieve数据集生成
由于FCC数据集实在太大了,光下载下来就需要10个G左右,所以暂且不需要,我这别有之前下载好并且按照格式调整好的数据集可以提供,如果之后仍然需要,可以再下载。
关于数据集的分析,可以看我的另一篇博客Live Streaming Datasets–网络数据集分析
5、Pensieve代码运行
train文件夹
To train a new model, put training data in sim/cooked_traces and testing data in sim/cooked_test_traces, then in sim/ run python get_video_sizes.py and then run python multi_agent.py
The reward signal and meta-setting of video can be modified in multi_agent.py and env.py. More details can be found in sim/README.md.
test文件夹
To test the trained model in simulated environment, first copy over the model to test/models and modify the NN_MODEL field of test/rl_no_training.py , and then in test/ run python get_video_sizes.py and then run python rl_no_training.py
Similar testing can be performed for buffer-based approach (bb.py), mpc (mpc.py) and offline-optimal (dp.cc) in simulations. More details can be found in test/README.md.
6、Pensieve代码修改
由于版本的更新迭代,有些函数已经不在使用了,所以需要修改。
- 所有文件中
xrange–>range - 所有文件中
print *-->print(*) - 所有文件中
with open(file_path, 'wb') as f:-->with open(file_path, 'w') as f:
最终解释权归本文作者所有

