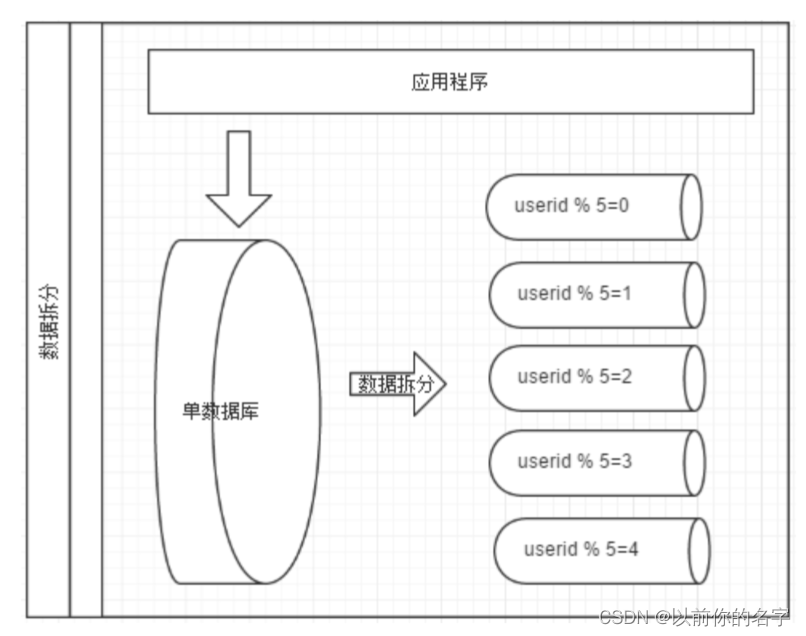
文章目录
- 前言
- 一、安装
- 注册
- 下载安装包
- 认证
- 开通指定端口监听
- 开机自启动设置
- 二、使用步骤
- 电脑端远程
- 手机端远程
- 三、卸载软件
- 安装说明:
- 总结
前言
之前已经有写到一篇文章《如何用树莓派搭建远程服务器 (zerotier)》,对此已经使用了很长一段时间。
- 优点:搭建相对方便,并且支持更多设备同时在网,大家相互之间也能够访问
- 缺点:有时候会比较慢
处于对更高流畅度的追求,打算试一下最近比较火的cpcolar,cpolar是一种安全的内网穿透云服务,它将内网下的本地服务器通过安全隧道暴露至公网。使得公网用户可以正常访问内网服务。
官方网站宣传功能如下:
- 微信公众号开发,实时断点调试微信消息
- 在没有上线部署的情况下,在发布会上演示新网站
- 在您的开发机器上构建webhook客户程序,聊天机器人
- 无需部署,测试连接到本地开发环境后端的移动应用程序
- 为已经在生产环境部署的设备,提供稳定的公网访问地址
- 从您家中运行个人云服务、AI深度学习、聊天机器人
- 远程控制家中的电脑
- 远程SSH控制树莓派
一、安装
注册
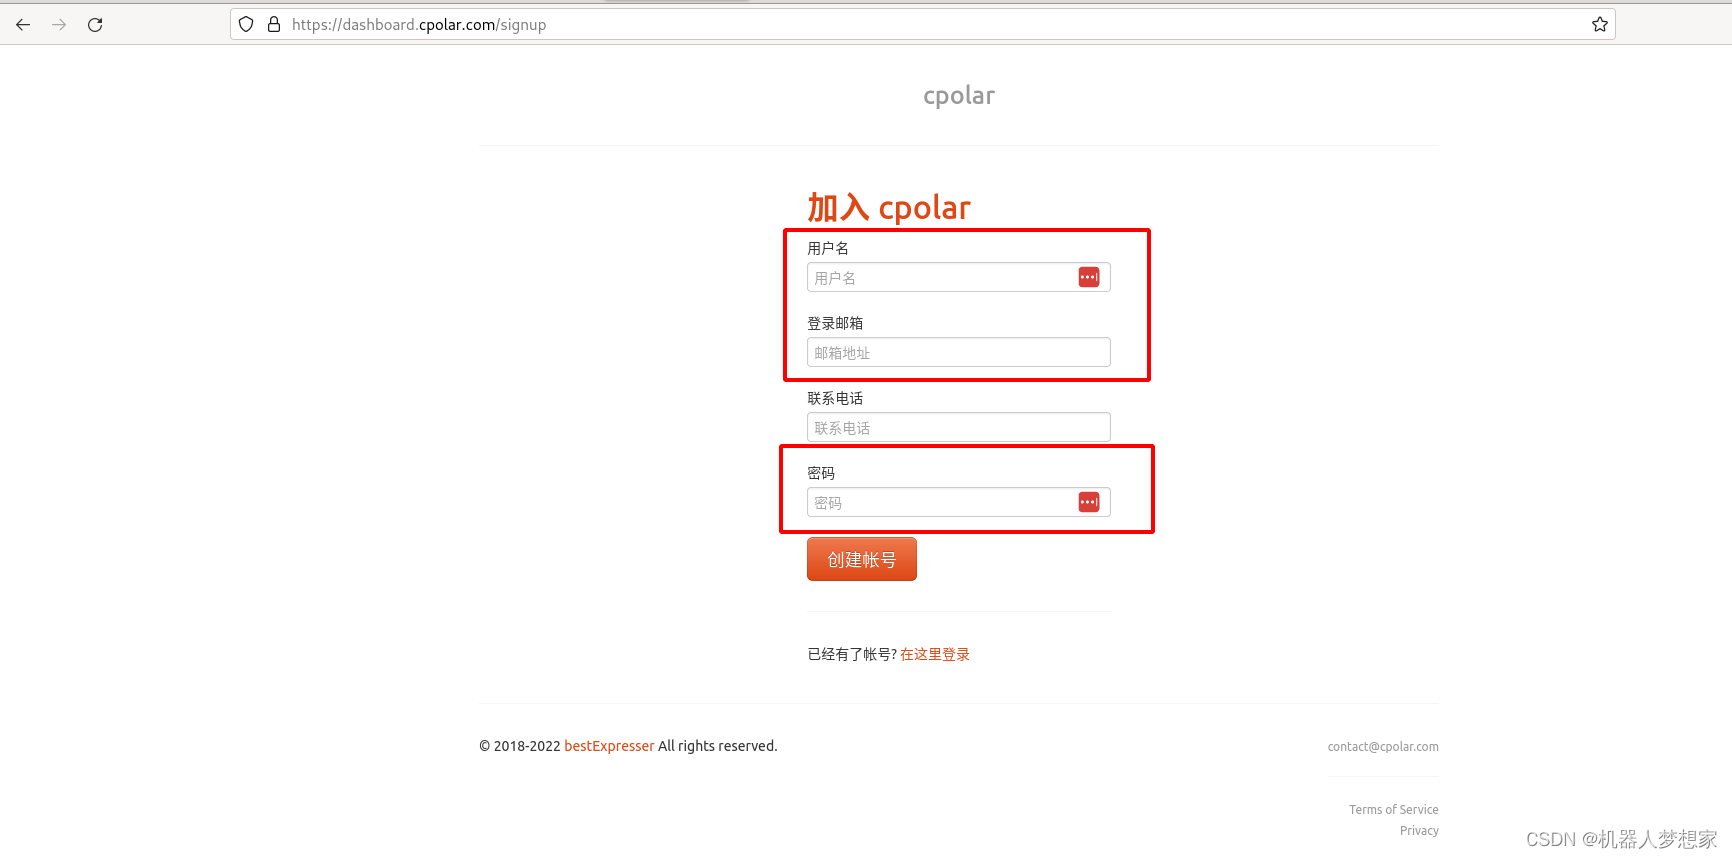
登陆官方网站注册账号,
 红框中的为必填项,联系电话可以不填写。
下载安装包
官网下载对应的安装包。
https://www.cpolar.com/download
dev@debian11:~/Downloads$ curl -L https://www.cpolar.com/static/downloads/install-release-cpolar.sh | sudo bash
[sudo] password for dev:   % Total    % Received % Xferd  Average Speed   Time    Time     Time  Current
                                 Dload  Upload   Total   Spent    Left  Speed
100 21833  100 21833    0     0  62025      0 --:--:-- --:--:-- --:--:-- 62025

info: Installing Cpolar 3.3.12 for x86_64
Downloading Cpolar archive: http://static.cpolar.com/downloads/releases/3.3.12/cpolar-stable-linux-amd64.zip
  % Total    % Received % Xferd  Average Speed   Time    Time     Time  Current
                                 Dload  Upload   Total   Spent    Left  Speed
100 7249k  100 7249k    0     0  9222k      0 --:--:-- --:--:-- --:--:-- 9222k
info: Extract the Cpolar package to /tmp/tmp.MWSFXOz3Z4 and prepare it for installation.
Downloading Cpolar demo config file: http://static.cpolar.com/downloads/cpolar.demo.yml
  % Total    % Received % Xferd  Average Speed   Time    Time     Time  Current
                                 Dload  Upload   Total   Spent    Left  Speed
100   186  100   186    0     0   6000      0 --:--:-- --:--:-- --:--:--  6000
Downloading Cpolar service config file: http://static.cpolar.com/downloads/cpolar.service
  % Total    % Received % Xferd  Average Speed   Time    Time     Time  Current
                                 Dload  Upload   Total   Spent    Left  Speed
100   384  100   384    0     0  19200      0 --:--:-- --:--:-- --:--:-- 19200
Downloading Cpolar service@ config file: http://static.cpolar.com/downloads/cpolar@.service
  % Total    % Received % Xferd  Average Speed   Time    Time     Time  Current
                                 Dload  Upload   Total   Spent    Left  Speed
100   380  100   380    0     0   9500      0 --:--:-- --:--:-- --:--:--  9500
rm: cannot remove '/etc/systemd/system/cpolar.service.d/10-donot_touch_multi_conf.conf': No such file or directory
rm: cannot remove '/etc/systemd/system/cpolar@.service.d/10-donot_touch_multi_conf.conf': No such file or directory
info: Systemd service files have been installed successfully!
warning: The following are the actual parameters for the cpolar service startup.
warning: Please make sure the configuration file path is correctly set.
# /etc/systemd/system/cpolar.service
[Unit]
Description=Cpolar Service
Documentation=https://www.cpolar.com/docs
After=network.target nss-lookup.target

[Service]
User=nobody
NoNewPrivileges=true
ExecStart=/usr/local/bin/cpolar start-all -dashboard=on -daemon=on -config=/usr/local/etc/cpolar/cpolar.yml -log=/var/log/cpolar/access.log
Restart=on-failure
RestartPreventExitStatus=23

[Install]
WantedBy=multi-user.target

installed: /usr/local/bin/cpolar
installed link: /usr/bin/cpolar
installed: /usr/local/etc/cpolar/cpolar.yml
installed: /var/log/cpolar/
installed: /var/log/cpolar/access.log
installed: /var/log/cpolar/error.log
installed: /etc/systemd/system/cpolar.service
installed: /etc/systemd/system/cpolar@.service
removed: /tmp/tmp.MWSFXOz3Z4
info: Cpolar 3.3.12 is installed.
You may need to execute a command to remove dependent software: apt purge curl unzip
Please execute the command: systemctl enable cpolar; systemctl start cpolar
认证
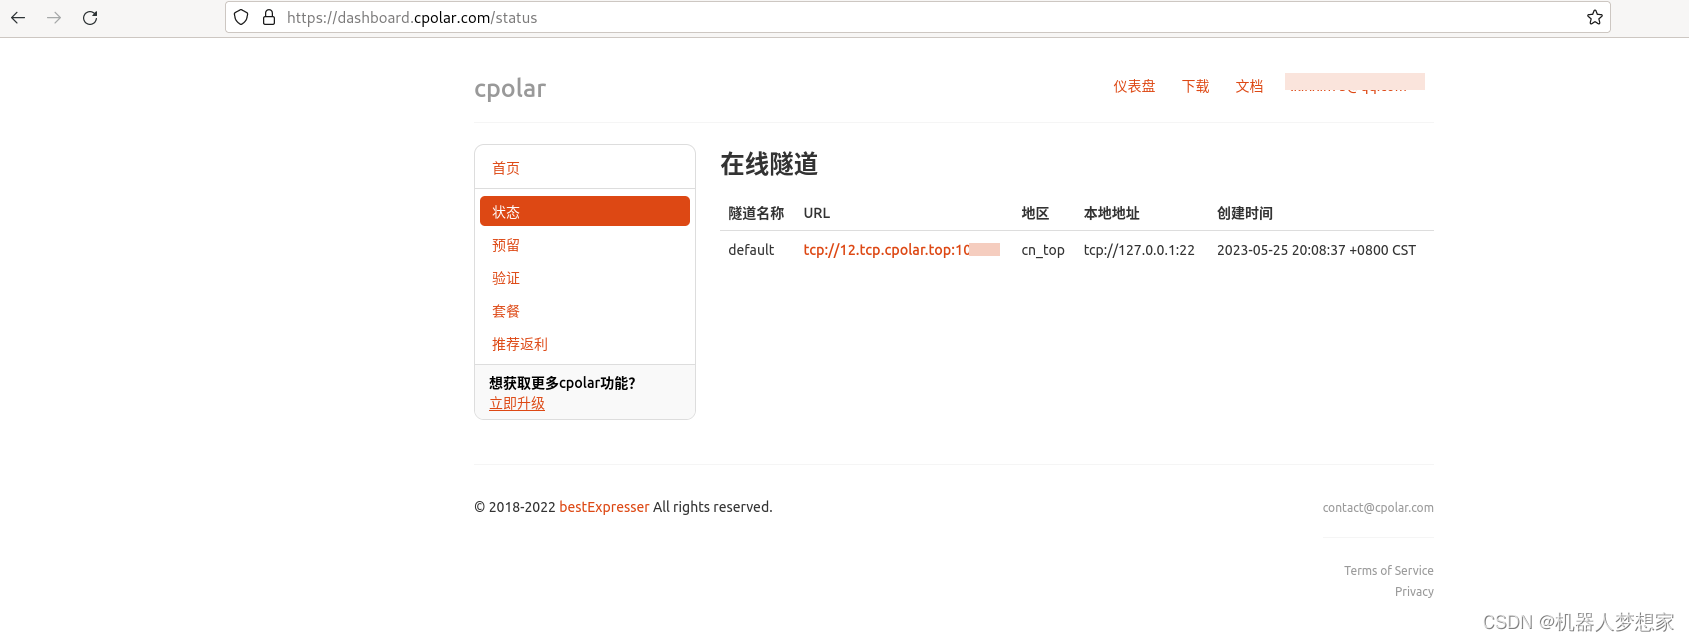
登陆后找到如下图所示页面复制token.
 检测是否安装成功并添加校验token。
dev@debian11:~$ cpolar version
cpolar version 3.3.12
dev@debian11:~$ cpolar authtoken ***  # 此处‘*’替换为刚才复制token
Authtoken saved to configuration file: /usr/local/etc/cpolar/cpolar.yml
开通指定端口监听
# 启动ssh接口监听
cpolar tcp 22
输出如下:
cpolar by @bestexpresser                                                                                                                                              (Ctrl+C to quit)

Tunnel Status       online
Account             binglee (Plan: Free)
Version             3.12/3.18
Web Interface       127.0.0.1:4040
Forwarding          tcp://12.tcp.cpolar.top:10*** -> tcp://127.0.0.1:22
# Conn              0
Avg Conn Time       0.00ms
此时在官网也能看到隧道已经在线。
 如果需要开机启动可以按
ctrl+c结束当前监听,下一步会说怎么配置。
开机自启动设置
sudo systemctl enable cpolar
sudo systemctl start cpolar
sudo systemctl status cpolar

# 输出如下
● cpolar.service - Cpolar Service
     Loaded: loaded (/etc/systemd/system/cpolar.service; enabled; vendor preset: enabled)
     Active: active (running) since Thu 2023-05-25 20:10:45 HKT; 5ms ago
       Docs: https://www.cpolar.com/docs
   Main PID: 1395751 (cpolar)
      Tasks: 10 (limit: 38256)
     Memory: 6.6M
        CPU: 5ms
     CGroup: /system.slice/cpolar.service
             └─1395751 /usr/local/bin/cpolar start-all -dashboard=on -daemon=on -config=/usr/local/etc/cpolar/cpolar.yml -log=/var/log/cpolar/access.log

May 25 20:10:45 debian11 systemd[1]: Started Cpolar Service.
二、使用步骤
报错:ssh_exchange_identification: Connection closed by remote host
博主是由于主机未开通端口,开通端口教程如下。
https://blog.csdn.net/qq_29761395/article/details/123022290
电脑端远程
打开windows cmd窗口:
ssh dev@12.tcp.vip.cpolar.cn -p 10***
# 即可登陆,-p 后边是对应公网ip端口号
手机端远程
相同原理直接ssh 公网ip 端口即可,软件依旧使用JuiceSSH 安卓软件,具体使用方法可以参考《如何用树莓派搭建远程服务器 (zerotier)》最后一部分
三、卸载软件
curl -L https://www.cpolar.com/static/downloads/install-release-cpolar.sh | sudo bash -s -- --remove
安装说明:
cpolar默认安装路径 /usr/local/bin/cpolar,
安装脚本会自动配置systemd服务脚本,启动以后,可以开机自启动。
如果第一次安装,会默认配置一个简单的样例配置文件,创建了两个样例隧道,一个web,一个ssh
cpolar配置文件路径: /usr/local/etc/cpolar/cpolar.yml
总结
以上就是今天要分享给大家的内容,可以使用公网ip直接访问端口,相较于zerotier 来说虽然免去了本地挂载vpn的步骤,但是不知道是否会有入侵风险。
总的来说使用和安装是比较方便的,待博主使用一段时间看网速给不给力在来补充。


![Java并发体系-锁与同步-[1]](https://img-blog.csdnimg.cn/8d410fe9f73248489e96496cebed2d2d.png)