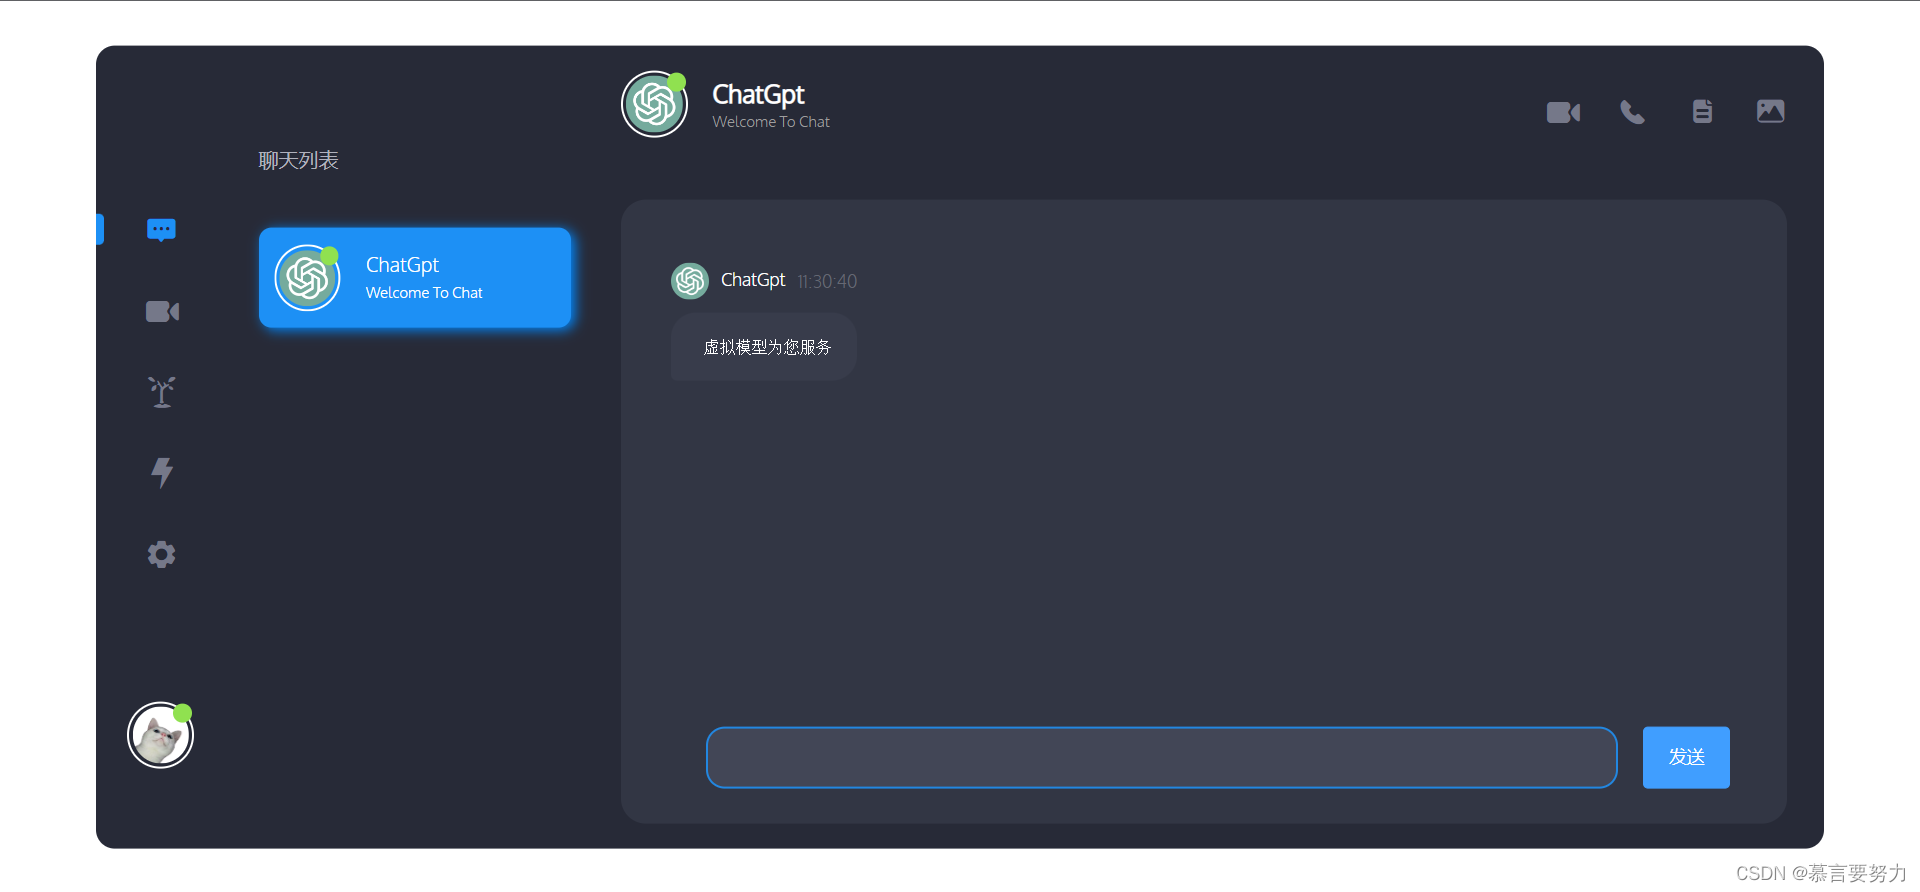
前言
官网链接:Websocket
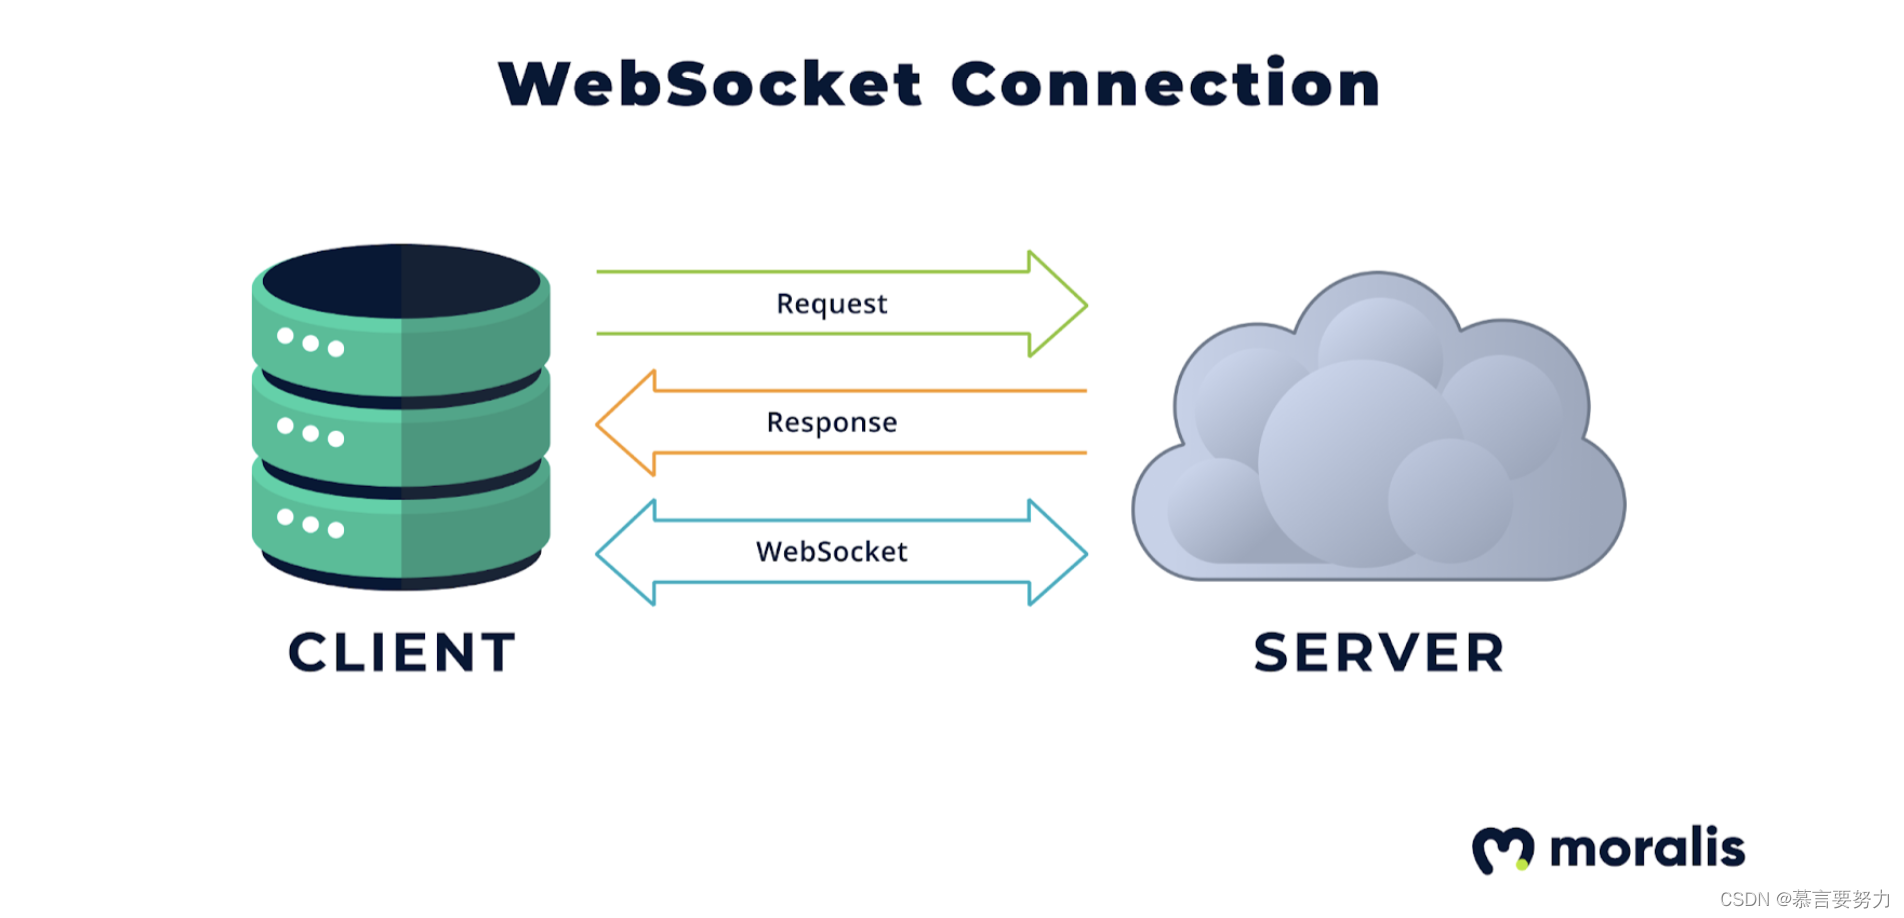
Websocket 是什么?它可以将两个独立的浏览器窗口作为通信的两端。 这种形式的通信与传统的 HTTP、TCP 所不同。传统的 HTTP 请求—响应协议是无法实现实时通信的,也就是说,只能由客户端向服务端发送请求,服务端做出响应,再将响应返回给客户端。因此在 Web 开发中,如果需要实时更新消息,只能通过不断刷新页面或者轮询的方式实现,这样会导致大量的用户请求,极大的浪费服务器资源,同时也会增加网络负荷。
准备工作
- vue
- springboot
- IntelliJ IDEA
后端实现
1.创建SpringBoot项目
使用 IntelliJ IDEA 创建一个 SpringBoot 项目,修改 pom.xml 文件,加入 WebSocket 依赖。
<dependency>
    <groupId>org.springframework.boot</groupId>
    <artifactId>spring-boot-starter-websocket</artifactId>
</dependency>
创建一个 WebSocketConfig 类并且与 @Configuration 注解一起使用。通过 WebSocketHandlerRegistry 对象的 addHandler() 方法注册一个处理器 ChatHandler,setAllowedOrigins("*") 允许任何域名访问。
@Configuration
@EnableWebSocket
public class WebSocketConfig implements WebSocketConfigurer {
    @Override
    public void registerWebSocketHandlers(WebSocketHandlerRegistry registry) {
        registry.addHandler(new ChatHandler(), "/chat").setAllowedOrigins("*");
    }
}
2.创建Websocket处理器
对于每个 WebSocket 连接,都会创建一个实例来处理协议。可以使用 @Component 注解简单的将处理器注册为 Spring 的 Bean,然后在 WebSocket 配置中通过 new ChatHandler() 方式注入。
我们在 ChatHandler 里面监听网络事件,当客户端向唯一的WebSocket端点发送消息时,通过Session.sendMessage(TextMessage message)发送消息,在服务器端接收消息时,使用 TextMessage.getPayload() 方法获取消息体内容,使用Session.getBasicRemote().sendText() 将消息发送到客户端。
@Component
public class ChatHandler extends TextWebSocketHandler {
    private static final Map<String, WebSocketSession> sessions = new ConcurrentHashMap<>();

    //连接成功调用
    @Override
    public void afterConnectionEstablished(WebSocketSession session) {
        sessions.put(session.getId(), session);
    }

    //接收消息处理消息
    @Override
    protected void handleTextMessage(WebSocketSession session, TextMessage message)
            throws Exception {
        for (WebSocketSession s : sessions.values()) {
            s.sendMessage(new TextMessage("用户 : "+message.getPayload()));
        }
    }

    //连接关闭调用
    @Override
    public void afterConnectionClosed(WebSocketSession session, CloseStatus status) {
        sessions.remove(session.getId());
    }
}
前端实现
1.初始化 vue 项目
在 vue 项目中,我们装 vue-websocket 包并且 import。
import VueWebSocket from 'vue-websocket'
Vue.use(VueWebSocket, 'ws://localhost:8080/chat', {
  reconnection: true,
  reconnectionAttempts: 5
})
2.实现页面代码
接下来,我们创建一个简单的聊天聊天窗口,包含输入框,发送按钮以及一个消息列表。在用户键入消息后,可以通过 .send() 方法将消息发送到Springboot服务器端。
<template>
    <div class="chat-container">
        <div class="chat-msgs">
            <div v-for="msg in msgs" :key="msg.id" class="chat-msg">
                <span>{{ msg.user }}</span>
                <span>{{ msg.message }}</span>
            </div>
        </div>
        <div class="chat-input">
            <input v-model="message" type="text" placeholder="输入你的消息" />
            <button @click="sendMsg">发送</button>
        </div>
    </div>
</template>

<script>
export default {
    data() {
        return {
            message: '',
            msgs: []
        }
    },
    methods: {
        sendMsg() {
            this.$socket.send(this.message)
            this.msgs.push({
                id: this.msgs.length,
                user: '我',
                message: this.message
            })
            this.message = ''
        }
    },
    sockets: {
        message(data) {
            this.msgs.push({
                id: this.msgs.length,
                user: '服务端',
                message: data
            })
        }
    }
}
</script>

<style>
.chat-container {
    display: flex;
    flex-direction: column;
    height: 100%;
}

.chat-msgs {
    flex: 1;
    overflow-y: auto;
    margin-bottom: 10px;
}

.chat-msg {
    background-color: #F6F6F6;
    padding: 5px;
    border-radius: 10px;
    margin: 5px;
}

.chat-input {
    display: flex;
    justify-content: center;
}

.chat-input input {
    flex: 1;
    margin-right: 10px;
    padding: 5px;
}

.chat-input button {
    padding: 5px 15px;
    border: none;
    background-color: #4169E1;
    color: #fff;
    border-radius: 5px;
    cursor: pointer;
}
</style>
启动应用程序
启动 SpringBoot 应用程序,然后通过 npm run serve 启动客户端应用程序。打开两个标签页,在页面中输入消息并发送,可以看到两个窗口中的消息相互更新,实现了简单的实时通信。
总结
通过本次实战,我们学习了如何在 SpringBoot 应用程序中使用 WebSocket 实现简单的实时通信,同时将 vue 与 WebSocket 搭配使用,从而完成一个实时聊天窗口。
实时通讯在现代化 Web 应用程序中越来越重要,WebSocket 技术已经成为了主流解决方案。相信通过本文的学习,您已经对 WebSocket 有所了解,并能够将其应用到 Web 开发中。
有需要的小伙伴可以私信我功能模块的代码哦






![[230503] 2021年托福阅读真题第1篇|Grinding Grain 磨粒](https://img-blog.csdnimg.cn/1faf66b6335c474dbc828c9f81637a1c.png)
