Koa 是一个新的 web 框架,由 Express 幕后的原班人马打造, 致力于成为 web 应用和 API 开发领域中的一个更小、更富有表现力、更健壮的基石。 通过利用 async 函数,Koa 帮你丢弃回调函数,并有力地增强错误处理。 Koa 并没有捆绑任何中间件, 而是提供了一套优雅的方法,帮助您快速而愉快地编写服务端应用程序。
底层实现
koa、express这些使用node环境作为服务端,其实底层都还是用的node的http模块实现的。
const http = require('http');

const server = http.createServer((req, res) => {res.end('hello world');
});

server.listen(3000);
这样我们就完成了一个服务端的创建,访问http://localhost:3000/即可看到一个hello world。koa在此基础上进行了封装,方便我们对请求进行更加精细化的控制。
创建Application
 // application.js
const http = require('http')

class Application {constructor() {this.middleware = [];}callback(req, res) {this.middleware.forEach(fn => fn(req, res))}use(fn) {typeof fn === 'function' && this.middleware.push(fn);}listen(...args) {const server = http.createServer(this.callback.bind(this))return server.listen(...args)}
}

module.exports = Application;
现在我们有了use、listen方法,请求进来时会执行use中传入的中间件方法,现在中间件传入的是(req,res),但koa入参是(ctx,next),next先不考虑。
接下来我们需要去创建ctx,我们先看下ctx的关键几个属性。
-
ctx.req: Node 的 request 对象
-
ctx.res: Node的 response 对象
-
ctx.request: koa 的
Request对象 -
ctx.response: koa 的
Response对象. -
ctx.app: 应用程序实例引用
结合上面我们来定义一个context.js,在这之前需要先定义Request、Response对象,因为ctx引用了它们。
创建Request、Response
Request、Response对象是对node上的request、response进行了封装。我们可以直接通过它们对node上的request和response进行取值、赋值如:
request.header
请求头对象。

request.header=
设置请求头对象。

response.body
获取响应体。

response.body=
设置响应体
koa中使用了getter/setter去获取和设置Request,Response上的属性。这样做相比直接去操作node上的request、response的好处是,开发者的所用获取、设置都需要先经过我们的getter/setter方法,这样我们就可以对获取属性时做一些封装返回,对设置属性值做一层验证,提前将不规范的值抛出错误。
// request.js
module.exports = {get header() {return this.req.headers;},set header(val) {this.req.headers = val;},
};

// response.js
module.exports = {get body() {return this._body;},set body(val) {this._body = val;this.res.end(val);},
};
接下来我们还需要加入context,也就是传入use中的方法的ctx实例。
创建上下文Context
Context 将 node 的 request 和 response 对象封装在一个单独的对象里面,其为编写 web 应用和 API 提供了很多有用的方法。 这些操作在 HTTP 服务器开发中经常使用,因此其被添加在上下文这一层,而不是更高层框架中,因此将迫使中间件需要重新实现这些常用方法。
// context.js
module.exports = {get header() {return this.request.headers;},set header(val) {this.request.headers = val;},get body() {return this.response.body;},set body(val) {this.response.body = val;},
};
// application.js
const http = require("http");
const request = require("./request");
const response = require("./response");
const context = require("./context");

class Application {constructor() {this.middleware = [];this.context = Object.create(context);this.request = Object.create(request);this.response = Object.create(response);}createContext(req, res) {const context = Object.create(this.context);const request = (context.request = Object.create(this.request));const response = (context.response = Object.create(this.response));context.app = request.app = response.app = this;context.req = request.req = response.req = req;context.res = request.res = response.res = res;request.ctx = response.ctx = context;request.response = response;response.request = request;return context;}callback(req, res) {const ctx = this.createContext(req, res);this.middleware.forEach((fn) => fn(ctx));}...
}

module.exports = Application;
这样就实现了通过ctx取值,以及赋值的操作了,但是如果context通过这种对Response、Request上的方法重写来实现代理,显然是很麻烦的很麻烦,且不易维护。所以Koa2使用了delegate来实现对Response、Request的代理。
// context.js
const delegate = require("delegates");

const proto = {/** * 这里可以写一些context特有的方法,如错误处理 * 以及需要同时用到res和req的方法,如cookies的处理 */
};

delegate(proto, "response").access("body");

delegate(proto, "request").getter("headers");

module.exports = proto;
至此,一个最最最最基本的koa能正常跑起来了。
const Koa = require("../src/application");
const app = new Koa();

app.use(async (ctx) => {ctx.body = "Hello World";
});

app.listen(3000);
打开浏览器输入http://localhost:3000/,能看到Hello World。
最后
最近还整理一份JavaScript与ES的笔记,一共25个重要的知识点,对每个知识点都进行了讲解和分析。能帮你快速掌握JavaScript与ES的相关知识,提升工作效率。

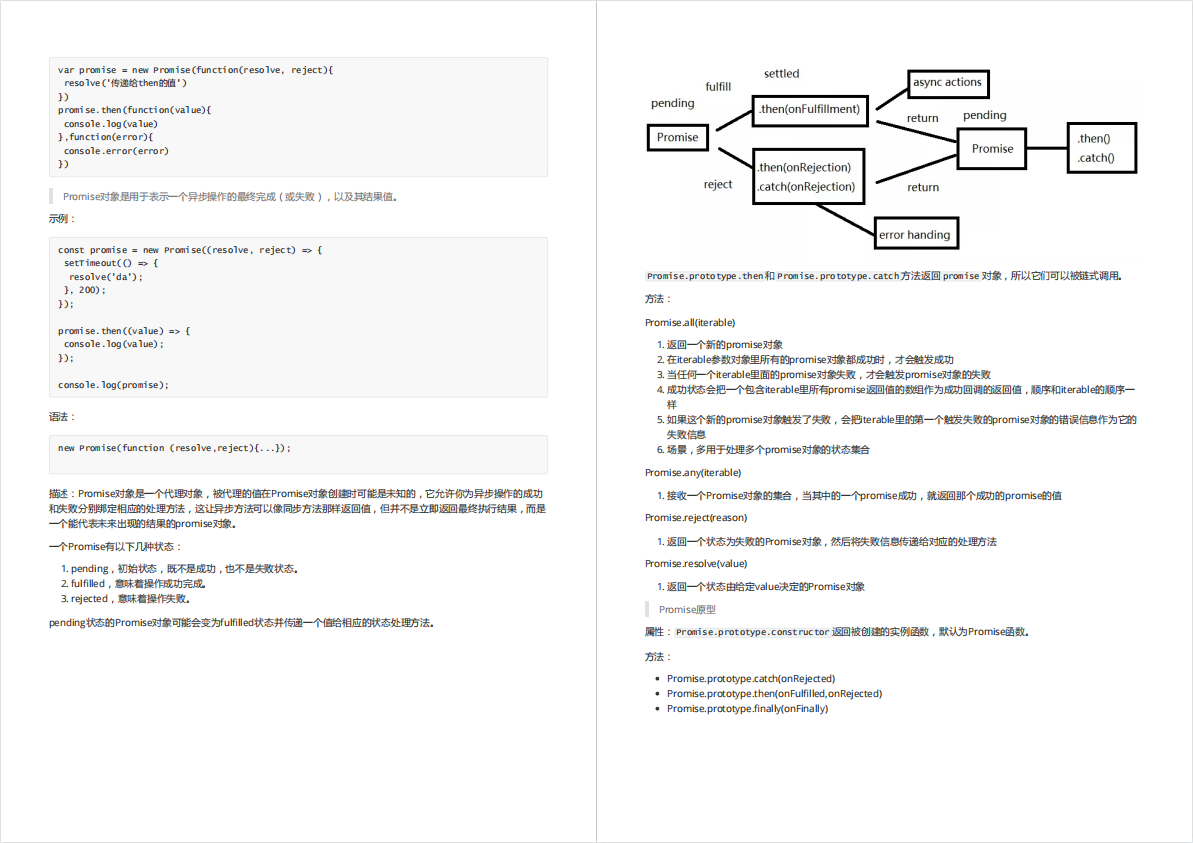
有需要的小伙伴,可以点击下方卡片领取,无偿分享
