在训练心脏数据集时碰到的问题汇总:
1.nii数据处理问题
心脏CT数据集采用的是医学图像常用的压缩文件格式nii,且储存的图像为3D图像,不能直接使用。
首先应导入SimpleITK包,利用如下三个函数进行nii格式文件的提取。
sitk.ReadImage(imagebatch)
sitk.Cast(sitk.RescaleIntensity(img)
sitk.sitkUInt8) sitk.GetArrayFromImage(img)
对于常见的nii.gz格式图像,可采用如下代码处理:
def Gettensorfromnii(root):
    a=sorted(glob.glob(root))
    imgcat = torch.Tensor(0,320,320)
    for i, imagebatch in enumerate(a):
        img = sitk.ReadImage(imagebatch)
        img = sitk.Cast(sitk.RescaleIntensity(img), sitk.sitkUInt8)
        img = sitk.GetArrayFromImage(img)
        trans=torchvision.transforms.ToTensor()
        img=trans(img)
        img=img.permute(1,2,0)
        img = img.type(torch.FloatTensor)
        imgcat=torch.cat((imgcat,img),0)
    print("full imagcat:",imgcat.shape)
    return imgcat
因为本次训练准备采用单个slice进行训练,因此预处理代码思路是,先提取为numpy格式,然后转换为tensor格式,最后将所有tensor按通道concat在一起,得到全部的数据。
数据处理完毕后,我们得到的是两个大概(3000,320,320)的包含全部数据信息与label信息的tensor,对其进行切片处理,创建Heartdataset数据集:
class Heartdataset(Dataset):#本身已经是tensor,只需要一些处理
    def __init__(self,trainimages,labelimages,mode):
        self.trans = torchvision.transforms.Compose([
            torchvision.transforms.RandomCrop(256),
            torchvision.transforms.RandomAffine(90, translate=None, scale=(0.5,2), shear=None, resample=0, fillcolor=0)
        ])

        if mode=='train':#16,4
            self.origin=trainimages[:int(0.8*len(trainimages))]
            self.label=labelimages[:int(0.8*len(labelimages))]
            #print(self.origin.shape)
        elif mode=='val':#20
            self.origin=trainimages[int(0.8*len(trainimages)):]
            self.label=labelimages[int(0.8*len(labelimages)):]
        elif mode=='test':
            self.origin=trainimages
            self.label=labelimages

    def __len__(self):
        return len(self.origin)

    def __getitem__(self, index):
        img_origin=self.origin[index]
        img_origin=img_origin.unsqueeze(0)
        img_label=self.label[index]
        img_label=img_label.unsqueeze(0)

        seed = torch.random.seed()
        torch.random.manual_seed(seed)
        img_origin = self.trans(img_origin)
        torch.random.manual_seed(seed)
        img_label = self.trans(img_label)
        return img_origin,img_label
值得注意的是,由于处理对象是tensor,因此本数据集的处理相较图片的处理有所不同。
本次训练中train:val=4:1
2.out与predict问题
在训练中,本人遇到的最为困惑的问题就是在可视化界面中发现输出与label一个是灰度图一个是二值图的问题,这其实是因为在写如下代码时:
inputs,labels=inputs.to(self.device),labels.to(self.device)
out=self.net(inputs)
                #predict=np.argmax(out.cpu().detach().numpy(),axis=1)#最终分类就是像素为1或者0,经过sigmoid的数字很接近0或者1,但是没有到,
                #这就导致了预测图不是二值图,因此要使用argmax(多分类多通道问题),如果只有单通道,直接对元素处理如下:
                # a中大于0.5的用zero(0)替换,否则a替换,即不变
将out的与predict混淆,没有加入predict而直接输出了out导致的。
实际上,out得到的结果是网络最后一层sigmoid函数得到的结果,可以将其作为loss与label进行计算但是不能直接使用out来作为预测的分割结果,如果输出是单通道,应该加入如下语句来获得predict:
zero = torch.zeros_like(out)
one = torch.ones_like(out)
predict=torch.where(out>=0.5,one,out)
predict=torch.where(out<0.5,zero,predict)
对于单通道分类问题,我们也可以转化为多通道(channel=2)问题来解决,这种方法更为通用,可以用来解决多分类问题:
即网络的输出 output 为 [batch_size, num_class, height, width] 形状。其中 batch_szie 为批量大小,num_class 表示输出的通道数与分类数量一致,height 和 width 与输入图像的高和宽保持一致。
在训练时,输出通道数是 num_class(这里取2),网络得到的 output 包含的数值是任意的数。在二分类问题中,给定的 target ,是一个单通道标签图,数值只有 0 和 1 (背景与前景)这两种。为了让网络输出 output 不断逼近这个标签,首先会让 output 经过一个 softmax 函数,使其数值归一化到[0, 1],得到 output1 ,在各通道中,这个数值加起来会等于1。对于target 他是一个单通道图,首先使用onehot编码,转换成 num_class个通道的图像,每个通道中的取值是根据单通道中的取值计算出来的,例如单通道中的第一个像素取值为1(0<= 1 <=num_class-1,这里num_class=2),那么onehot编码后,在第一个像素的位置上,两个通道的取值分别为0,1。也就是说像素的取值决定了对应序号的通道取1,其他的通道取0,这个非常关键。上面的操作执行完后得到target1,让这个 output1 与 target1 进行交叉熵计算,得到损失值,反向传播更新网路权重。最终,网络经过学习,会使得 output1 逼近target1(在各通道层面上)。
训练结束后,网络已经具备让输出的 output 经过转换从而逼近 target 的能力。计算 output 中各通道每一个像素位置上,取值最大的那个对应的通道序号,从而得到预测图 predict。后续则是一些评估相关的计算。
output = net(input)  # net的最后一层没有使用sigmoid
predict = output.argmax(dim=0)#原帖为dim=1,但个人认为通道方向上应该是dim=0
多通道问题对于图像上的某个像素,他只在结果对应的通道上的x,y处为1,其余点为0,因此可以使用argmax求出最大通道数的索引(0,1,2,3,4,5,6,7…)对应的编号就是对应的通道,也就是对应的分割对象。
3.loss函数与最后一层输出函数选取问题
根据输出函数是否用到了sigmoid,有两种loss选取方法,如果选取错误可能会导致loss为负或者报错:
output = net(input) # net的最后一层没有使用sigmoid
loss_func1 => torch.nn.BCEWithLogitsLoss()
loss = loss_func1(output, target)
output = net(input) # net的最后一层没有使用sigmoid
output = F.sigmoid(output)#加入sigmoid
loss_func1 = torch.nn.BCELoss()
loss = loss_func1(output, target)
4.过拟合问题
在训练中,我的loss一度达到了10e-6级别,但是validation效果很差,dice约在0.44左右,这时候就要考虑是否陷入了过拟合。
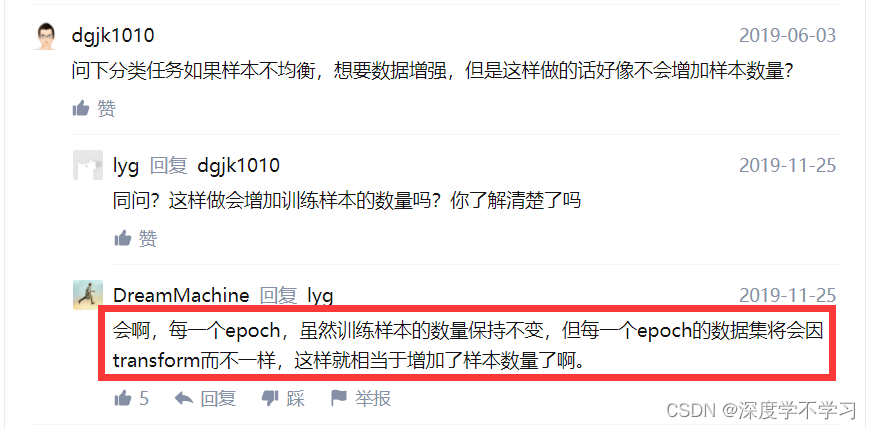
经分析,本次过拟合可能是因为样本数量过少导致的,解决过拟合的方法很多,本人采用了图像增强方法,对图像进行了randomcrop以及randomaffine计算,这样便增加了样本数量,达到了增加样本数量的目的。
self.trans = torchvision.transforms.Compose([
     torchvision.transforms.RandomCrop(256),
     torchvision.transforms.RandomAffine(90, translate=None, scale=(0.5,2), shear=None, resample=0, fillcolor=0)
        ])
