目录
1.开发自己的包
1.1. 需要实现的功能
1.2. 初始化包的基本结构
1.3. 初始化 package.json
1.4. 在 index.js 中定义格式化时间的方法
1.5. 在 定义转义 和还原HTML 的方法
1.6. 编写包的说明文档
1.7包的入口文件
2.发布自己的包
2.1注册npm账号
2.2登录npm账号
2.3发布并且查看
1.开发自己的包
1.1. 需要实现的功能
①
格式化日期
②
转义
HTML
中的
特殊字符
③
还原
HTML
中的
特殊字符
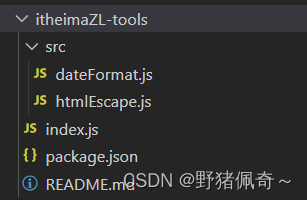
1.2. 初始化包的基本结构
①
新建
itheimaZL
-tools
文件夹,作为
包的根目录
②
在
itheimaZL
-tools
文件夹中,新建如下三个文件:
- package.json (包管理配置文件)
- index.js (包的入口文件)
- README.md (包的说明文档)
1.3. 初始化 package.json
{
    "name": "itheimazl-tools",
    "version": "1.0.0",
    "main": "index.js",
    "description": "提供了格式化时间,HTMLEscape相关的功能",
    "keywords": [
        "itheimazl",
        "dateFormat",
        "escape"
    ],
    "license": "ISC"
}1.4. 在 index.js 中定义格式化时间的方法
//定义格式化时间的函数
function dateFormat(dateStr) {
    const dt = new Date(dateStr)
    const y = dt.getFullYear()
    const m = padZero(dt.getMonth() + 1)
    const d = padZero(dt.getDate())
    const hh = padZero(dt.getHours())
    const mm = padZero(dt.getMinutes())
    const ss = padZero(dt.getSeconds())

    return `${y}-${m}-${d} ${hh}:${mm}:${ss}`
}
//定义补零函数
function padZero(n) {
    return n > 9 ? n : '0' + n
}

module.exports = {
    dateFormat
}1.5. 在 定义转义 和还原HTML 的方法
//定义转义HTML字符的函数
function htmlEscape(htmlstr) {
return htmlstr.replace(/<|>|"|&/g, (match) => {
switch (match) {
case '<':
return '<'
case '>':
return '>'
case '"':
return '"'
case '&':
return '&'
}
})
}
//定义还原HTML字符串的函数
function htmlUnEscape(str) {
return htmlstr.replace(/<|>|"|&/g, (match) => {
switch (match) {
case '<':
return '<'
case '>':
return '>'
case '"':
return '"'
case '&':
return '&'
}
})
}
module.exports = {
htmlEscape,
htmlUnEscape
}1.6. 编写包的说明文档
## 安装
```
npm install itheimaZL-tools
```
## 导入
```
const itheima = require('itheimaZL-tools')
```
## 格式化时间
```
//调用dateFormat对时间进行格式化
const dtStr = itheima.dateFormat(new Date())
console.log(dtStr);
```
## 转移HTML中的特殊字符
```
const htmlStr = '<h1 title="abc">这是h1标签<span>123 </span></h1>'
const str = itheima.htmlEscape(htmlStr)
console.log(str)
```
##还原HTML中的特殊字符
```
const str2 = itheima.htmlUnEscape(str)
console.log(str2)
```1.7包的入口文件
const date = require('./src/dateFormat')
const escape = require('./src/htmlEscape')
//向外面暴露需要的成员
module.exports = {
    ...date,
    ...escape
}
2.发布自己的包
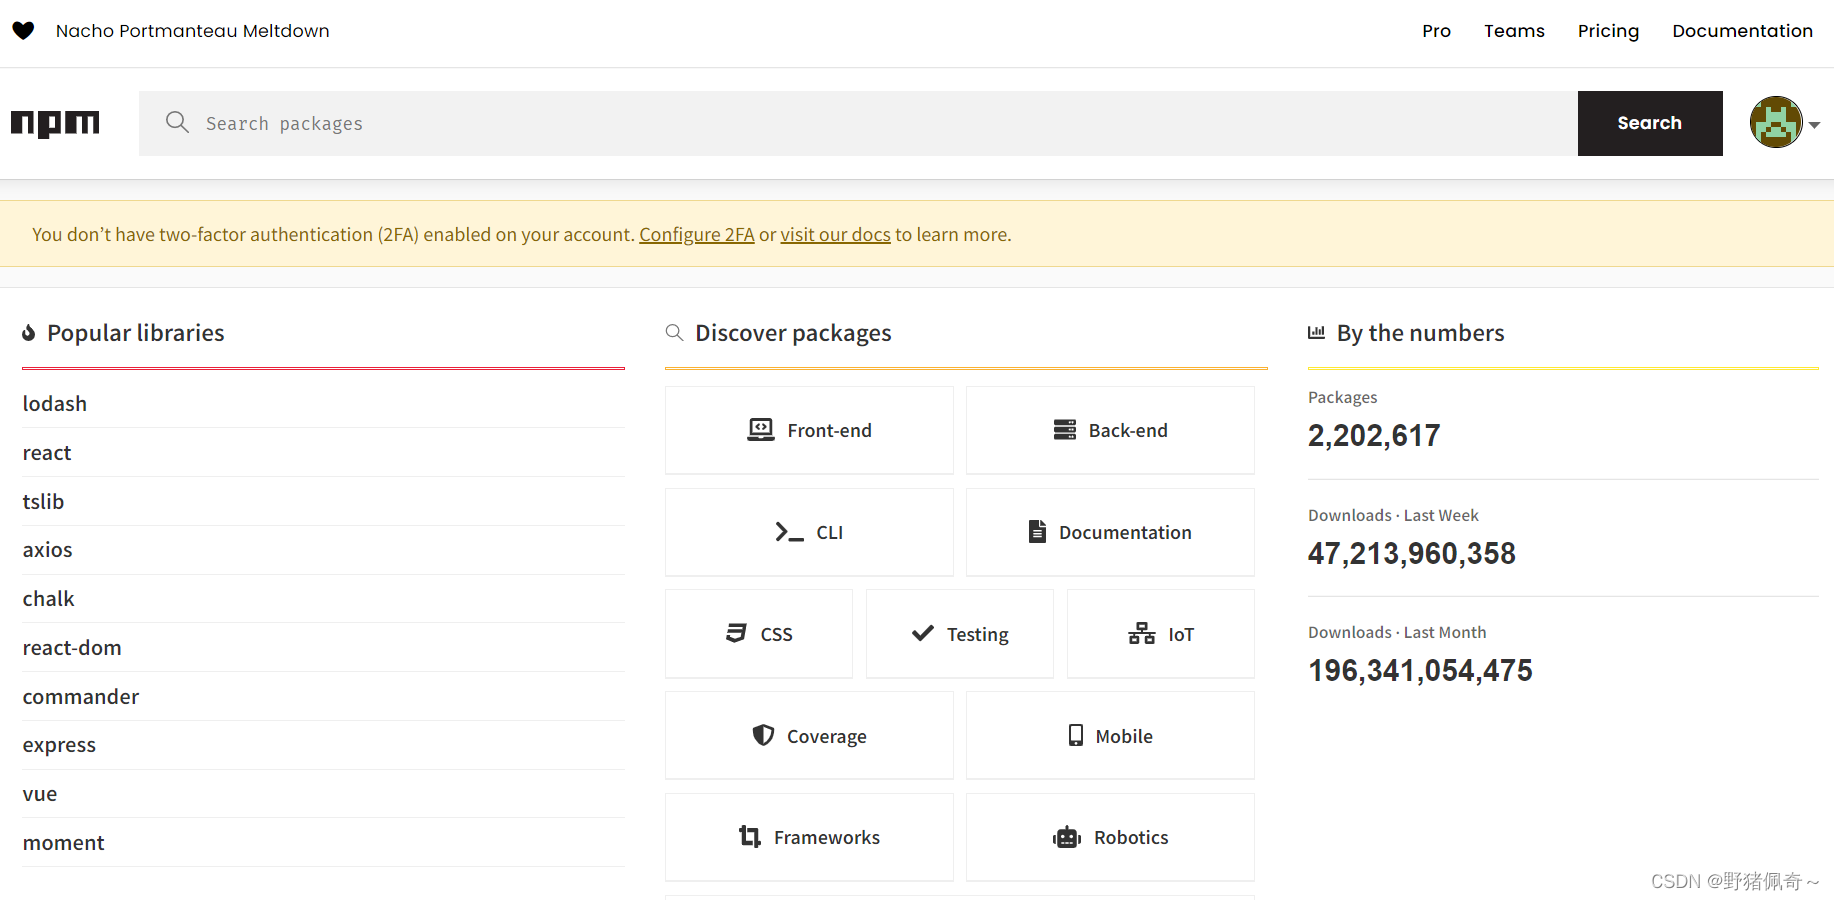
2.1注册npm账号
访问
npm
网站,点击
sign up
按钮,进入注册用户界面
2.2登录npm账号
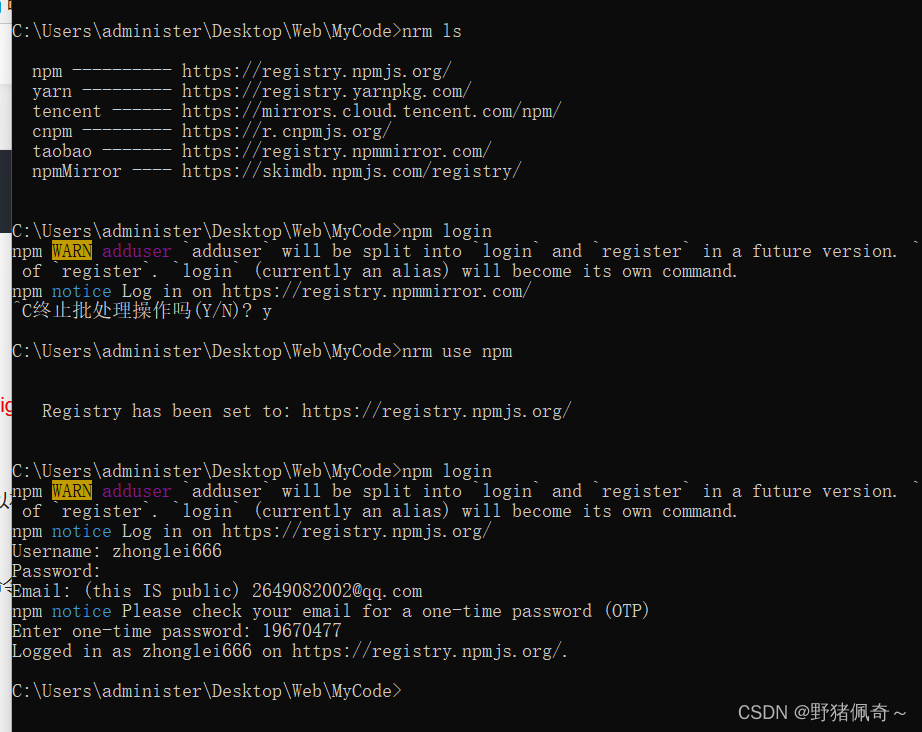
npm 账号注册完成后,可以在终端中执行 npm login 命令,依次输入用户名、密码、邮箱后,即可登录成功。
注意:在运行 npm login 命令之前,必须先把下包的服务器地址切换为 npm 的官方服务器。否则会导致发布包失败!
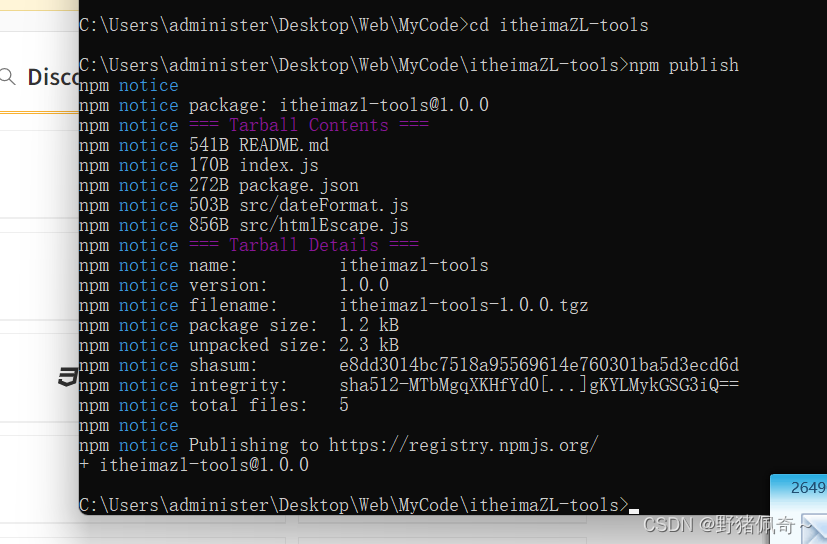
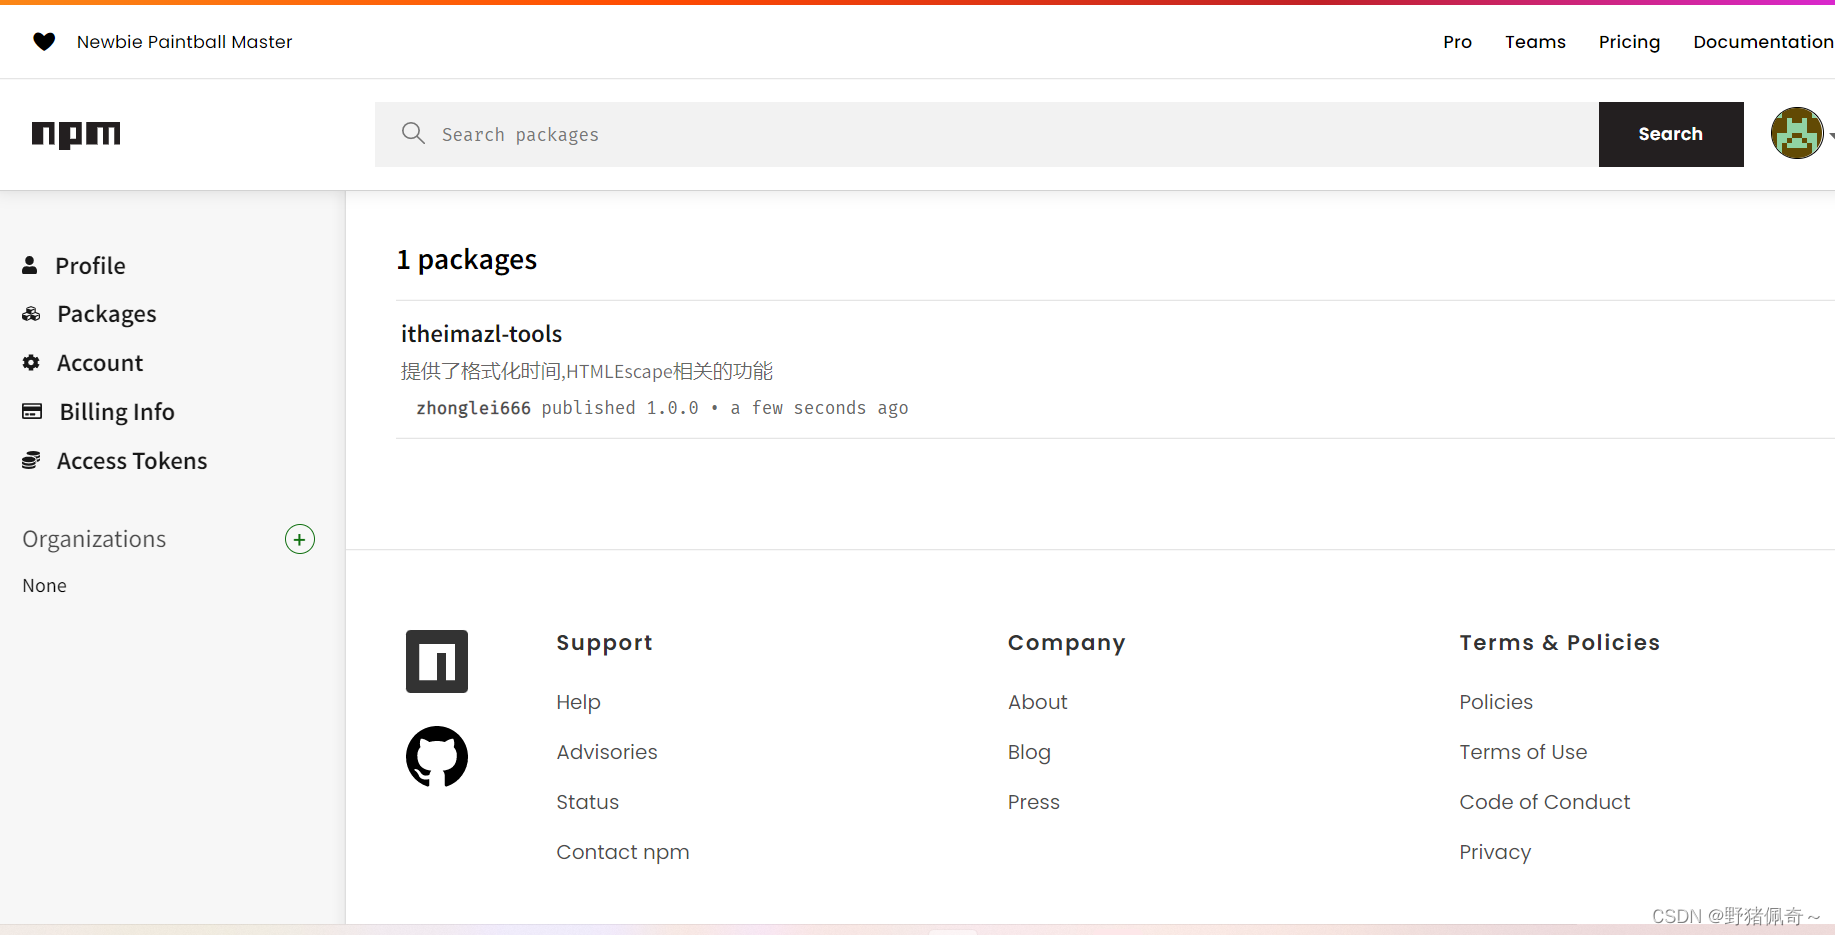
2.3发布并且查看
