做unity游戏时,如果是做手机端则需要加一个虚拟摇杆以便玩家控制角色移动(做pc端则直接获取键值即可较方便)。原理就是用Image制作一个大圆圈住一个Image小圆,玩家拖拽小圆控制角色移动。中心思想是,以小圆中心为(0,0),获取拖拽的偏移量即可。
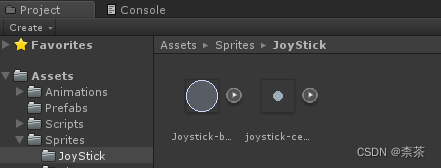
首先将图片资源拉入项目
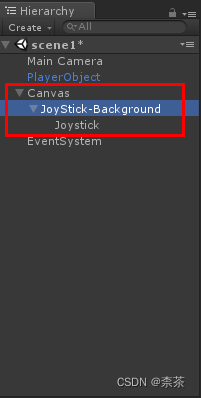
在Hierarchy右键新建一个Canvas(UI → Canvas),并在其下新建一个Image作为摇杆背景(JoyStick-Backfround),在此摇杆背景下新建一Image作为摇杆(JoyStick)
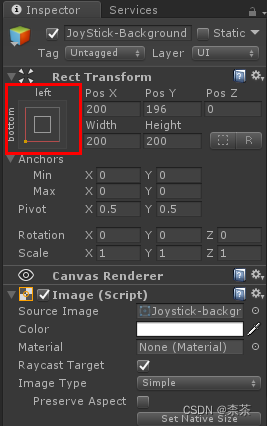
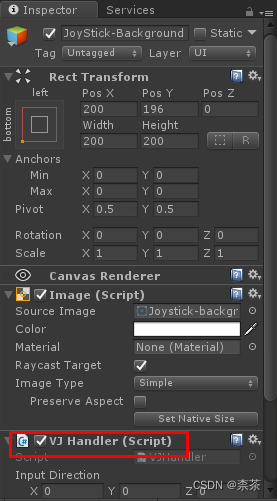
要注意的是,JoyStick-Background的RectTransform应设为左下,宽度和高度可按个人所需设定(我设了200*200)
也可打开Scene手动调整虚拟摇杆在屏幕中的位置
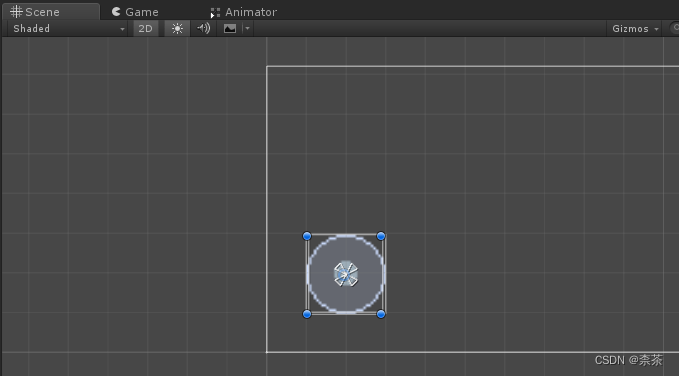
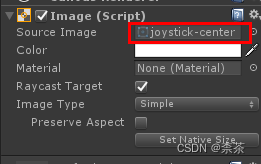
将背景和摇杆图片资源拉到JoyStick-Background和JoyStick的Image内
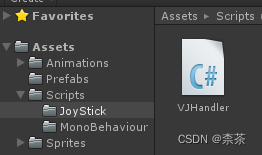
新建一代码(VJHandler)并添加给JoyStick-Background
#VJHanlder
using UnityEngine;
using UnityEngine.UI;
using UnityEngine.EventSystems;

public class VJHandler : MonoBehaviour, IDragHandler, IPointerUpHandler, IPointerDownHandler{

    private Image jsContainer;
    private Image joystick;

    public Vector3 InputDirection;

    void Start()
    {
        jsContainer = GetComponent<Image>();
        joystick = transform.GetChild(0).GetComponent<Image>();	//此处获取了子对象即摇杆的Image引用
        InputDirection = Vector3.zero;
    }

    public void OnDrag(PointerEventData ped)
    {
        Vector2 position = Vector2.zero;
        //获取输入方向(该函数返回joystick当前的坐标值)
        RectTransformUtility.ScreenPointToLocalPointInRectangle
            (jsContainer.rectTransform,
            ped.position,
            ped.pressEventCamera,
            out position);      //该函数out为返回值,此处打印可得position为(x, y)即摇杆相对于中心(0, 0)的坐标值


        //限定JoyStick能移动的区域
        joystick.rectTransform.anchoredPosition = new Vector3(InputDirection.x * (jsContainer.rectTransform.sizeDelta.x) / 3,
                                                                InputDirection.y * (jsContainer.rectTransform.sizeDelta.y) / 3);
    }

    public void OnPointerDown(PointerEventData ped)     //当触摸或点击摇杆时,立即触发这个事件
    {
        OnDrag(ped);
    }

    public void OnPointerUp(PointerEventData ped)       //重置摇杆的方向和初始位置
    {
        InputDirection = Vector3.zero;
        joystick.rectTransform.anchoredPosition = Vector3.zero;
    }

}
其实写到屏幕坐标转成local坐标这里就已经实现了摇杆功能了,因为此处输出的坐标(代码中out position)就是摇杆的坐标
RectTransformUtility.ScreenPointToLocalPointInRectangle
            (jsContainer.rectTransform,
            ped.position,
            ped.pressEventCamera,
            out position);
   print("out position:" + position);
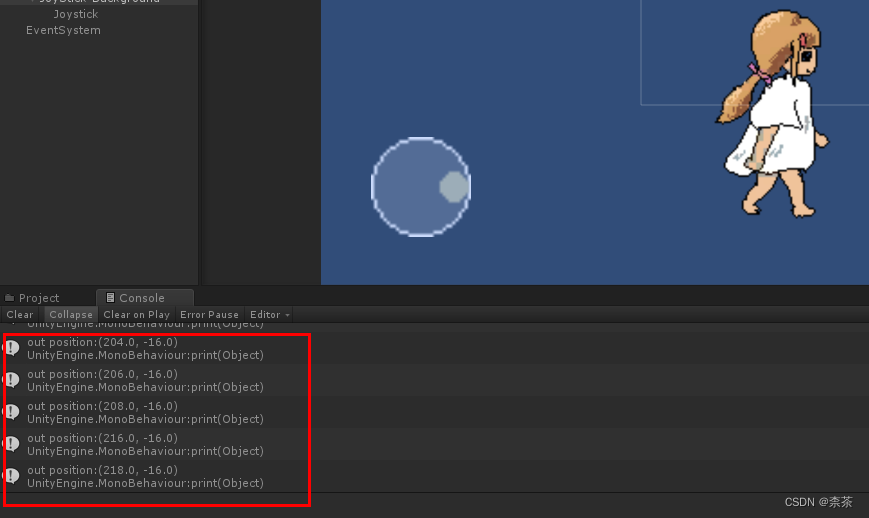
加一行打印,然后运行游戏,拖动摇杆,能看到输出了每一帧摇杆的坐标值:
之后再根据你的人物移动逻辑,根据已获取摇杆的坐标值,传给动画器即可实现人物移动。
如果你像我这样用(-1,0)…设置人物东南西北的移动动画
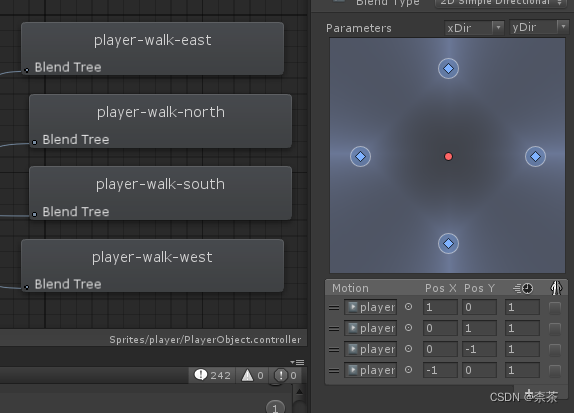
则在VJHandler内加上坐标转换逻辑即可,先判断摇杆在哪一个象限,然后判断摇杆在x和y的方向上哪个偏移量更大。
if(position.x >= 0 && position.y >= 0)      //摇杆位于第一象限
        {
            if (position.x > position.y)
            {
                position.x = 1;
                position.y = 0;
            }
            else {
                position.x = 0;
                position.y = 1;
            }
        }
        else if (position.x <= 0 && position.y > 0)     //第二象限
        {
            if (Mathf.Abs(position.x) > position.y)
            {
                position.x = -1;
                position.y = 0;
            }
            else
            {
                position.x = 0;
                position.y = 1;
            }
        } else if(position.x <= 0 && position.y <= 0)   //第三象限
        {
            if(Mathf.Abs(position.x) > Mathf.Abs(position.y))
            {
                position.x = -1;
                position.y = 0;
            }
            else
            {
                position.x = 0;
                position.y = -1;
            }
        }
        else if (position.x >= 0 && position.y <= 0)      //第四象限
        {
            if (position.x > Mathf.Abs(position.y))
            {
                position.x = 1;
                position.y = 0;
            }
            else
            {
                position.x = 0;
                position.y = -1;
            }
        }

        InputDirection = new Vector3(position.x, position.y);
然后新建一个Script添加给PlayerObject,新建一个Vector3命名为movement接取VJHandler的InputDirection内的坐标值(即转换好的虚拟摇杆的坐标值),再用animator.SetFloat传给unity内的Animator即可(记得在unity内的Animator设好变量,此处变量是xDir, yDir)
using System.Collections;
using UnityEngine;

public class PlayerMovement : MonoBehaviour {

    public float moveSpeed = 0.5f;
    public VJHandler jsMovement;

    Vector3 movement = new Vector3();
    Animator animator;
    Rigidbody2D rb2D;

    private void Start()
    {
        animator = GetComponent<Animator>();
        rb2D = GetComponent<Rigidbody2D>();
    }

    void Update()
    {
        UpdateState();
    }

    void FixedUpdate()
    {
        MoveCharacter();
    }

    private void MoveCharacter()
    {
        movement.x = jsMovement.InputDirection.x;
        movement.y = jsMovement.InputDirection.y;
        movement.Normalize();       //向量归一化
        rb2D.velocity = movement * moveSpeed;	//rg2D实现移动

    }

    private void UpdateState()
    {
        if(Mathf.Approximately(movement.x, 0) && Mathf.Approximately(movement.y, 0))
        {
            animator.SetBool("isWalking", false);
        }
        else
        {
            animator.SetBool("isWalking", true);
        }
        animator.SetFloat("xDir", movement.x);
        animator.SetFloat("yDir", movement.y);

    }
}
参考:https://blog.csdn.net/JianZuoGuang/article/details/88944777
