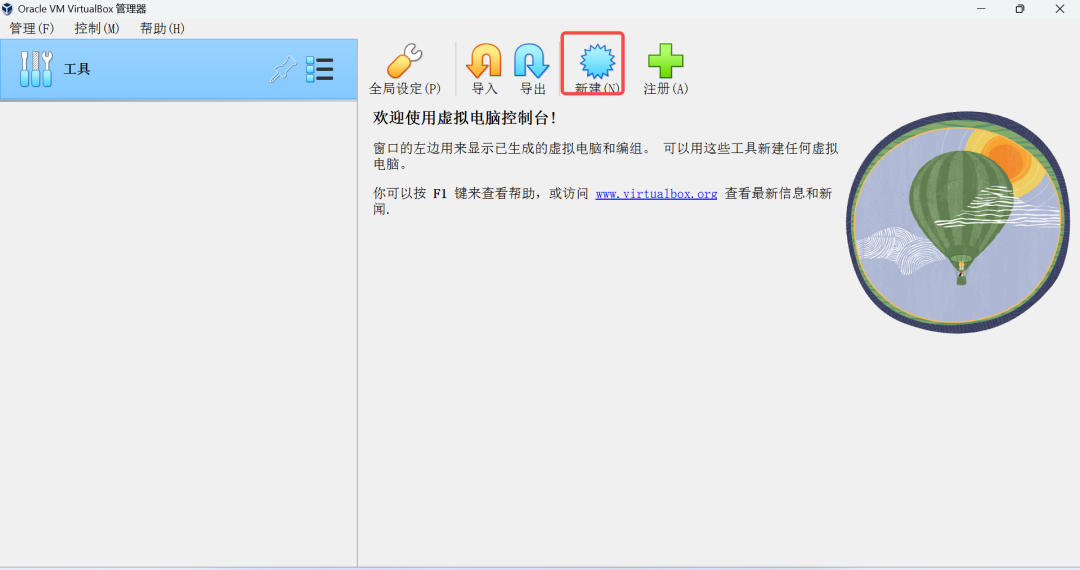
1.安装virtualbox
下载virtualbox
https://www.virtualbox.org/wiki/Downloads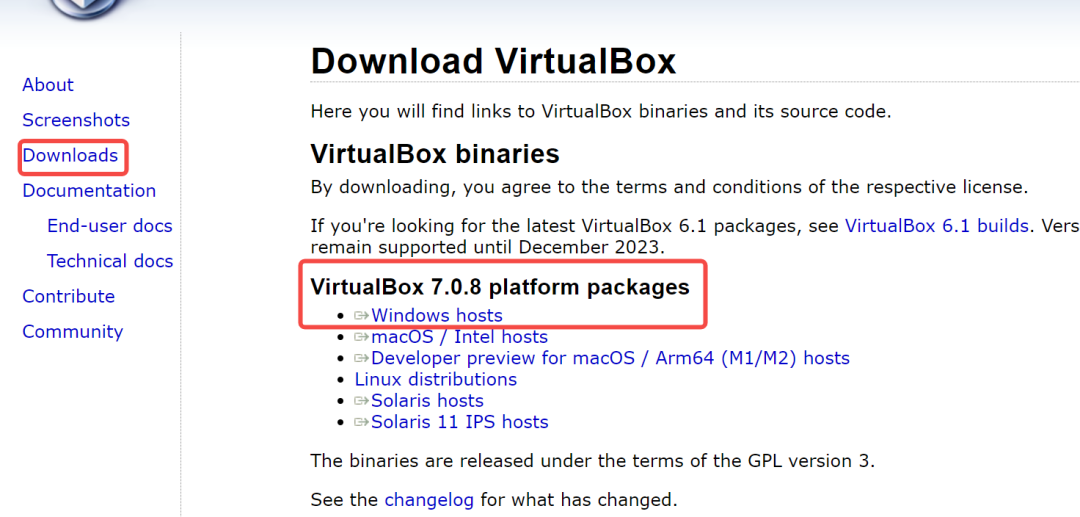
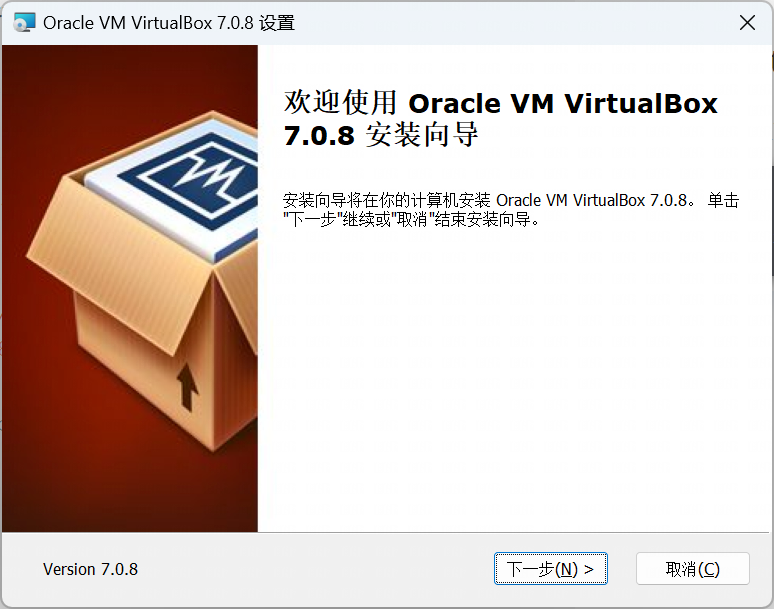
安装(windows)
双击VirtualBox-7.0.8-156879-Win.exe
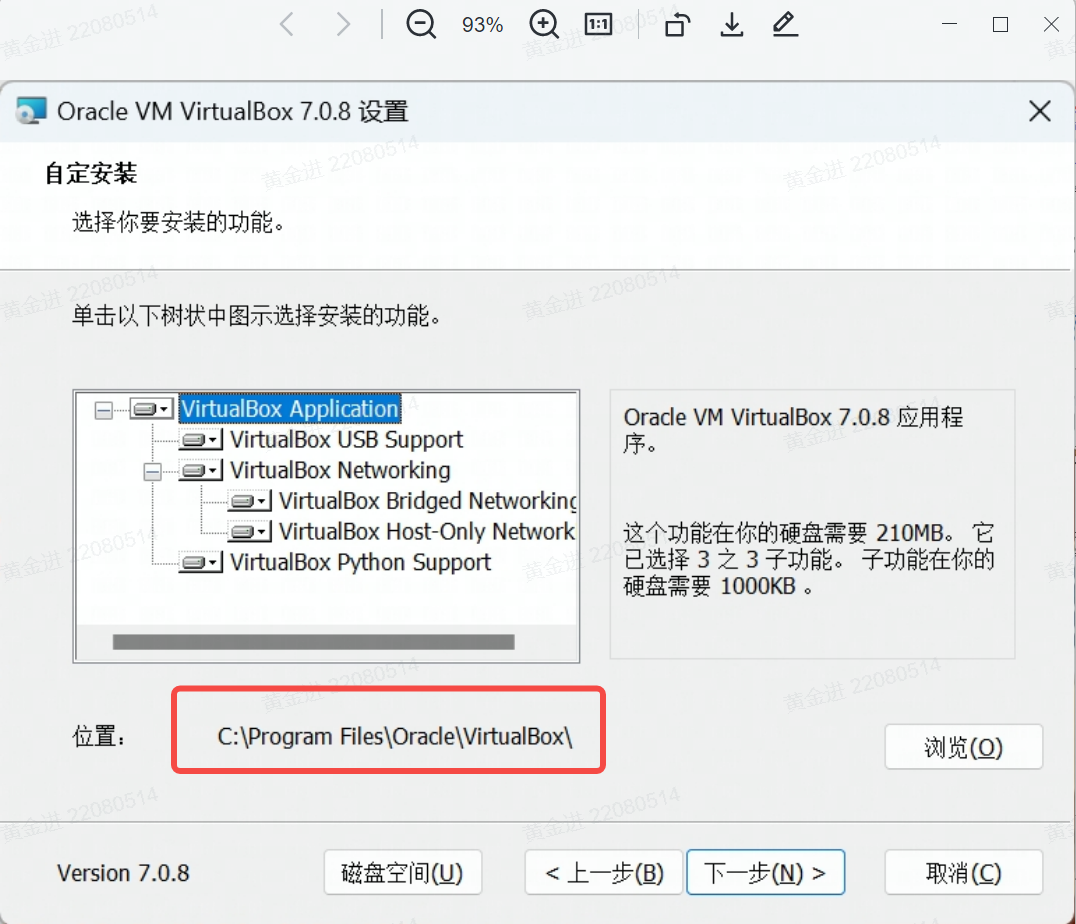
选择安装目录
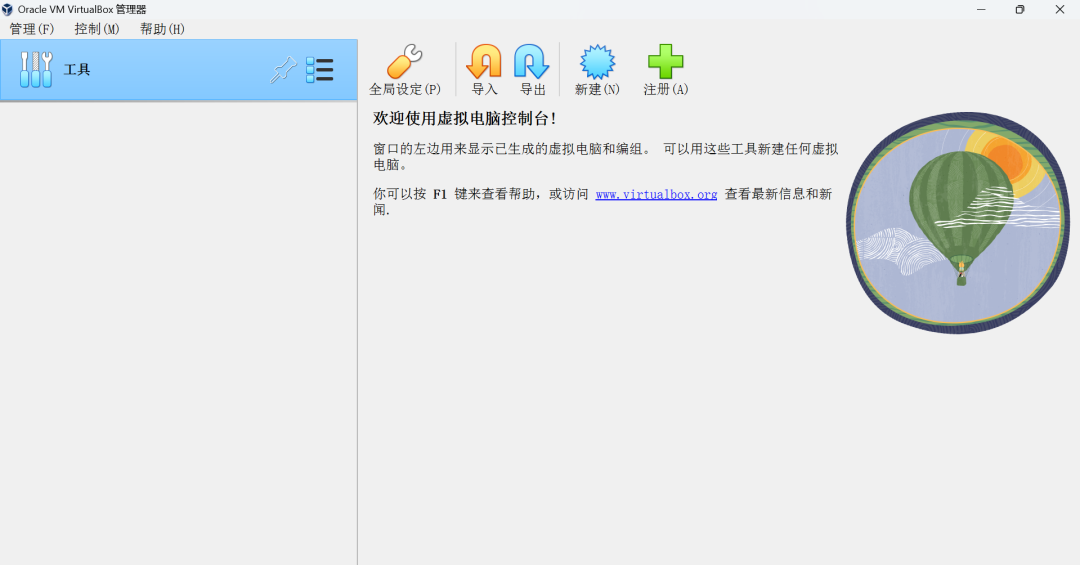
安装完成后,打开virtualbox
2.下载CentOS
下载CentOS-7-x86_64-DVD-2009.iso
http://isoredirect.centos.org/centos/7/isos/x86_64/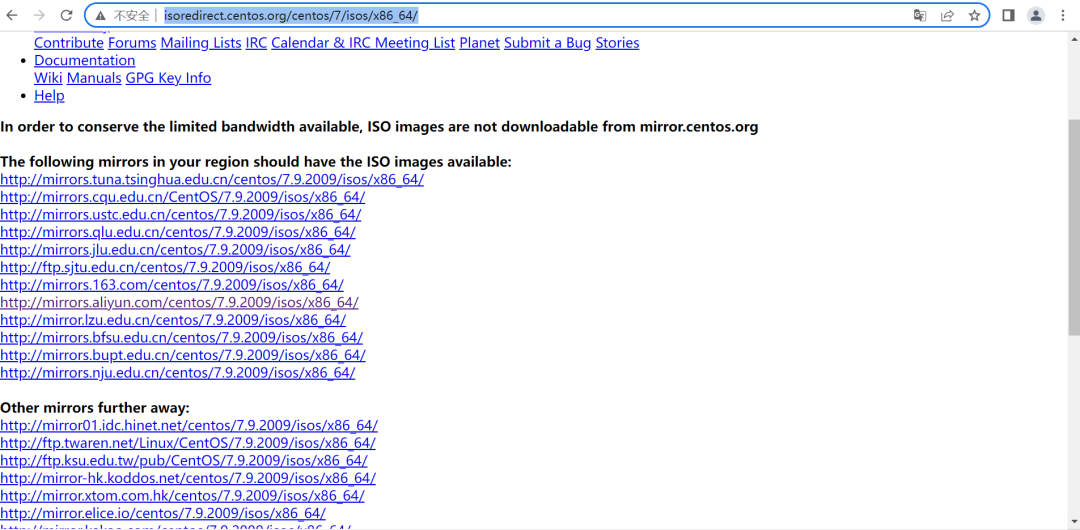
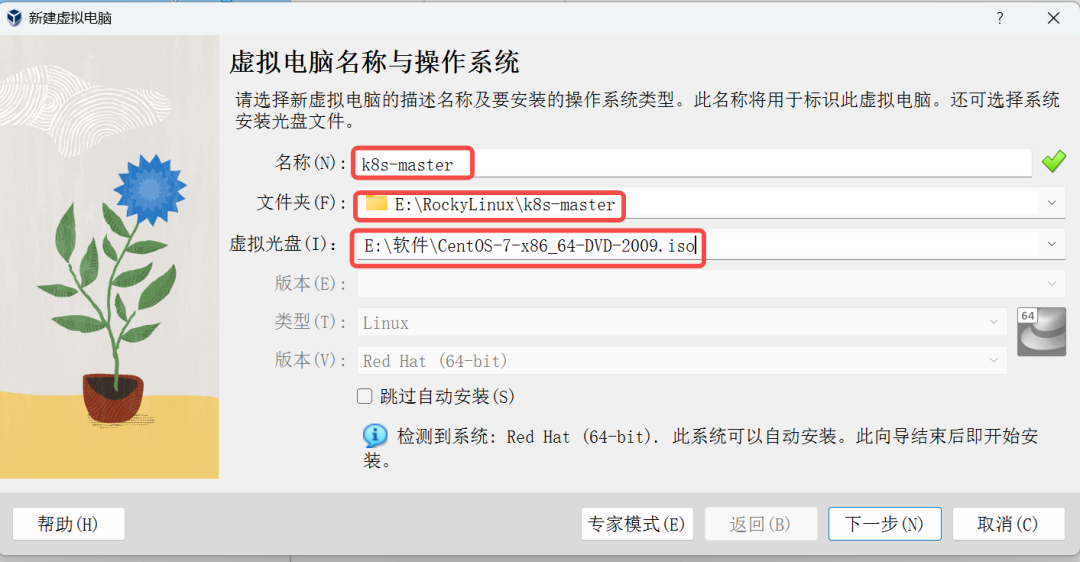
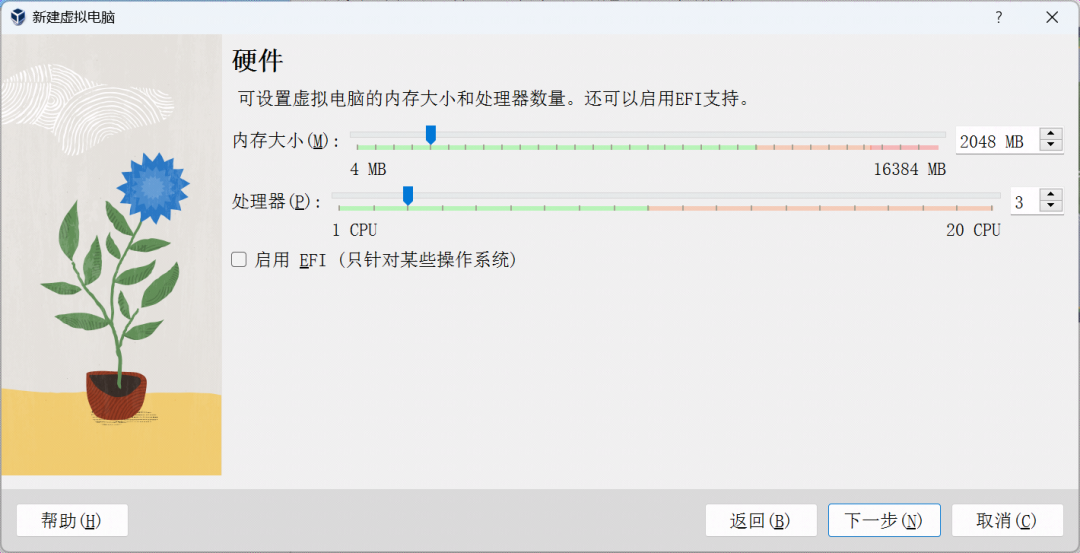
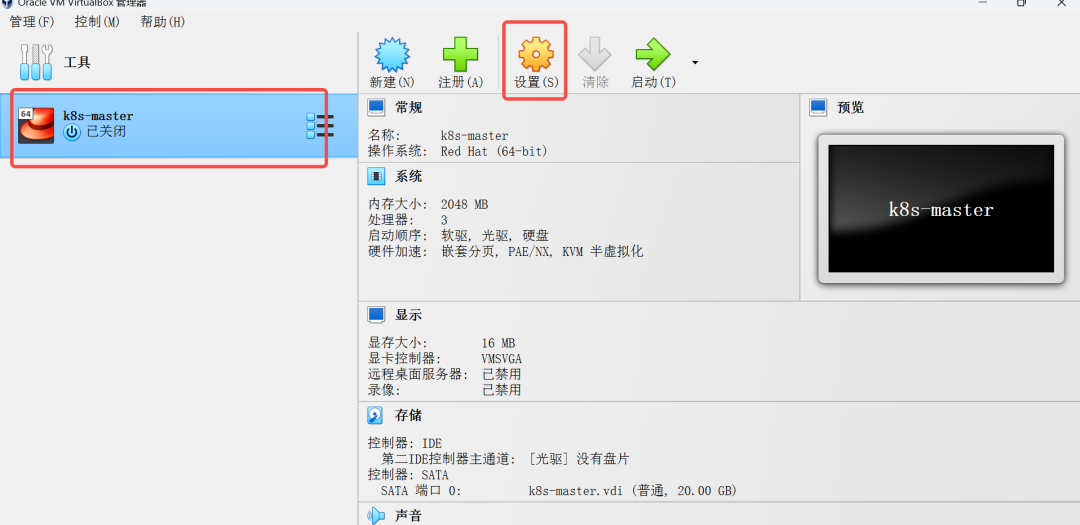
3.新建虚拟机
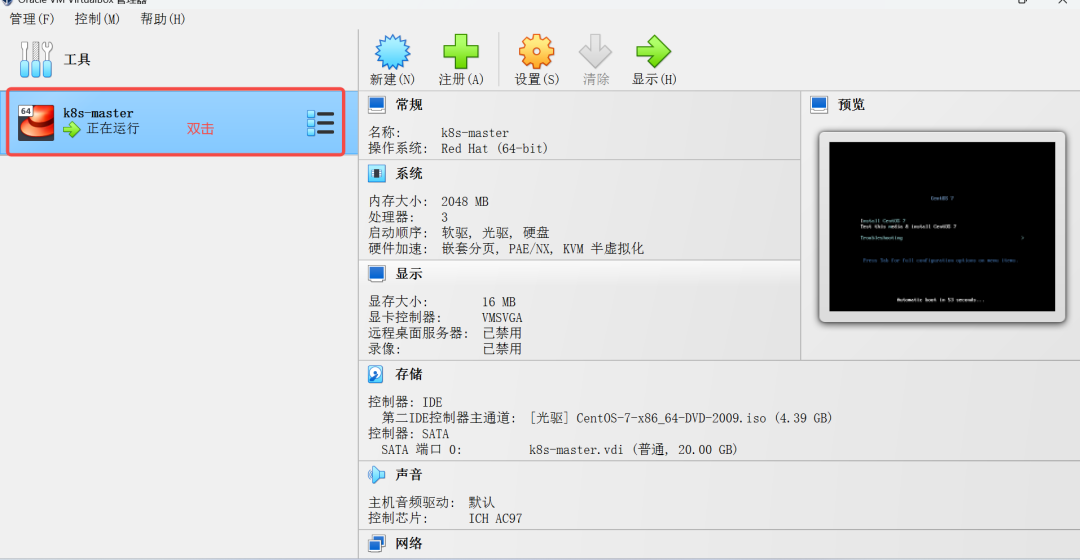
新建
命名、选择存放虚拟机的目录和现在CentOS操作系统的iso文件
分配内存大小和处理器个数(3个)
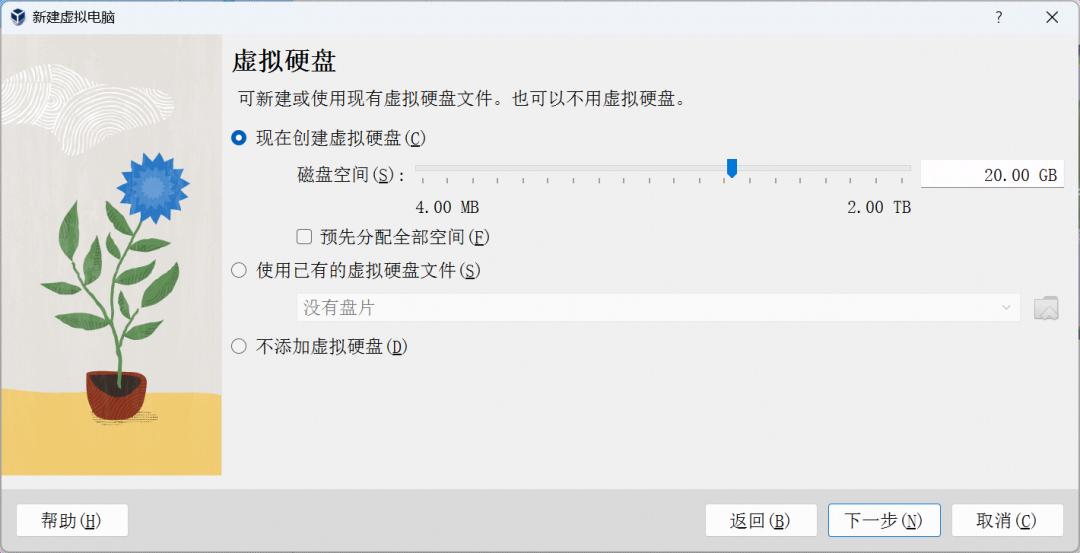
分配硬盘大小
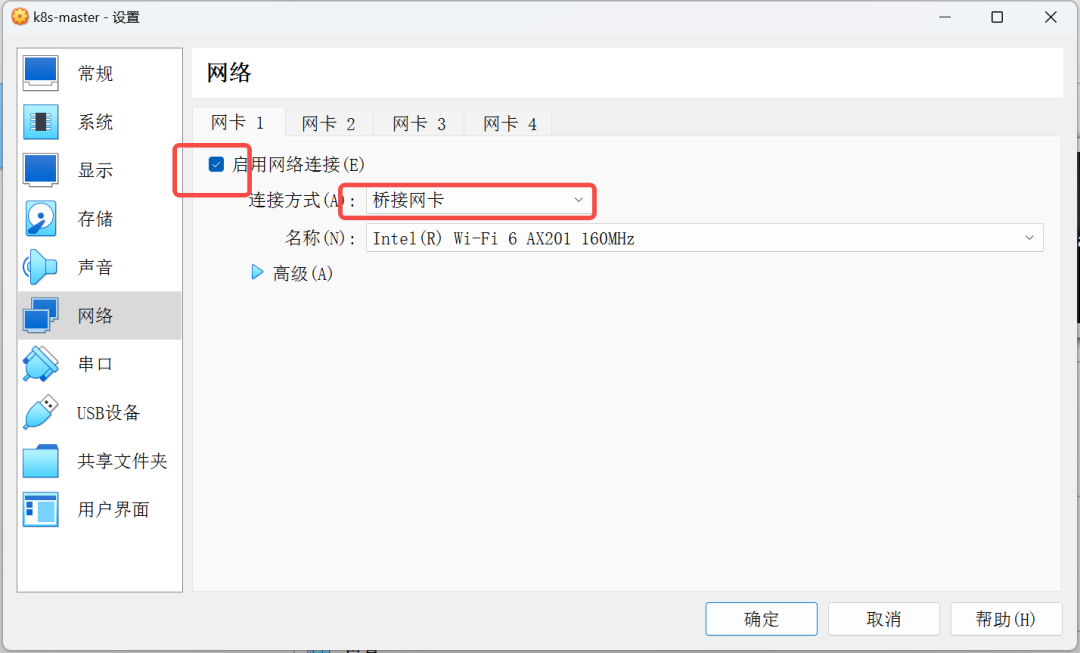
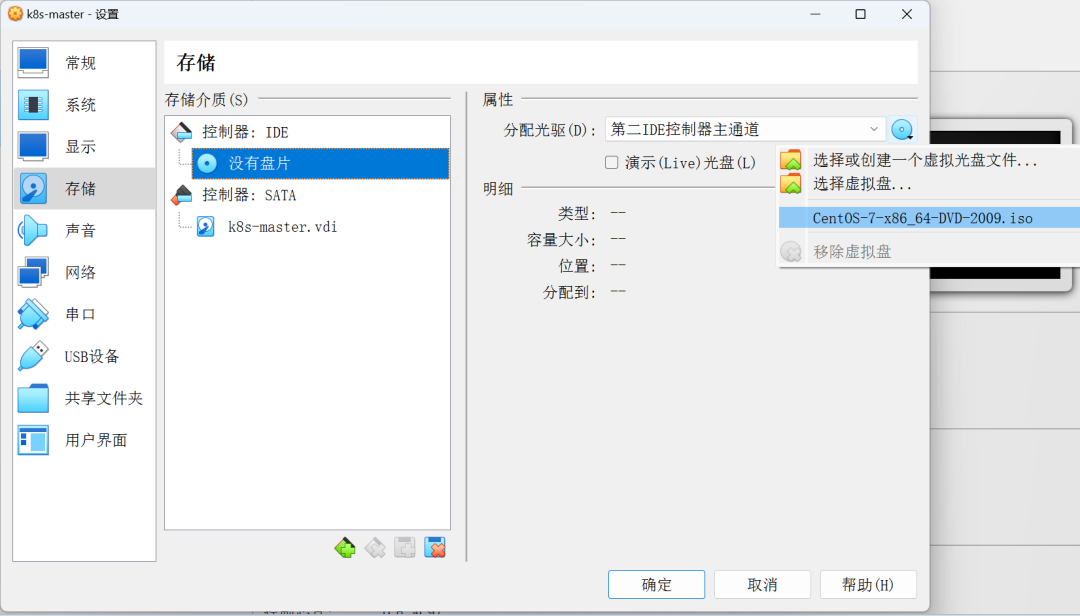
4.设置网络和操作系统
选择桥接网络
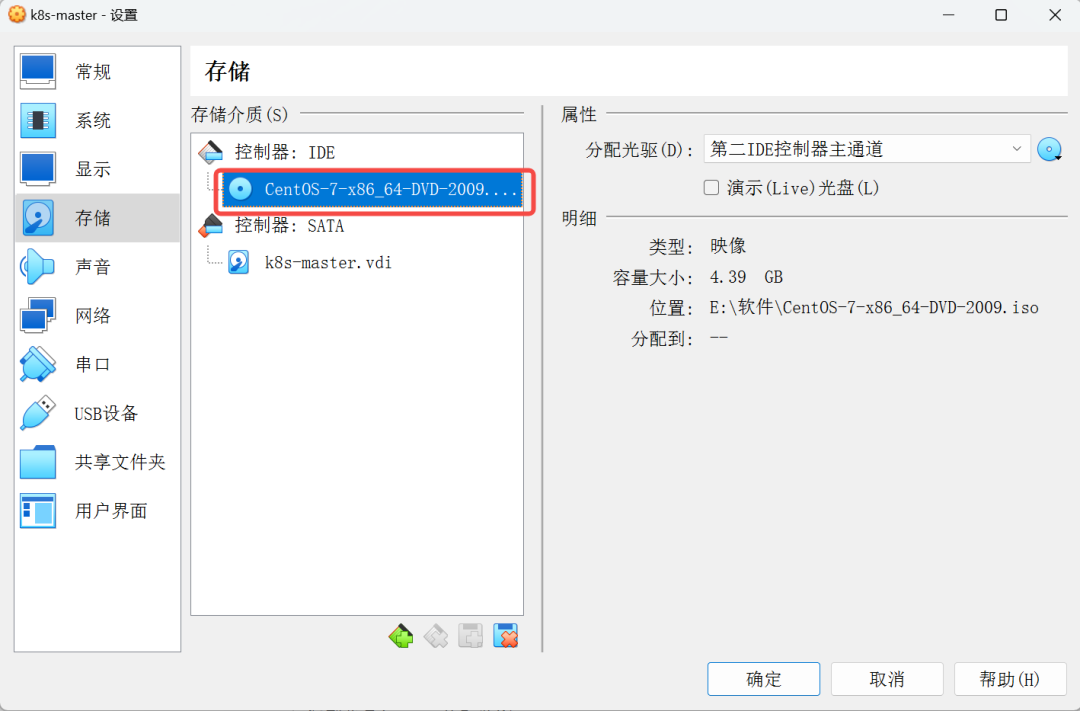
选择CentOS操作系统的iso文件
5.安装CentOS系统
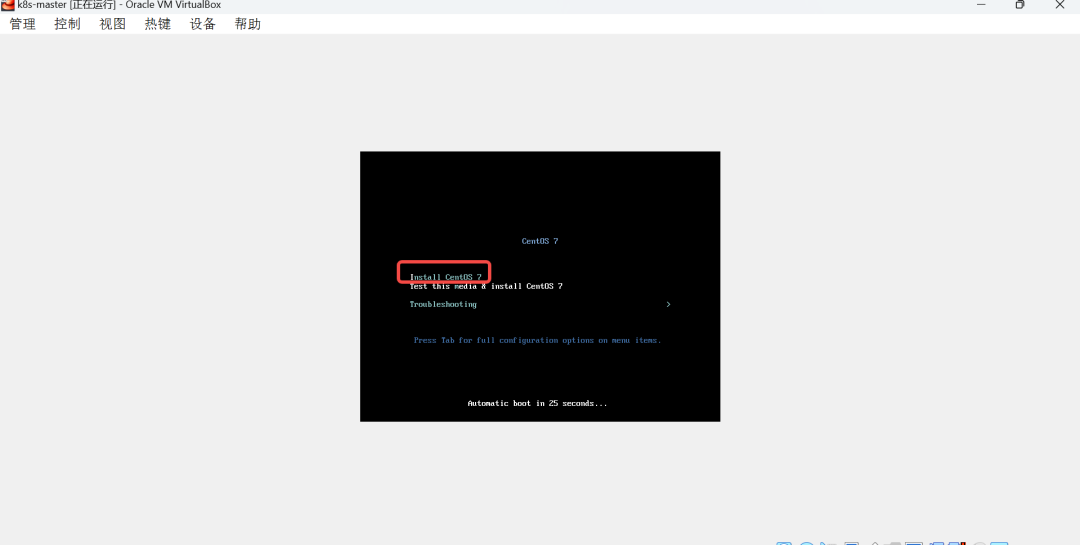
选择
Install CentOS 7
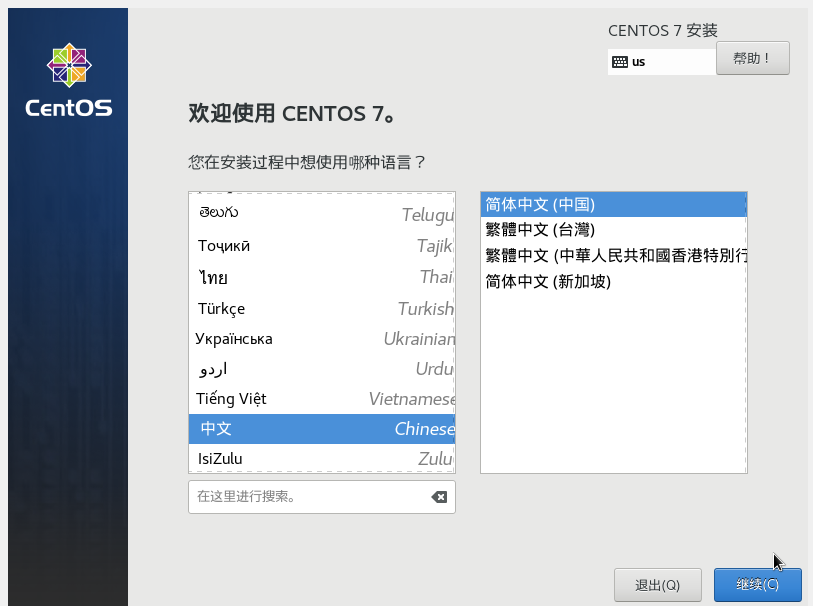
选择中文
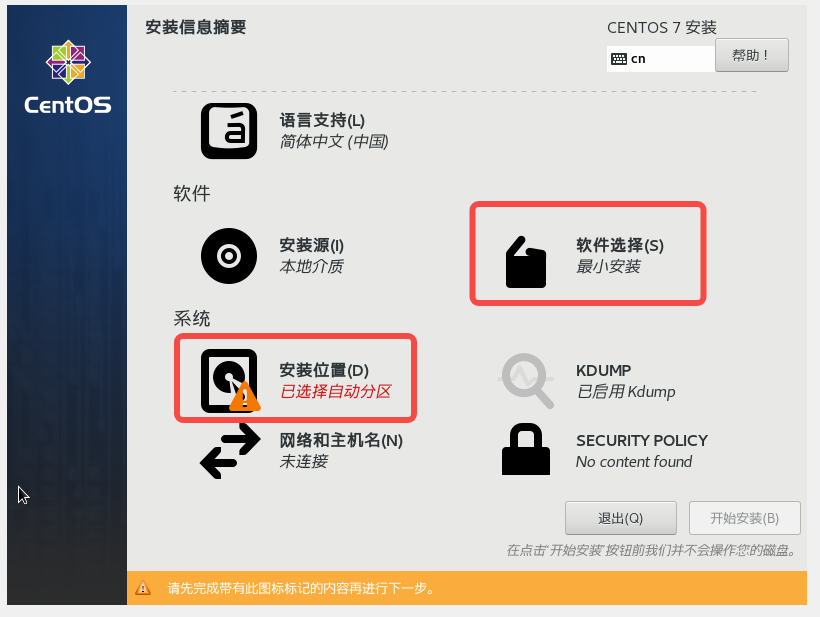
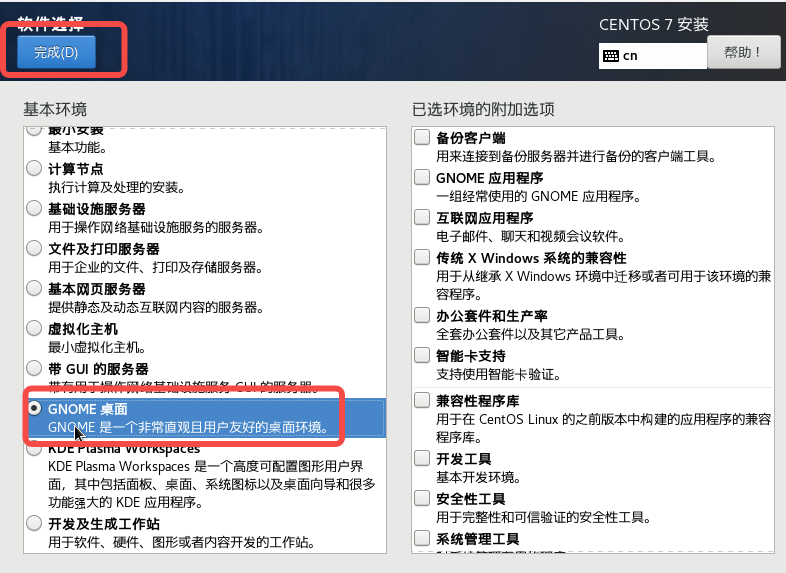
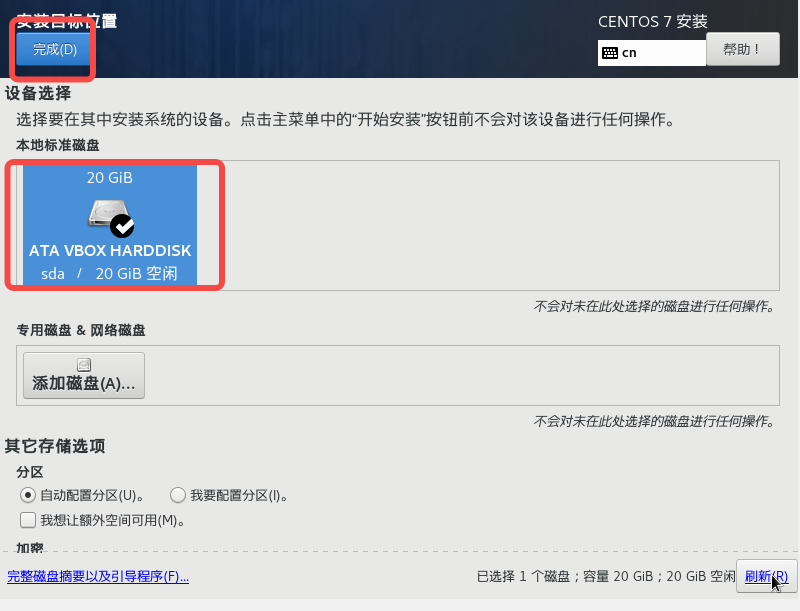
选择软件(s)和设置安装位置(D)
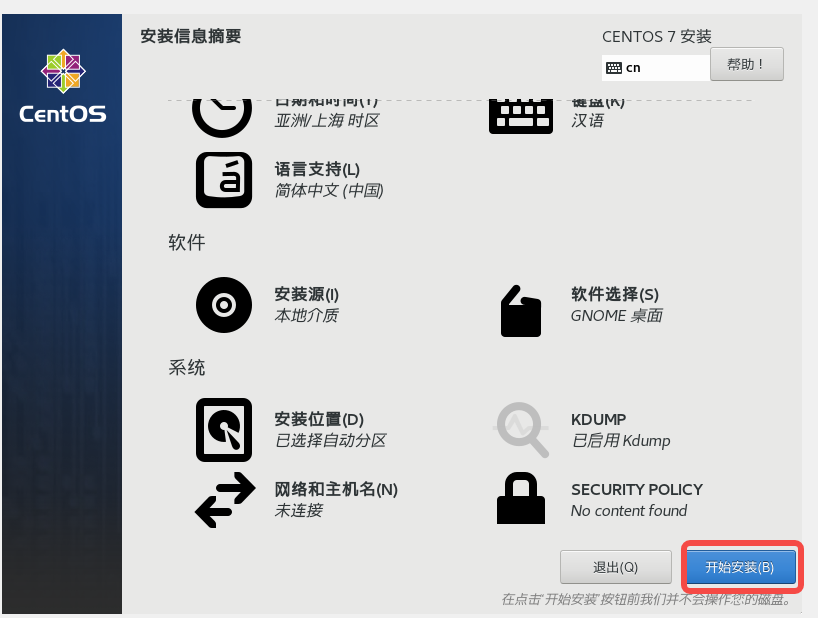
开始安装
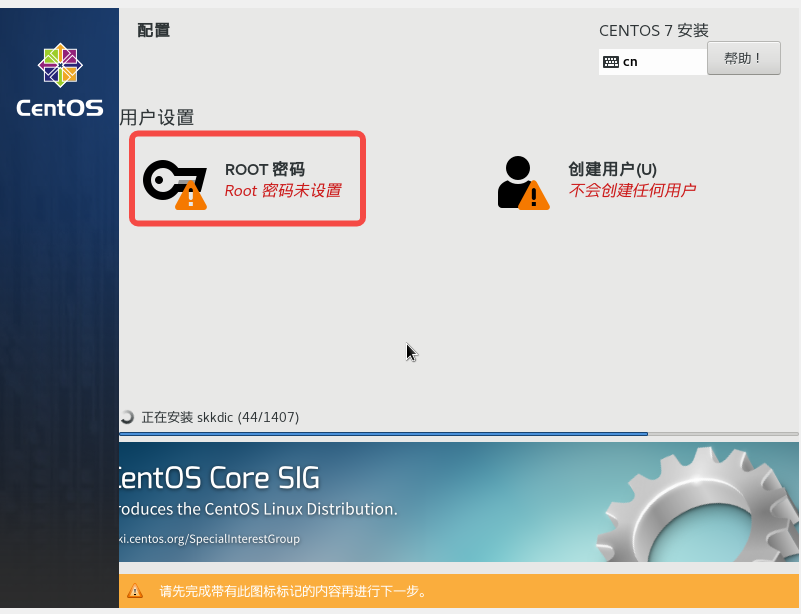
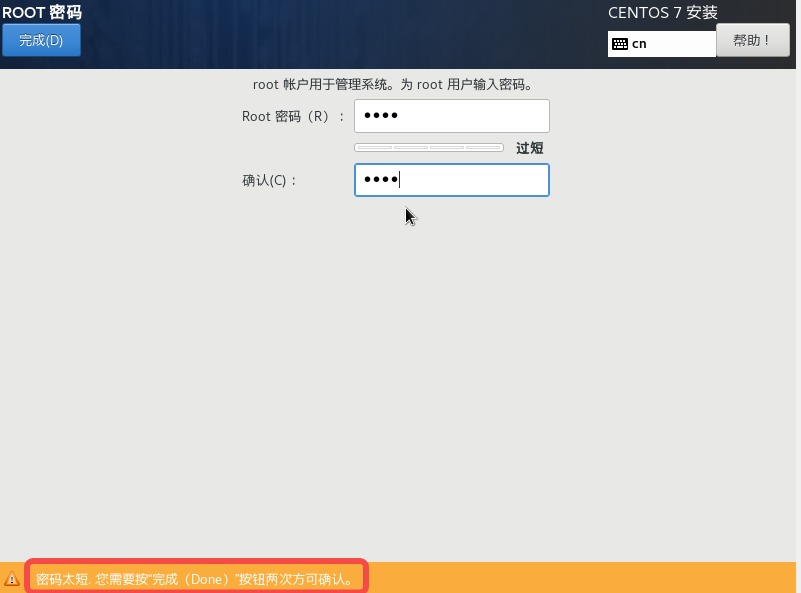
设置root用户密码
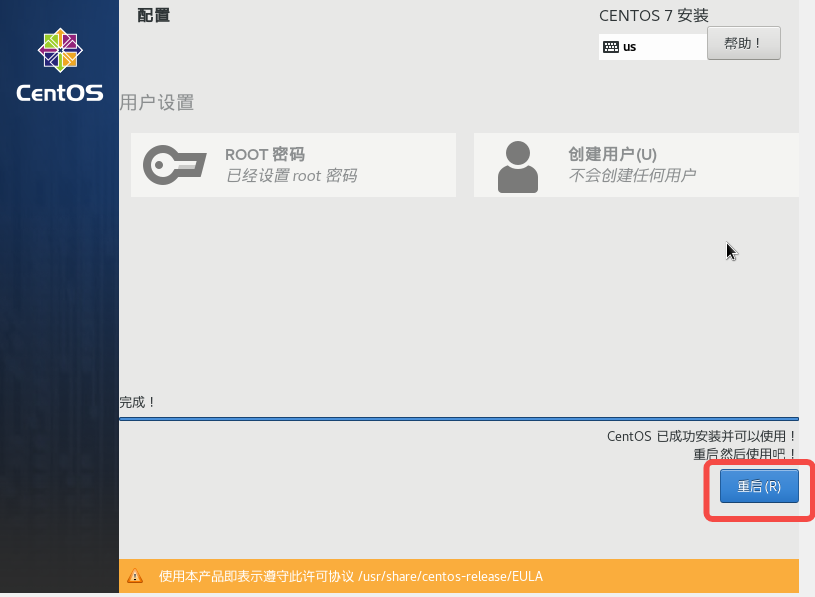
重启
6.配置CentOS
同意许可、配置网络和创建用户
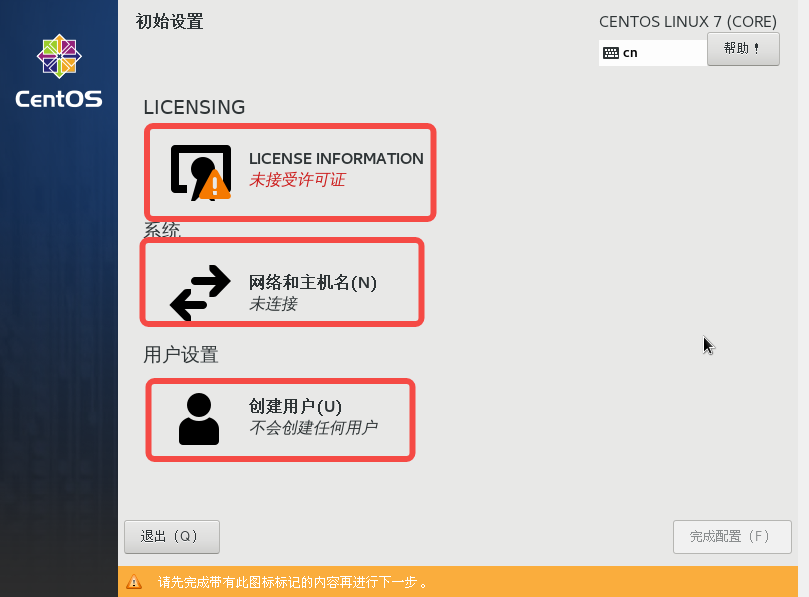
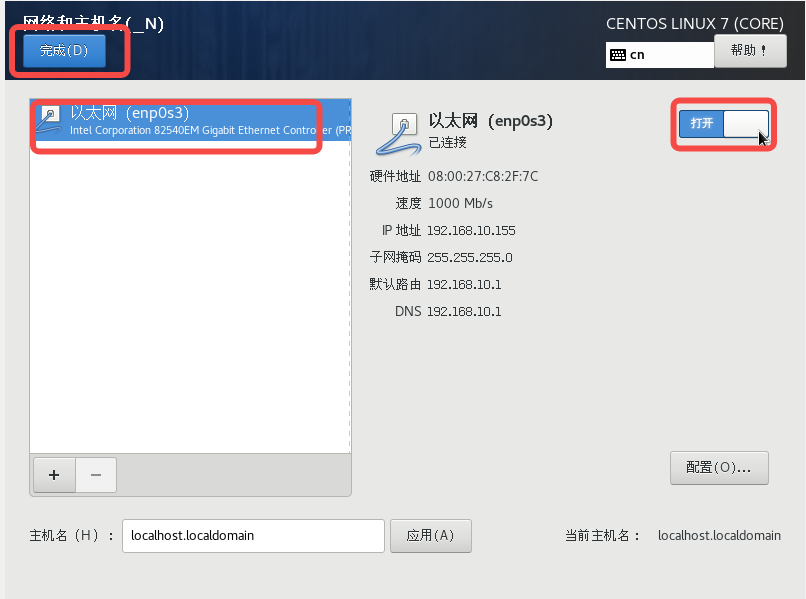
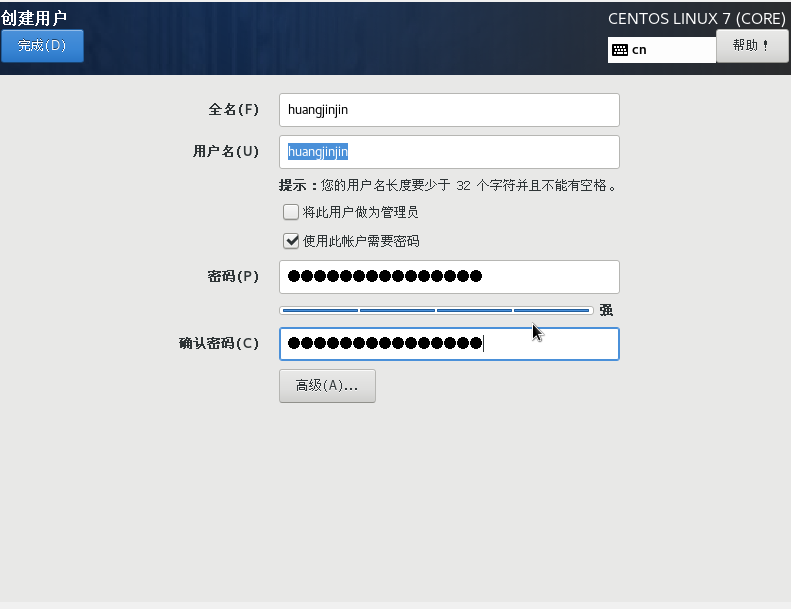
最后点击配置完成即可。
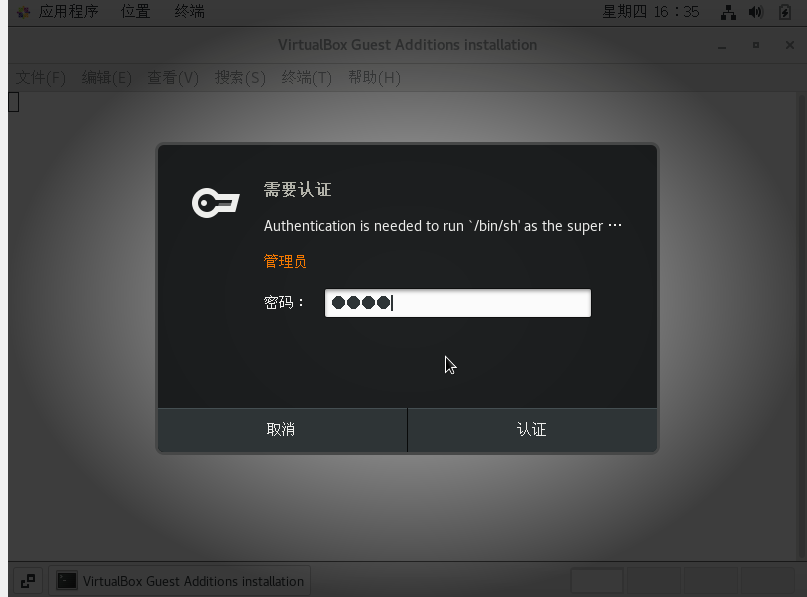
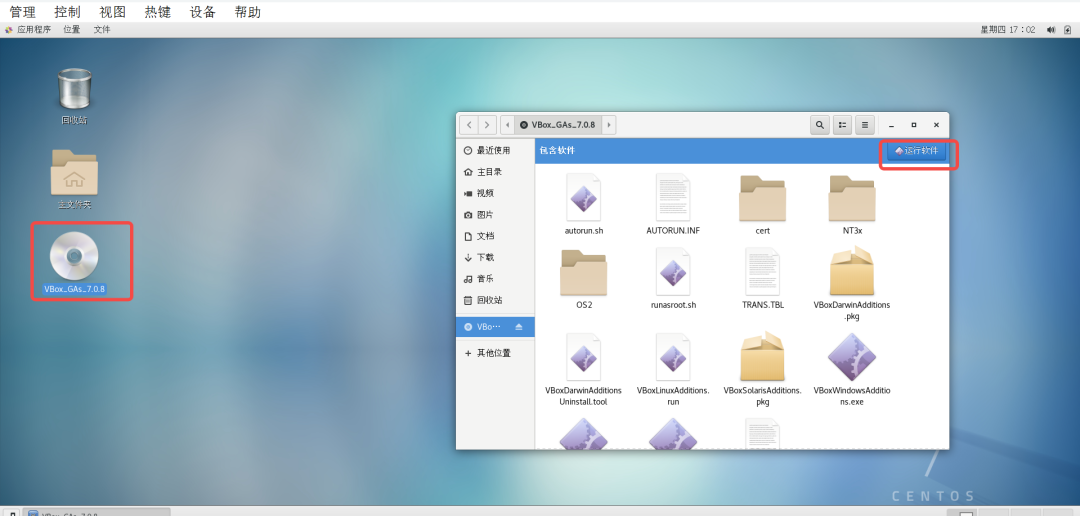
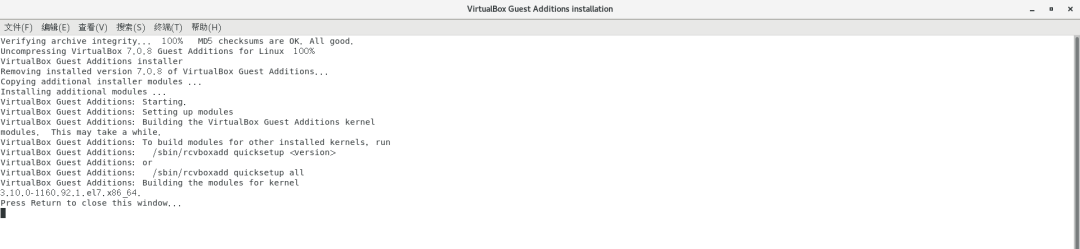
7.安装virtualbox扩展

点击运行,输入root用户密码
出现错误
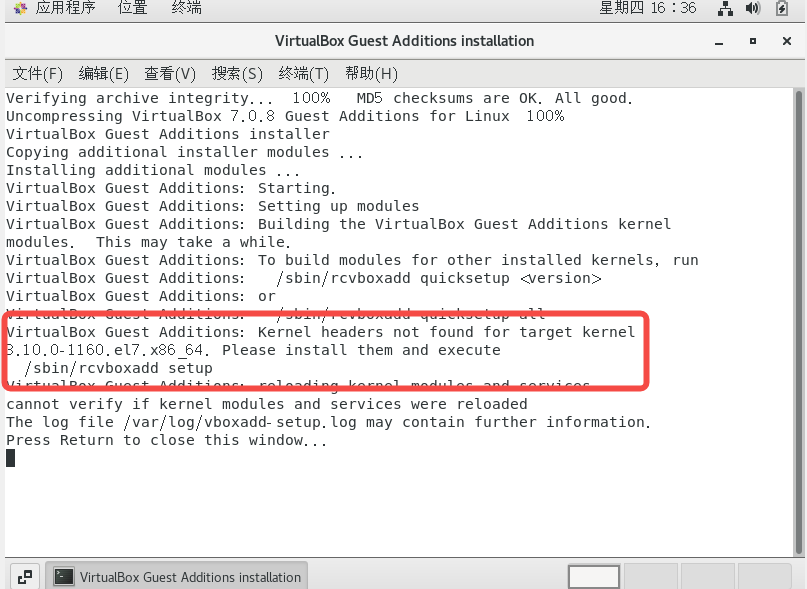
root用户执行一下命令
yum update kernel -y
yum install kernel-headers kernel-devel gcc make -y
reboot
双击再次安装virtualbox扩展
安装成功结果
重启,显示全屏
设置网络开启

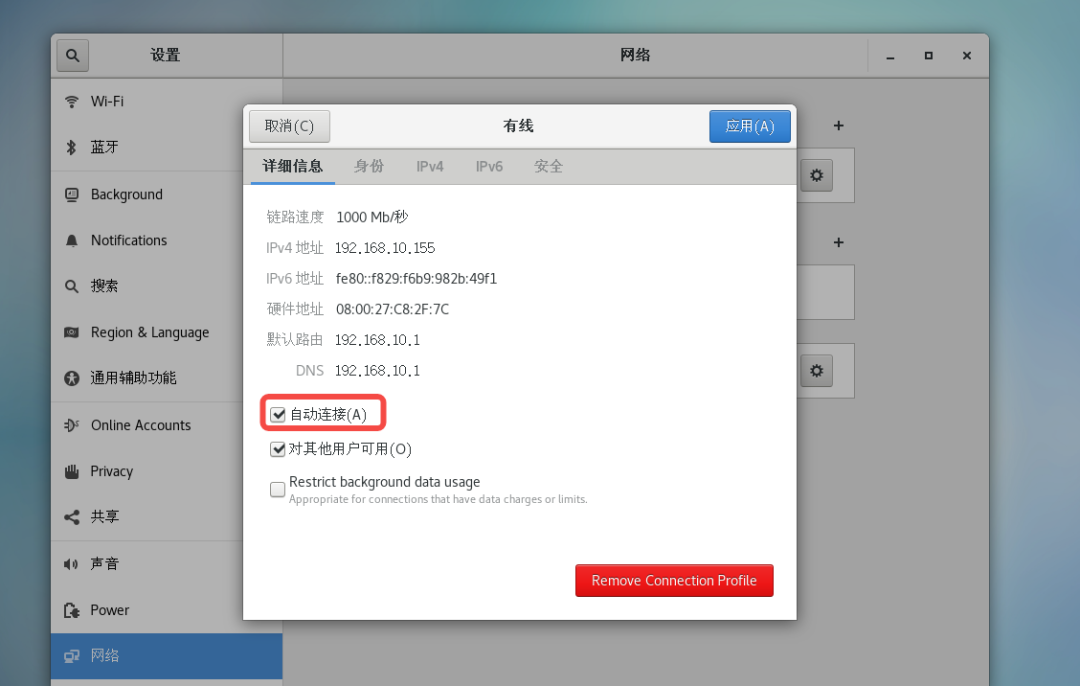
通过xshell即可远程连接

8.复制多台CentOS虚拟机
关闭CentOS操作系统后
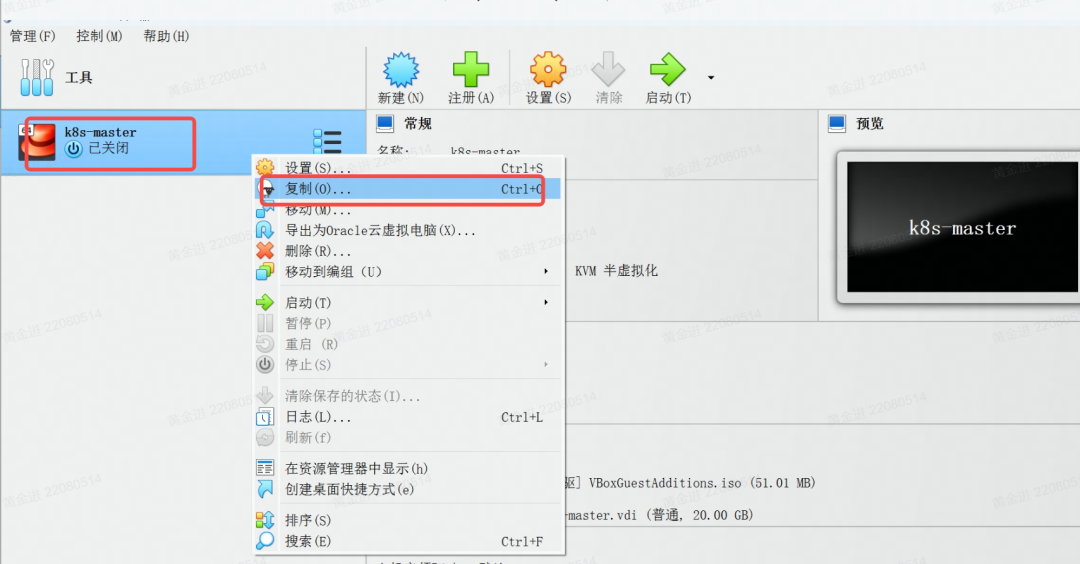
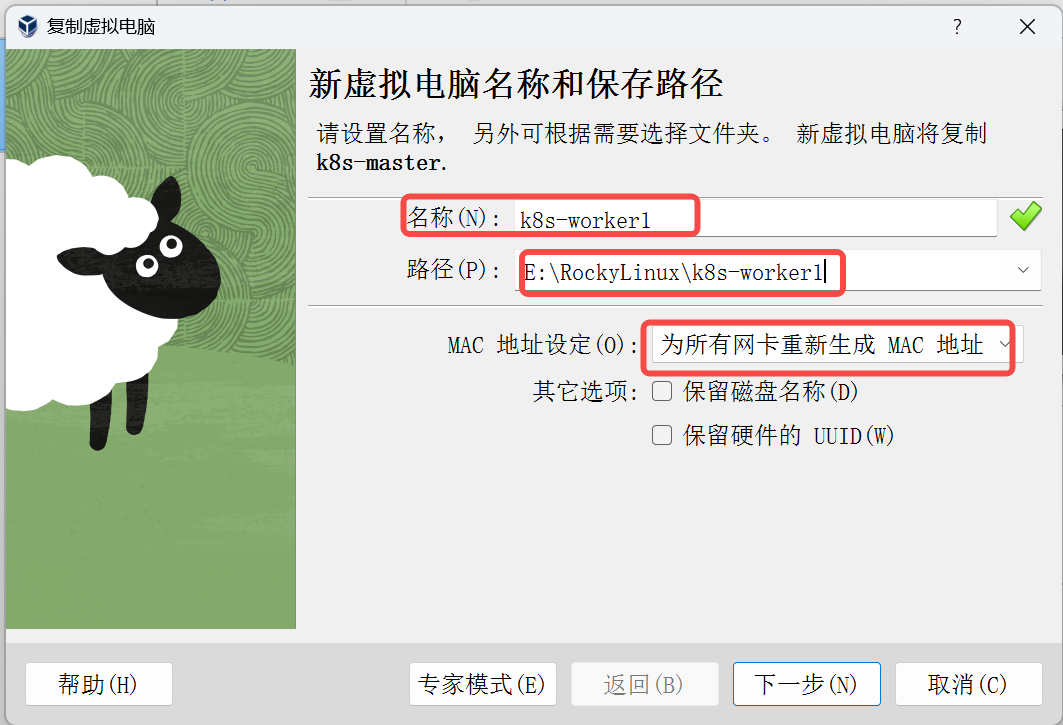
重新命名、选择路径、MAC地址设定
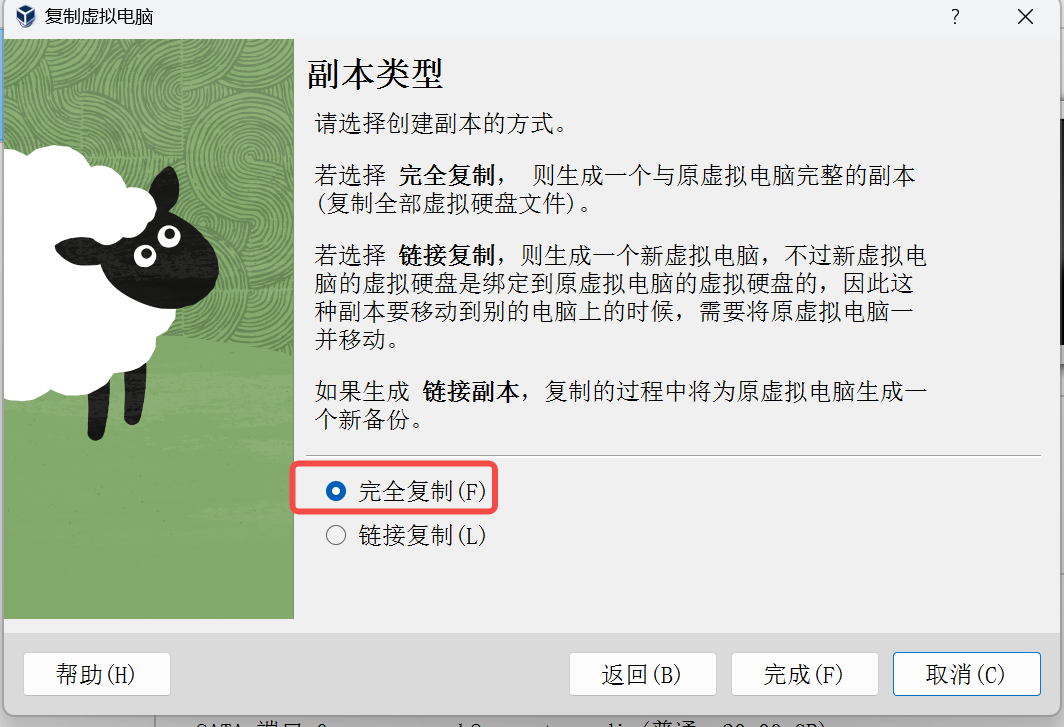
选择完全复制
分别复制k8s-worker1和k8s-workder2;启动后,使用ifconfig命令查出ip地址,同样可以使用xshell连接