首先把这一期的资源导入一下

创建一个球体类,继承于pawn类
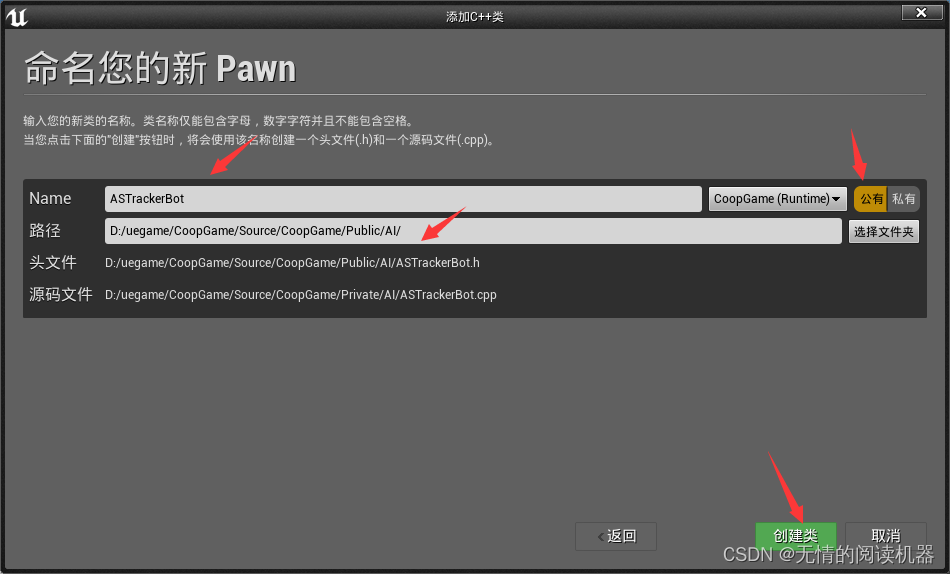 为其添加静态组件
	UPROPERTY(VisibleAnywhere, BlueprintReadOnly, Category = "Components")
	class UStaticMeshComponent * MeshComponent;

==================================================================
#include "Components/StaticMeshComponent.h"

MeshComponent = CreateDefaultSubobject<UStaticMeshComponent>(TEXT("MeshComponent"));
RootComponent = MeshComponent;
编译,为其创建蓝图类
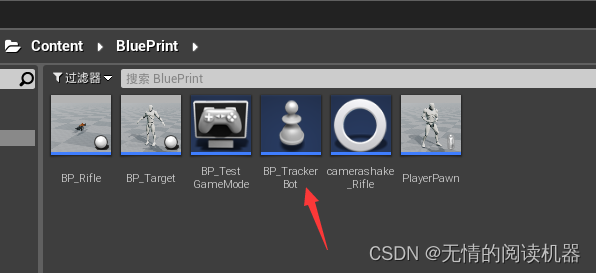
为其组件设为一个球体

拖到场景中,发现太大了

我们为其创建一个小球网格体模型
首先创建一个文件夹
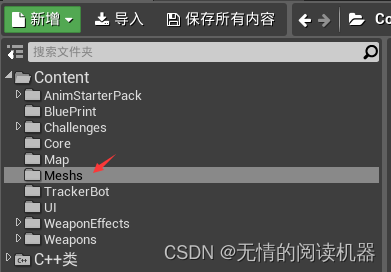
我们把这个小球网格体复制到我们这个文件夹下面

重命名一下这个网格体

进入这个网格体,修改一下比例

在类中换上这个网格体
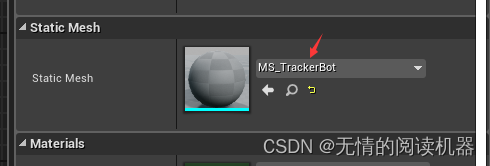
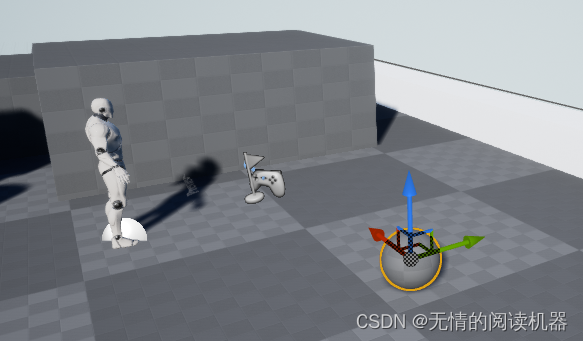
shift+end让其紧贴地面
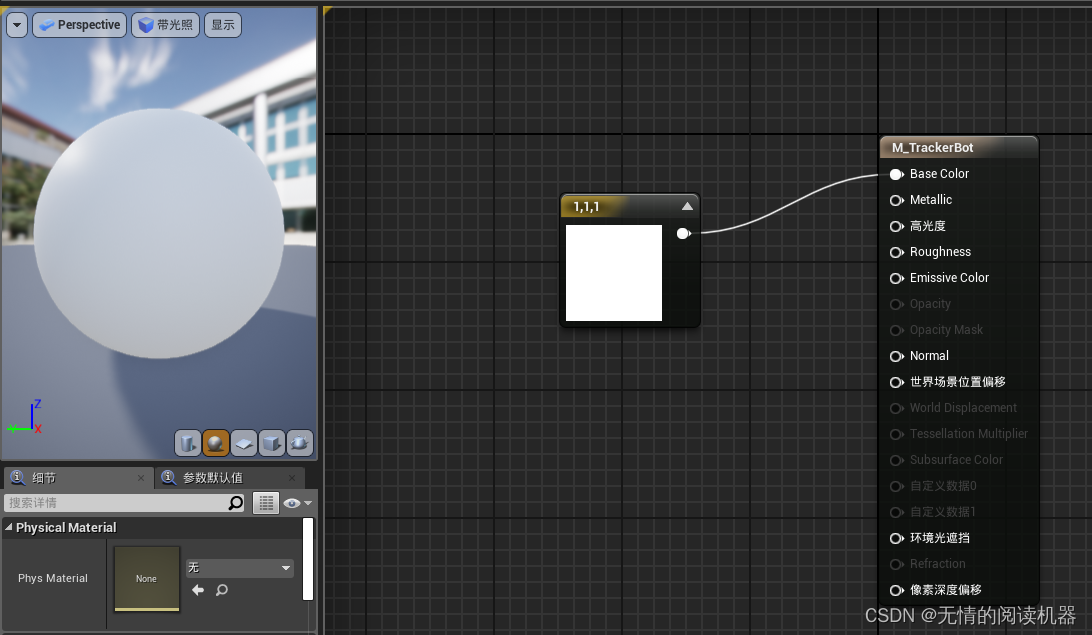
然后创建材质文件

先将材质设为白色
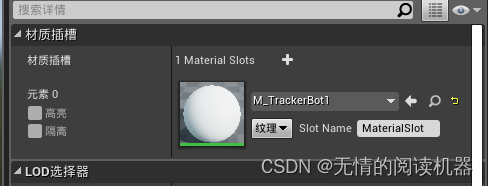
 在网格体中赋予材质
把导航体拖入场景中
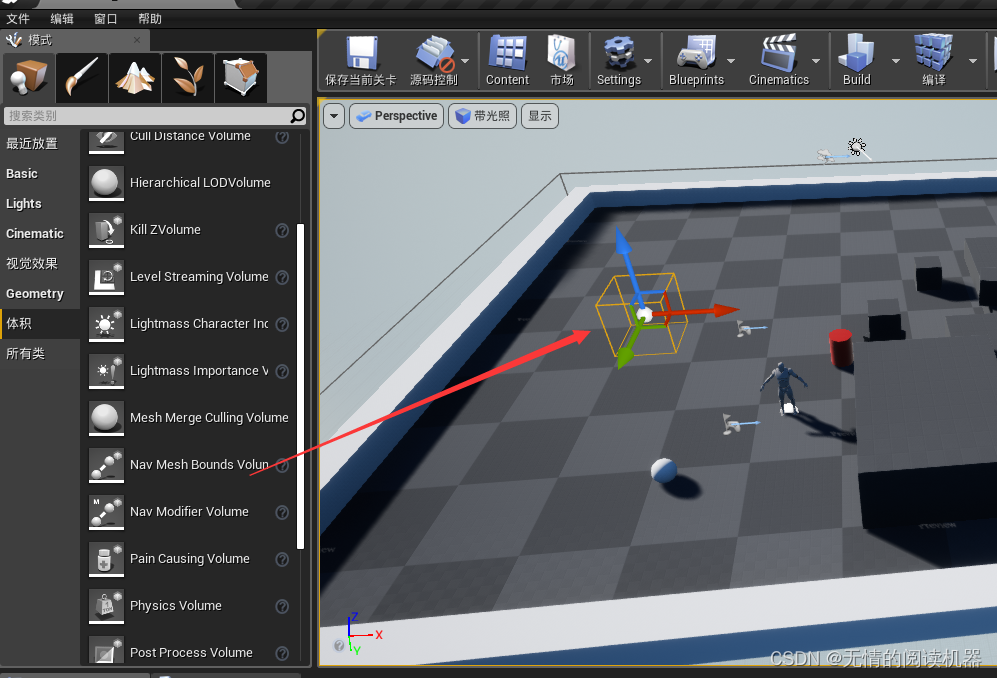 然后我们拉大体积,让其覆盖整个地面
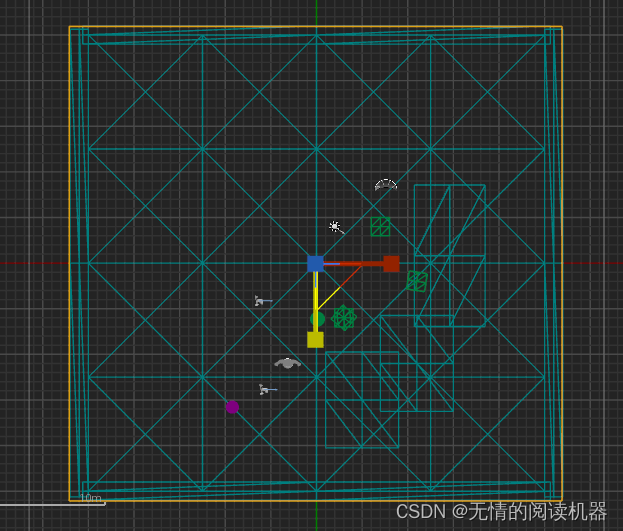
然后让其嵌入到地板底下

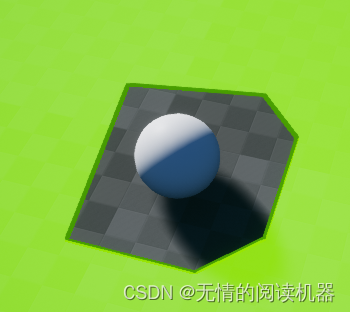
按一下p,就可以显示导航的范围
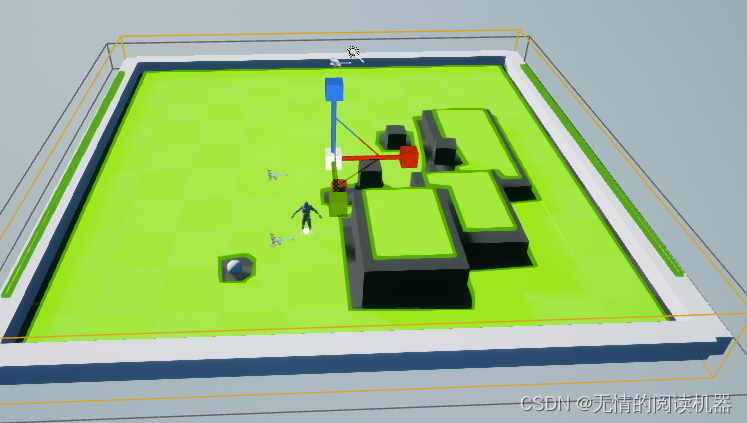
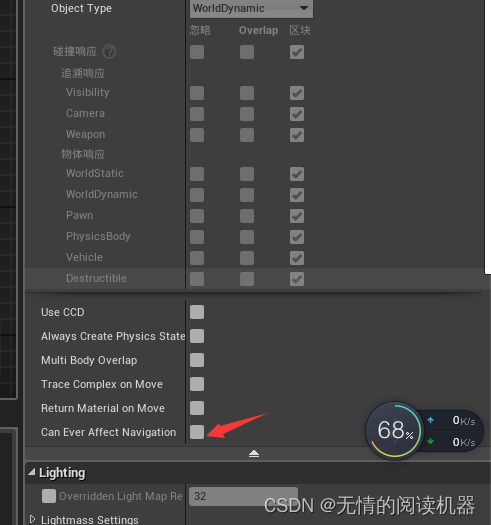
我们可以看到,球体本身也会影响导航
小球mesh组件里面,去掉这个勾
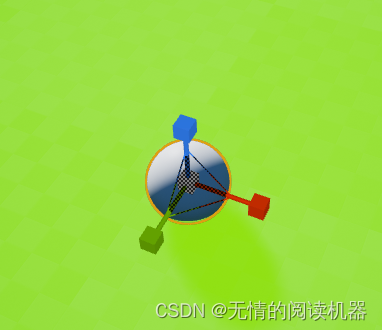
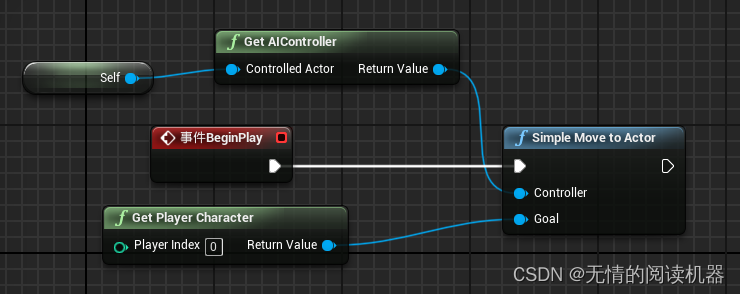
我们为这个小球,写蓝图
 然后为我们的小球随便添加一个移动组件

编译,测试,小球开局真的动了
现在我们将移动逻辑写的更复杂一点
将移动速度变小,发现小球一直在我们屁股后面追

====================================
我们继续提高逻辑,让其自动添加路径
首先自定义事件

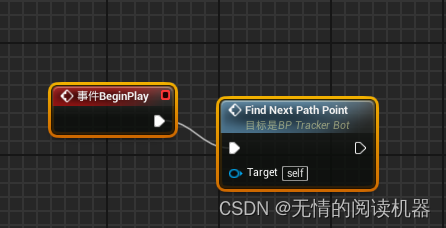
测试,已经画出了路径点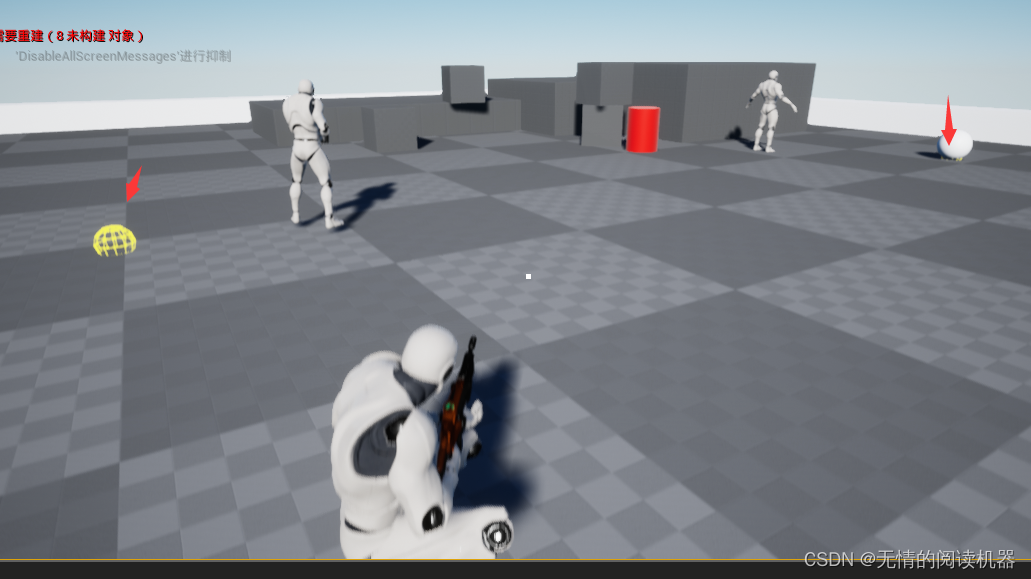
在c++文件中加上这个
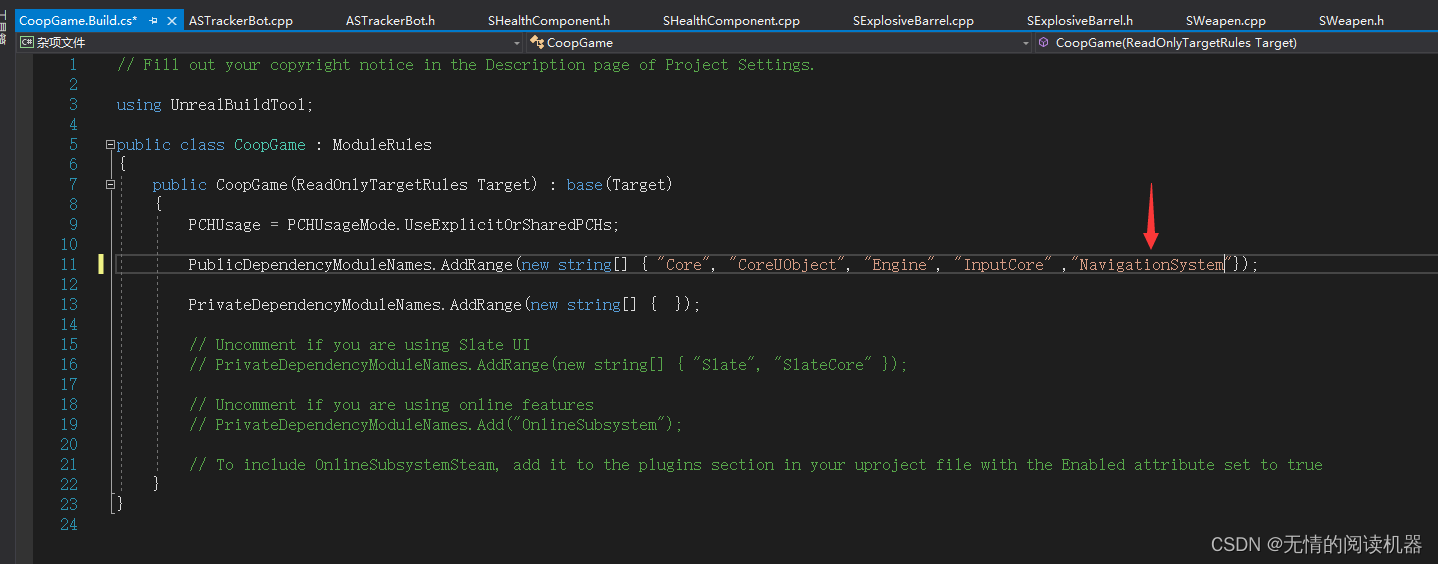
在小球头文件中,添加三个变量
	//移动速度
	UPROPERTY(EditDefaultsOnly, Category = "TracerBot")
	float MovementForce;

	//是否让移动速度改变
	UPROPERTY(EditDefaultsOnly, Category = "TracerBot")
	bool bUseVelocityChange;

	//移动到目标的阈值
	UPROPERTY(EditDefaultsOnly, Category = "TracerBot")
	float RequiredDistanceToTarget;
在构造函数中初始化这三个变量,并将mesh组件的模拟物理激活
AASTrackerBot::AASTrackerBot()
{
 	// Set this pawn to call Tick() every frame.  You can turn this off to improve performance if you don't need it.
	PrimaryActorTick.bCanEverTick = true;
	MeshComponent = CreateDefaultSubobject<UStaticMeshComponent>(TEXT("MeshComponent"));
	MeshComponent->SetSimulatePhysics(true);
	RootComponent = MeshComponent;

	MovementForce = 1000;
	bUseVelocityChange = false;
	RequiredDistanceToTarget = 100;
}
在小球的头文件中,添加寻找路径点的函数,和路径点变量
FVector GetNextPathPoint();
	//路径点
	FVector NextPathPoint;
#include "Components/StaticMeshComponent.h"
#include "GameFramework/Character.h"
#include"Kismet/GamePlayStatics.h"
#include "NavigationSystem.h"
#include "NavigationPath.h"
#include "DrawDebugHelpers.h"定义这个函数
FVector AASTrackerBot::GetNextPathPoint()
{
	//得到0号玩家
	ACharacter *playerPawn = UGameplayStatics::GetPlayerCharacter(this, 0);
	//找到通往玩家的路径
	UNavigationPath *NavPath = UNavigationSystemV1::FindPathToActorSynchronously(this, GetActorLocation(), playerPawn);
	if (NavPath->PathPoints.Num() > 1)
	{
		//返回第二个点
		return NavPath->PathPoints[1];
	}
	else
	{
		return GetActorLocation();
	}
}
在游戏开始函数中,调用这个函数
void AASTrackerBot::BeginPlay()
{
	Super::BeginPlay();
	NextPathPoint = GetNextPathPoint();
}
在每帧函数里,不断得去移动
void AASTrackerBot::Tick(float DeltaTime)
{
	Super::Tick(DeltaTime);
	//得到小球自身与下一个点的距离
	float DistanceToTarget = (NextPathPoint - GetActorLocation()).Size();
	//如果大于阈值,就继续滚
	if (DistanceToTarget > RequiredDistanceToTarget)
	{
		//小球的移动方向
		FVector ForceDirection = NextPathPoint - GetActorLocation();
		ForceDirection.Normalize();
		//小球的推力
		ForceDirection *= MovementForce;
		MeshComponent->ComponentVelocity.Size();
		MeshComponent->AddImpulse(ForceDirection, NAME_None, bUseVelocityChange);
		DrawDebugDirectionalArrow(GetWorld(), GetActorLocation(), GetActorLocation() + ForceDirection, 32, FColor::Red, false, 0.0f, 0, 1.0f);
	}
	//如果到达了路径点,就生成下一个点,继续移动
	else
	{
		NextPathPoint = GetNextPathPoint();
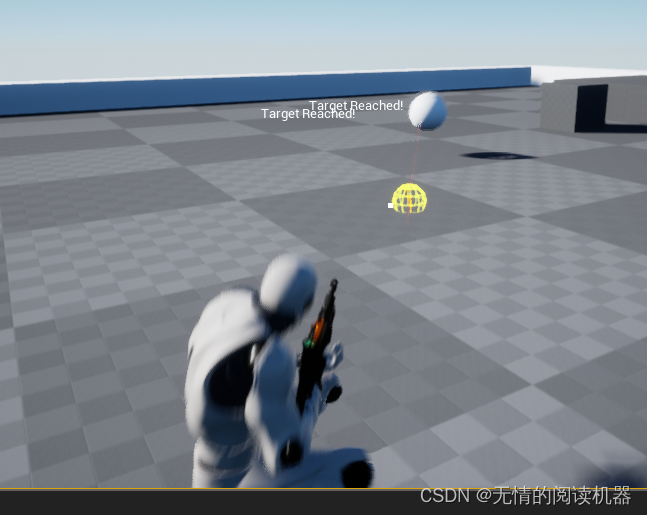
		DrawDebugString(GetWorld(), GetActorLocation(), "Target Reached!");
	}
	//在下一个目标点画一个球
	DrawDebugSphere(GetWorld(), NextPathPoint, 20, 12, FColor::Yellow, false, 0.0f, 0, 1.0f);

}
编译,然后在小球的mesh组件里面,勾上模拟物理
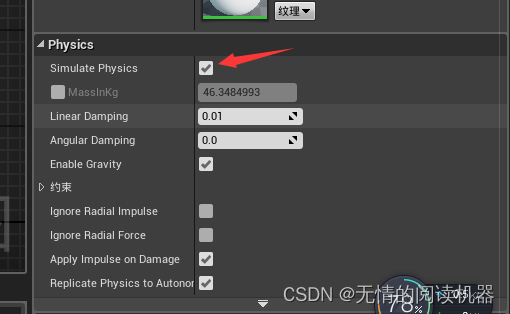
测试成功
