导入blender3D模型可以看上篇libgdx导入blender模型
本篇3D动画在上篇的基础上。
具体参考官网 3D 动画和蒙皮
blender动画参考 八个案例教程带你从0到1入门blender【已完结】
打开上次的blender的,选则物体属性
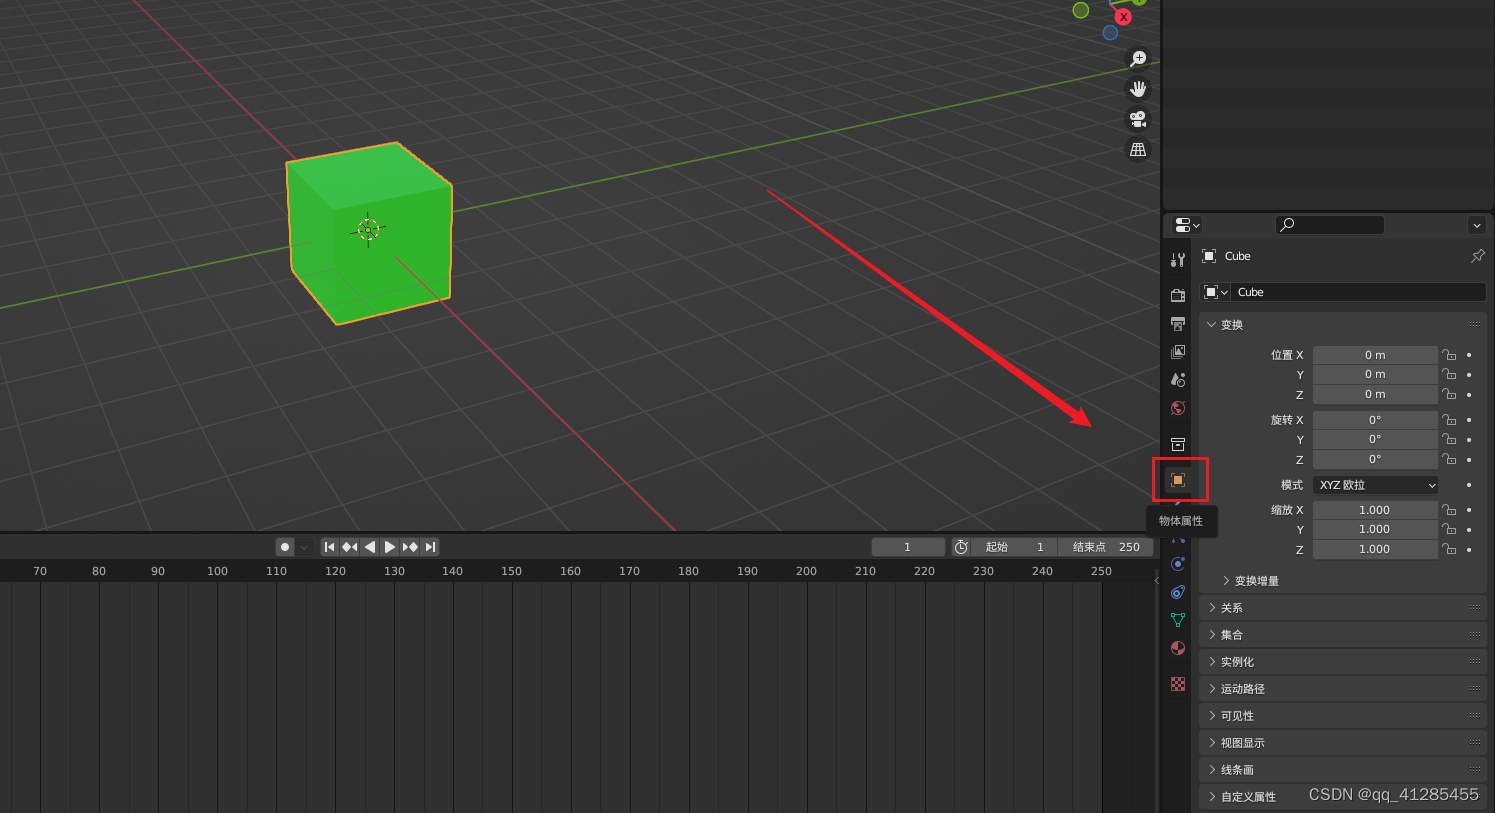
点击位置和旋转x,y,z后面的小点,确定初始x,y,z位置,和初始角度
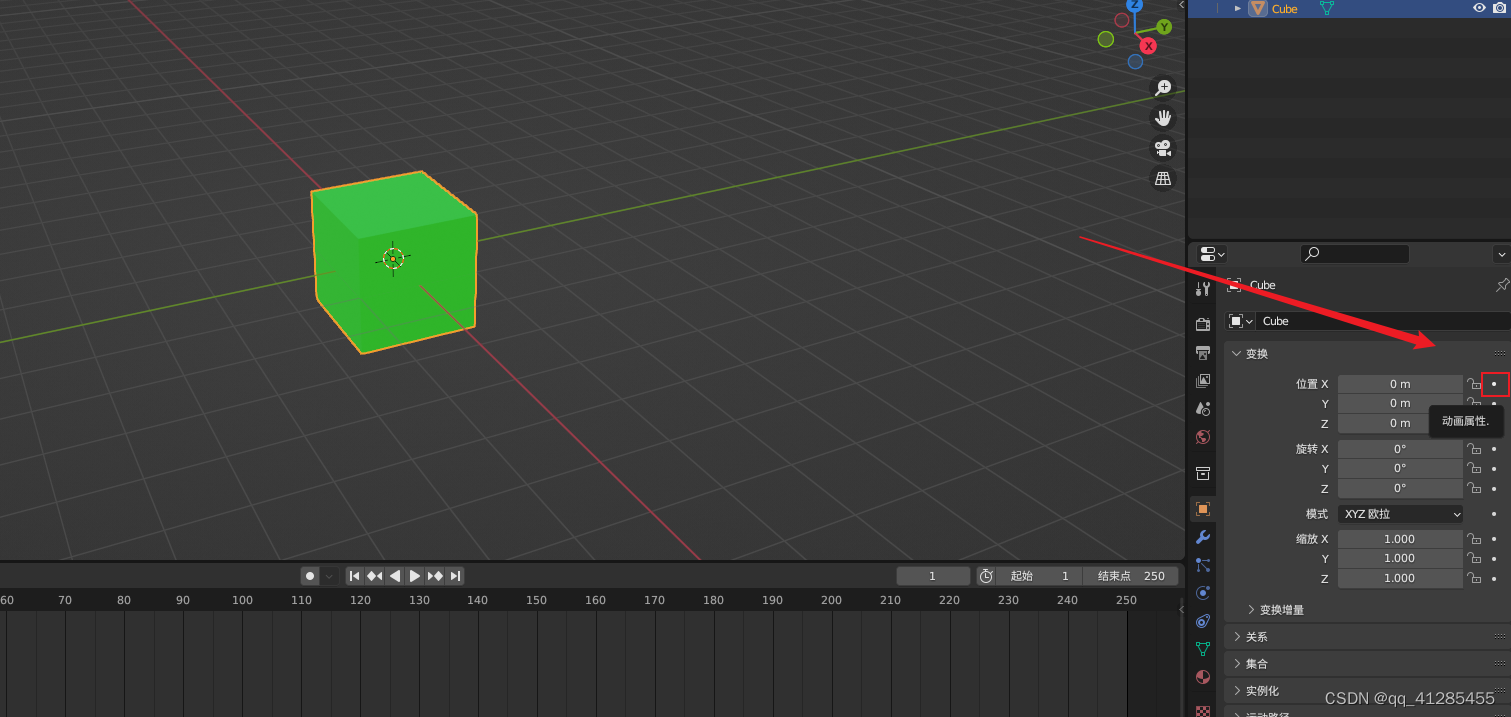
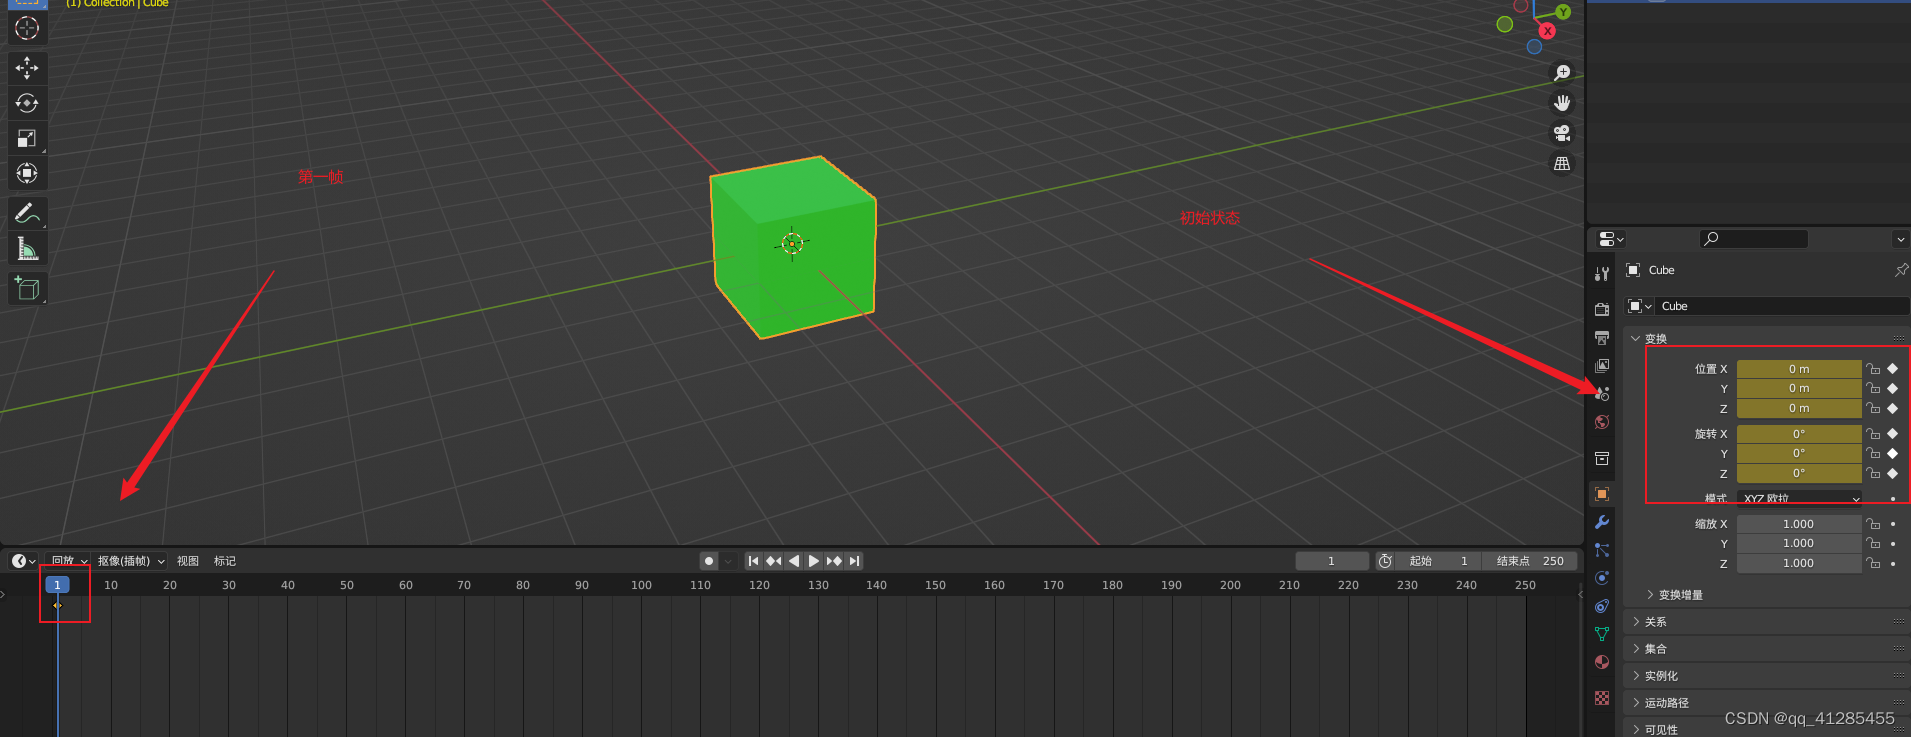
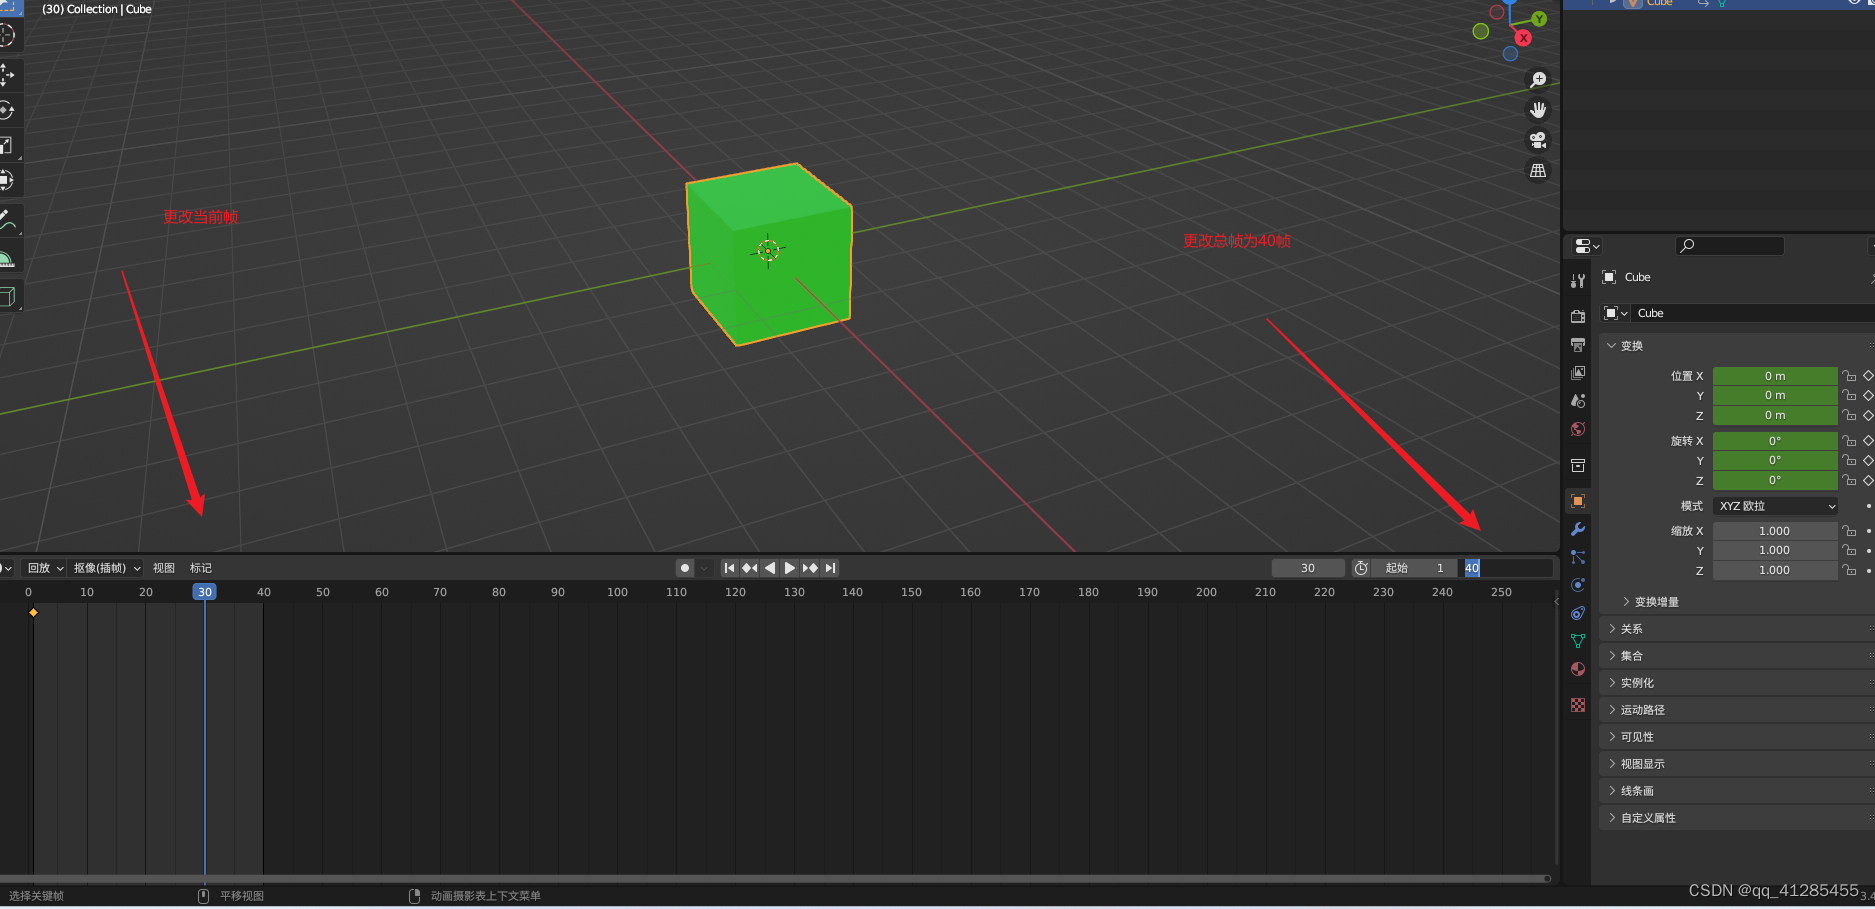
更改数值,并点击锁后面的方块
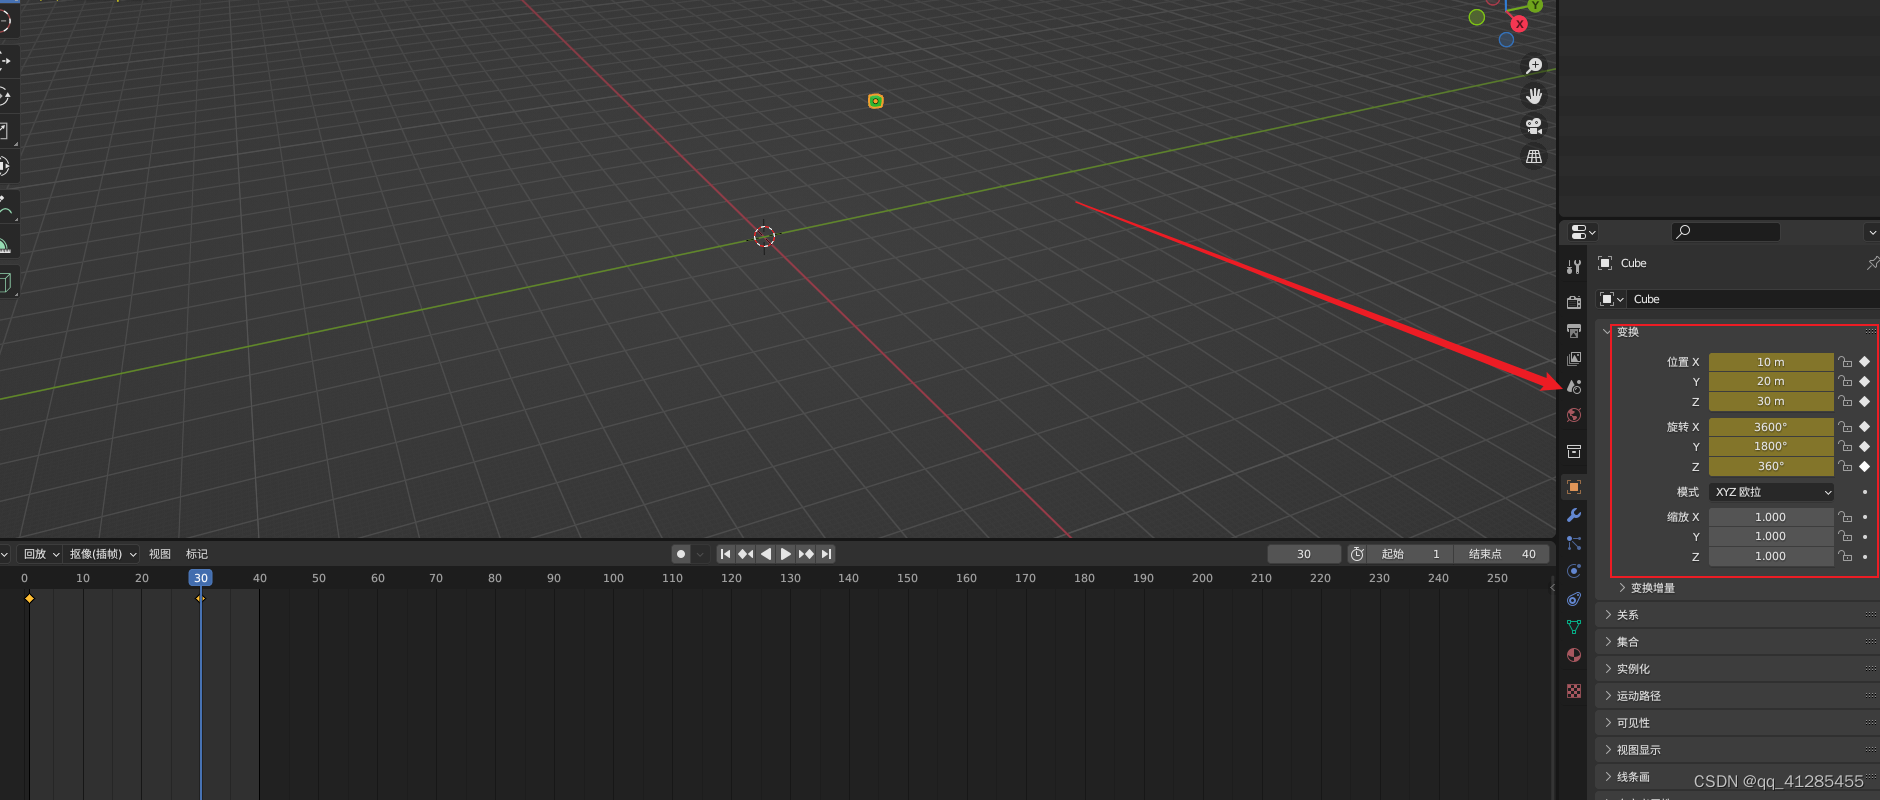
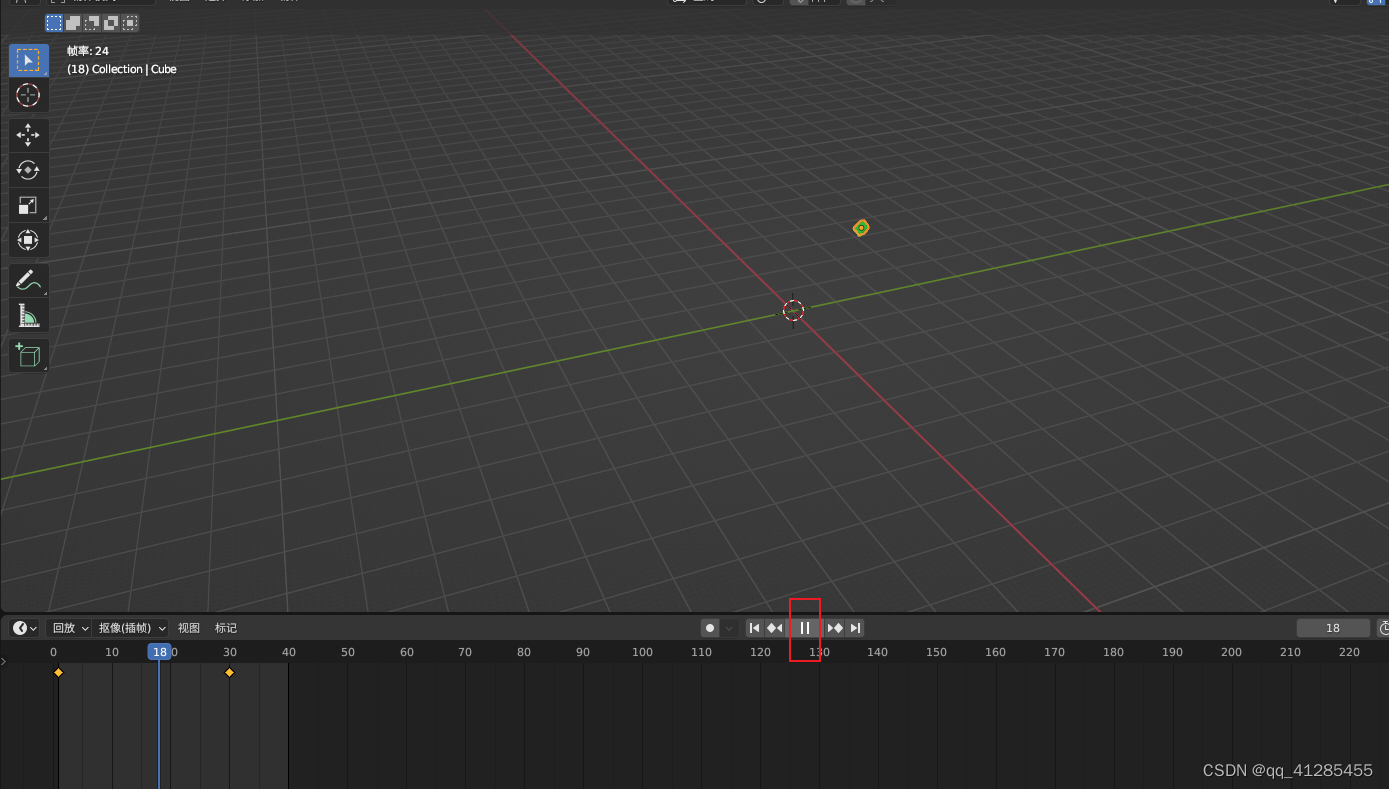
点击播放,查看动画
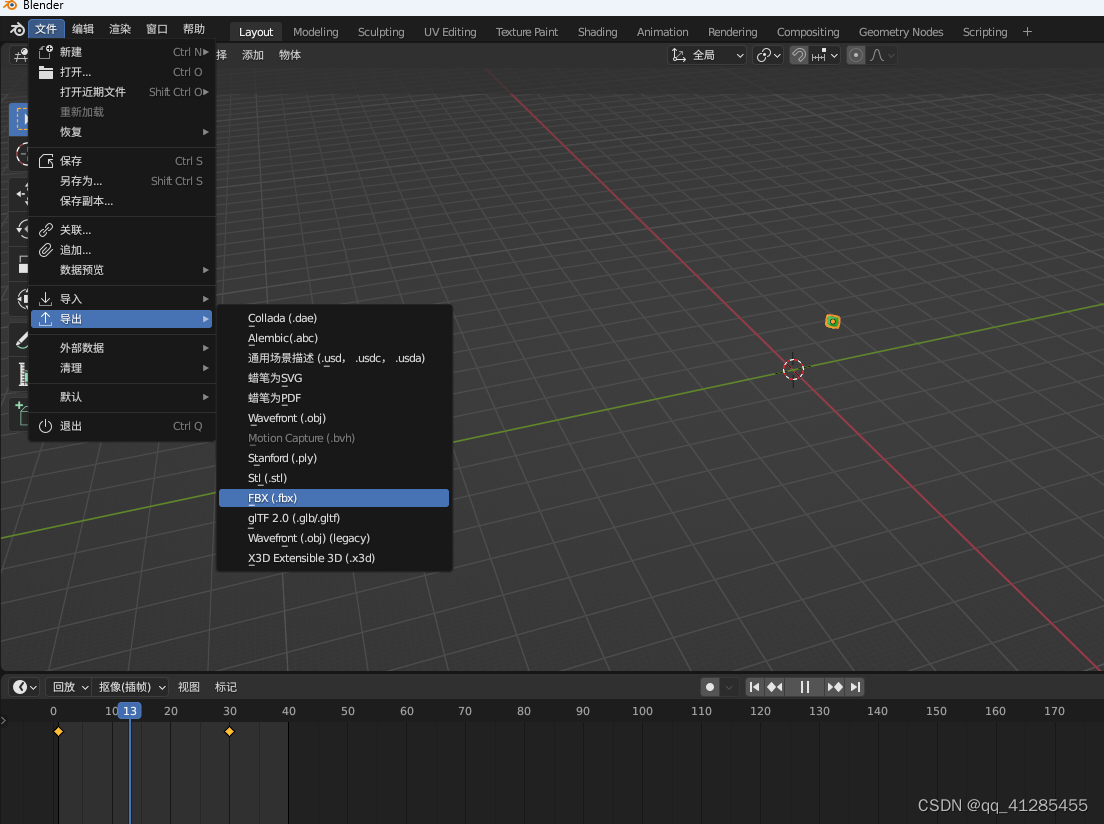
导出fbx,与上篇导出模型一致。导出时需要选择自定义属性
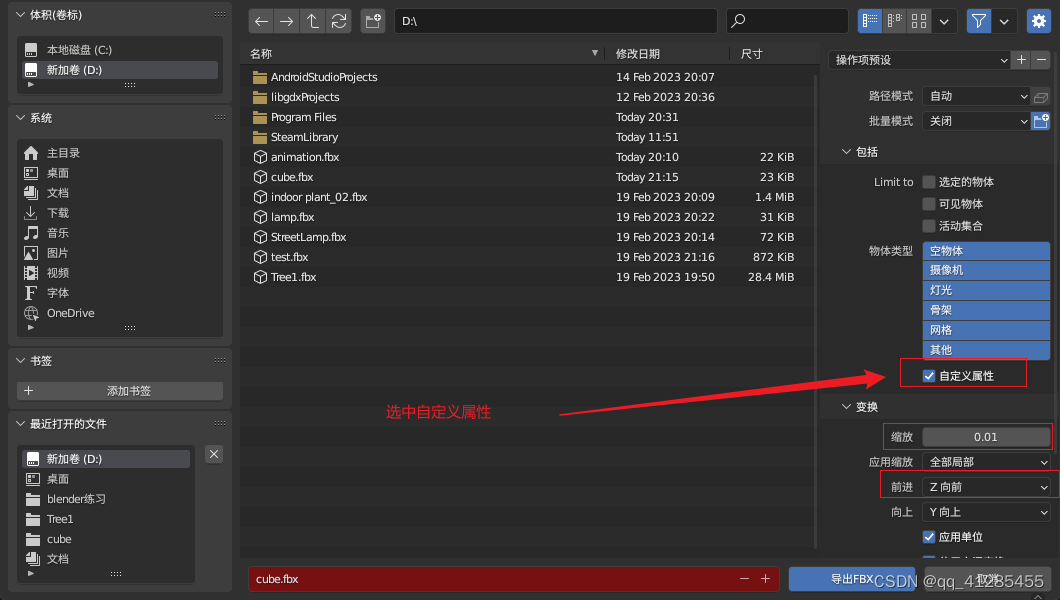
转换为g3dj,这里看不明白的去看我上篇,不会blender的建模的去看视频教程
上篇libgdx导入blender模型
blender动画参考 八个案例教程带你从0到1入门blender【已完结】
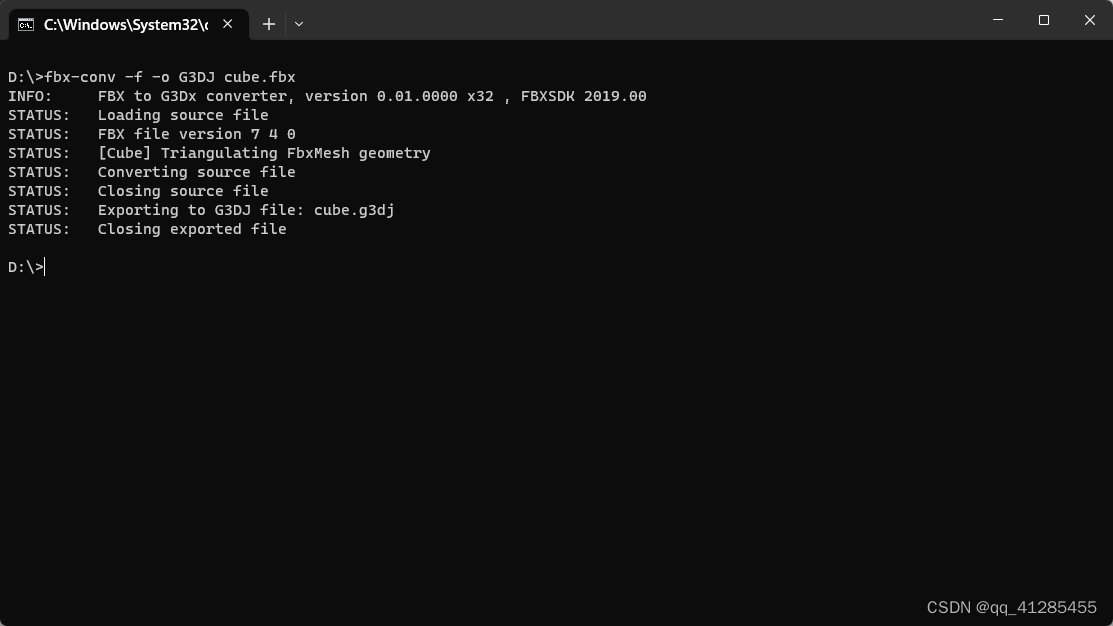
项目中使用,将导出的cube.g3dj放入项目assets/data下
package top.wuliaodebaozi2.blockgame.blockgameinternal;

import com.badlogic.gdx.ApplicationListener;
import com.badlogic.gdx.Gdx;
import com.badlogic.gdx.graphics.Color;
import com.badlogic.gdx.graphics.GL20;
import com.badlogic.gdx.graphics.PerspectiveCamera;
import com.badlogic.gdx.graphics.VertexAttributes.Usage;
import com.badlogic.gdx.graphics.g3d.Environment;
import com.badlogic.gdx.graphics.g3d.Model;
import com.badlogic.gdx.graphics.g3d.ModelBatch;
import com.badlogic.gdx.graphics.g3d.ModelInstance;
import com.badlogic.gdx.graphics.g3d.attributes.ColorAttribute;
import com.badlogic.gdx.graphics.g3d.environment.DirectionalLight;
import com.badlogic.gdx.graphics.g3d.Material;
import com.badlogic.gdx.graphics.g3d.loader.G3dModelLoader;
import com.badlogic.gdx.graphics.g3d.utils.AnimationController;
import com.badlogic.gdx.graphics.g3d.utils.CameraInputController;
import com.badlogic.gdx.graphics.g3d.utils.ModelBuilder;
import com.badlogic.gdx.utils.JsonReader;

/**
 * Example program that imports "myModel.g3dj" from the assets folder and renders it onto the screen.
 */
public class ImportG3DJ implements ApplicationListener {
    private Environment environment;
    private PerspectiveCamera camera;
    private CameraInputController cameraController;
    private ModelBatch modelBatch;
    private Model model;
    private ModelInstance instance;

    private AnimationController controller;

    @Override
    public void create() {
        // Create an environment so we have some lighting
        environment = new Environment();
        environment.set(new ColorAttribute(ColorAttribute.AmbientLight, 0.4f, 0.4f, 0.4f, 1f));
        environment.add(new DirectionalLight().set(0.8f, 0.8f, 0.8f, -1f, -0.8f, -0.2f));

        modelBatch = new ModelBatch();

        // Create a perspective camera with some sensible defaults
        camera = new PerspectiveCamera(67, Gdx.graphics.getWidth(), Gdx.graphics.getHeight());
        camera.position.set(10f, 10f, 10f);
        camera.lookAt(0, 0, 0);
        camera.near = 1f;
        camera.far = 300f;
        camera.update();

        // Import and instantiate our model (called "myModel.g3dj")
        ModelBuilder modelBuilder = new ModelBuilder();
        model = new G3dModelLoader(new JsonReader()).loadModel(Gdx.files.internal("data/cube.g3dj"));
        instance = new ModelInstance(model);
        controller = new AnimationController(instance);
        controller.setAnimation("Cube|CubeAction",-1);

        cameraController = new CameraInputController(camera);
        Gdx.input.setInputProcessor(cameraController);
    }

    @Override
    public void render() {
        cameraController.update();
        controller.update(Gdx.graphics.getDeltaTime());
        // Clear the stuff that is left over from the previous render cycle
        Gdx.gl.glViewport(0, 0, Gdx.graphics.getWidth(), Gdx.graphics.getHeight());
        Gdx.gl.glClear(GL20.GL_COLOR_BUFFER_BIT | GL20.GL_DEPTH_BUFFER_BIT);

        // Let our ModelBatch take care of efficient rendering of our ModelInstance
        modelBatch.begin(camera);
        modelBatch.render(instance, environment);
        modelBatch.end();
    }

    @Override
    public void dispose() {
        modelBatch.dispose();
        model.dispose();
    }

    @Override
    public void resize(int width, int height) { }

    @Override
    public void pause() { }

    @Override
    public void resume() { }
}
这里主要与上篇导入模型的代码区别在于,增加了
ModelInstance instance;
AnimationController controller;
public void create() {
    ...
    instance = new ModelInstance(model);
    controller = new AnimationController(instance);
    controller.setAnimation("Cube|CubeAction",-1);
}
public void render() {
    ...
    controller.update(Gdx.graphics.getDeltaTime());
    ...
}
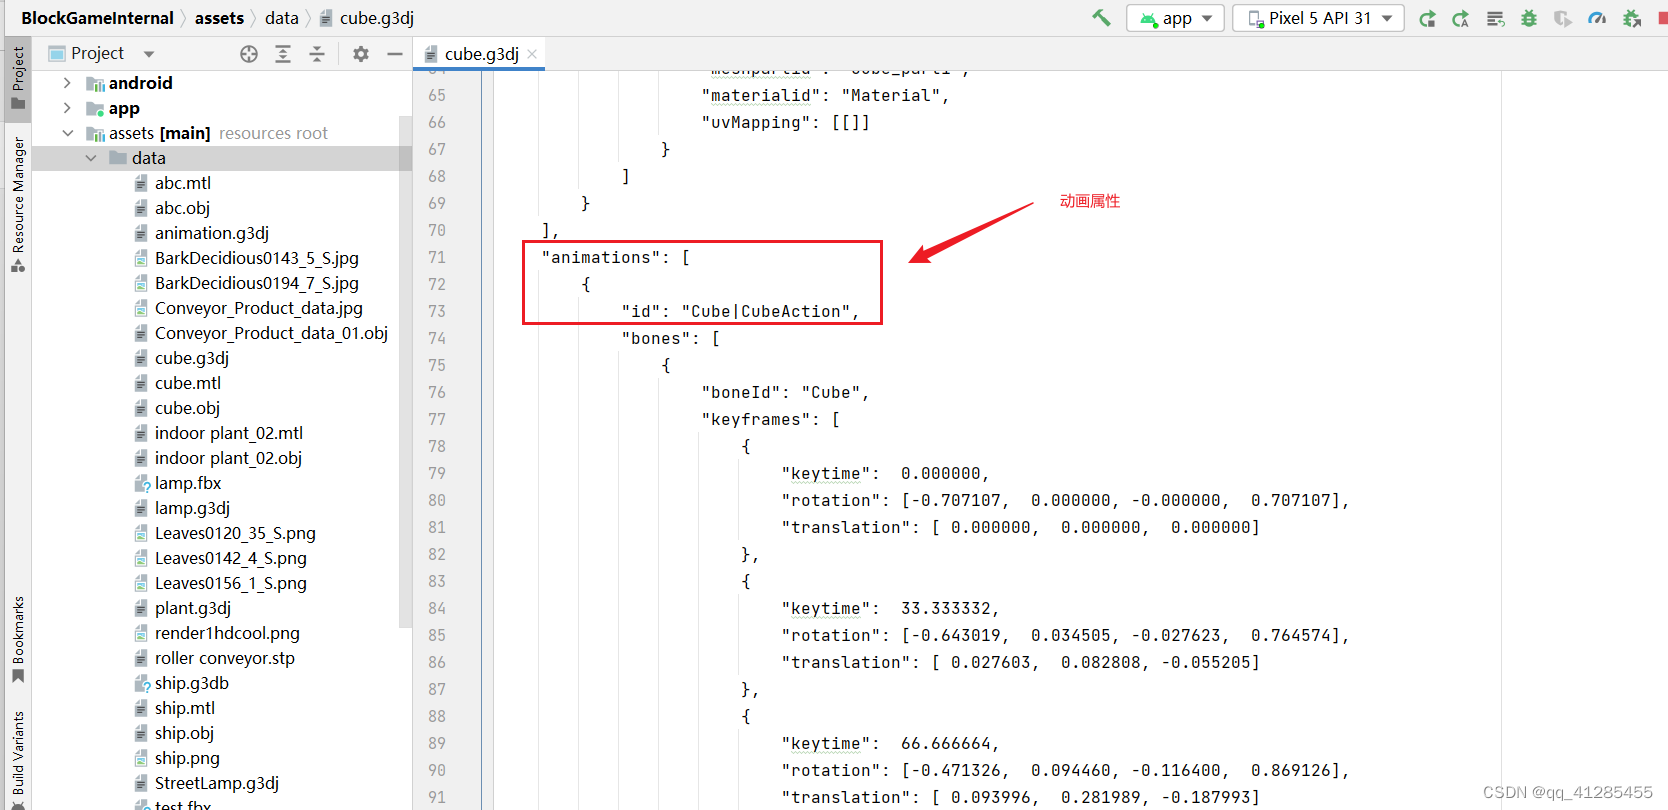
代码中controller.setAnimation(“Cube|CubeAction”,-1); 动画的名字
用文本方式打开导出的cube.g3dj 可以看到"animations"数据块,看到id,就是动画的名字
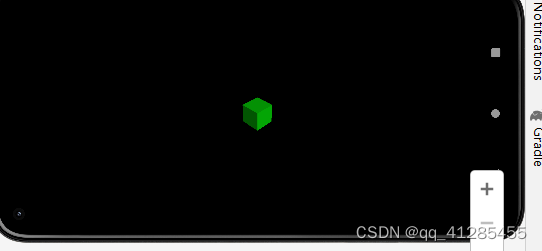
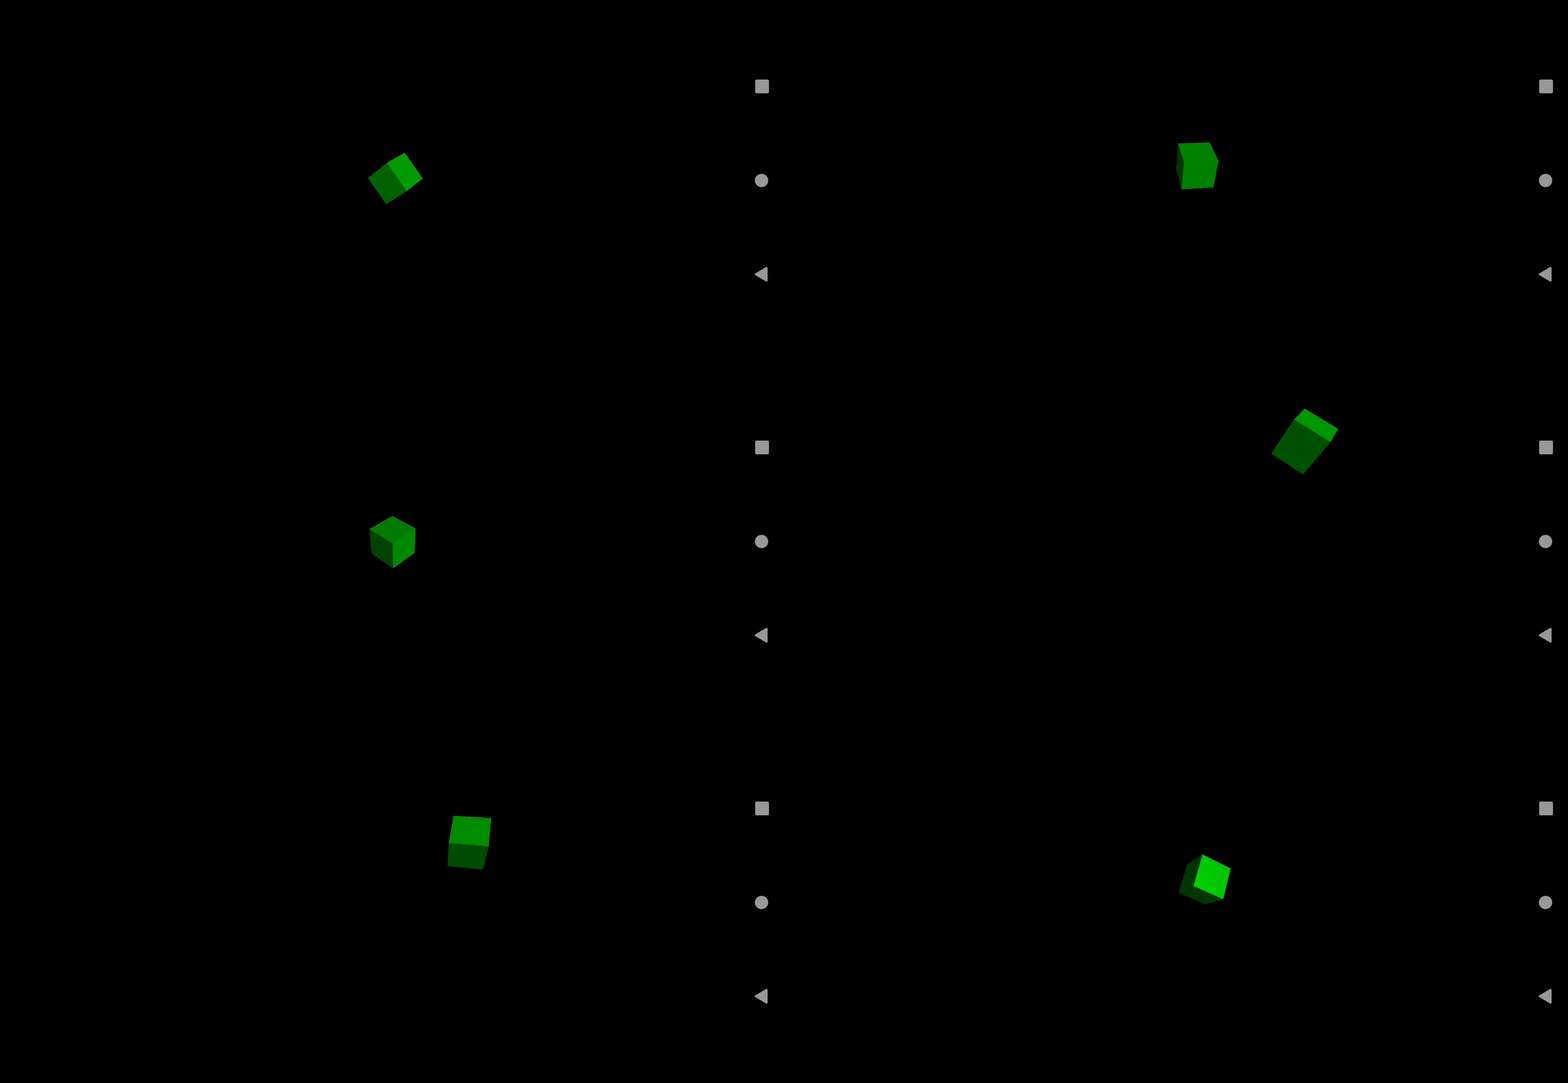
效果:
https://live.csdn.net/v/280148



![Java高效率复习-SpringMVC[SpringMVC-2]](https://img-blog.csdnimg.cn/a3b4fce9b7c040e8aa4fb792b5eefa89.png)
