基本上是按照官网文档快速入门进行安装,不过还有很多地方需要换源。重点在换源这块。如果说你的网关有魔法,那就不用看这篇文章了,直接复制官网命令安装。
支持的操作系统
注意:不再支持 CentOS 7 作为主机操作系统。Train 版本同时支持 CentOS 7 和 8,并提供了迁移路径。有关迁移到 CentOS 8 的信息,请参阅Kolla Ansible Train 文档。
yoga版本支持以下操作系统:
-
CentOS Stream 8
-
Debian Bullseye (11)
-
openEuler 20.03 LTS SP2
-
RHEL 8 (deprecated)
-
Rocky Linux 8
-
Ubuntu Focal (20.04)
我这里使用的是Ubuntu 22.04 LTS(mini安装)
下面开始安装
1. 安装系统依赖
1.1. 更新软件包索引
sudo apt update
1.2. 安装python依赖
sudo apt install git python3-dev libffi-dev gcc libssl-dev
2. 安装python-venv虚拟环境依赖
2.1 安装python3-venv
sudo apt install python3-venv
2.2 创建虚拟环境并激活它
mkdir /path && mkdir /path/to # 也可以自定路径
python3 -m venv /path/to/venv
source /path/to/venv/bin/activate
2.3 确保安装了最新版本的pip
python -m pip install -i https://pypi.tuna.tsinghua.edu.cn/simple --upgrade pip
2.4 pypi换源
pip config set global.index-url https://pypi.tuna.tsinghua.edu.cn/simple
2.5 安装Ansible
pip install 'ansible>=4,<6'
3. 安装Kolla-Ansible
3.1 kolla
# pip install git+https://opendev.org/openstack/kolla-ansible@stable/yoga
# 上面是原版命令,建议使用jihulab.com克隆一份
pip install git+https://jihulab.com/james-curtis/kolla-ansible@stable/yoga
3.2 创建文件夹/etc/kolla
sudo mkdir -p /etc/kolla
sudo chown $USER:$USER /etc/kolla
3.3 复制 globals.yml 和 passwords.yml 到 /etc/kolla
# 如果你使用了自定义路径,记得替换/path/to
cp -r /path/to/venv/share/kolla-ansible/etc_examples/kolla/* /etc/kolla
3.4 复制清单文件
cp /path/to/venv/share/kolla-ansible/ansible/inventory/* .
4. 安装Ansible Galaxy依赖
4.1 换源
找到 /path/to/venv/share/kolla-ansible/requirements.yml
内容如下
---
collections:
  - name: https://opendev.org/openstack/ansible-collection-kolla
    type: git
    version: stable/yoga
修改这个git仓库地址,如果镜像拉不下,建议去拉github的OpenStack镜像
修改成如下
---
collections:
  - name: https://jihulab.com/james-curtis/ansible-collection-kolla
    type: git
    version: stable/yoga
4.2 安装依赖
kolla-ansible install-deps
4.3 配置Ansible
mkdir /etc/ansible
echo "[defaults]
host_key_checking=False
pipelining=True
forks=100" > /etc/ansible/ansible.cfg
5. 准备初始化配置
我这里为方便后续拓展,所以使用了 multinode 清单(不过也是单节点部署)。你也可以跳过此步骤,然后使用 all-in-one 清单。
5.1 修改配置文件
这里仅仅展示 [baremetal:children] 节点之前的配置文件,切勿照搬!!!
# These initial groups are the only groups required to be modified. The
# additional groups are for more control of the environment.
[control]
# These hostname must be resolvable from your deployment host
control01   ansible_user=root ansible_password=1 ansible_become=true

# The above can also be specified as follows:
# control[01:03]     ansible_user=kolla

# The network nodes are where your l3-agent and loadbalancers will run
# This can be the same as a host in the control group
# [network]
# network01
# network02

# when you specify group_name:children, it will use contents of group specified.
[network:children]
control


# [compute]
# compute01
[compute:children]
control

[monitoring]
control01   ansible_user=root ansible_password=1 ansible_become=true
# monitoring01

# When compute nodes and control nodes use different interfaces,
# you need to comment out "api_interface" and other interfaces from the globals.yml
# and specify like below:
#compute01 neutron_external_interface=eth0 api_interface=em1 storage_interface=em1 tunnel_interface=em1

# [storage]
# storage01
[storage:children]
control

[deployment]
localhost       ansible_connection=local

# 下接[baremetal:children]
5.2 修改hosts
如果使用 all-in-one 清单,这一步也可以跳过
注意替换成自己的机器的内网ip
echo "10.10.1.81 control01" >> /etc/hosts5.3 检查清单配置是否正确
ansible -i multinode all -m ping
哦豁报错了
venv) root@ubuntu:~# ansible -i multinode all -m ping
[WARNING]: Invalid characters were found in group names but not replaced, use -vvvv to see details
control01 | FAILED! => {
    "msg": "to use the 'ssh' connection type with passwords or pkcs11_provider, you must install the sshpass program"
}
localhost | SUCCESS => {
    "ansible_facts": {
        "discovered_interpreter_python": "/usr/bin/python3"
    },
    "changed": false,
    "ping": "pong"
}
按照提示说明需要安装 sshpass
apt search sshpass -y啊哦又报错了。我们还是改用 ssh密钥 登录吧
(venv) root@ubuntu:~# ansible -i multinode all -m ping
[WARNING]: Invalid characters were found in group names but not replaced, use -vvvv to see details
control01 | FAILED! => {
    "msg": "Using a SSH password instead of a key is not possible because Host Key checking is enabled and sshpass does not support this.  Please add this host's fingerprint to your known_hosts file to manage this host."
}
5.4 配置ssh密钥对
ssh-keygen一路回车
ssh-copy-id 10.10.1.81
# 注意替换自己的内网ip
输入yes同意指纹,然后输入密码。就可以了
# 看下如下提示就是成功了
root@10.10.1.81's password:

Number of key(s) added: 1

Now try logging into the machine, with:   "ssh '10.10.1.81'"
and check to make sure that only the key(s) you wanted were added.
5.5 禁用ansible主机指纹检查
运行之前请确保 /etc/ansible/ansible.cfg 没有这个文件,或者这是一个空文件。否则需要手动添加 host_key_checking = false
mkdir /etc/ansible
echo "[defaults]
host_key_checking = false" > /etc/ansible/ansible.cfg
5.5 再次检查清单配置是否正确
ansible -i multinode all -m ping
返回下面结果就是成功
(venv) root@ubuntu:~# ansible -i multinode all -m ping
[WARNING]: Invalid characters were found in group names but not replaced, use -vvvv to see details
localhost | SUCCESS => {
    "ansible_facts": {
        "discovered_interpreter_python": "/usr/bin/python3"
    },
    "changed": false,
    "ping": "pong"
}
control01 | SUCCESS => {
    "ansible_facts": {
        "discovered_interpreter_python": "/usr/bin/python3"
    },
    "changed": false,
    "ping": "pong"
}
6. 生成密码
kolla-genpwd7. 配置globals.yml
先安装一下vim
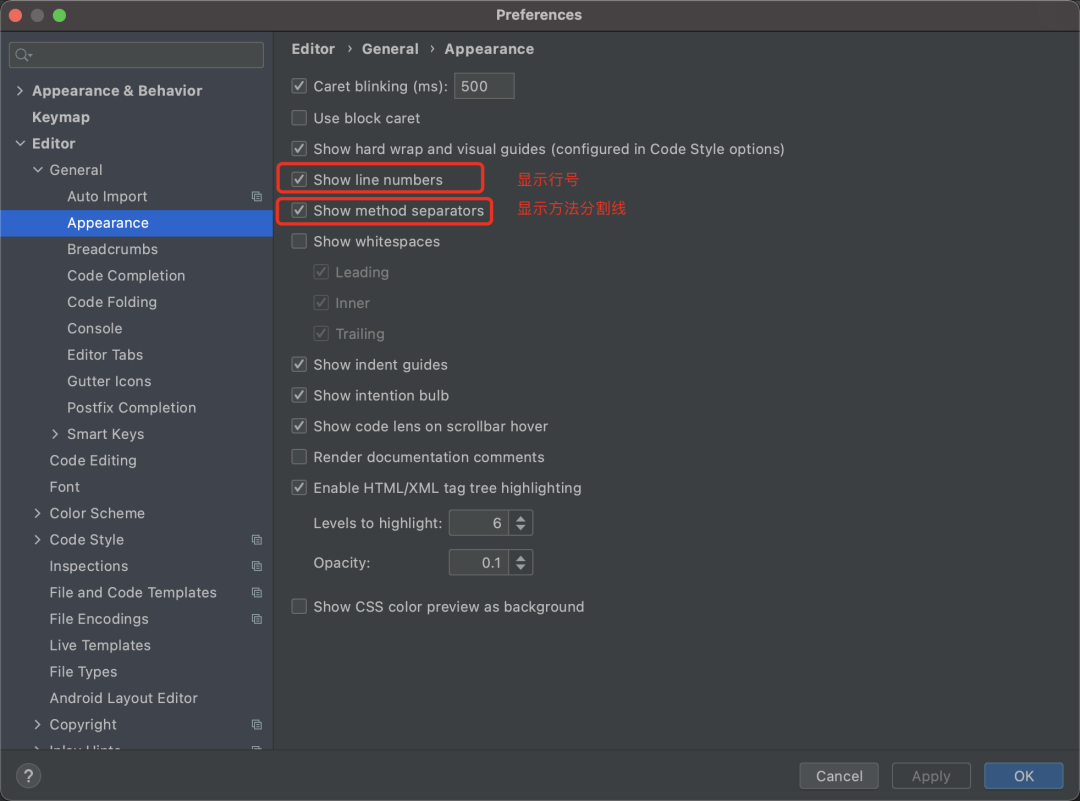
apt install vim -y先不要进入编辑模式,输入下面,显示行号
:set number7.1 编辑镜像类型
再搜索kolla_base_distro,在非编辑模式下输入如下进行搜索
/kolla_base_distro输入回车,光标回到文本中,此时光标应该在31行。输入i进入编辑模式
修改后,带上行号,应该显示如下。编辑完成后按Esc退出编辑模式
31 kolla_base_distro: "ubuntu"
7.2 编辑网络接口
这里,vim的基本使用不在赘述
搜索第一个网口接口,并修改为对应配置(可以通过 ip a 查看接口名字)
设置的第一个接口是“ Network_interface”。这是多个管理类型网络的默认接口。
network_interface: "eth0"
搜索并设置第二个接口
所需的第二个接口专用于Neutron外部(或公共)网络,可以是vlan或flat,这取决于网络的创建方式。此接口应处于活动状态,没有IP地址。否则,实例将无法访问外部网络。
这里说人话,就是第二个接口需要给他一个空闲的网口
neutron_external_interface: "eth1"
搜索并设置浮动ip
接下来,我们需要为管理流量提供浮动IP。该IP将由keepalive管理,以提供高可用性,并且应设置为在连接到我们网络接口的管理网络中不使用的地址。
这里说人话就是,浮动ip不要和network_interface中的地址冲突(一般是DHCP),比如说network_interface所在DHCP范围是10.1.1.100-10.1.1.200。那么浮动ip就不建议在这个范围内,而应该选择如10.1.1.201
kolla_internal_vip_address: "10.1.0.250"
编辑完成,按下Esc,再输入
:wq保存退出
8. 部署
8.1 docker quay.io换源
sed -i.bak 's/#docker_registry:/docker_registry: quay.nju.edu.cn/g' /etc/kolla/globals.yml8.2 引导服务器
kolla-ansible -i ./multinode bootstrap-servers
8.3 对主机进行部署前检查
kolla-ansible -i ./multinode prechecks
8.4 最后进行实际的 OpenStack 部署
kolla-ansible -i ./multinode deploy
当本脚本完成时,OpenStack 应该启动、运行并正常运行!
PLAY RECAP ******************************************************************************************************************************************************************
control01                  : ok=308  changed=218  unreachable=0    failed=0    skipped=169  rescued=0    ignored=1
localhost                  : ok=4    changed=0    unreachable=0    failed=0    skipped=0    rescued=0    ignored=0
访问浮动ip地址就是前台页面,如果显示证书错误,那意思就是密码错误
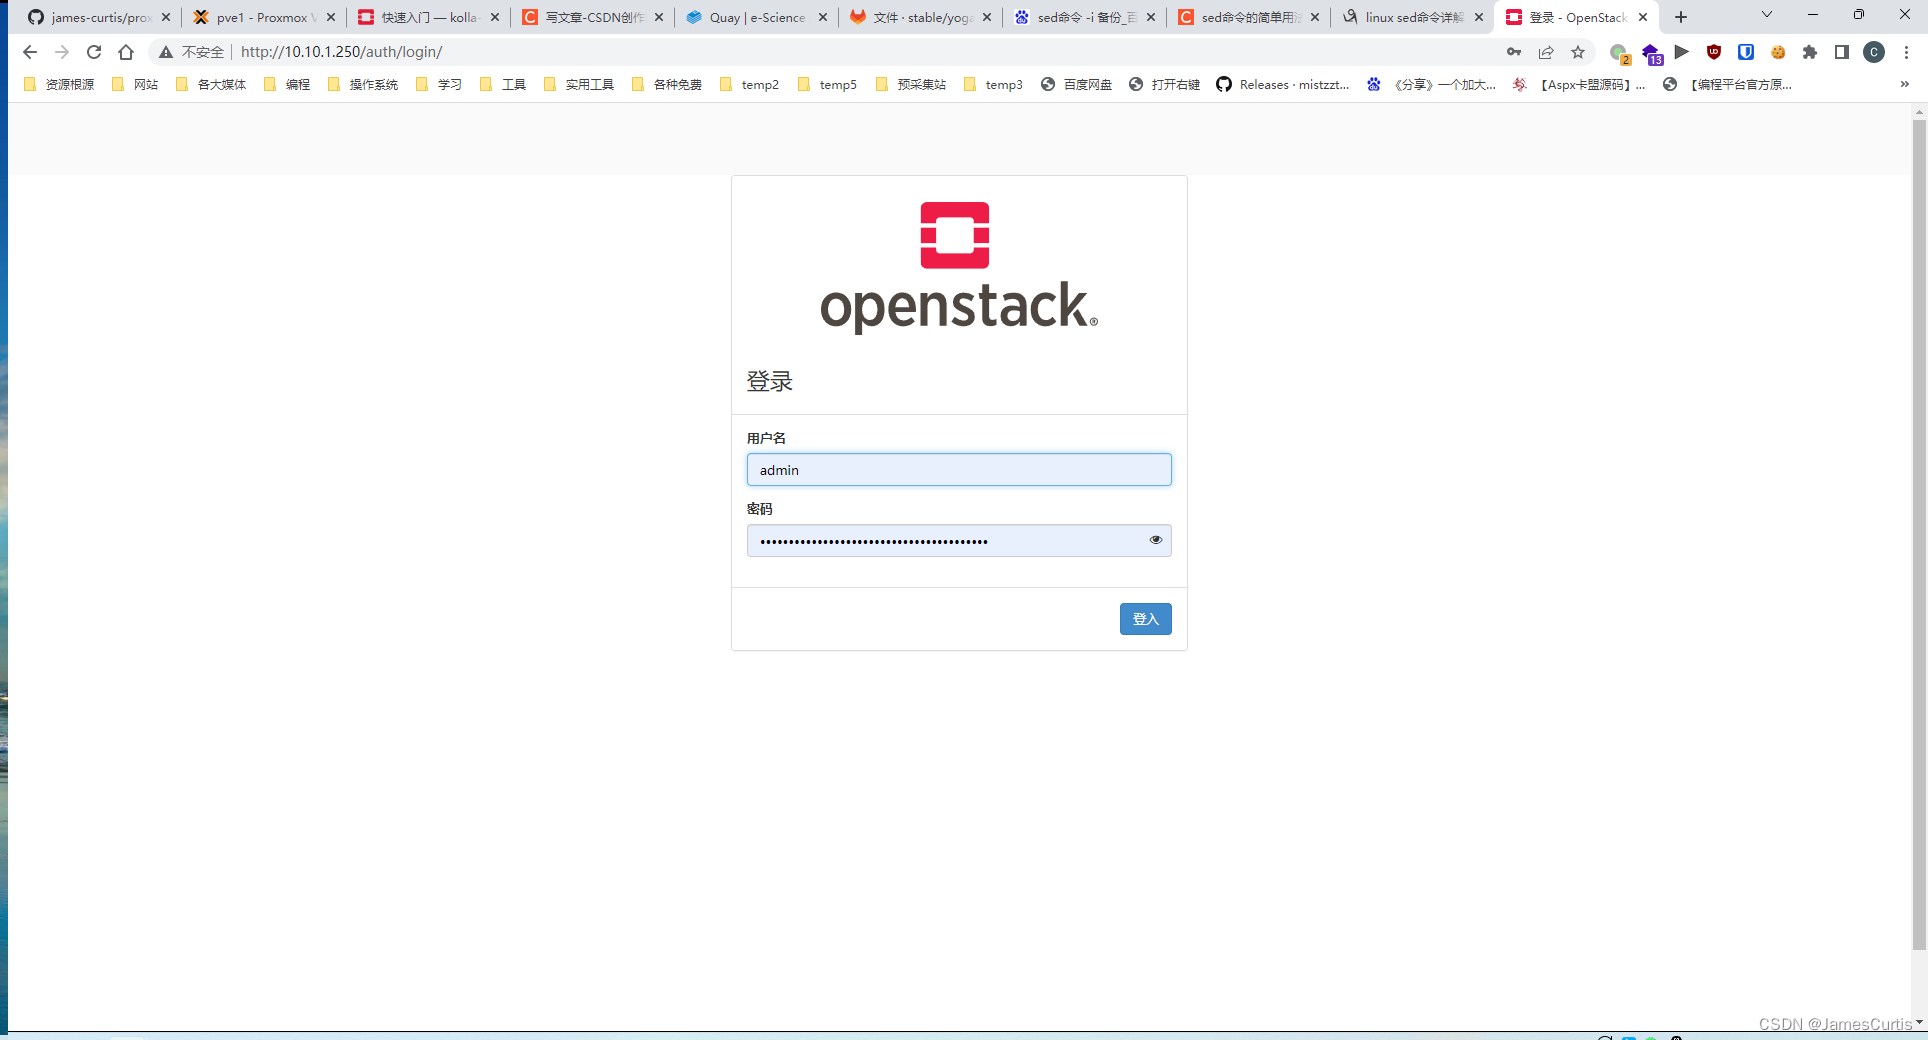
账号为admin
查看密码:
cat /etc/kolla/passwords.yml |grep keystone_admin_password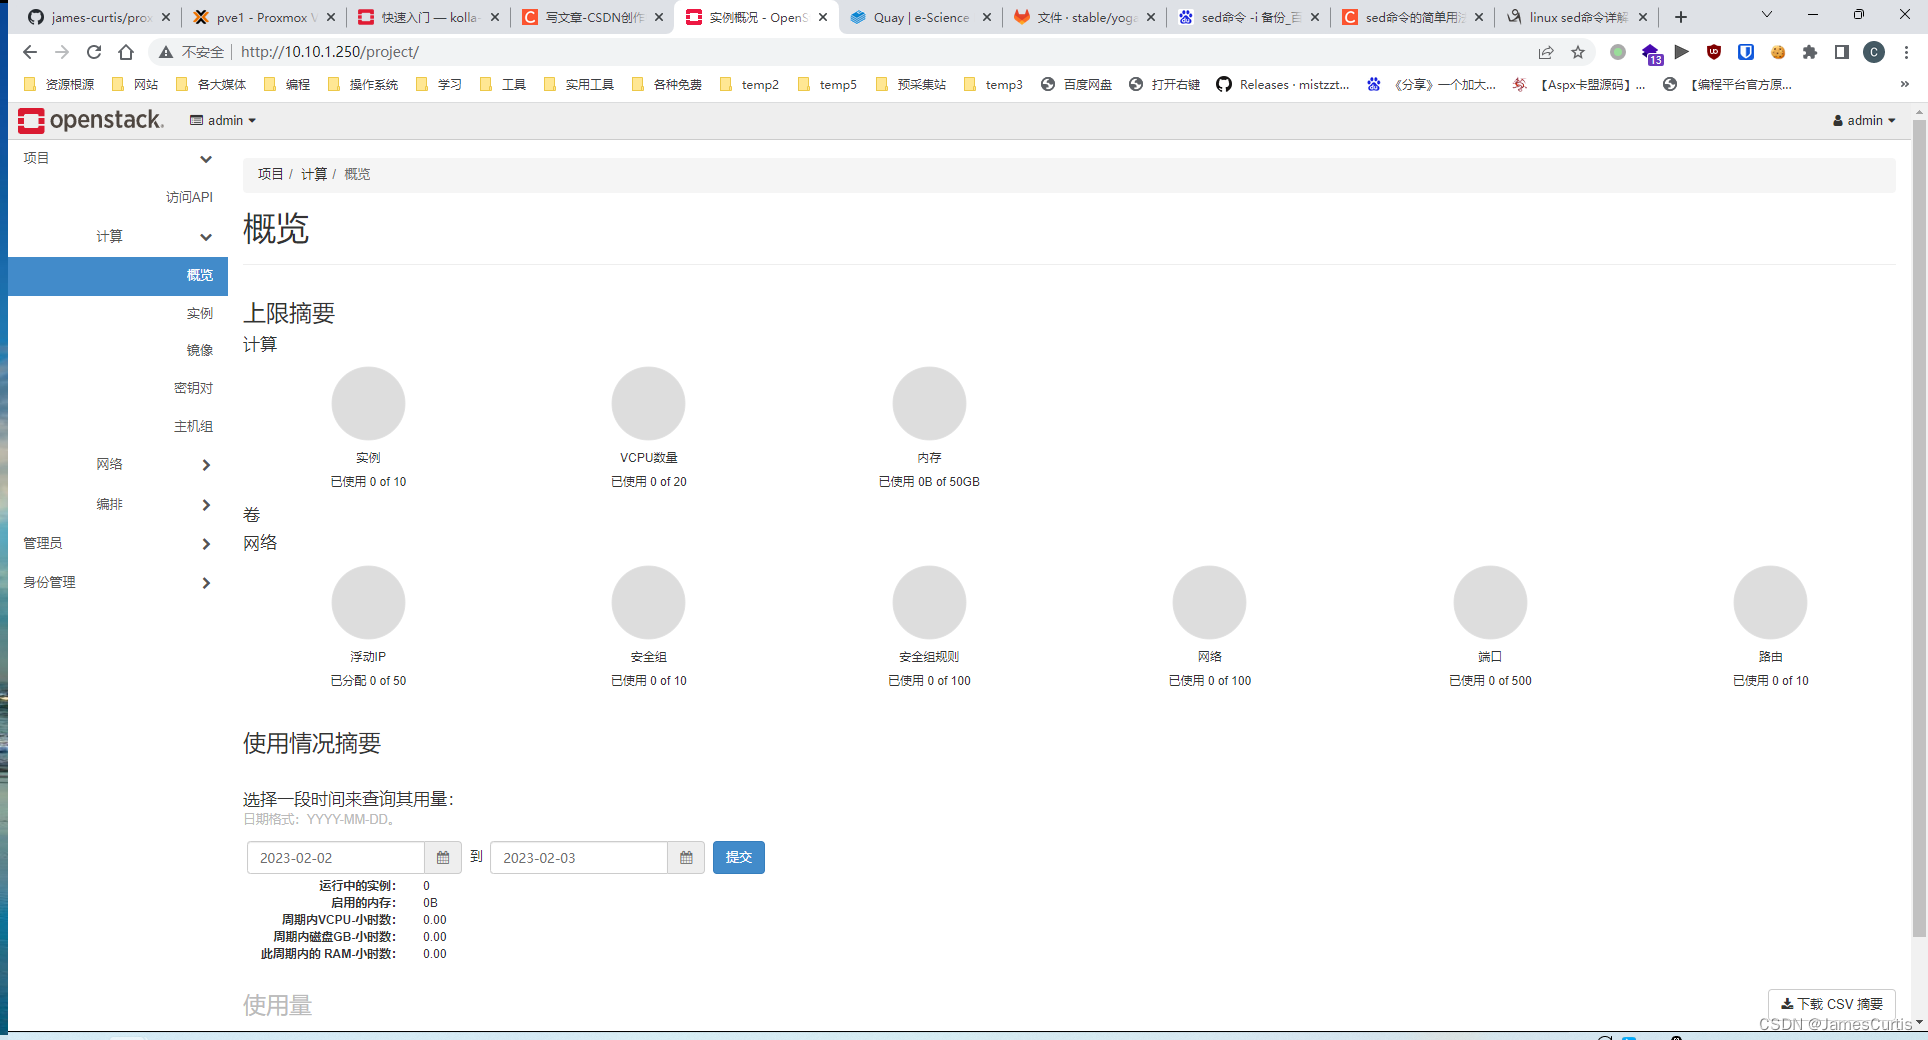
9. 使用 OpenStack
9.1 安装 OpenStack CLI 客户端
官方命令(网络能通的可以试试)
pip install python-openstackclient -c https://releases.openstack.org/constraints/upper/yoga
如果文件获取不了建议,打开这个链接,之后会跳转到
https://opendev.org/openstack/requirements/raw/branch/stable/yoga/upper-constraints.txt
再去github的OpenStack镜像,即 github.com/openstack/requirements
然后克隆这个仓库到jihulab.com
记得选择对应的分支
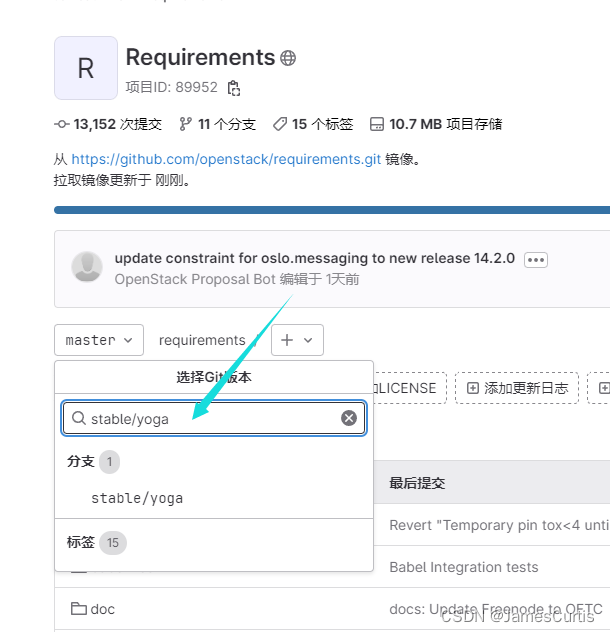
,接着找到对应的文件

打开原始文件,得到下面链接
https://jihulab.com/james-curtis/requirements/-/raw/stable/yoga/upper-constraints.txt替换官方命令,并执行
pip install python-openstackclient -c https://jihulab.com/james-curtis/requirements/-/raw/stable/yoga/upper-constraints.txt
9.2 OpenStack 需要一个 openrc 文件
其中设置了管理员用户的凭据。要生成此文件
kolla-ansible post-deploy
. /etc/kolla/admin-openrc.sh
.(点)+(空格)+可执行文件 == source+(空格)+可执行文件
接下来就可以使用OpenStack CLI了
至此OpenStack安装完成
后续:
- OpenStack使用Skyline Dashboard面板替换默认Horizon面板
- OpenStack增加节点或者减少节点,横向拓展节点
- ProxmoxVE+Ceph+OpenStack HCI超融合平台搭建,配置Bcache加速Ceph SDS
