下载three.js
压缩包
github链接查看所有版本
threejs:https://github.com/mrdoob/three.js/releases
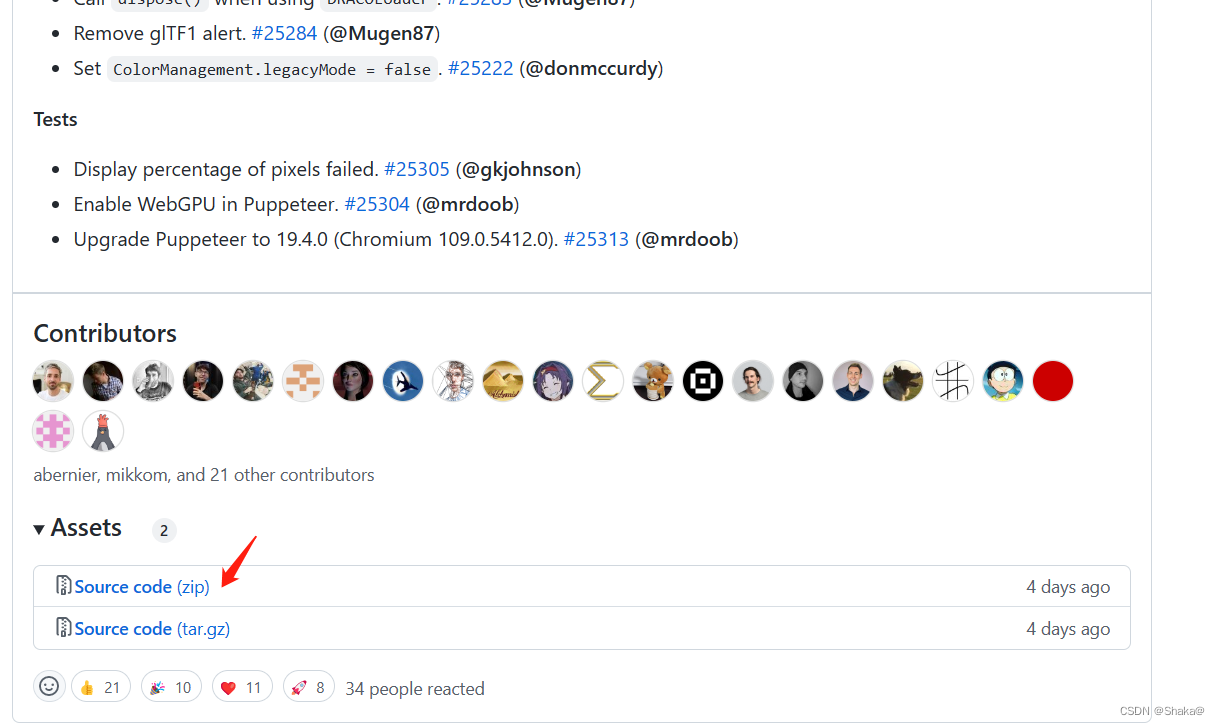
下载即可
常用的文件目录
three.js-文件包
└───build——three.js相关库,可以引入你的.html文件中。
    │
└───docs——Three.js API文档文件
    │───index.html——打开该文件,本地离线方式预览threejs文档
└───examples——大量的3D案例,是你平时开发参考学习的最佳资源
    │───jsm——threejs各种功能扩展库
└───src——Three.js引擎的源码,有兴趣可以阅读。
    │
└───editor——Three.js的可视化编辑器,可以编辑3D场景
    │───index.html——打开应用程序
three.js中文官网
https://threejs.org/docs/index.html#manual/zh/
CDN引入
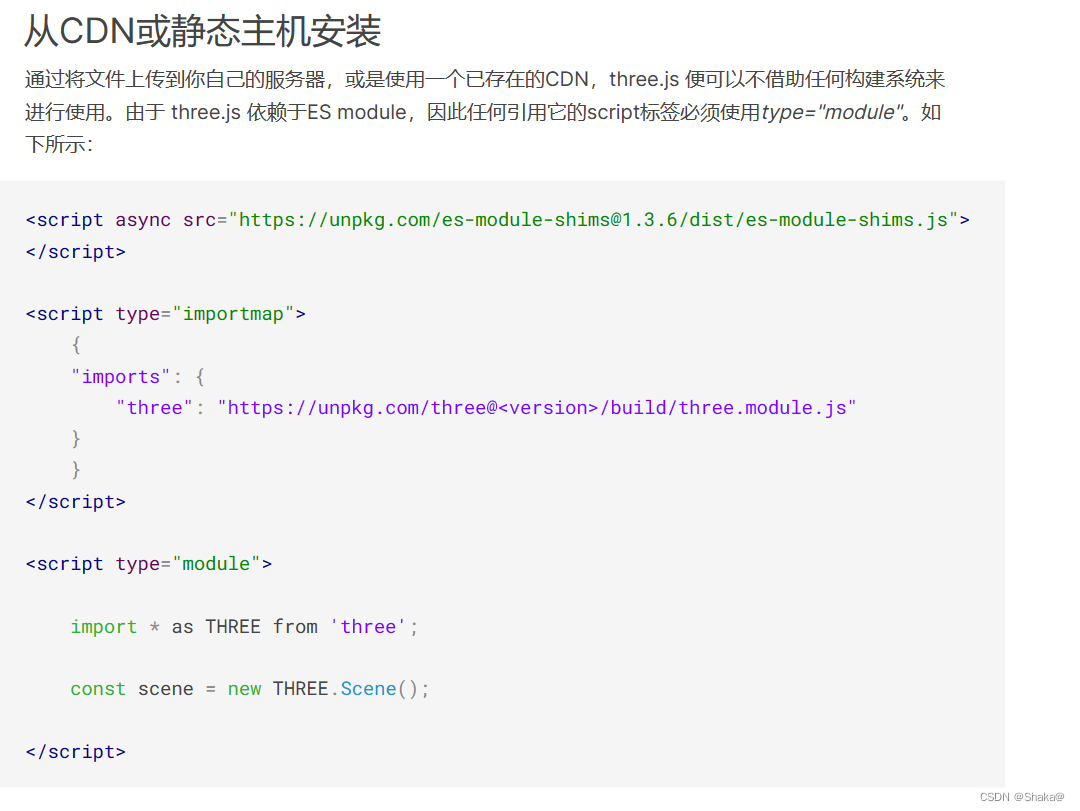
在上面的中文文档中是有说到的,也有相应的解释,所以这里不CV了
npm
比如安装149版本
npm install three@0.149.0 --save
引入
npm引入
// 引入three.js
import * as THREE from ‘three’;
压缩包引入
<script src="./build/three.js"></script>
测试是否引入成功
//随便输入一个API,测试下是否已经正常引入three.js
console.log(THREE.Scene);
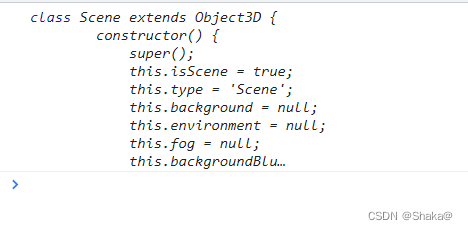
引入成功
官网的模型案例
我们看下面的这段代码,是官网给我们的一个最基础的例子和模型
<html>
	<head>
		<meta charset="utf-8">
		<title>My first three.js app</title>
		<style>
			body { margin: 0; }
		</style>
	</head>
	<body>
		<script src="js/three.js"></script>
		<script>
			const scene = new THREE.Scene();
			const camera = new THREE.PerspectiveCamera( 75, window.innerWidth / window.innerHeight, 0.1, 1000 );

			const renderer = new THREE.WebGLRenderer();
			renderer.setSize( window.innerWidth, window.innerHeight );
			document.body.appendChild( renderer.domElement );

			const geometry = new THREE.BoxGeometry( 1, 1, 1 );
			const material = new THREE.MeshBasicMaterial( { color: 0x00ff00 } );
			const cube = new THREE.Mesh( geometry, material );
			scene.add( cube );

			camera.position.z = 5;

			function animate() {
				requestAnimationFrame( animate );

				cube.rotation.x += 0.01;
				cube.rotation.y += 0.01;

				renderer.render( scene, camera );
			};

			animate();
		</script>
	</body>
</html>
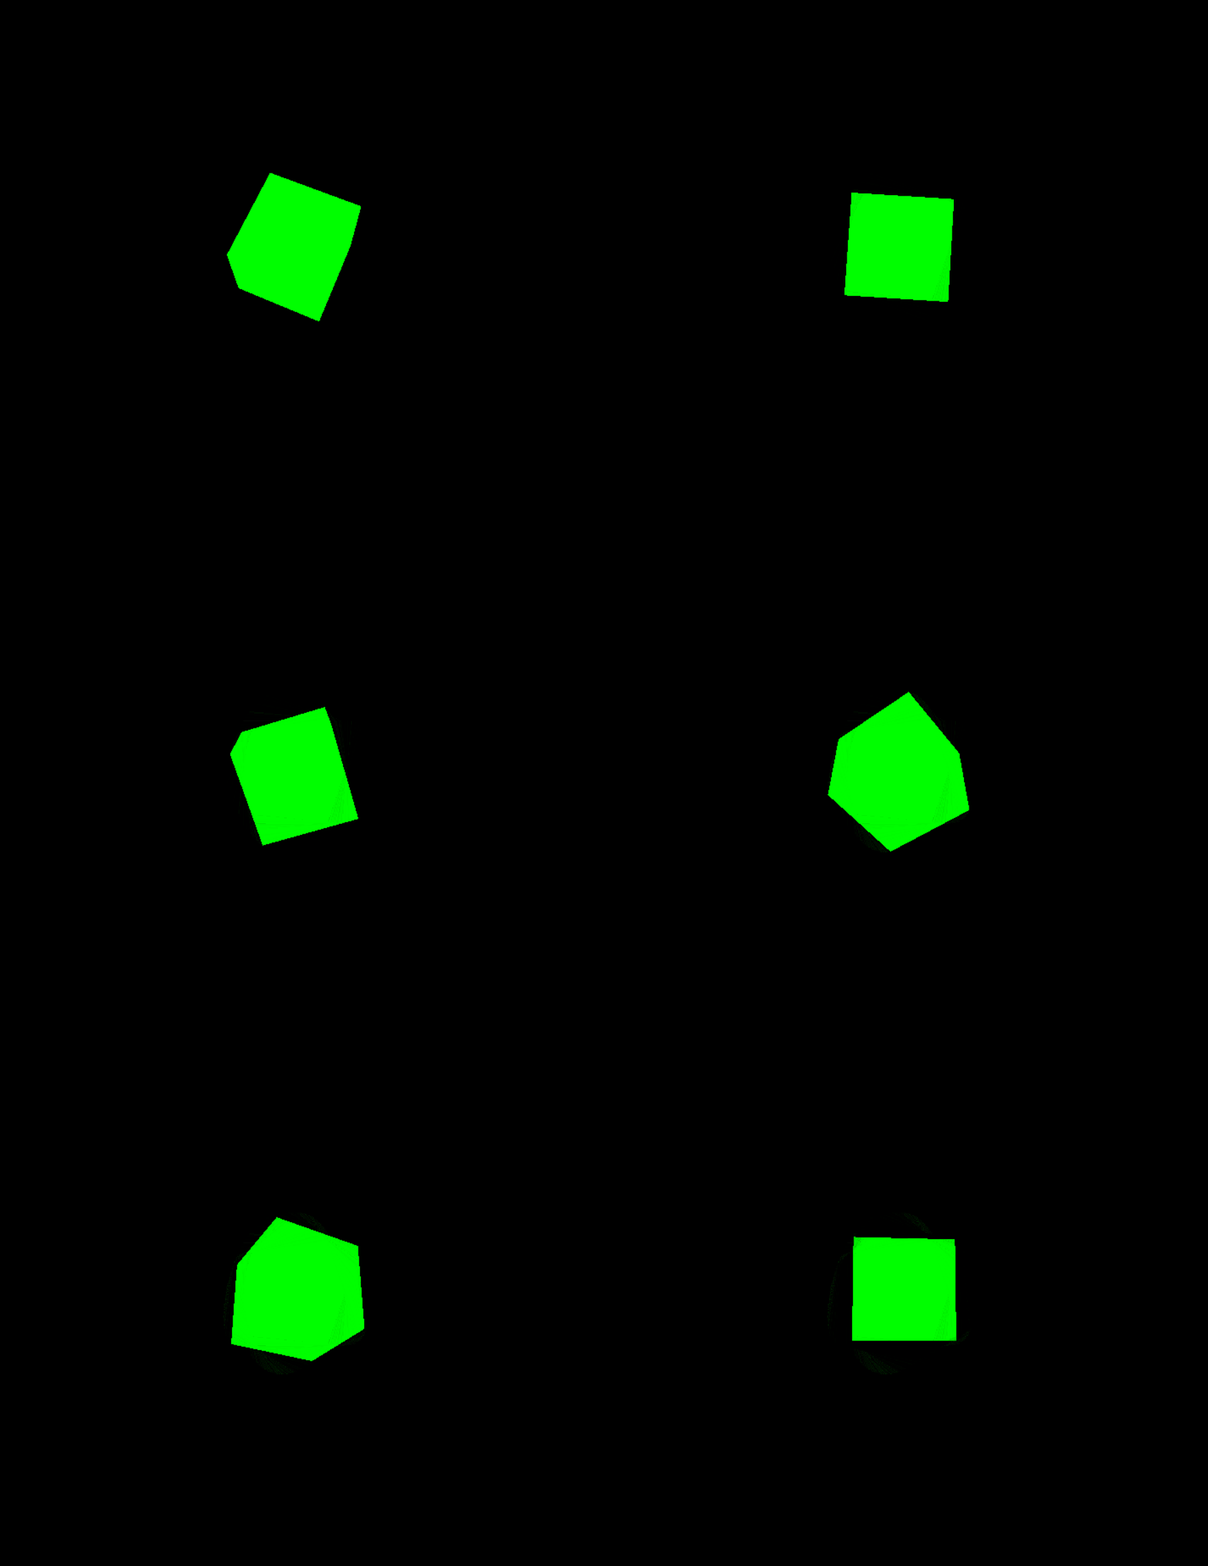
其中大概的意思官网也有给我们解释了
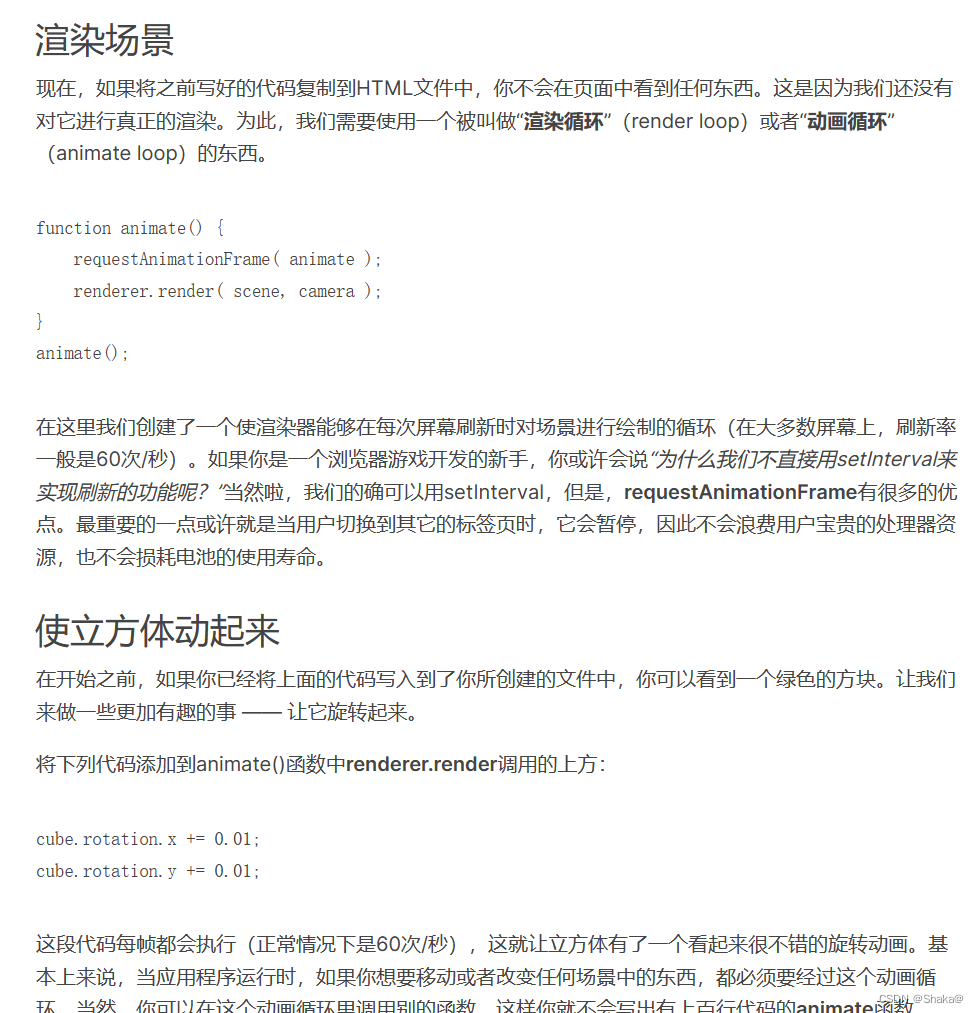
下面,我们也围绕这个例子来剖析一下,究竟是怎么做到的
创建3D场景、建立模型
为了真正能够让你的场景借助three.js来进行显示,我们需要以下几个对象:场景、相机和渲染器,这样我们就能透过摄像机渲染出场景。
场景创建
我们既然要去做3D的模型,就会需要一个展示3D的场景(也可以说是容器)
用来模拟我们生活中的3D世界
const scene = new THREE.Scene()
我们利用three.js就创建了一个3D的场景对象scene,我们可以输出看一下
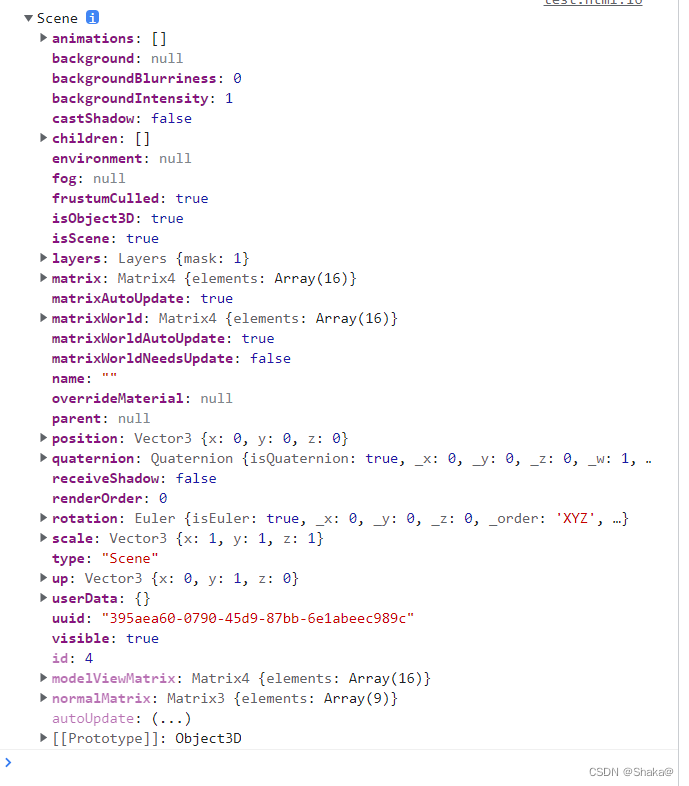
可以发现我们成功创建了一个场景,关于这些都是什么,现在先不着急了解
物体的形状(几何体)
很容易理解,不管是模型还是什么的东西,总归要有一个宏观的形状,所以就有它对应的api
几何体Geometry
- 长方体:BoxGeometry
- 圆柱体:CylinderGeometry
- 球体:SphereGeometry
- 圆锥:ConeGeometry
- 矩形平面:PlaneGeometry
- 圆平面:CircleGeometry
等等
这就对应了文档中的这部分
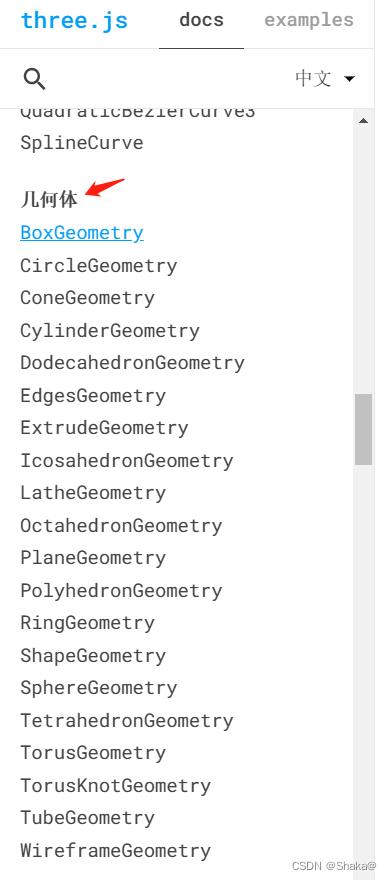
也推荐大家去官网看一看,因为有具体的API解释
这里我们创建一个长方体对象
        //创建一个长方体几何对象Geometry
        const geometry = new THREE.BoxGeometry(100, 100, 100);
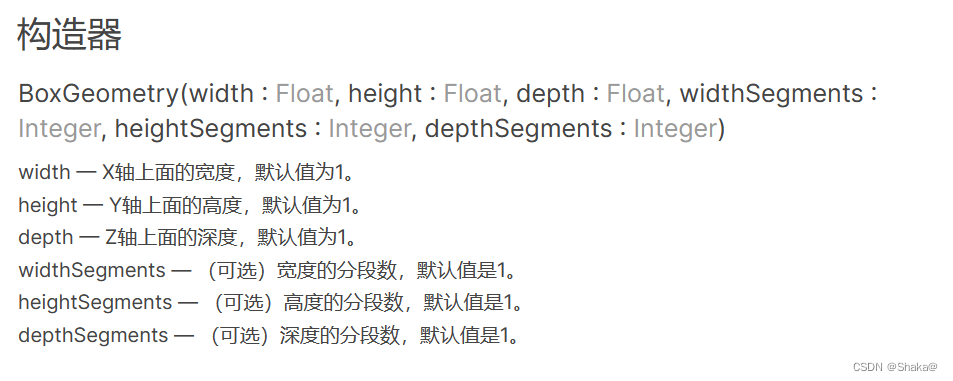
这是我们属性的含义
物体的材质
材质很容易理解,大白话来说:光面啦,磨砂面的啊…等等
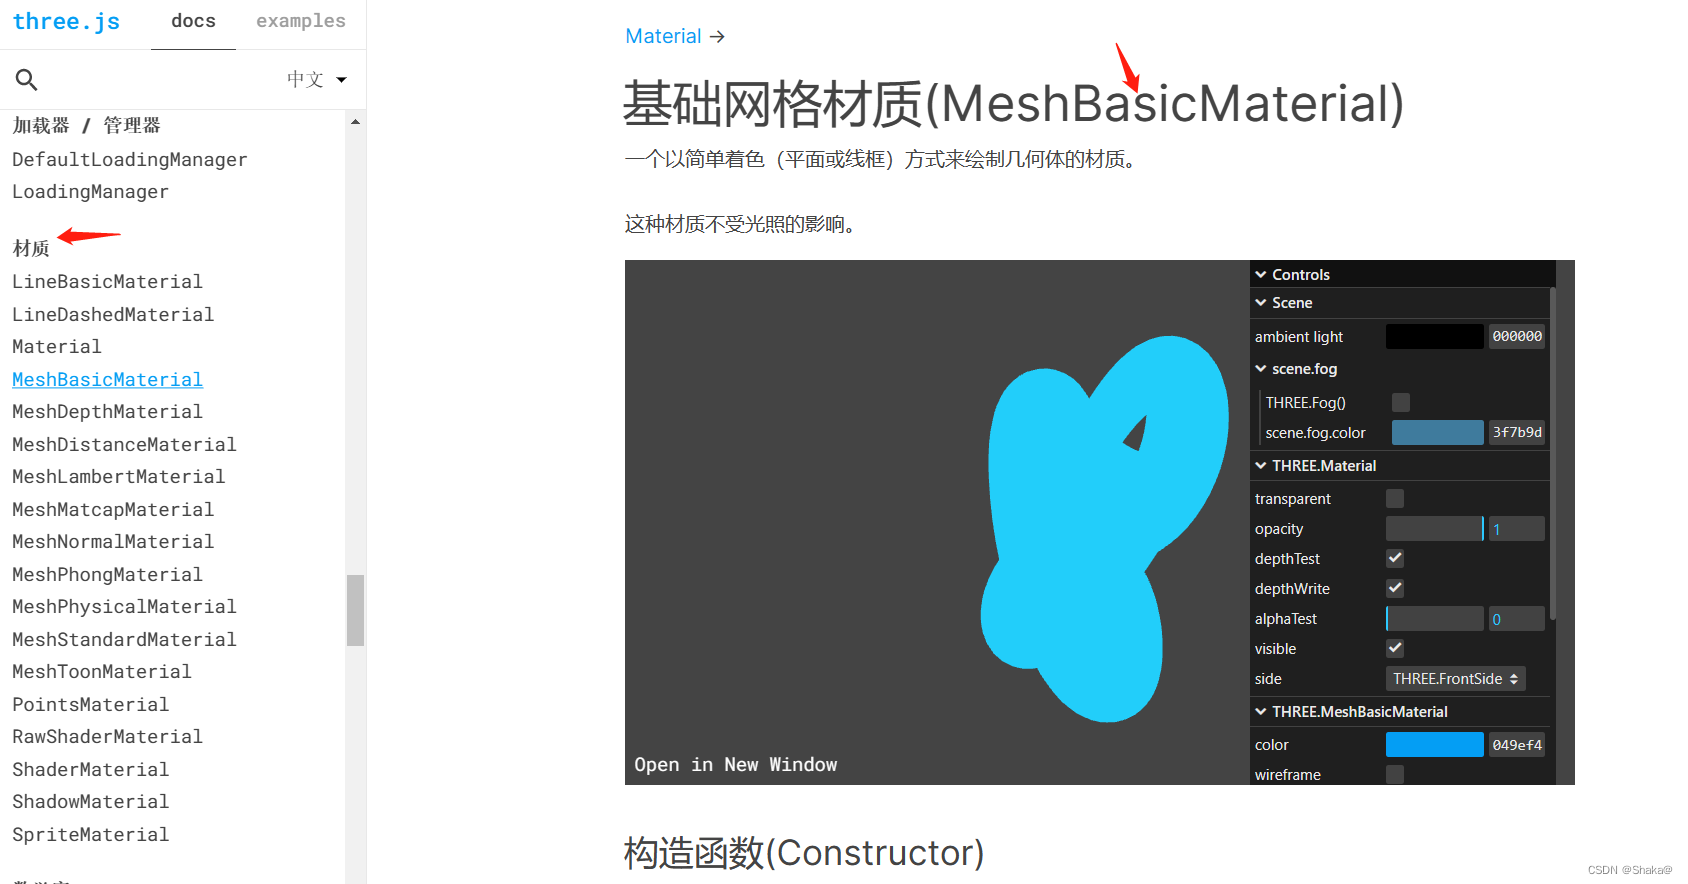
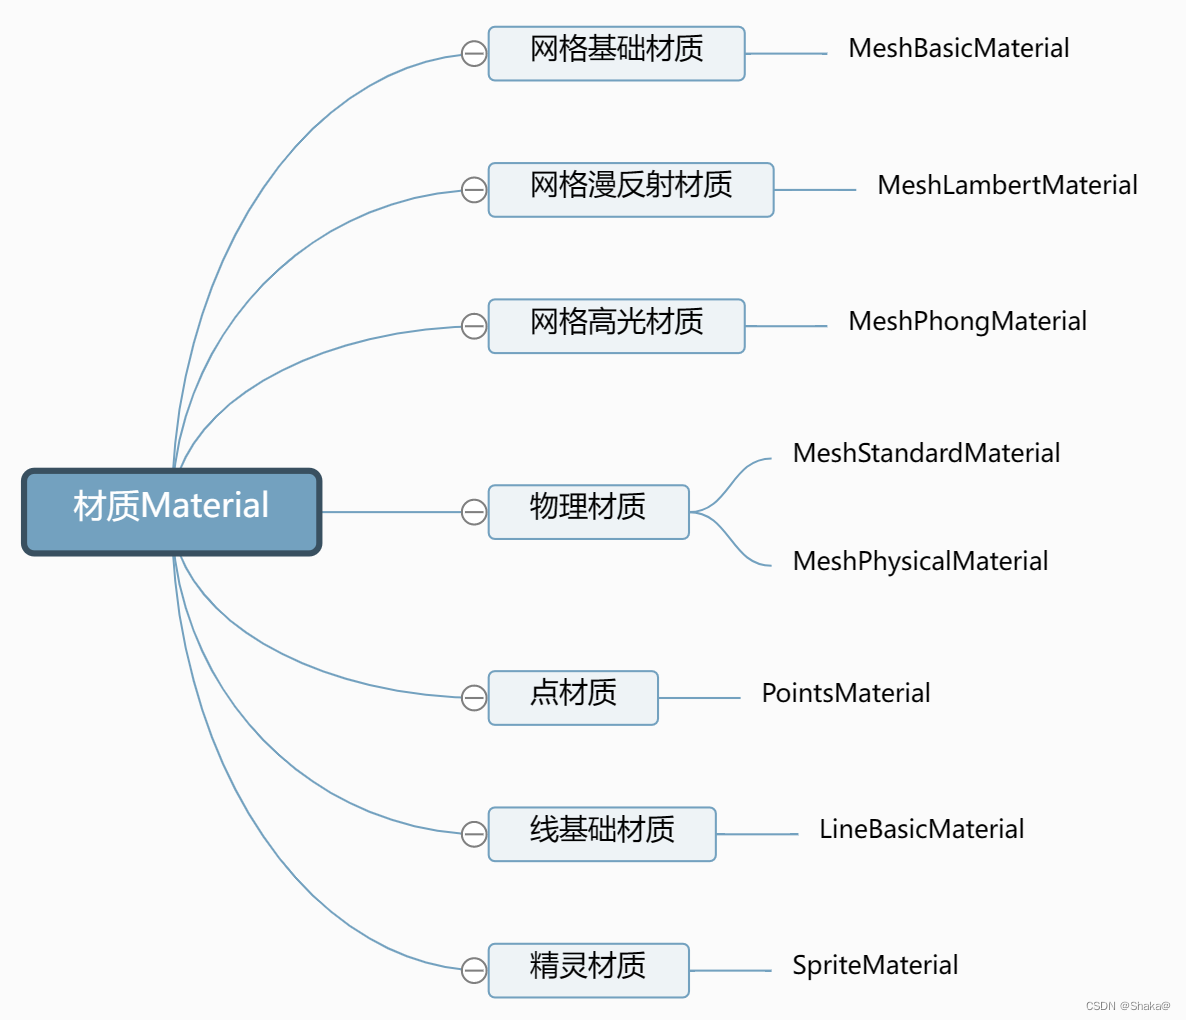
这里我们就创建一个网格基础材质
        //创建一个材质对象Material
        const material = new THREE.MeshBasicMaterial({
            color: 0xff0000,//这里可以设置颜色
        });
网格(Mesh)
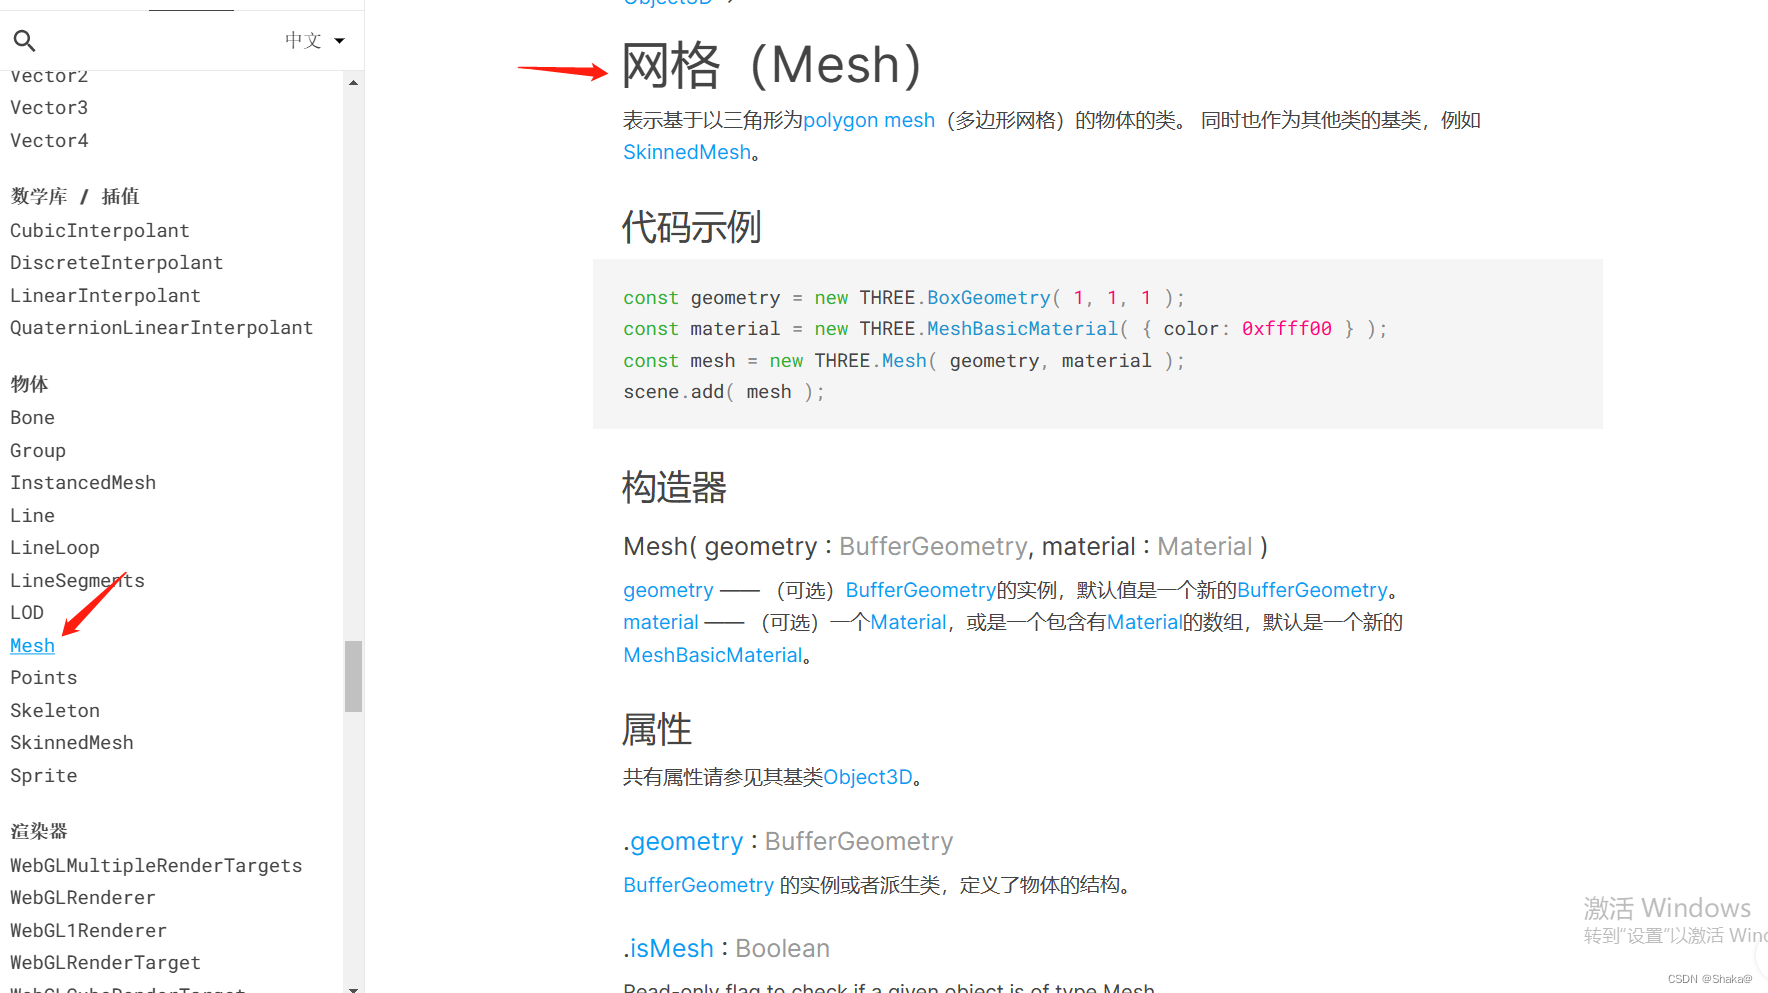
怎么理解这个东西呢
其实就是我们在创建的虚拟的3D场景中,创建了一个虚拟的3D模型,那么,我们这个3D模型应该在哪里呢,或者说,放在哪呢,具体位置在哪呢
网格包含一个几何体以及作用在此几何体上的材质,我们可以直接将网格对象放入到我们的场景中,并让它在场景中自由移动。
这里一定要区别开Scene和Mesh
// 两个参数分别为几何体geometry、材质material
const mesh = new THREE.Mesh(geometry, material); //网格模型对象Mesh
模型位置
很简单,就是这个几何体应该在哪,给个具体的方位
//设置网格模型在三维空间中的位置坐标,默认是坐标原点
mesh.position.set(0,10,0);
把模型添加到场景中
.add()方法
在threejs中你创建了一个表示物体的虚拟对象Mesh,需要通过.add()方法,把网格模型mesh添加到三维场景scene中。
scene.add(mesh);
完整代码
        const scene = new THREE.Scene()
        //创建一个长方体几何对象Geometry
        const geometry = new THREE.BoxGeometry(50, 50, 50);
        //创建一个材质对象Material
        const material = new THREE.MeshBasicMaterial({
            color: 0x00ff00 ,//这里设置颜色
        });

        // 两个参数分别为几何体geometry、材质material
        const mesh = new THREE.Mesh(geometry, material); //网格模型对象Mesh
        //设置网格模型在三维空间中的位置坐标,默认是坐标原点
        mesh.position.set(0, 10, 0);
        // 把网格模型mesh添加到三维场景scene中
        scene.add(mesh);
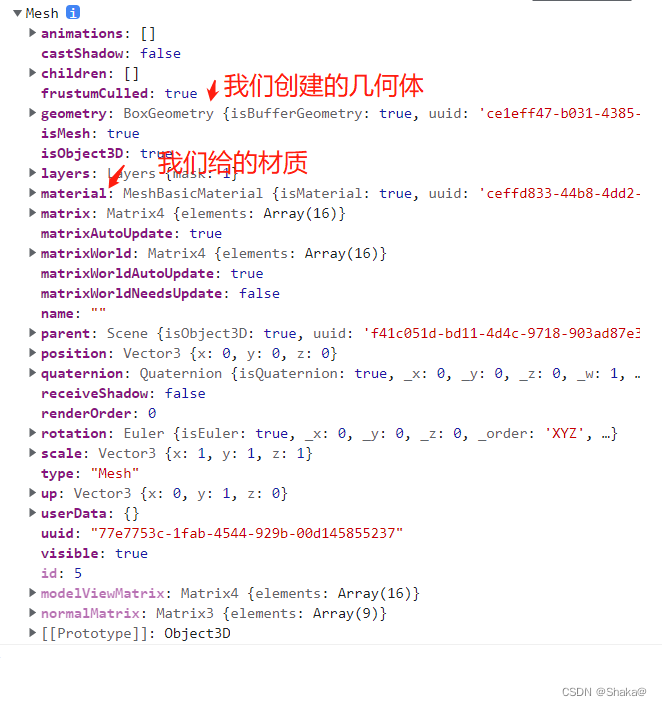
        console.log(mesh);
我们打印一下看看
相机
我们现在已经创建模型了,并且也添加到了场景之中,但是我们光这样是无法显示的,现在就会有另一个重要的知识点-相机
这里我们采用最简单的
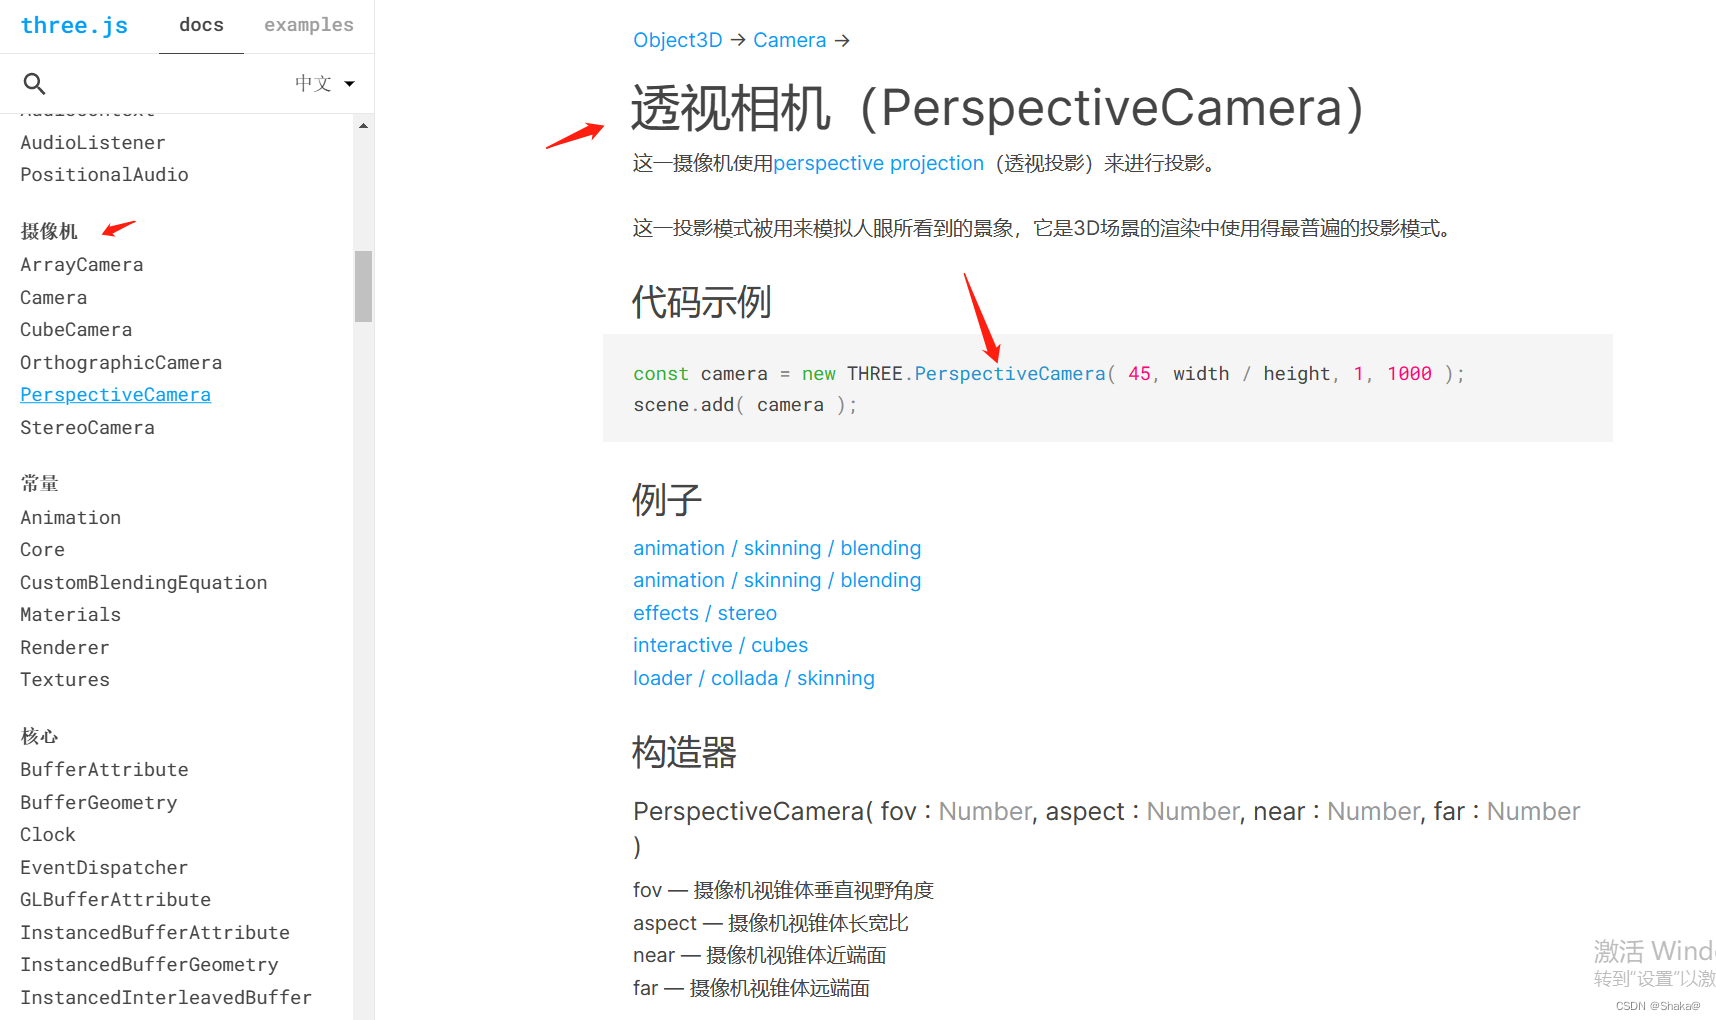
透视相机(PerspectiveCamera)
// 创建一个一个透视投影相机对象
const camera = new THREE.PerspectiveCamera();
相机位置
//相机在Three.js三维坐标系中的位置
// 根据需要设置相机位置具体值
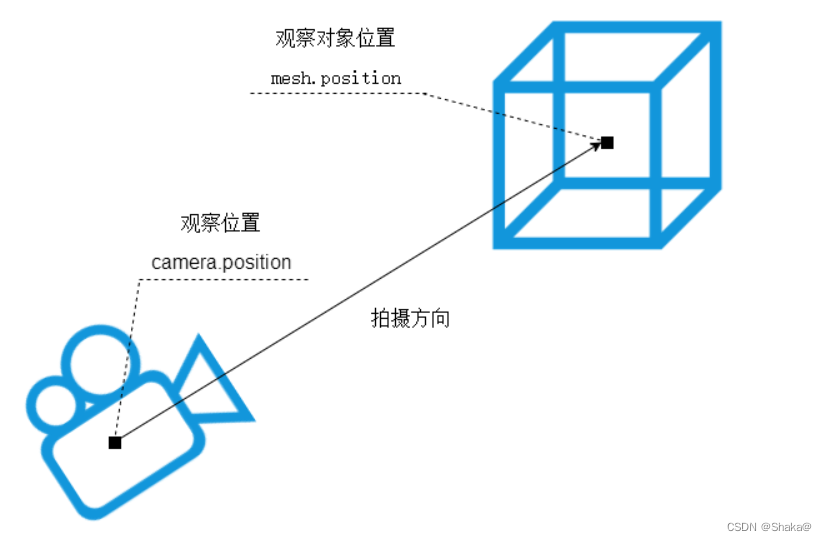
camera.position.set(200, 200, 200);
相机观察目标.lookAt()
就是控制我们的相机看哪里
camera.lookAt(mesh.position);//指向mesh对应的位置
画布(照片)
我们既然有相机了,那么肯定是有照片的,要不光有相机没有意义
而我们这个照片,就是基于canvas画布实现的
// 定义相机输出画布的尺寸(单位:像素px)
const width = 800; //宽度
const height = 500; //高度
PerspectiveCamera的四个参数
- fov:视野角度,视野角度就是无论在什么时候,你所能在显示器上看到的场景的范围,它的单位是角度(与弧度区分开)。
- aspect ratio:长宽比,也就是你用一个物体的宽除以它的高的值。比如说,当你在一个宽屏电视上播放老电影时,可以看到图像仿佛是被压扁的。
- near:近截面,相机视锥体近裁截面相对相机距离
- far:远截面,相机视锥体远裁截面相对相机距离,far-near构成了视锥体高度方向
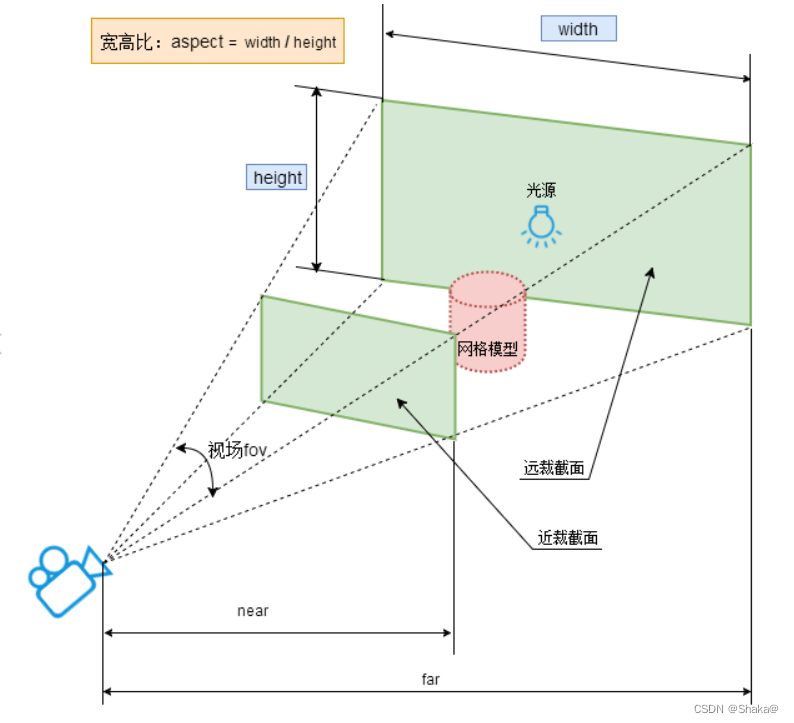
// 30:视场角度, width / height:Canvas画布宽高比, 1:近裁截面, 3000:远裁截面
const camera = new THREE.PerspectiveCamera(30, width / height, 1, 3000);
渲染器
我们现在,有物体,有相机,有胶卷,还差什么
就差最后咔嚓茄子的那一下了对不对
完成这最后咔嚓的一步,我们还需要一个WebGL的渲染器对象
// 创建渲染器对象
const renderer = new THREE.WebGLRenderer();
设置Canvas画布尺寸
setSize()
renderer.setSize( window.innerWidth, window.innerHeight );
渲染
render()
renderer.render(scene, camera); //执行渲染操作
完整代码
<!DOCTYPE html>
<html lang="en">

<head>
    <meta charset="UTF-8">
    <meta http-equiv="X-UA-Compatible" content="IE=edge">
    <meta name="viewport" content="width=device-width, initial-scale=1.0">
    <title>Document</title>
    <style>
        body {
            margin: 0;
            padding: 0;
        }
    </style>
</head>

<body>
    <script src="./three.js-r148/build/three.js">
    </script>
    <script>
        const scene = new THREE.Scene()
        // 定义相机输出画布的尺寸(单位:像素px)
        const width = 800; //宽度
        const height = 500; //高度
        // 实例化一个透视投影相机对象
        const camera = new THREE.PerspectiveCamera(30, width / height, 1, 3000);
        // 创建渲染器对象
        const renderer = new THREE.WebGLRenderer();
        renderer.setSize(width, height);
        document.body.appendChild(renderer.domElement);
        //创建一个长方体几何对象Geometry
        const geometry = new THREE.BoxGeometry(50, 50, 50);
        //创建一个材质对象Material
        const material = new THREE.MeshBasicMaterial({
            color: 0x00ff00,
        });

        // 两个参数分别为几何体geometry、材质material
        const mesh = new THREE.Mesh(geometry, material); //网格模型对象Mesh
        //设置网格模型在三维空间中的位置坐标,默认是坐标原点
        mesh.position.set(0, 10, 0);
        //相机在Three.js三维坐标系中的位置
        // 根据需要设置相机位置具体值
        camera.position.set(200, 200, 200);
        camera.lookAt(mesh.position);//指向mesh对应的位置

        // 把网格模型mesh添加到三维场景scene中
        scene.add(mesh);
        renderer.render(scene, camera); //执行渲染操作
        console.log(renderer);
    </script>
</body>

</html>
效果图
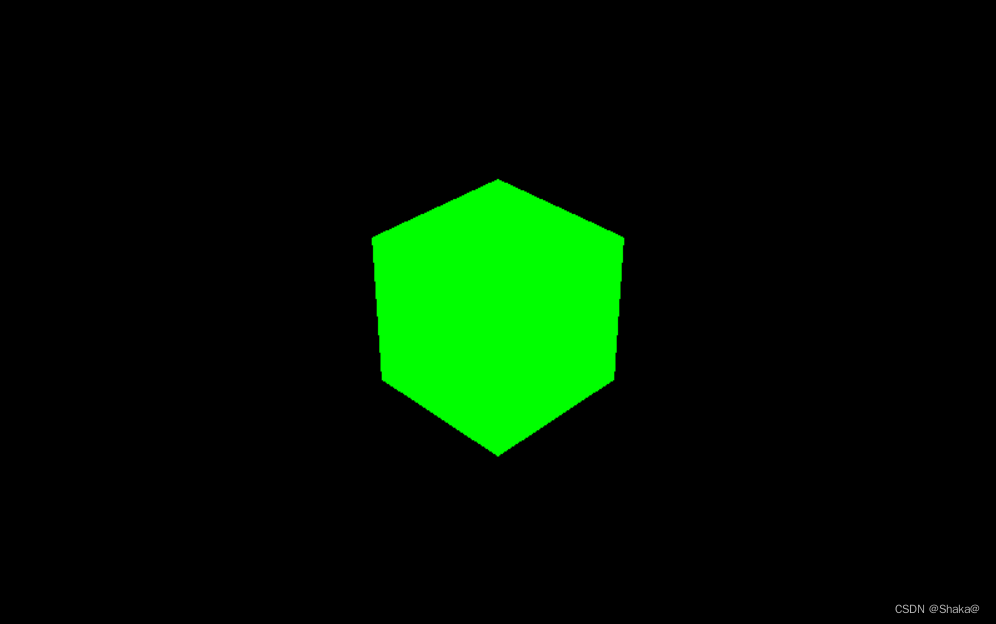
当然,我这里没加旋转哈,这个很简单,重点还是上面说的各种知识点


