文章目录
- 前言
- 使用 @FocusState 属性包装器
- 高级技巧:专用辅助技术
- 可聚焦字段的高级用法
- 优化体验
- 运行截图
- 总结
前言
SwiftUI Release 引入了强大的新功能,其中之一是辅助焦点管理。
这个新功能使得在SwiftUI中处理辅助技术(如 VoiceOver 和 Switch Control)的焦点状态变得更加轻松。本文将介绍如何使用 @FocusState 属性包装器来在SwiftUI中管理和移动辅助焦点。

使用 @FocusState 属性包装器
在 SwiftUI Release 中,我们获得了一整套特殊工具来更有效地处理辅助焦点。其中包括 @FocusState 属性包装器和 focused 视图修饰符。通过使用这些工具,我们能够以与无辅助技术相同的方式处理辅助焦点。
核心代码如下:
import SwiftUI

struct SignInView: View {
    @FocusState
    private var isEmailFocused: Bool

    @State private var email = ""

    var body: some View {
        NavigationView {
            Form {
                TextField("Email", text: $email, prompt: Text("Enter your email"))
                    .focused($isEmailFocused)
            }
            .navigationTitle("Sign In")
            .onChange(of: isEmailFocused) { newValue in
                print(newValue)
            }
        }
    }
}
如上例所示,我们使用 @FocusState 属性包装器定义一个变量,表示 email 字段是否聚焦。SwiftUI 默认使用 false 值初始化该变量,因为用户可以聚焦屏幕的任何其他区域。我们还使用 focused 视图修饰符将特定视图的焦点状态绑定到保存其值的变量。
请记住,您可以声明尽需要的变量,以使用 @FocusState 属性包装器涵盖辅助焦点逻辑。
高级技巧:专用辅助技术
核心代码如下:
import SwiftUI

struct SignInView: View {
    @FocusState
    private var isEmailFocused: Bool

    @FocusState
    private var isPasswordFocused: Bool

    @State private var email = ""
    @State private var password = ""

    var body: some View {
        NavigationView {
            Form {
                TextField("Email", text: $email, prompt: Text("Enter your email"))
                    .focused($isEmailFocused)
                SecureField("Password", text: $password, prompt: Text("Enter your password"))
                    .focused($isPasswordFocused)
            }
            .navigationTitle("Sign In")
        }
    }
}
@FocusState 属性包装器的好处之一是您可以将其行为限制为专用辅助技术。例如,您可以仅为VoiceOver或Switch Control激活 @FocusState 属性包装器。默认情况下,SwiftUI 会将设备上可用的所有辅助技术的值进行聚合。
可聚焦字段的高级用法
核心代码如下:
import SwiftUI

struct SignInView: View {
    @FocusState(for: .switchControl)
    private var isEmailFocused: Bool

    @State private var email = ""

    var body: some View {
        NavigationView {
            Form {
                TextField("Email", text: $email, prompt: Text("Enter your email"))
                    .focused($isEmailFocused)
            }
            .navigationTitle("Sign In")
            .onChange(of: isEmailFocused) { newValue in
                print(newValue)
            }
        }
    }
}
如上例所示,我们使用 @FocusState 属性包装器为 Switch Control 定义了可选变量 isEmailFocused,以便在用户在视图之间移动焦点时进行切换。
通常,屏幕上有多个元素,您可能希望在它们之间移动焦点。为了支持这种情况,SwiftUI 提供了一种通过枚举定义可聚焦字段并在它们之间切换的方法。这种方法是使用 @FocusState 属性包装器,并为其提供一个用于标识焦点类型的参数(在此例中是 .switchControl)。
优化体验
全部代码如下:
import SwiftUI

enum FocusableField: Hashable {
    case email
    case password
}

struct ContentView: View {
    @State private var email = ""
    @State private var password = ""

    @FocusState
    private var focus: FocusableField?

    var body: some View {
        NavigationView {
            Form {
                TextField("email", text: $email, prompt: Text("email"))
                    .focused($focus, equals: .email)
                SecureField("password", text: $password, prompt: Text("password"))
                    .focused($focus, equals: .password)
                Button("login", action: login)
            }
            .toolbar {
                ToolbarItem(placement: .keyboard) {
                    Button("next") {
                        if email.isEmpty {
                            focus = .email
                        } else if password.isEmpty {
                            focus = .password
                        } else {
                            focus = nil
                        }
                    }
                }
            }
            .navigationTitle("Sign in")
            .onAppear {
                DispatchQueue.main.asyncAfter(deadline: .now() + 0.1) {
                    focus = .email
                }
            }
        }
    }

    private func login() {
        // your logic here
    }
}
运行截图
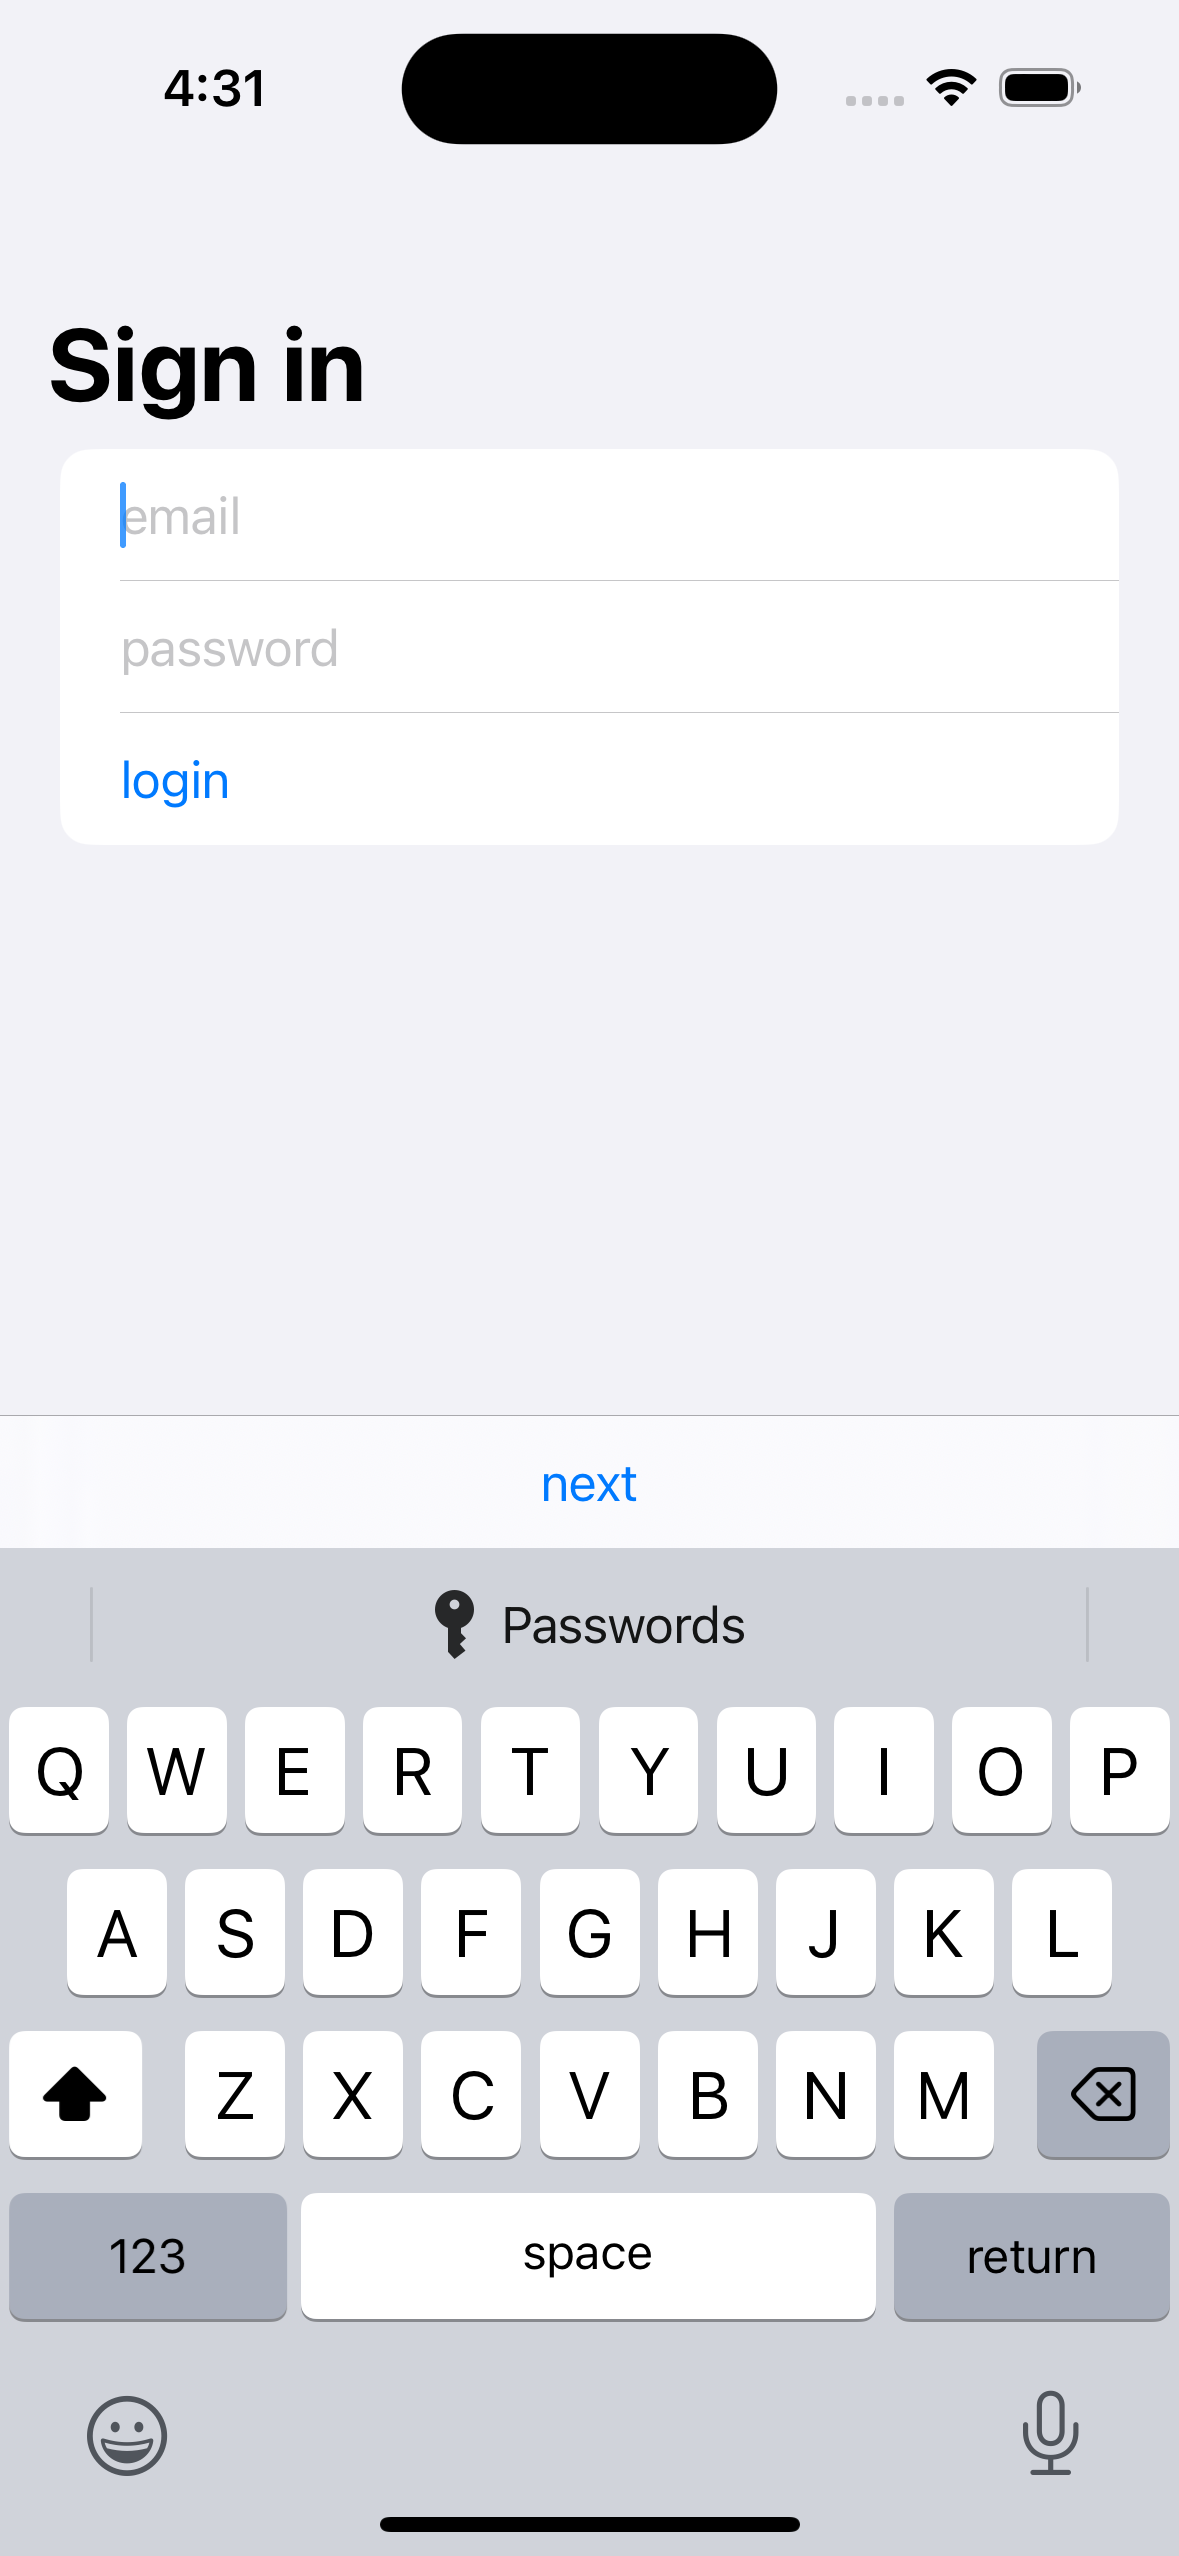
如上例所示,我们使用了 @FocusState 属性包装器与我们的新 FocusableField 枚举一起使用。该枚举定义了屏幕上所有可聚焦视图,应确保 FocusableField 枚举是可散列的。
使用 @FocusState 属性包装器定义了可选变量 focus,以便在用户将焦点从您定义的视图移动时将其值设置为 nil。
我们还使用了 focused 修饰符的一个版本,将一个视图绑定到可散列枚举的特定情况。请记住,您可以通过更改 @FocusState 包装的变量的值来以编程方式移动 VoiceOver 或 Switch Control 的焦点。
总结
在这篇文章中,我们深入探讨了 SwiftUI Release 引入的辅助焦点管理功能,使得处理辅助技术(如 VoiceOver 和 Switch Control)的焦点状态变得更加轻松。通过 @FocusState 属性包装器,我们学习了如何灵活地管理焦点状态,以提高用户体验。通过详细的示例代码,我们演示了如何在 SwiftUI 中使用 @FocusState,以及如何通过 focused 视图修饰符将焦点状态绑定到特定的视图。此外,我们介绍了一种高级用法,通过枚举定义可聚焦字段并在它们之间切换,以更好地支持屏幕上多个元素的焦点移动。最后,我们提供了一些优化 SwiftUI 应用的建议,以更好地整合焦点管理,并通过最佳实践和总结使读者更深入地了解了在 SwiftUI Release 中使用 @FocusState 管理焦点的方法。


