缓存作用:
举个例子:在我们程序中,很多配置数据(例如一个商品信息、一个白名单、一个第三方客户的回调接口),这些数据存在我们的DB上,数据量比较少,但是程序访问很频繁,这种情况下,将数据放一份到我们的内存缓存中将大大提升我们系统的访问效率,因为减少了数据库访问,有可能减少了数据库建连时间、网络数据传输时间、数据库磁盘寻址时间……
总的来说,涉及查询场景都可以考虑使用缓存优化性能:1、查数据库2、读取文件3、网络访问,特别是调用第三方服务查询接口!
注意:并不是缓存设计的多,性能就一定好,对更新频繁的数据,不推荐缓存,保证数据一致性是缓存的前提!
一致性解释:缓存数据和数据库数据一致,避免脏(错误)数据!
第一步:添加相关依赖

<!-- 缓存依赖 -->
        <!--spring-cache-->
        <dependency>
            <groupId>org.springframework.boot</groupId>
            <artifactId>spring-boot-starter-cache</artifactId>
        </dependency>
        <!--redis依赖-->
        <dependency>
            <groupId>org.springframework.boot</groupId>
            <artifactId>spring-boot-starter-data-redis</artifactId>
        </dependency>
        <!-- redis连接池-->
        <dependency>
            <groupId>redis.clients</groupId>
            <artifactId>jedis</artifactId>
        </dependency>
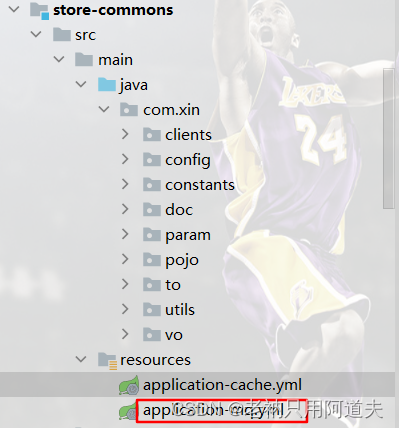
第二步:在公共模块的resources目录中添加application-cache .yml
spring:
  cache:
    type: redis  #缓存设置为Redis类型
  redis: # 设置Redis连接信息
    host: 1.15.122.194 #存放缓存的服务器id
    port: 6379 # 端口号
    jedis: # 设置Redis连接池
      pool:
        max-wait: 2000ms
        min-idle: 2 #最小空闲数
        max-idle: 8 #最大空闲数
        max-active: 10 #最大连接数
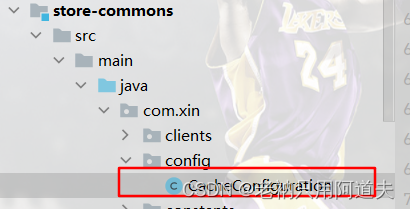
第三步:编写缓存配置类(这个只是单纯的配置类,并没有使用@Configuration注解生效,需要其他配置类集成它,添加@Configuration注解才可以生效生效)
/**
 * @author:
 * @date: 2022/12/20
 * @description: 缓存配置类 放置配置的方法,子模板继承和复用
 */
public class CacheConfiguration {
    //配置缓存manager
    @Bean
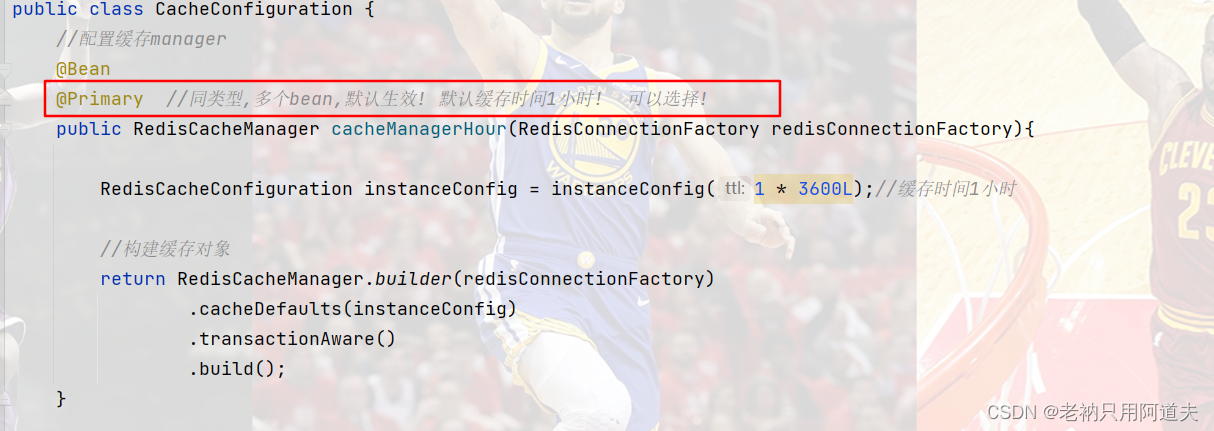
    @Primary  //同类型,多个bean,默认生效! 默认缓存时间1小时!  可以选择!
    public RedisCacheManager cacheManagerHour(RedisConnectionFactory redisConnectionFactory){

        RedisCacheConfiguration instanceConfig = instanceConfig(1 * 3600L);//缓存时间1小时

        //构建缓存对象
        return RedisCacheManager.builder(redisConnectionFactory)
                .cacheDefaults(instanceConfig)
                .transactionAware()
                .build();
    }

    //缓存一天配置
    @Bean
    public RedisCacheManager cacheManagerDay(RedisConnectionFactory redisConnectionFactory){

        RedisCacheConfiguration instanceConfig = instanceConfig(24 * 3600L);//缓存时间1小时

        //构建缓存对象
        return RedisCacheManager.builder(redisConnectionFactory)
                .cacheDefaults(instanceConfig)
                .transactionAware()
                .build();
    }


    /**
     * 实例化具体的缓存配置!
     *    设置缓存方式JSON
     *    设置缓存时间 单位秒
     * @param ttl
     * @return
     */
    private RedisCacheConfiguration instanceConfig(Long ttl){

        //设置jackson序列化工具
        Jackson2JsonRedisSerializer<Object> jackson2JsonRedisSerializer
                = new Jackson2JsonRedisSerializer<Object>(Object.class);

        //常见jackson的对象映射器,并设置一些基本属性
        ObjectMapper objectMapper = new ObjectMapper();
        objectMapper.disable(SerializationFeature.WRITE_DATES_AS_TIMESTAMPS);
        objectMapper.registerModule(new JavaTimeModule());
        objectMapper.configure(MapperFeature.USE_ANNOTATIONS,false);
        objectMapper.setSerializationInclusion(JsonInclude.Include.NON_NULL);
        objectMapper.activateDefaultTyping(LaissezFaireSubTypeValidator.instance,
                ObjectMapper.DefaultTyping.NON_FINAL, JsonTypeInfo.As.PROPERTY);

        jackson2JsonRedisSerializer.setObjectMapper(objectMapper);

        return RedisCacheConfiguration.defaultCacheConfig()
                .entryTtl(Duration.ofSeconds(ttl)) //设置缓存时间
                .disableCachingNullValues()
                .serializeValuesWith(RedisSerializationContext.SerializationPair.fromSerializer(jackson2JsonRedisSerializer));
    }

}
第四步:在服务消费者pom.xml中添加公共模块依赖,以此来使用缓存
<dependency>
   <artifactId>store-commons</artifactId>
   <groupId>com.xin</groupId>
   <version>1.0-SNAPSHOT</version>
</dependency>
第五步:在application.yml文件中激活缓存
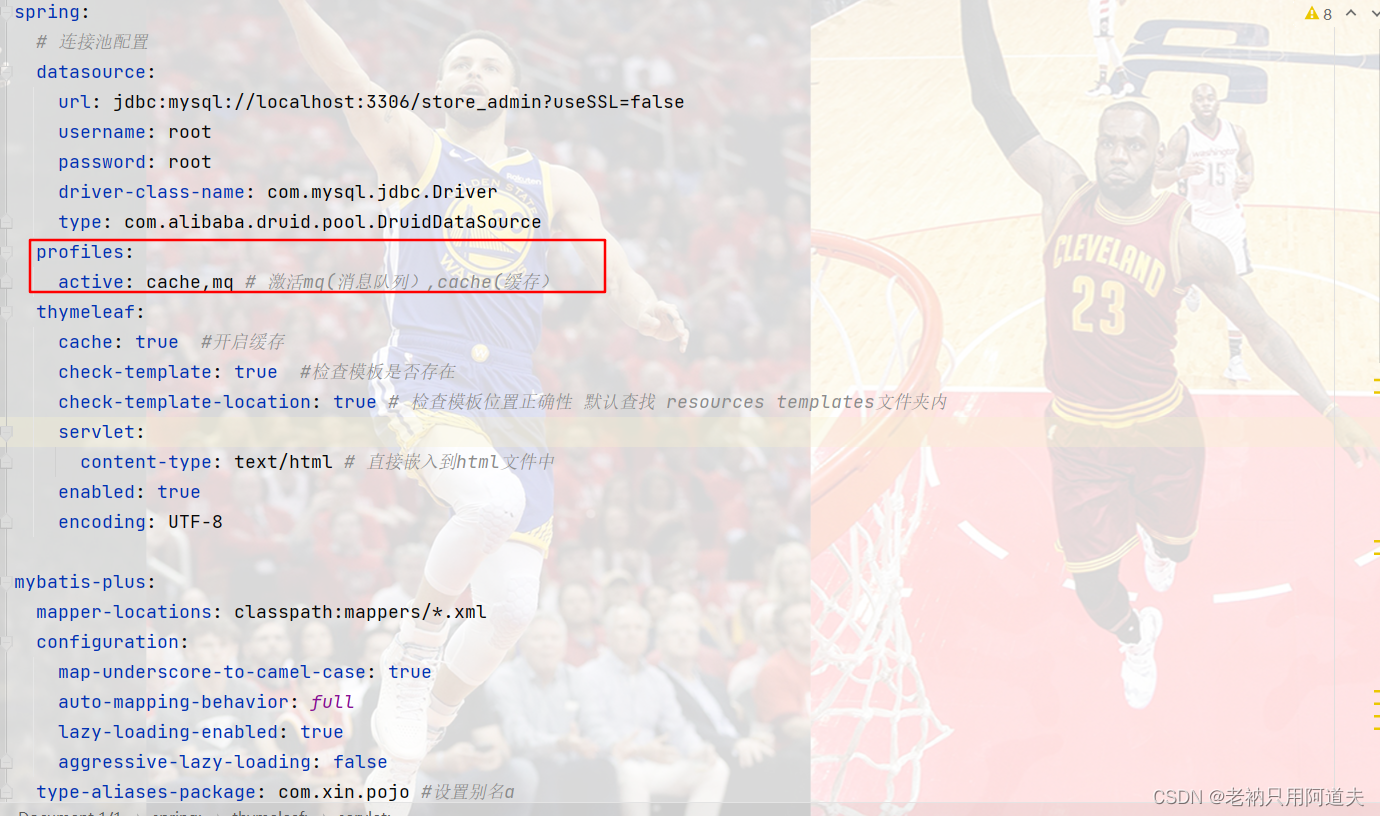
spring:
  # 连接池配置
  datasource:
    url: jdbc:mysql://localhost:3306/store_admin?useSSL=false
    username: root
    password: root
    driver-class-name: com.mysql.jdbc.Driver
    type: com.alibaba.druid.pool.DruidDataSource
  profiles:
    active: cache,mq # 激活mq(消息队列),#激活store-common模块的缓存cache(缓存)
  thymeleaf:
    cache: true  #开启缓存
    check-template: true  #检查模板是否存在
    check-template-location: true # 检查模板位置正确性 默认查找 resources templates文件夹内
    servlet:
      content-type: text/html # 直接嵌入到html文件中
    enabled: true
    encoding: UTF-8

mybatis-plus:
  mapper-locations: classpath:mappers/*.xml
  configuration:
    map-underscore-to-camel-case: true
    auto-mapping-behavior: full
    lazy-loading-enabled: true
    aggressive-lazy-loading: false
  type-aliases-package: com.xin.pojo #设置别名a
ribbon:
  ReadTimeout: 60000
  ConnectTimeout: 60000
  eager-load:
    enabled: true #开启饥饿加载提升第一次访问速度
    clients:
      - admin-service #指定开启服务
feign:
  httpclient:
    enabled: true  # 开启httpClient开关,启动连接池,提升feign连接效率!
    max-connections: 200  #最大连接数量
    max-connections-per-route: 50  #单路径最大连接数
  client: #默认 1秒
    default: # 设置连接超时时间
      ConnectTimeOut: 10000
      ReadTimeOut: 10000 #设置读取数据超时时间

server:
  servlet:
    context-path: /admin #访问的根路径

#OSS配置
aliyun:
  oss:
    file:
      # 控制台 - oss - 点击对应桶 - 概览 - 地域节点
      endpoint: oss-cn-beijing.aliyuncs.com
      keyid: LTAI5t82cN3TfofxJywKvoj5
      keysecret: 7cPhJQBMNewuqXXnUiEjpj1l8YeONo
      bucketname: store-b2c
第六步:在启动类上添加@EnableCaching,开启缓存

第七步:创建配置类,集成公共模块中的CacheConfiguration缓存配置类
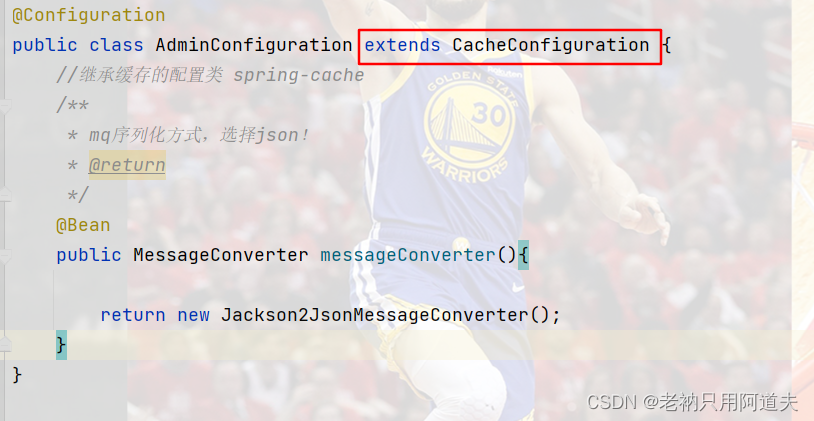
第八步:在service层中使用缓存


SpringBoot实现Redis缓存(SpringCache+Redis的整合)
补充:
@Cacheable
位置:添加到方法和类上
作用:调用方法,查询是否有缓存,有直接走缓存,没有走方法,将方法的返回值进行缓存!
参数:
     value = String{} 配置缓存的 配置缓存‘分区’,相当于缓存的标示!
     key   = String   配置缓存的 ‘分区’下的具体表示,此处支持SpringEL表达式,动态命名
     cacheManager = String 选择配置类中的缓存配置对象beanname,不选走默认!
     condition = String 注解生效条件, 支持SpringEl表达式 例如: "#result != null"
                            结果不为null,进行缓存!
例如:
    @Cacheable(value = "product",key = "#root.methodName+" +
                                        "'-'+#productParamInteger.categoryID+" +
                                        "'-'+#productParamInteger.currentPage+" +
                                        "'-'+#productParamInteger.pageSize",cacheManager = "cacheManagerbean")

SpringEL表达式简单了解:

    #开头
    #root.method 被调用的方法
    #root.methodName 被调用的方法名称
    #root.target 调用方法的对象
    #root.args  方法的参数对象数组 支持[index]获取具体参数
    #result 方法执行后的结果
    #形参名  直接获取行参数名称 支持ognl向下继续读取

注意:
    缓存也分为curd
    所以,设计缓存value和key的时候,多思考,后期还需要进行删除和替换动作!
@CachePut
位置:添加到方法和类上
作用:不影响方法使用,将方法的返回值,进行指定的key更新,通常添加到修改方法上!
参数:
     value = String{} 配置缓存的 配置缓存‘分区’,相当于缓存的标示!
     key   = String   配置缓存的 ‘分区’下的具体表示,此处支持SpringEL表达式,动态命名
     cacheManager = String 选择配置类中的缓存配置对象beanname,不选走默认!
     condition = String 注解生效条件, 支持SpringEl表达式 例如: "#result != null"
                            结果不为null,进行更新!
例如:
    @CachePut(key = "#id", condition = "#result != null"),
@CacheEvict
位置:添加到方法和类上
作用:不影响方法使用,将方法的返回值,进行指定的key失效,通常添加到删除方法上!
参数:
     value = String{} 配置缓存的 配置缓存‘分区’,相当于缓存的标示!
     key   = String   配置缓存的 ‘分区’下的具体表示,此处支持SpringEL表达式,动态命名
     cacheManager = String 选择配置类中的缓存配置对象beanname,不选走默认!
     condition = String 注解生效条件, 支持SpringEl表达式 例如: "#result != null"
                            结果不为null,进行失效!
例如:
   //单一失效
   @CacheEvict(value = "student", key = "'saveCache01'")
   //allEntries = true 删除分区所有的数据
   @CacheEvict(value = "list.product",allEntries = true)
   //多点失效
   @Caching(evict = {
            @CacheEvict(value = "student", key = "'saveCache01'"),
            @CacheEvict(value = "student", key = "'saveCache02'")
    })
@Caching
位置:添加方法和类上
作用:多包涵注解,可以包含上面三个注解,用于复杂的缓存策略!
参数:
    Cacheable [] cacheable 配置多个缓存
    CachePut []  put 配置多个更新
    CacheEvict [] evict() 配置多个缓存

例如:
   订单模块
   订单支付,需要更新订单缓存,还要清空热门商品缓存!
