乌班图远程连接方法:
安装openssh-server 和openssh-client
sudo apt-get -y install openssh-server openssh-client设置允许root用户进行远程连接
方法一:
/etc/ssh/sshd_config里面添加PermitRootLogin yes
#重启 service ssh restart
方法二:
修改文件:
vim /etc/ssh/sshd_config
在最后面添加下面内容
KexAlgorithms curve25519-sha256@libssh.org,ecdh-sha2-nistp256,ecdh-sha2-nistp384,ecdh-sha2-nistp521,diffie-hellman-group-exchange-sha256,diffie-hellman-group14-sha1,diffie-hellman-group-exchange-sha1,diffie-hellman-group1-sha1
然后重启服务:
sudo /etc/init.d/ssh restart
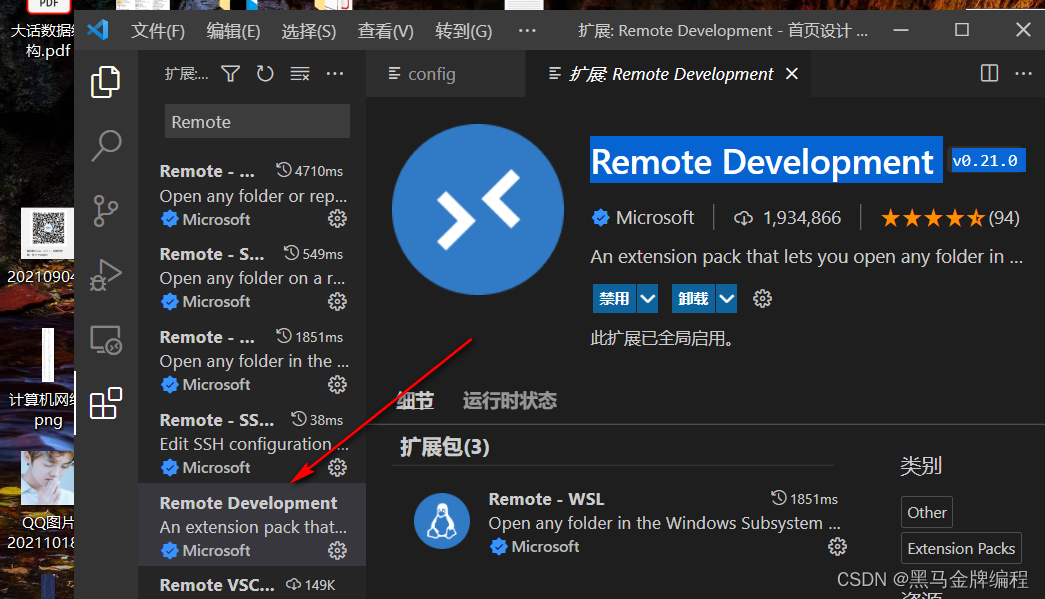
用VS code远程连接乌班图:
在VS code搜索安装Remote Development插件
点击新出现的小电脑选择SSH
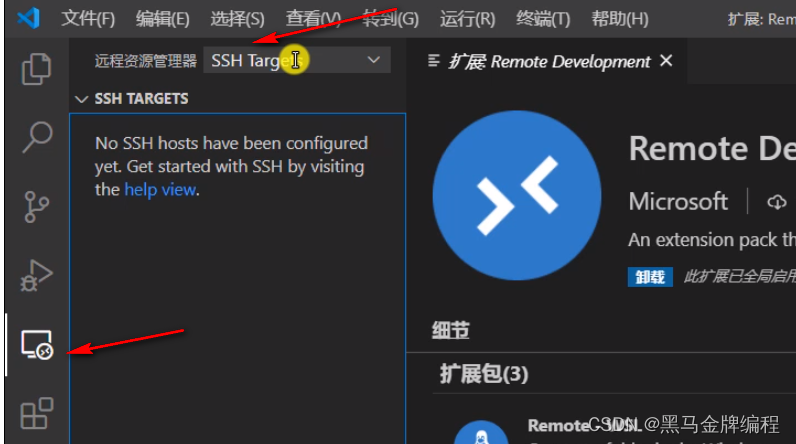
存放配置文件路径
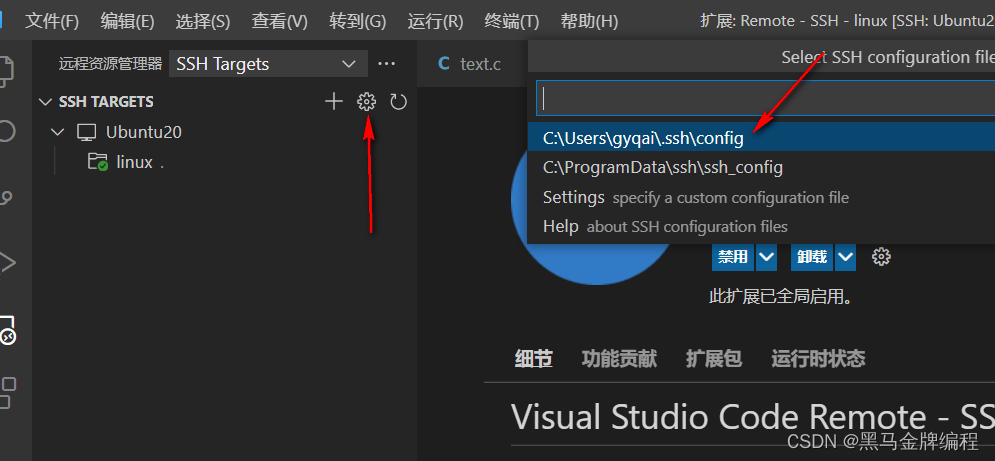
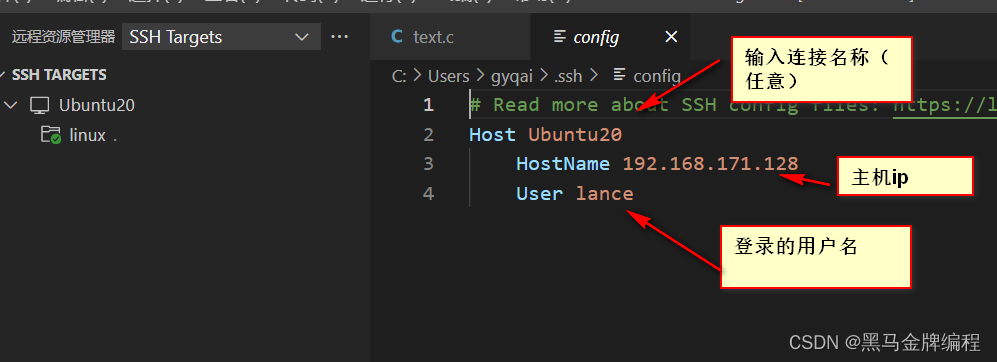
然后出现配置文件,按下图配置即可
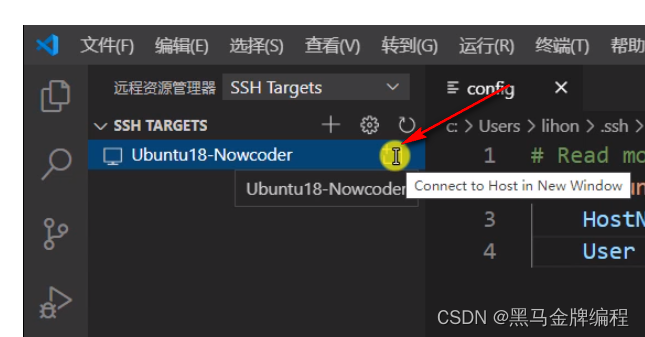
点击右边的按钮
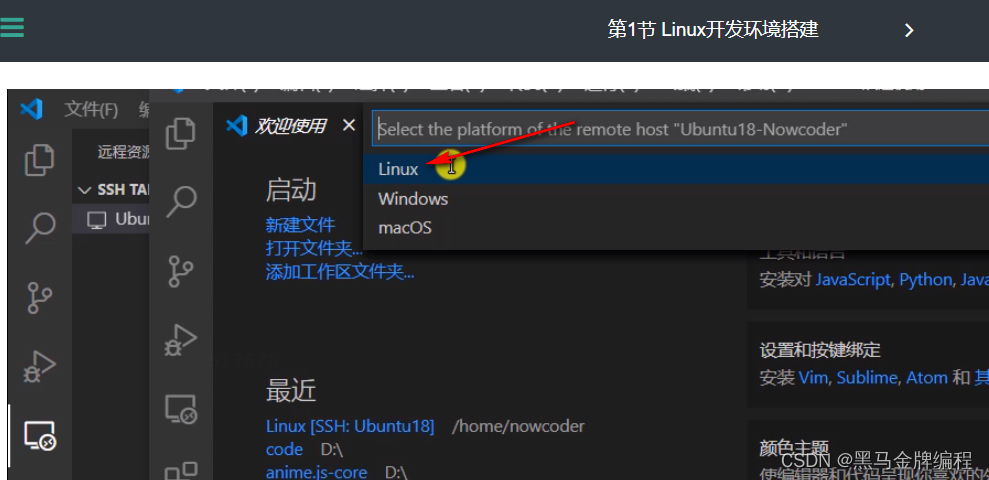
在弹出来的窗口选择linux
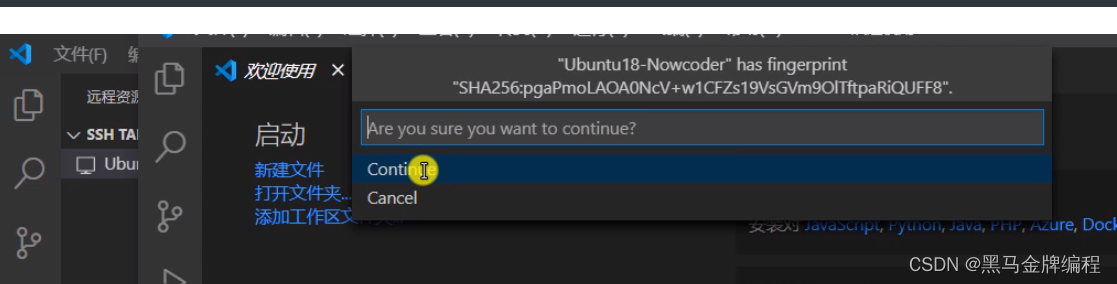
询问你是否继续,选择第一个继续
输入远程主机的密码
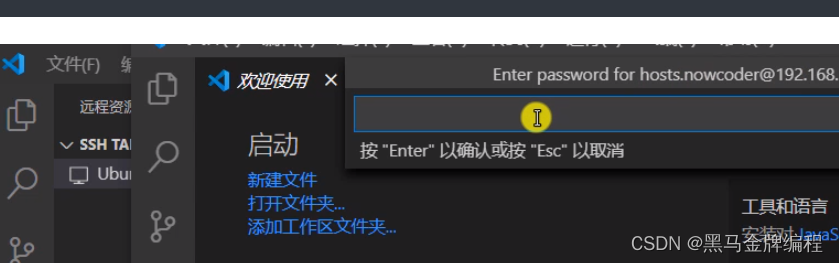
然后就接上了:
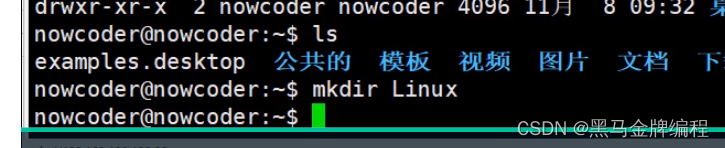
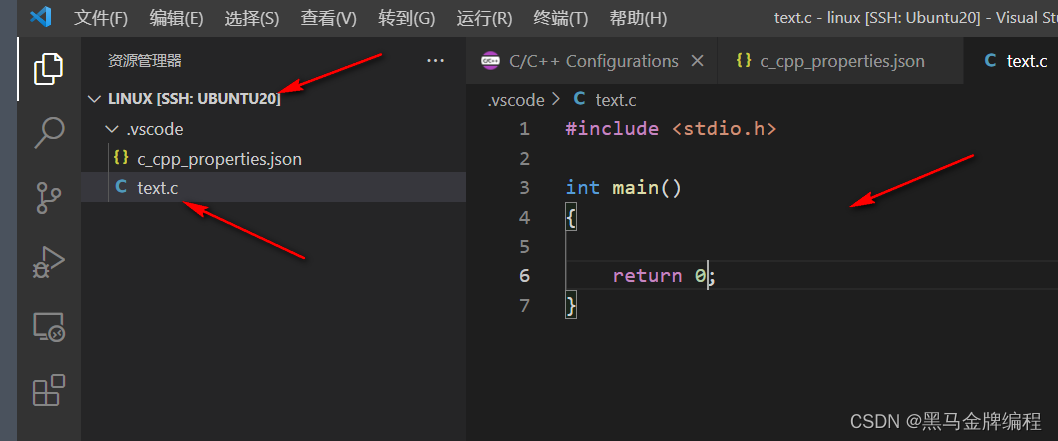
之后再linux上先创建一个文件夹
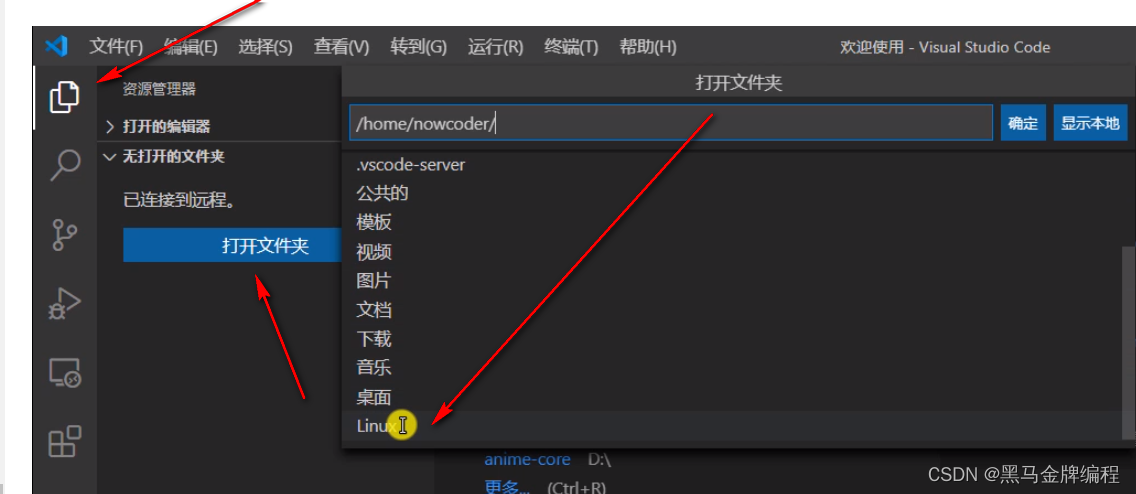
打开文件夹,找到linux文件夹
安装C++/C智能提示插件:
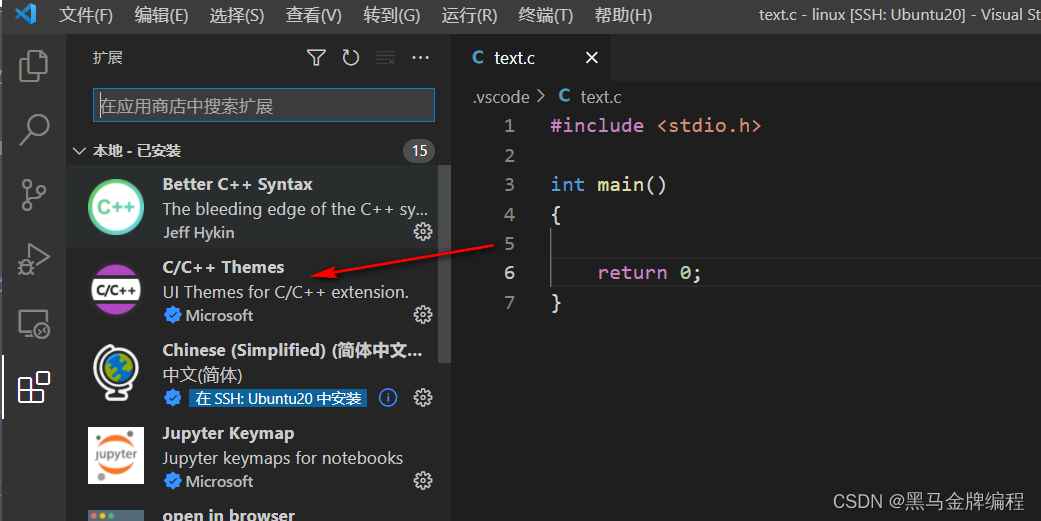
在远程主机创建文件text.c
保存远程主机密码:
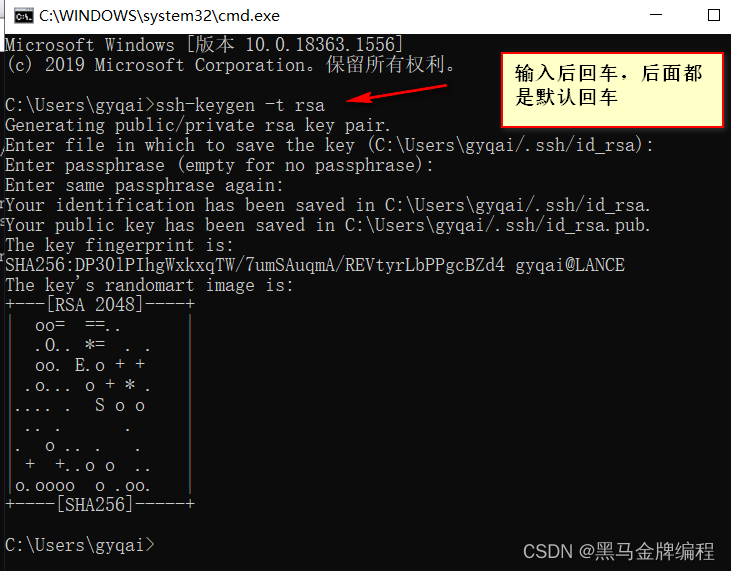
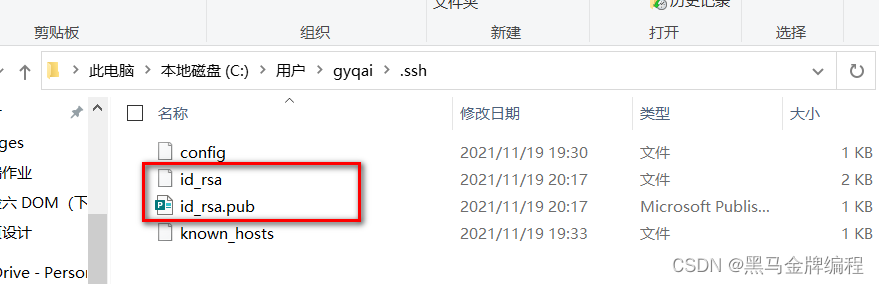
秘钥保存路径
在远程主机生成秘钥:
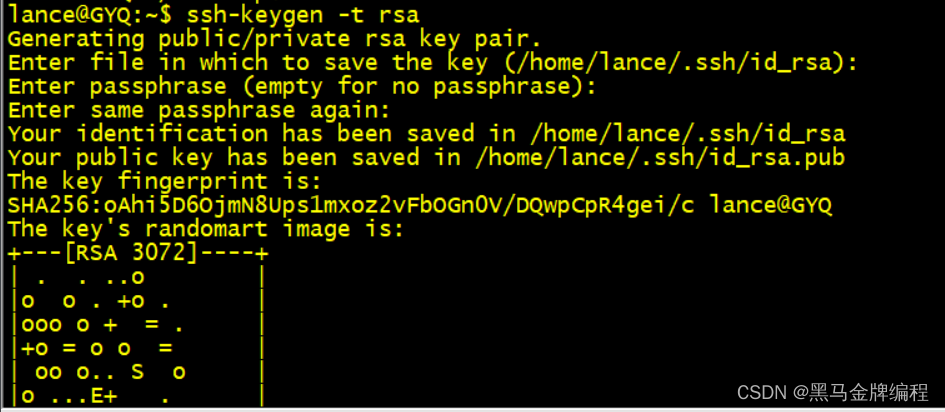
创建文件:authorized_keys
将Windows生成的公钥(id_rsa.pub)内容复制到远程主机authorized_keys文件中

保存就可以记住密码了


![[附源码]Node.js计算机毕业设计高校教学过程管理系统Express](https://img-blog.csdnimg.cn/e82bb92ebac64ddfae42f202eb704758.png)