设备明细:
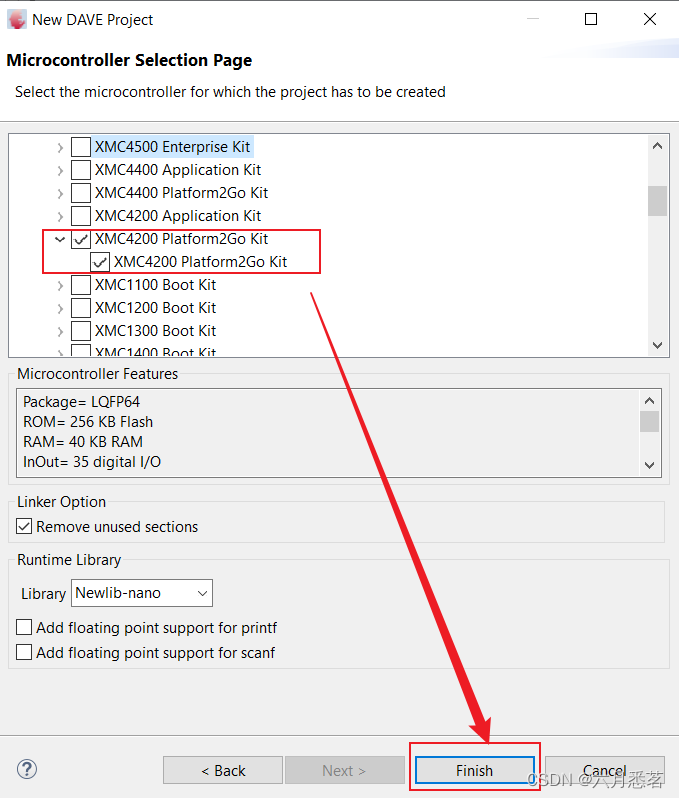
单片机:英飞凌开发板XMC4200 Platform2Go;
开发软件: DAVE;
测试设备:示波器。
调试PIN
TX: PIN 2.14
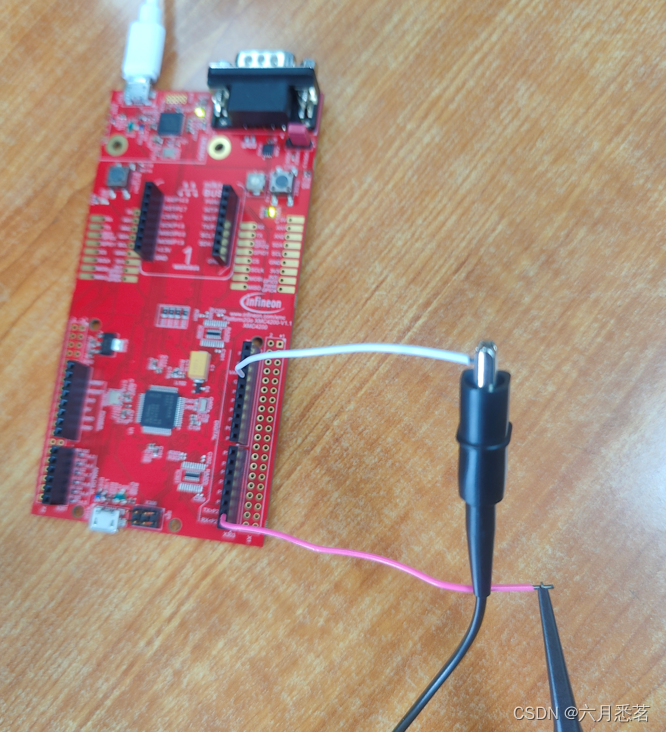
接线
TX PIN 2.14:接示波器信号端
GND:接示波器地端
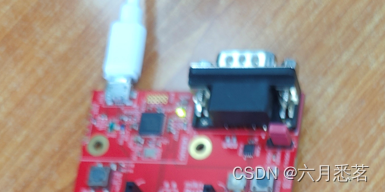
Debug口USB:接电脑端USB口
DAVE
新建项目

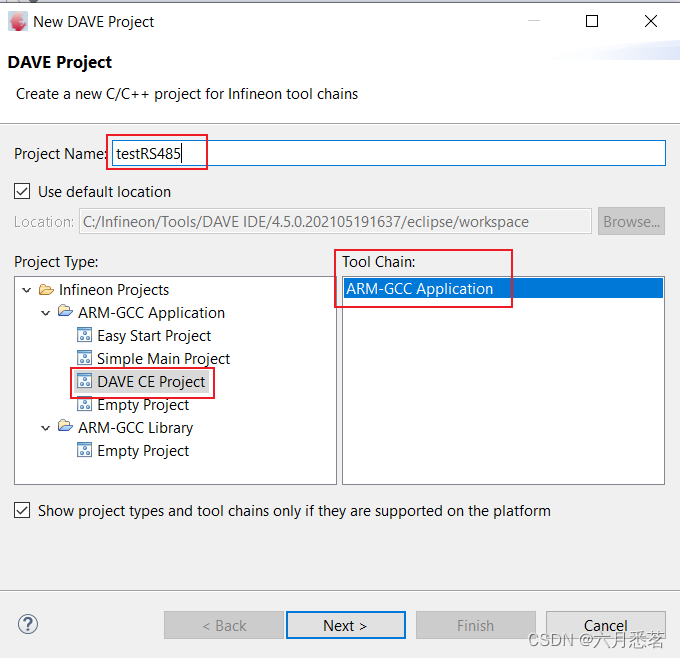
选择对应的板子型号
添加APP
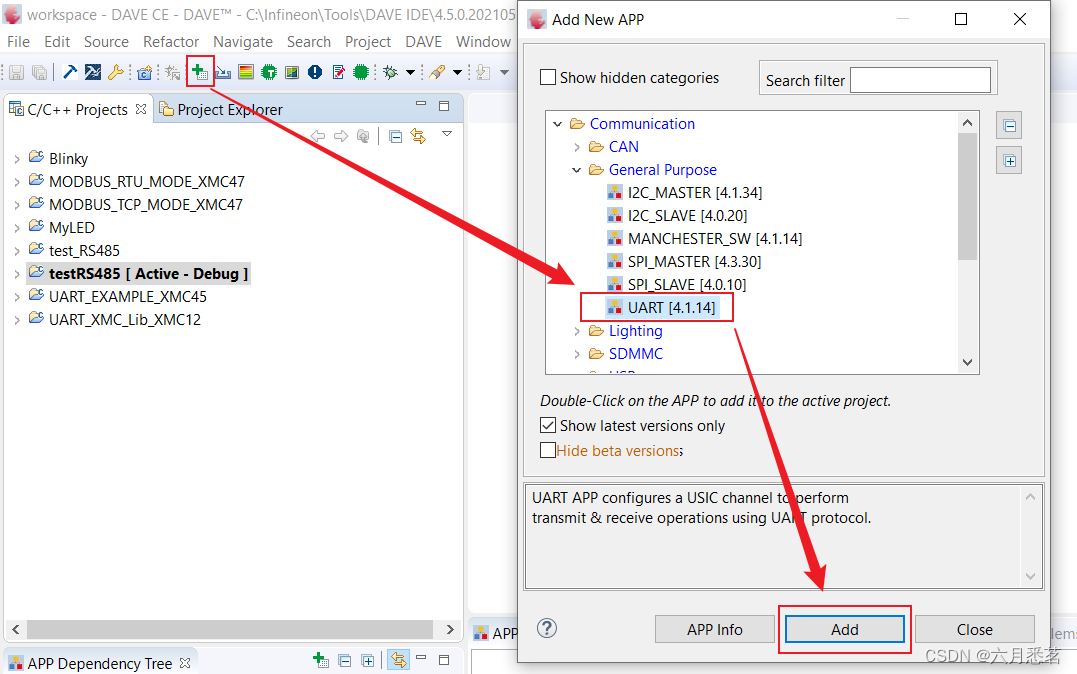
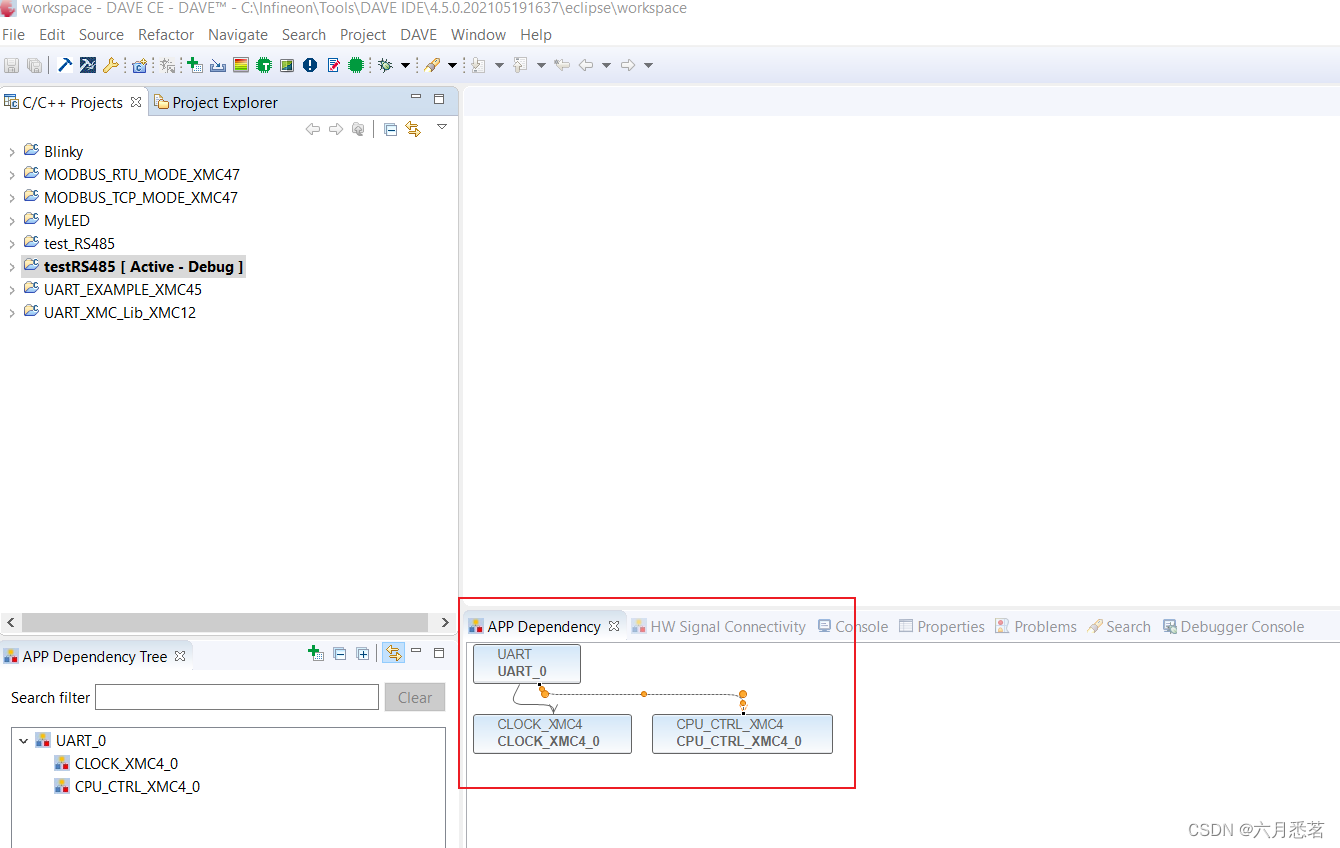
添加完之后的界面如下
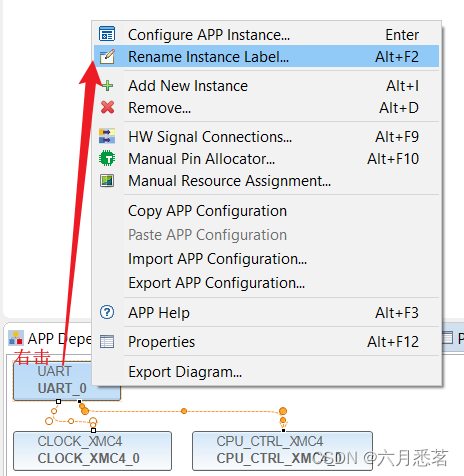
rename the added APP
右击UART_0 ----> Rename instant label

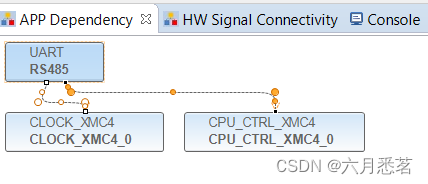
改完名之后显示如下
配置PIN
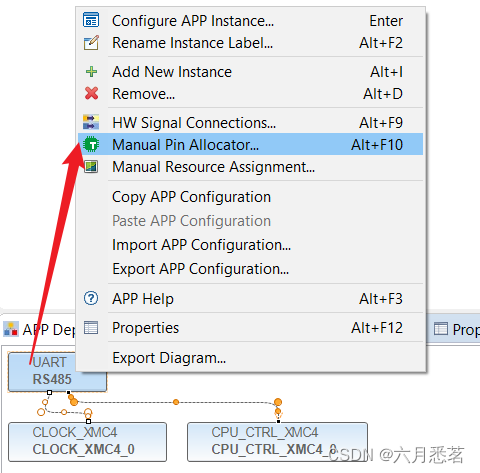
右击UART,选择Manual PIN Allocator
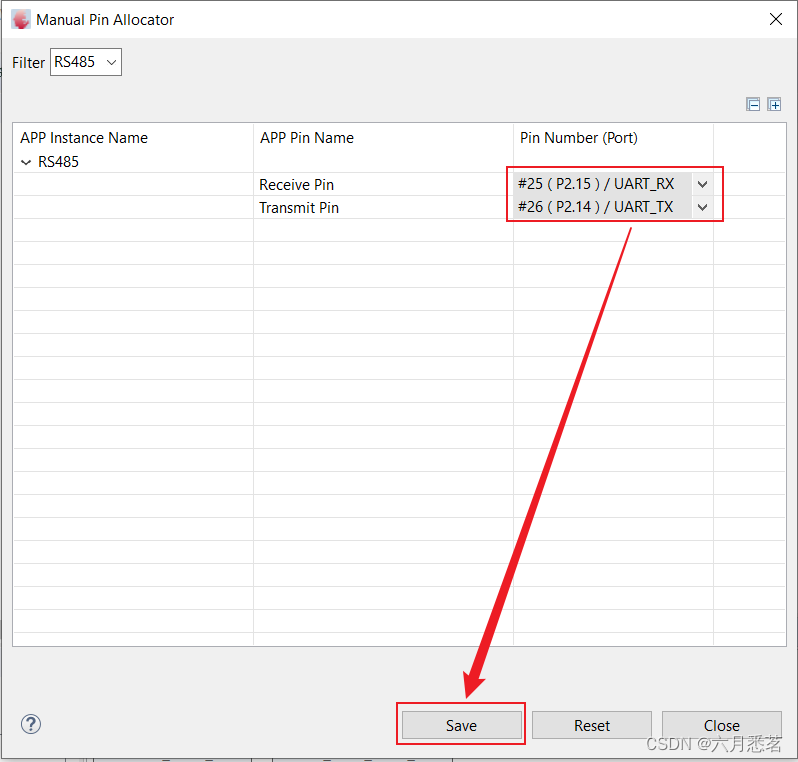
Receive PIN 配置为P2.15,
Transmit PIN 配置为P2.14。
其实重要的是Transmit PIN,因为现在我没有RS485的 transceiver,所以还没有办法与其他设备通信。
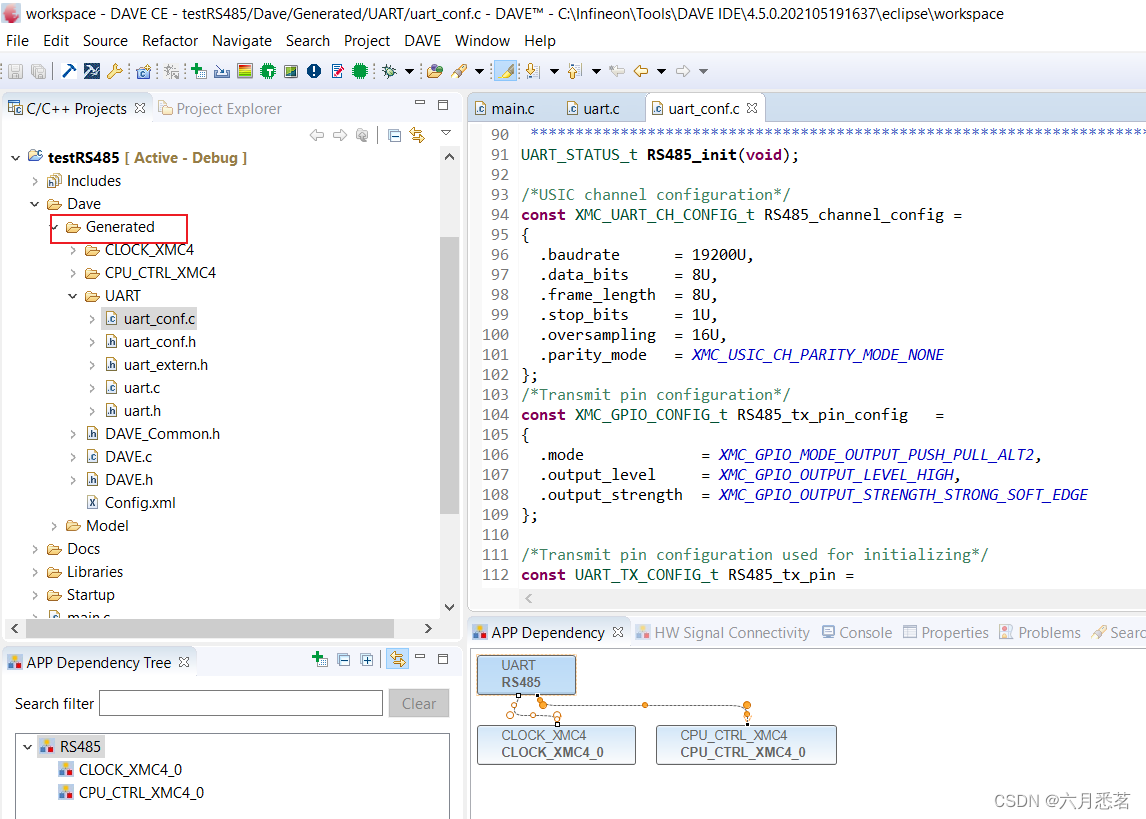
生成代码

点开项目文件夹 testRS485 —> DAVE —> Generated —> UART,可以看到生成的代码
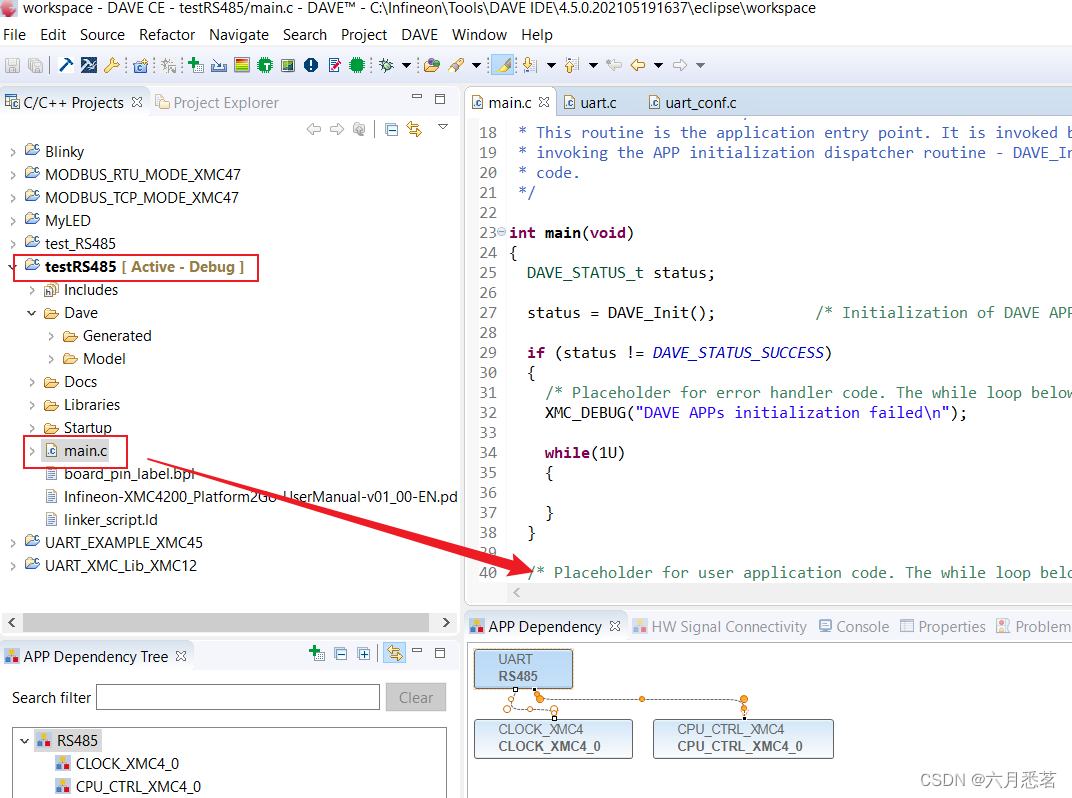
打开main.c,编写代码
/*
 * main.c
 *
 *  Created on: 2023 Aug 07 12:51:00
 */


#include "DAVE.h"                 //Declarations from DAVE Code Generation (includes SFR declaration)

/**

 * @brief main() - Application entry point
 *
 * <b>Details of function</b><br>
 * This routine is the application entry point. It is invoked by the device startup code. It is responsible for
 * invoking the APP initialization dispatcher routine - DAVE_Init() and hosting the place-holder for user application
 * code.
 */

int main(void)
{
	  DAVE_STATUS_t status;
	  uint8_t send_data[8] = {0, 0x55, 0, 1, 0, 1, 0, 1};

	  status = DAVE_Init();           /* Initialization of DAVE APPs  */

	  if (status != DAVE_STATUS_SUCCESS)
	  {
	    /* Placeholder for error handler code. The while loop below can be replaced with an user error handler. */
	    XMC_DEBUG("DAVE APPs initialization failed\n");

	    while(1U)
	    {

	    }
	  }

	  /* Placeholder for user application code. The while loop below can be replaced with user application code. */
	  while(1U)
	  {
		  /* Transmit the message */
		  UART_Transmit(&RS485, send_data, sizeof(send_data));
	  }
}
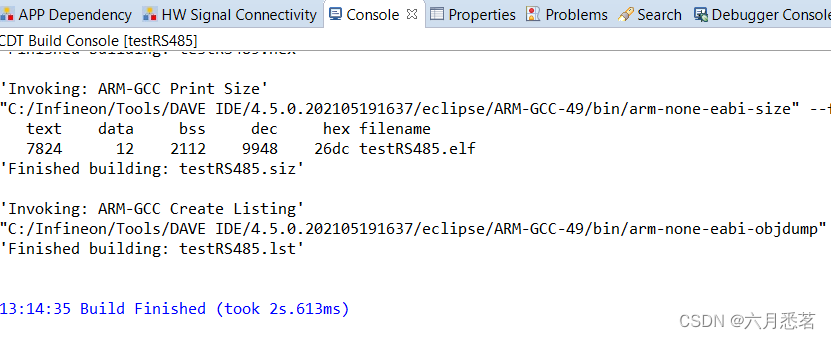
编译

编译完成界面
调试
将板子通过调试端口USB与电脑连接
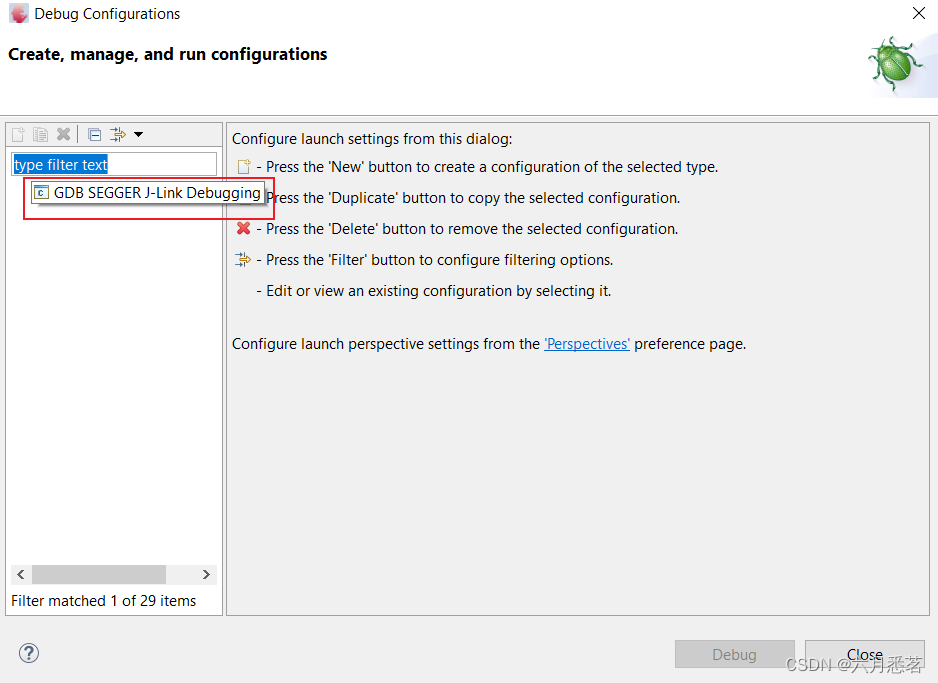
点击debug按钮

选择调试器
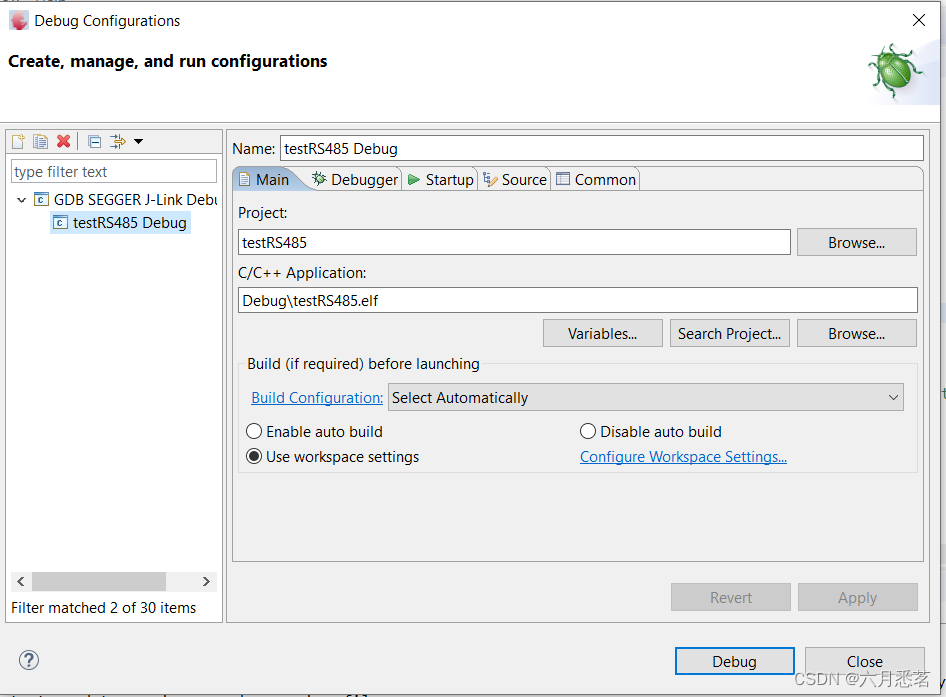
调试界面
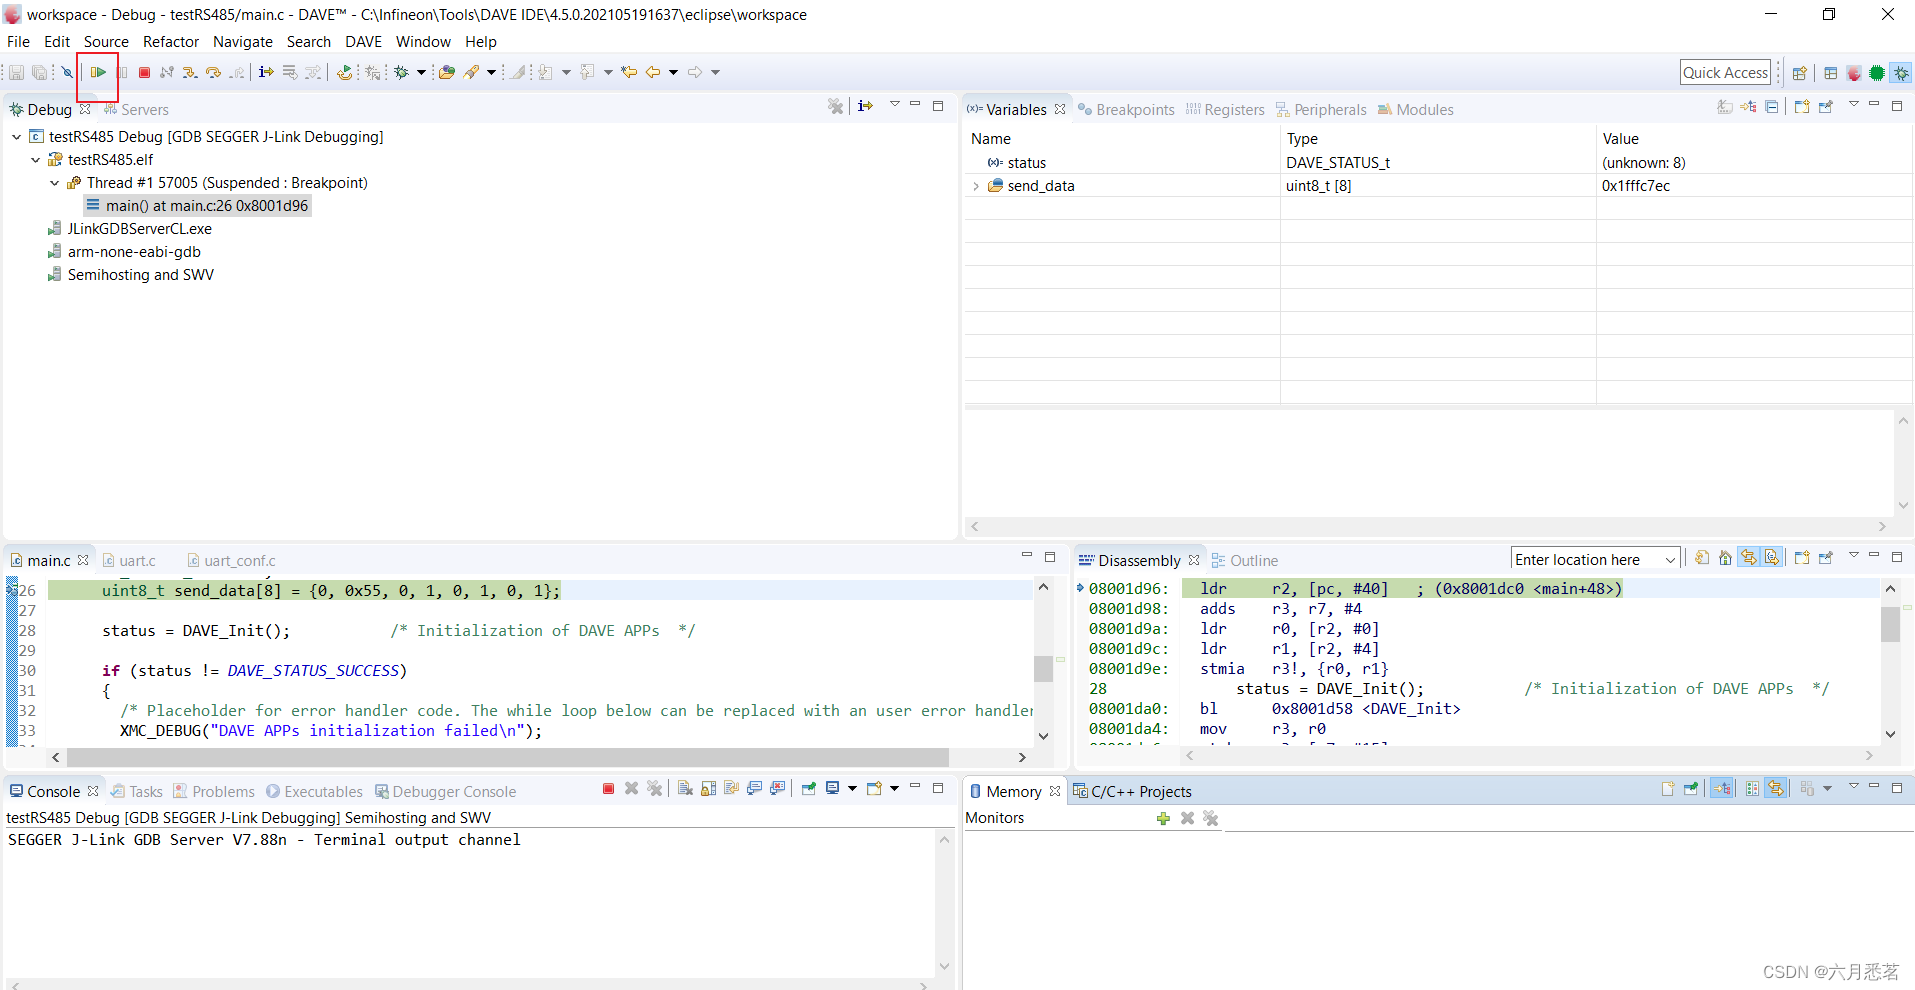
选择上图按钮可让程序一直跑。
测试结果
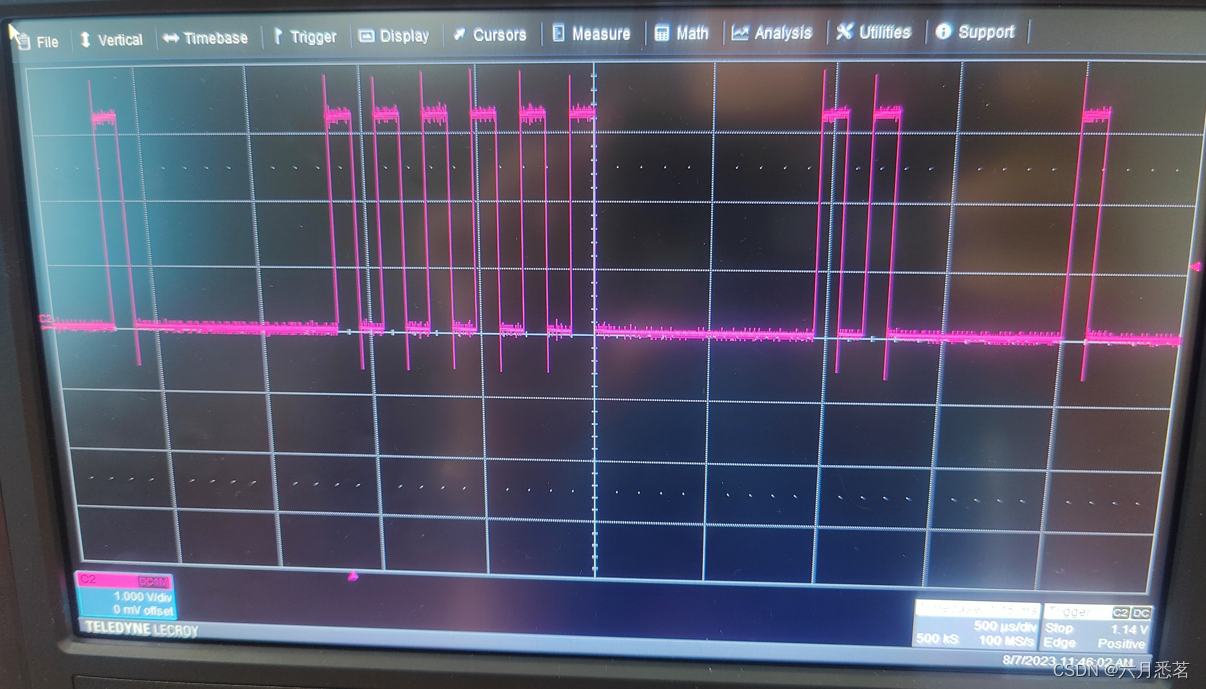
- 通过示波器测量TX pin 端发出的信号,图中白线是GND, 粉线是TX P2.14
- 示波器端波形
参考资料
大家可以去英飞凌官网查找资料 Infineon product training
