安装Homebrew
- 安装 ~~友情提示:这个命令对网络有要求,可能需要翻墙或者用你的手机热点试试,或者把DNS换成(
114.114.114.114和8.8.8.8)
/bin/bash -c "$(curl -fsSL https://raw.githubusercontent.com/Homebrew/install/master/install.sh)"
brew -v查看Homebrew版本

cd "$(brew --repo)" && git remote -v查看镜像源

- 修改 brew.git 为阿里源
git -C "$(brew --repo)" remote set-url origin https://mirrors.aliyun.com/homebrew/brew.git
- 修改 homebrew-core.git 为阿里源
git -C "$(brew --repo homebrew/core)" remote set-url origin https://mirrors.aliyun.com/homebrew/homebrew-core.git
- zsh 替换 brew bintray 镜像
echo 'export HOMEBREW_BOTTLE_DOMAIN=https://mirrors.aliyun.com/homebrew/homebrew-bottles' >> ~/.zshrc
source ~/.zshrc
- bash 替换 brew bintray 镜像
echo 'export HOMEBREW_BOTTLE_DOMAIN=https://mirrors.aliyun.com/homebrew/homebrew-bottles' >> ~/.bash_profile
source ~/.bash_profile
- 刷新源(如果出现找不到命令,可以强退下
终端)
brew update
这个时候再查看镜像源,就更换成阿里的了

安装nginx
- 安装
brew install nginx
- 查看版本
nginx -v

安装mysql
- 安装
brew install mysql
- 查看
mysql --version

- 配置开机自启动
mkdir -p ~/Library/LaunchAgents
ln -sfv /usr/local/opt/mysql/*.plist ~/Library/LaunchAgents
find /usr/local/Cellar/mysql/ -name “homebrew.mxcl.mysql.plist” -exec cp {} ~/Library/LaunchAgents/ \;
launchctl load -w ~/Library/LaunchAgents/homebrew.mxcl.mysql.plist
- 启动mysql服务
mysql.server start
- 配置账户密码
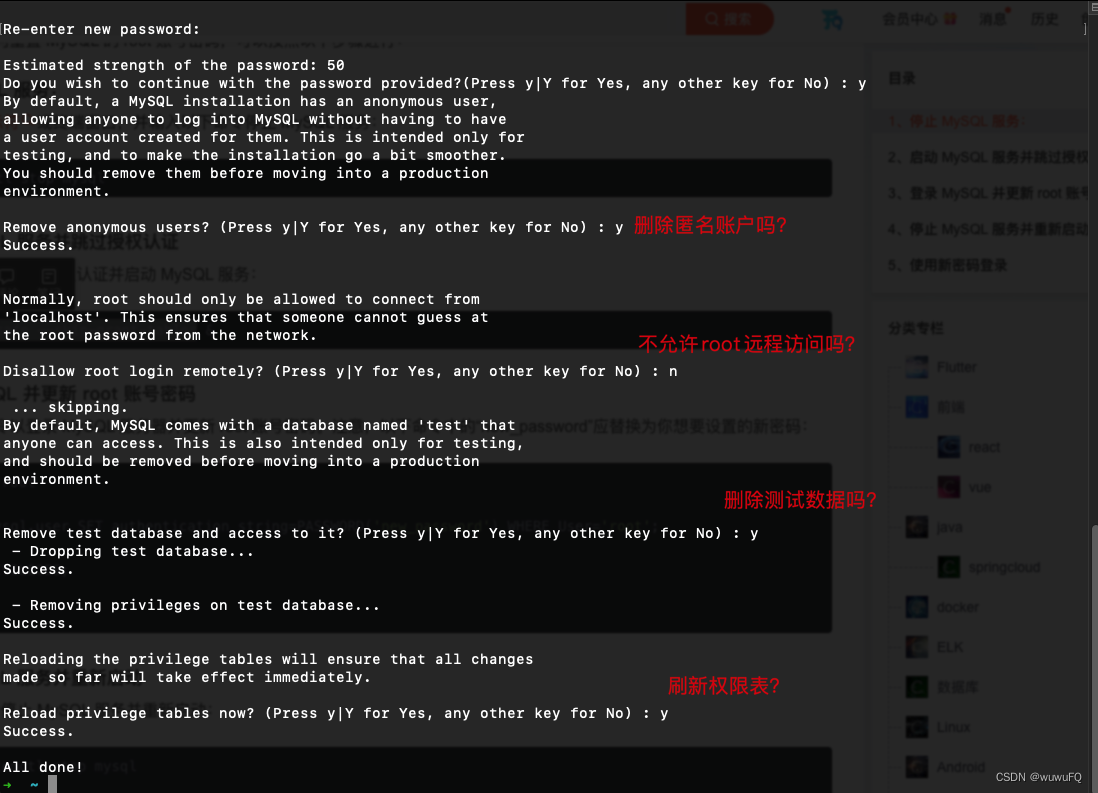
mysql_secure_installation
设置VALIDATE PASSWORD组件
设置密码策略
一系列设置
安装PHP
- 查看可安装版本
brew search php
- 安装 (我安装的是8.0,会比较耗时,保证网络畅通)
brew install php@8.0
- 修改
zsh配置
echo 'export PATH="/usr/local/opt/php@8.0/bin:$PATH"' >> ~/.zshrc
source ~/.zshrc
- 修改
bash配置
echo 'export PATH="/usr/local/opt/php@8.0/bin:$PATH"' >> ~/.bash_profile
source ~/.bash_profile
- 查看版本
php -v

安装VSCode
去 Visual Studio Code官网 下载
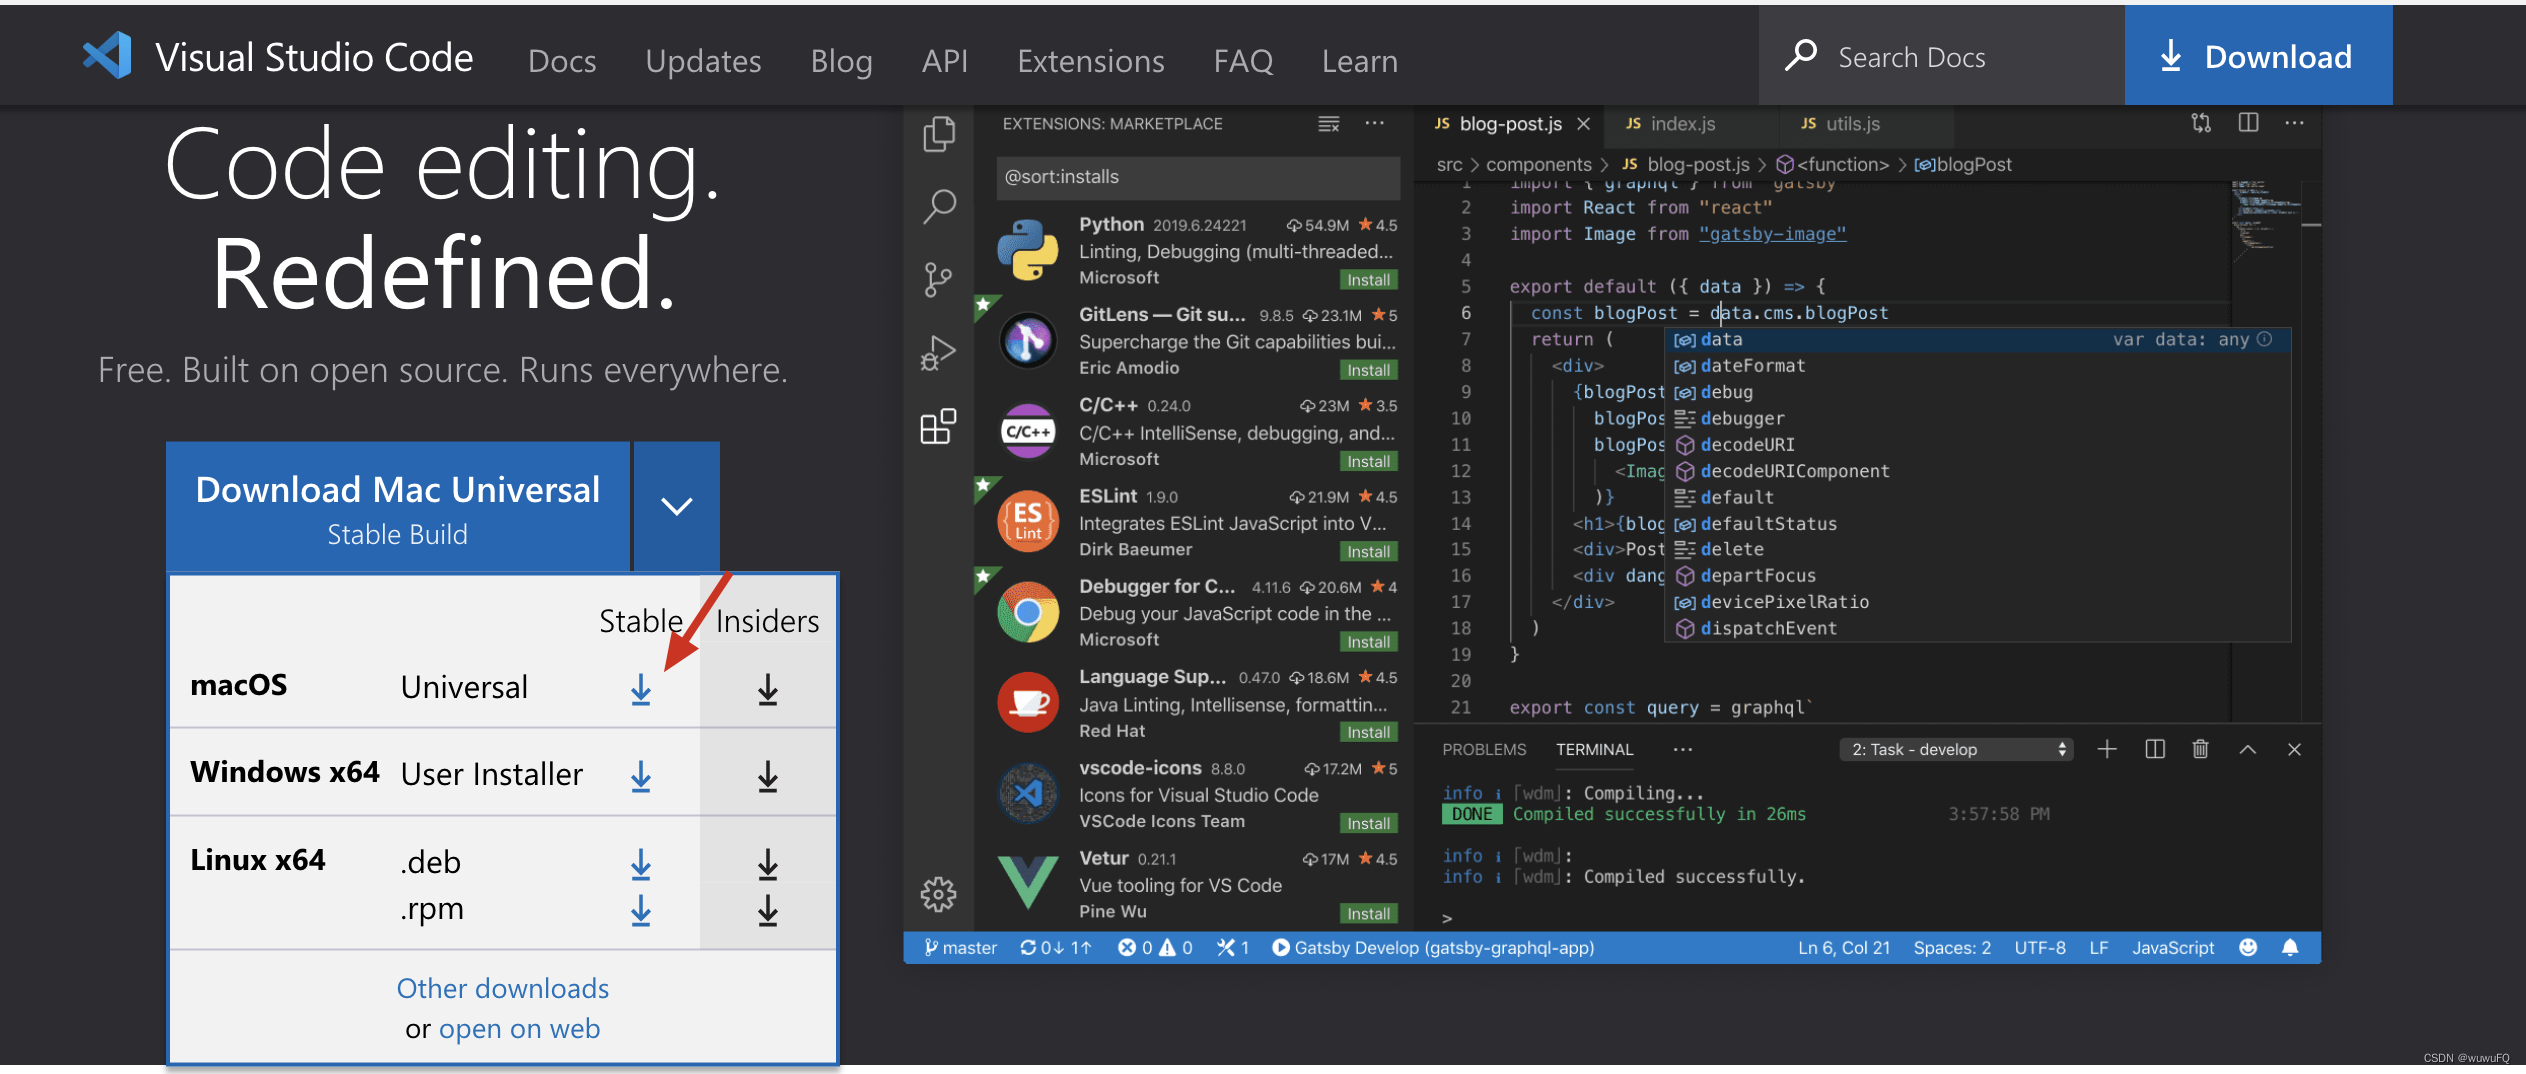
你会发现下载的特别慢3G网速

把那个下载地址复制出来,把域名换成 vscode.cdn.azure.cn
我的下载地址是:https://vscode.cdn.azure.cn/stable/b3e4e68a0bc097f0ae7907b217c1119af9e03435/VSCode-darwin-universal.zip,真的是秒下载。
