AOM、VTM初体验
Cmake
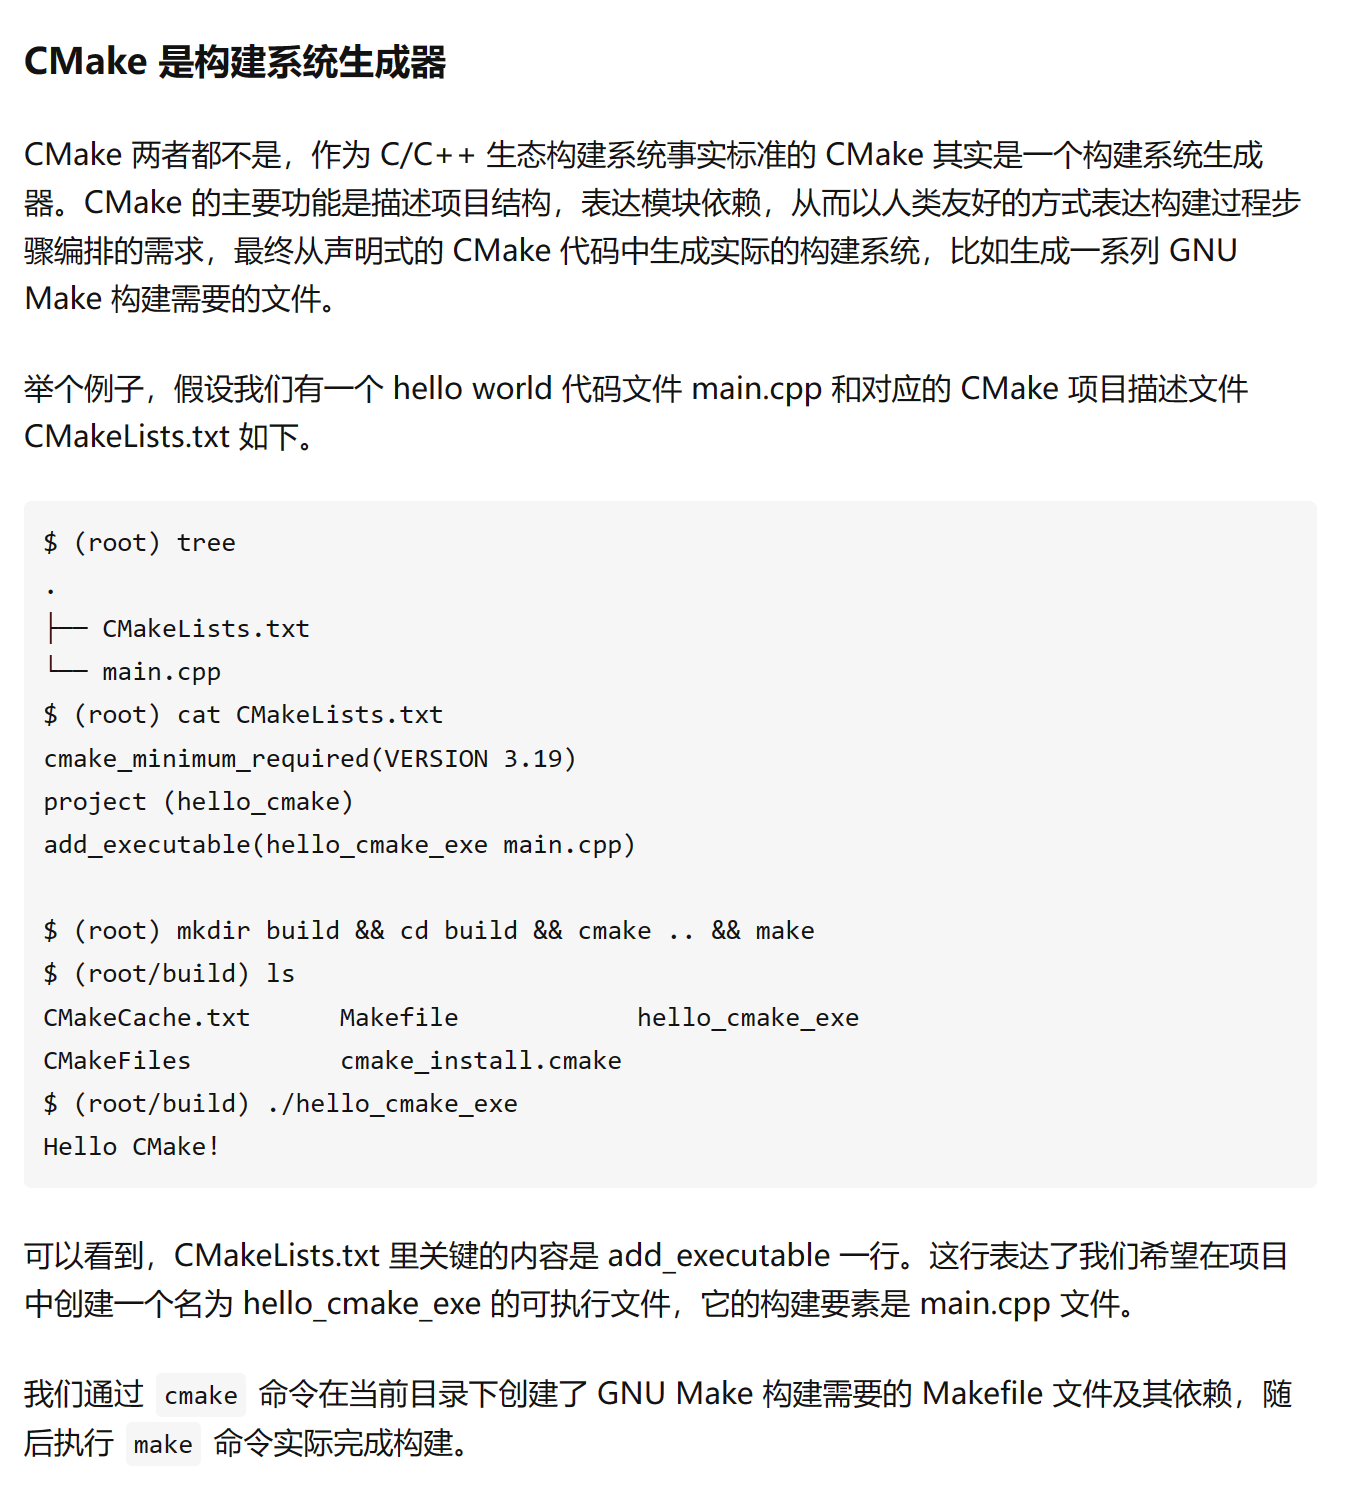
cmake的定义是什么 ?-----高级编译配置工具
当你用不同的语言或者编译器开发一个项目,各就各位code完之后要生成最终的输出(dll 或执行文件),这时候就尴尬了,你要手动去MingGW或者GCC下配置成千上万的.cpp .h .o .c…路劲和地址吗?这时候神器就出现了-----CMake!
打个比喻,小明在路边卖煎饼赚了300万准备买房,但是小明这一麻袋的5毛、一块、十块、五十、一百售楼处的小姐姐嫌麻烦不想收这些钱,那怎么办呢?小姐姐建议小明把钱拿到银行去换成一张银行卡,然后直接来刷卡就行啦!CMake这里就扮演银行的角色。
链接:https://www.zhihu.com/question/29690649/answer/273417054
CMake 是怎么工作的? - 知乎 (zhihu.com)
AOM

aomenc设为启动项目
工作目录最好是 $(ProjectDir) Release
命令参数
 --cpu-used=0 --passes=1 --end-usage=q --qp=210 --kf-min-dist=0 --kf-max-dist=0 --use-fixed-qp-offsets=1 --deltaq-mode=0 --enable-tpl-model=0 --enable-keyframe-filtering=0 --obu --psnr -v  --enable-deblocking=1 --enable-cdef=1  --enable-ccso=1 --enable-restoration=1 --limit=30 F:\JJ\DATASET\AV1_DATA\AVM_GT_squence\a2_2k\CrowdRun_1920x1080p50.y4m                       -o CrowdRun_1920x1080p50_210.obu
记得修改命令行中 输入图像的路径 这是我的路径F:\JJ\DATASET\AV1_DATA\AVM_GT_squence\a2_2k\,改成你的
VTM

EncoderAPP设为启动项目
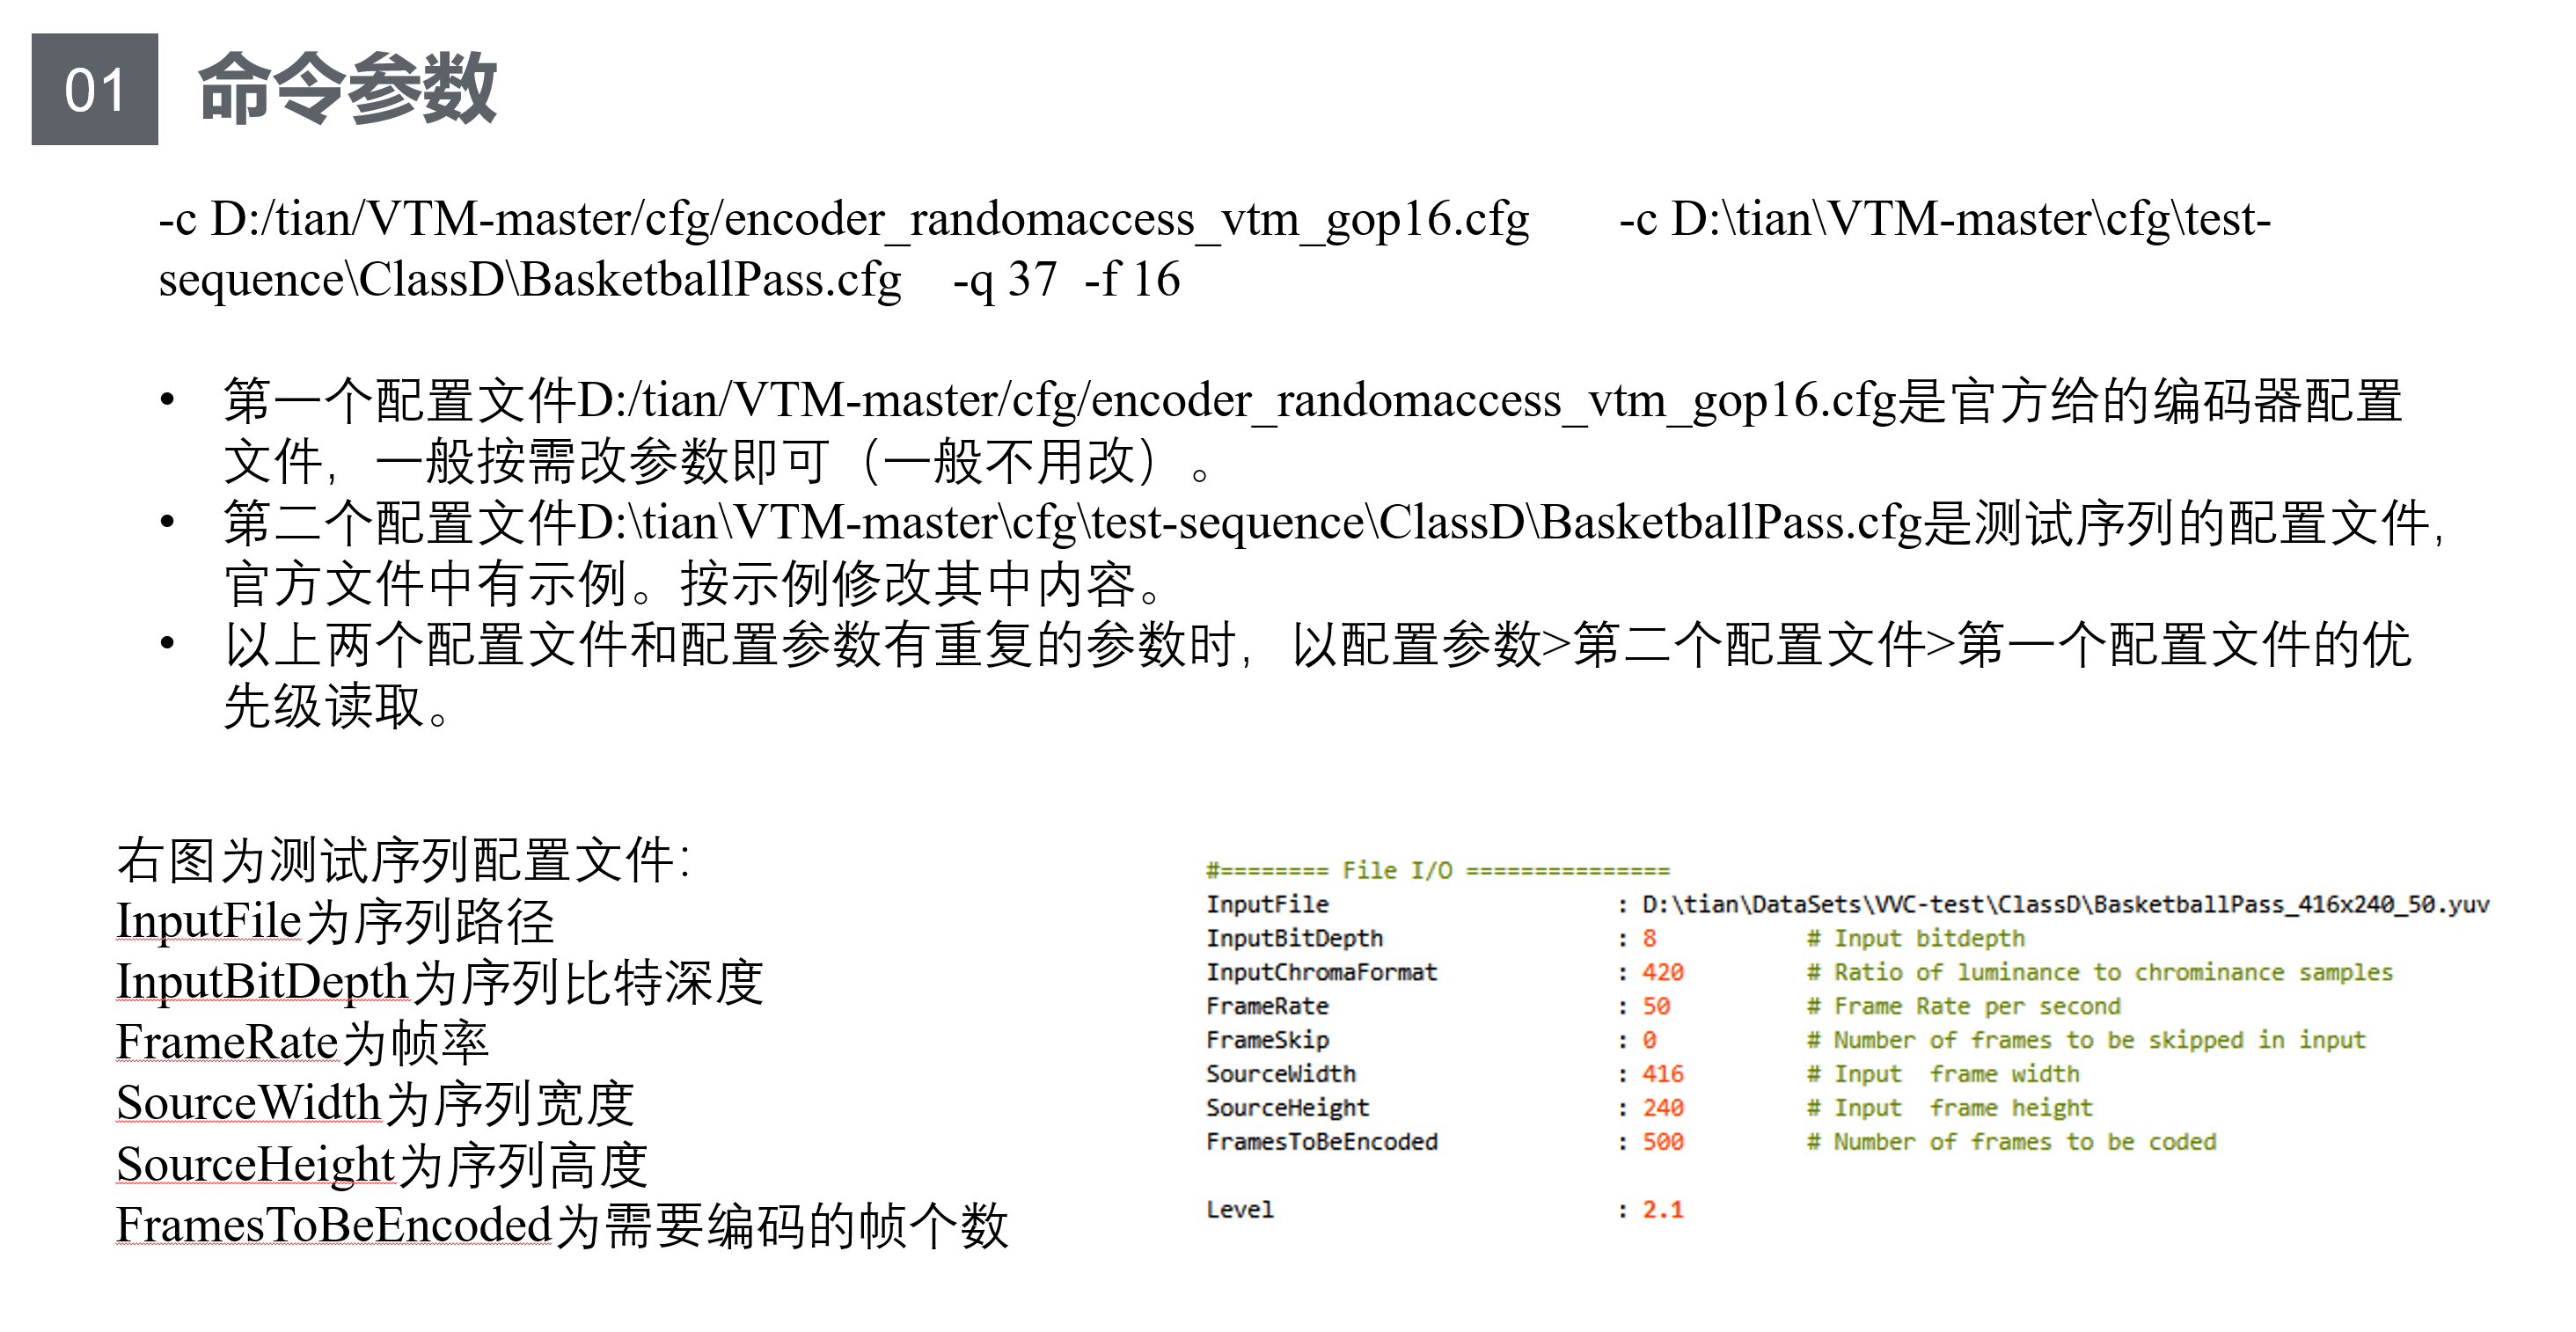
-q 量化参数,一般为22、27、32、37
-f 编码帧个数
第一个参数是VTM软件中cfg文件夹下的
第二个参数是VTM软件中cfg文件夹下测试序列的路径

然后进入该文件,要把InputFile的地址改成你测试序列文件的地址,后缀是yuv

安装tensorflow
Anaconda的快速入门
conda create -n pytorch_gpu python=3 # 创建一个名为pytorch_gpu的环境并指定python版本为3(的最新版本
conda activate env_name #切换到env_name环境
conda env list #列出conda管理的所有环境
conda list #列出当前环境的所有的包
conda remove -n env_name --all #删除环境
conda deactivate ##退出当前环境
关闭jupyter book的正确方法
在anaconda中对应环境下,输入jupyter book stop
打开jupyter book也可以在anaconda中输入jupyter notebook
查看自己显卡和python的版本,然后安装对应的cuda和cudnn
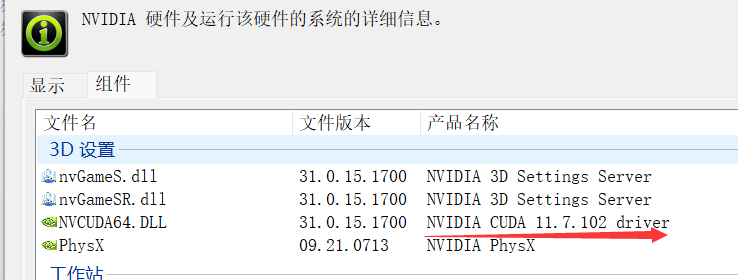

我安装了cuda 11.5
cudnn版本也要与cuda对应 8.3

cuda安装成功

tensflow安装成功
对比GPU和CPU的计算速度
import tensorflow as tf
import timeit

##指定在cpu上运行
def cpu_run():
    with tf.device('/cpu:0'):
        cpu_a = tf.random.normal([10000,1000])
        cpu_b = tf.random.normal([1000,2000])
        c = tf.matmul(cpu_a,cpu_b)
    return c

##指定在gpu上运行
def gpu_run():
    with tf.device('/gpu:0'):
        gpu_a = tf.random.normal([10000,1000])
        gpu_b = tf.random.normal([1000,2000])
        c = tf.matmul(gpu_a,gpu_b)
    return c

cpu_time = timeit.timeit(cpu_run,number = 10)
gpu_time = timeit.timeit(gpu_run,number = 10)
print("cpu",cpu_time," gpu",gpu_time)


