1. 项目初始化
首先创建一个新项目 solution-app:
npx create-react-app solution-app
cd solution-app
npm start
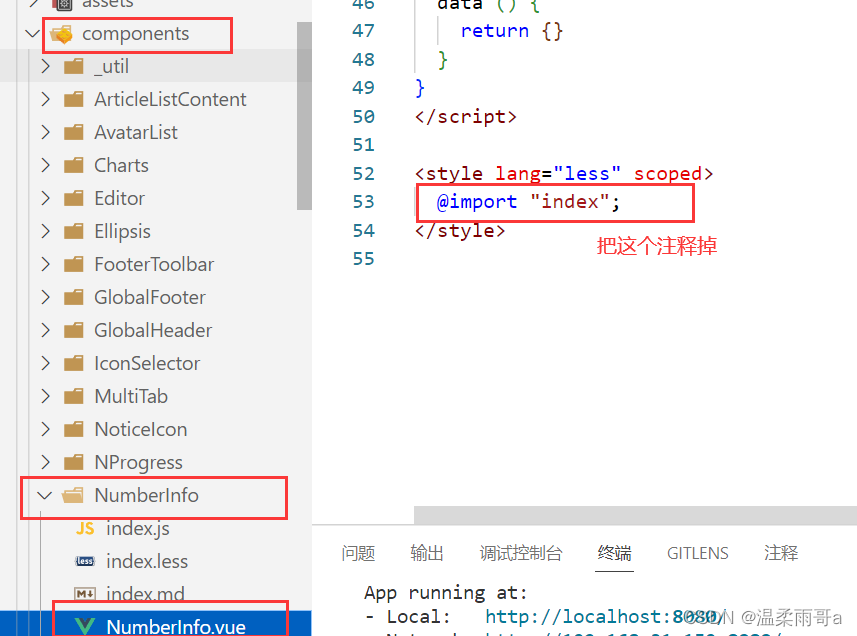
先将 src 目录中除了 index.css 与 index.js 之外的文件删除,然后创建一个 components 目录,在该目录中创建一个 solution.jsx 文件:
import React, { Component } from 'react';

class Solution extends Component {
    state = {  }
    render() {
        return (<h1>Hello World</h1>);
    }
}

export default Solution;
然后修改 index.js:
import React from 'react';
import ReactDOM from 'react-dom/client';
import './index.css';
import Solution from './components/solution';

const root = ReactDOM.createRoot(document.getElementById('root'));  // 获取div同时创建为一个React对象
root.render(
  <React.StrictMode>
    <Solution />
  </React.StrictMode>
);
2. Bootstrap相关组件使用
在当前项目的根目录下输入以下指令安装 Bootstrap:
npm install bootstrap
在 Bootstrap 的文档中搜索 Navbar,该组件中有个很重要的东西叫 container,可以自适应地改变区域大小,因此我们可以将所有内容放到 container 中:
import React from 'react';
import ReactDOM from 'react-dom/client';
import './index.css';
import Solution from './components/solution';
import 'bootstrap/dist/css/bootstrap.css'

const root = ReactDOM.createRoot(document.getElementById('root'));  // 获取div同时创建为一个React对象
root.render(
  <React.StrictMode>
    <div className='container'>
      <Solution />
    </div>
  </React.StrictMode>
);
我们可以使用 Bootstrap 中的 Table:
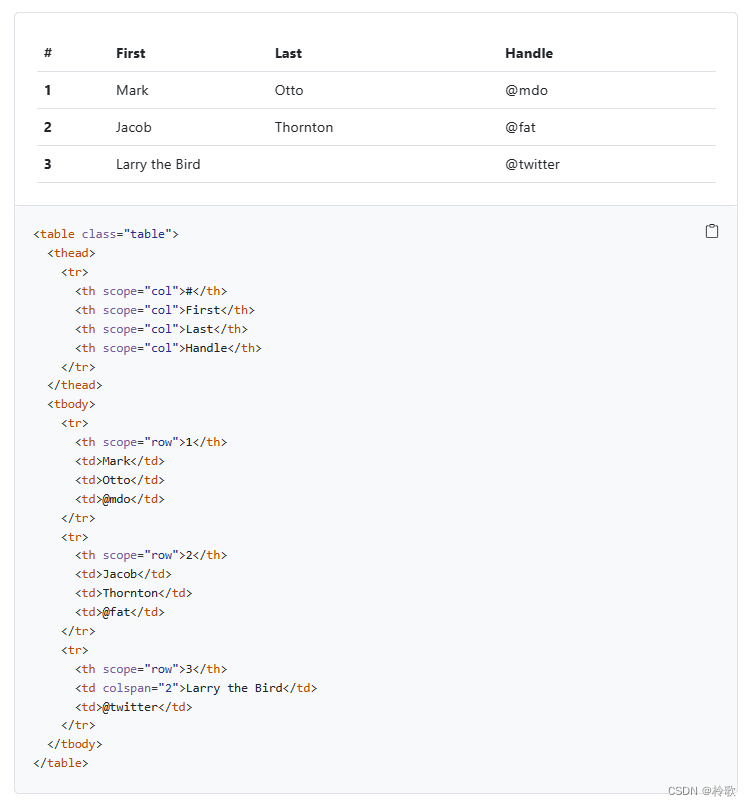
可以用如下的方式更简洁地创建 HTML 结构:
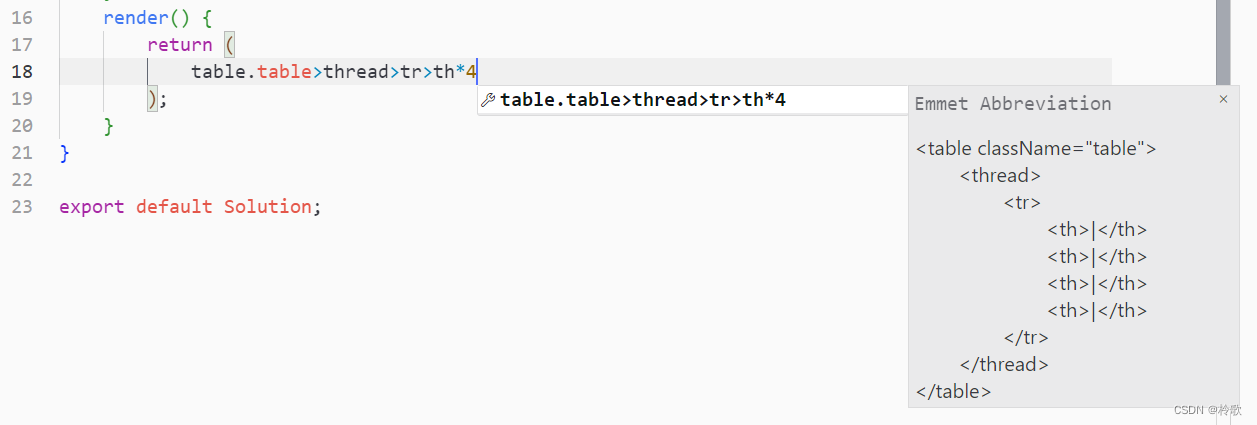
创建完 Table 后的 solution.jsx 代码如下:
import React, { Component } from 'react';

class Solution extends Component {
    state = {
        solutions: [
            {number: 1164, title: '加工零件1', difficulty: '简单', views: 2937},
            {number: 1165, title: '加工零件2', difficulty: '简单', views: 2938},
            {number: 1166, title: '加工零件3', difficulty: '简单', views: 2939},
            {number: 1167, title: '加工零件4', difficulty: '简单', views: 2940},
            {number: 1168, title: '加工零件5', difficulty: '简单', views: 2941},
            {number: 1169, title: '加工零件6', difficulty: '简单', views: 2942},
            {number: 1170, title: '加工零件7', difficulty: '简单', views: 2943},
            {number: 1171, title: '加工零件8', difficulty: '简单', views: 2944}
        ]
    };

    render() {
        return (
            <table className='table table-striped'>
                <thead>
                    <tr>
                        <th>#</th>
                        <th>标题</th>
                        <th>难度</th>
                        <th>阅读</th>
                        <th>操作</th>
                    </tr>
                </thead>
                <tbody>
                    {this.state.solutions.map(solution => (  // 遍历所有solutions
                        <tr key={solution.number}>
                            <td>{solution.number}</td>
                            <td>{solution.title}</td>
                            <td>{solution.difficulty}</td>
                            <td>{solution.views}</td>
                            <td><button className='btn btn-danger'>删除</button></td>
                        </tr>
                    ))}
                </tbody>
            </table>
        );
    }
}

export default Solution;
现在我们实现删除功能:
import React, { Component } from 'react';

class Solution extends Component {
    state = {
        solutions: [
            {number: 1164, title: '加工零件1', difficulty: '简单', views: 2937},
            {number: 1165, title: '加工零件2', difficulty: '简单', views: 2938},
            {number: 1166, title: '加工零件3', difficulty: '简单', views: 2939},
            {number: 1167, title: '加工零件4', difficulty: '简单', views: 2940},
            {number: 1168, title: '加工零件5', difficulty: '简单', views: 2941},
            {number: 1169, title: '加工零件6', difficulty: '简单', views: 2942},
            {number: 1170, title: '加工零件7', difficulty: '简单', views: 2943},
            {number: 1171, title: '加工零件8', difficulty: '简单', views: 2944}
        ]
    };

    handleDelete = (number) => {
        // 遍历一遍state.solutions,将solution.number不为传入的参数number的数据保留下来
        const res = this.state.solutions.filter(solution => solution.number !== number);
        this.setState({
            solutions: res
        });
    }

    render() {
        if (this.state.solutions.length === 0) {
            return <h1>没有题解了!</h1>;
        }

        return (
            <table className='table table-striped'>
                <thead>
                    <tr>
                        <th>#</th>
                        <th>标题</th>
                        <th>难度</th>
                        <th>阅读</th>
                        <th>操作</th>
                    </tr>
                </thead>
                <tbody>
                    {this.state.solutions.map(solution => (  // 遍历所有solutions
                        <tr key={solution.number}>
                            <td>{solution.number}</td>
                            <td>{solution.title}</td>
                            <td>{solution.difficulty}</td>
                            <td>{solution.views}</td>
                            <td><button onClick={() => this.handleDelete(solution.number)} className='btn btn-danger'>删除</button></td>
                        </tr>
                    ))}
                </tbody>
            </table>
        );
    }
}

export default Solution;
