目录
1.LIO-SAM配置
1.1 ROS 安装
1.2 安装gtsam 4.0.2
1.3 安装LIO-SAM
1.4 运行LIO-SAM
2. LVI - SAM安装
2.1 一些依赖库的安装
2.2 安装ceres1.1.14
2.3 安装LVI-SAM
1.LIO-SAM配置
机器:Ubuntu 18.04
内存:>16G
CPU:Intel >10核
1.1 ROS 安装
采用鱼香ros一键安装的方式:ros安装自带pcl1.8.0,因此我们无需安装pcl1.8.0。
wget http://fishros.com/install -O fishros && . fishros
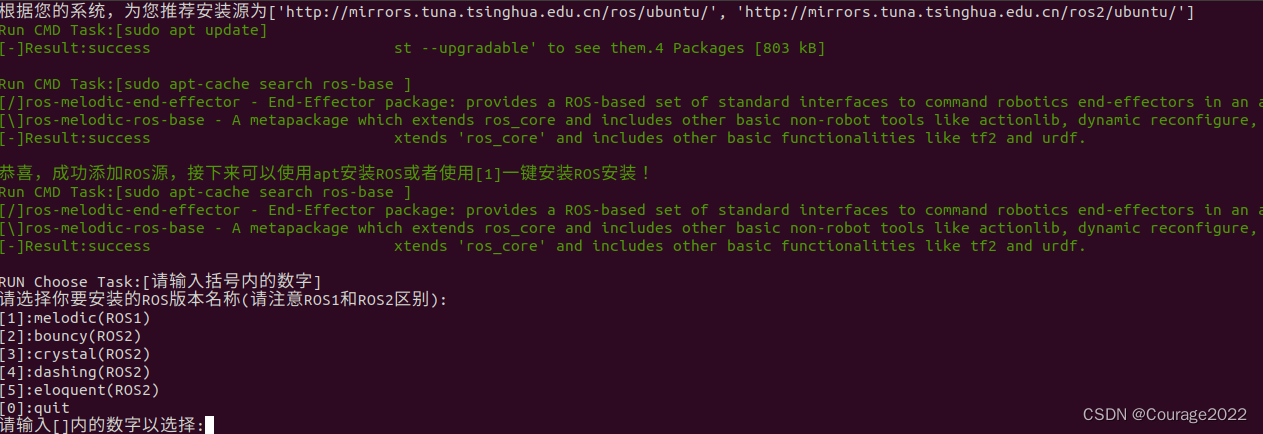
这里选择1即可。
然后我们选择:更换系统源再继续安装
选择更换系统源并清理第三方源
选择安装ROS1:melodic
选择桌面版,静待安装完即可。
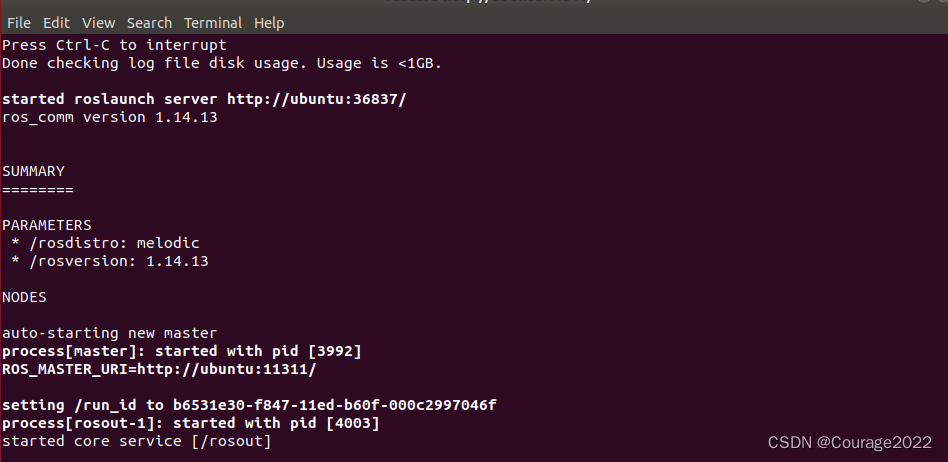
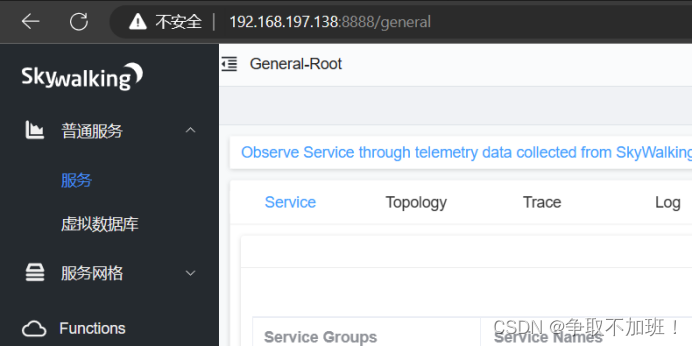
安装完成后启动ROS主节点,这样ros就安装成功了。
我们安装三个ROS依赖包,这是LIO-SAM所必需的:
sudo apt-get install -y ros-melodic-navigation
sudo apt-get install -y ros-melodic-robot-localization
sudo apt-get install -y ros-melodic-robot-state-publisher
1.2 安装gtsam 4.0.2
LIO-SAM中使用了因子图优化,在此对因子图优化库gtstam进行安装:
我们需要在官网下载4.0.2版本,不要git clone,git得到的是最新版本:gtsam官方链接https://github.com/borglab/gtsam 我们在tag中找寻4.0.2版本,下载到电脑上:
解压缩,然后执行下面的命令:
mkdir build && cd build
cmake -DGTSAM_BUILD_WITH_MARCH_NATIVE=OFF ..
sudo make install -j4
我安装一回了,不再安装了。
1.3 安装LIO-SAM
cd ~/catkin_ws/src
git clone https://ghproxy.com/https://github.com/TixiaoShan/LIO-SAM.git
cd ..
catkin_make
创建好工作空间catkin_ws,将lio-sam源码下载到catkin_ws/src目录下编译。
1.4 运行LIO-SAM
LIO-SAM数据集我下好放到网盘里面了,大家自取,自己下很慢:
LIOSAM数据集
http://链接:https://pan.baidu.com/s/1gDdW_4bxzLK-0u-Kd_T_UQ?pwd=u6ga 提取码:u6ga --来自百度网盘超级会员V4的分享 如果运行casual_walk_2.bag不需要修改任何参数,使用默认文件即可;如果要运行其它两个数据集,则需要做如下修改:
imuTopic: "imu_raw"  改为 imuTopic: "imu_correct"
extrinsicRot 和 extrinsicRPY 设为单位矩阵
sudo gedit /opt/ros/kinetic/lib/python2.7/dist-packages/roslaunch/nodeprocess.py具体params.yaml配置修改:
lio_sam:

  # Topics
  pointCloudTopic: "points_raw"               # Point cloud data
  imuTopic: "imu_correct"                         # IMU data
  odomTopic: "odometry/imu"                   # IMU pre-preintegration odometry, same frequency as IMU
  gpsTopic: "odometry/gpsz"                   # GPS odometry topic from navsat, see module_navsat.launch file

  # GPS Settings
  useImuHeadingInitialization: false           # if using GPS data, set to "true"
  useGpsElevation: false                      # if GPS elevation is bad, set to "false"
  gpsCovThreshold: 2.0                        # m^2, threshold for using GPS data
  poseCovThreshold: 25.0                      # m^2, threshold for using GPS data

  # Export settings
  savePCD: true                              # https://github.com/TixiaoShan/LIO-SAM/issues/3
  savePCDDirectory: "/data/lio/"        # in your home folder, starts and ends with "/". Warning: the code deletes "LOAM" folder then recreates it. See "mapOptimization" for implementation

  # Sensor Settings
  N_SCAN: 16                                  # number of lidar channel (i.e., 16, 32, 64, 128)
  Horizon_SCAN: 1800                          # lidar horizontal resolution (Velodyne:1800, Ouster:512,1024,2048)
  timeField: "time"                           # point timestamp field, Velodyne - "time", Ouster - "t"
  downsampleRate: 1                           # default: 1. Downsample your data if too many points. i.e., 16 = 64 / 4, 16 = 16 / 1

  # IMU Settings
  imuAccNoise: 3.9939570888238808e-03
  imuGyrNoise: 1.5636343949698187e-03
  imuAccBiasN: 6.4356659353532566e-05
  imuGyrBiasN: 3.5640318696367613e-05
  imuGravity: 9.80511

  # Extrinsics (lidar -> IMU)
  extrinsicTrans: [0.0, 0.0, 0.0]
  extrinsicRPY: [1,  0, 0,
                 0, 1, 0,
                  0, 0, 1]
  extrinsicRot: [1, 0, 0,
                   0, 1, 0,
                   0, 0, 1]
  # extrinsicRPY: [1, 0, 0,
  #                 0, 1, 0,
  #                 0, 0, 1]

  # LOAM feature threshold
  edgeThreshold: 1.0
  surfThreshold: 0.1
  edgeFeatureMinValidNum: 10
  surfFeatureMinValidNum: 100

  # voxel filter paprams
  odometrySurfLeafSize: 0.4                     # default: 0.4
  mappingCornerLeafSize: 0.2                    # default: 0.2
  mappingSurfLeafSize: 0.4                      # default: 0.4

  # robot motion constraint (in case you are using a 2D robot)
  z_tollerance: 1000                            # meters
  rotation_tollerance: 1000                     # radians

  # CPU Params
  numberOfCores: 4                              # number of cores for mapping optimization
  mappingProcessInterval: 0.15                  # seconds, regulate mapping frequency

  # Surrounding map
  surroundingkeyframeAddingDistThreshold: 1.0   # meters, regulate keyframe adding threshold
  surroundingkeyframeAddingAngleThreshold: 0.2  # radians, regulate keyframe adding threshold
  surroundingKeyframeDensity: 2.0               # meters, downsample surrounding keyframe poses
  surroundingKeyframeSearchRadius: 50.0         # meters, within n meters scan-to-map optimization (when loop closure disabled)

  # Loop closure
  loopClosureEnableFlag: false
  surroundingKeyframeSize: 25                   # submap size (when loop closure enabled)
  historyKeyframeSearchRadius: 15.0             # meters, key frame that is within n meters from current pose will be considerd for loop closure
  historyKeyframeSearchTimeDiff: 30.0           # seconds, key frame that is n seconds older will be considered for loop closure
  historyKeyframeSearchNum: 25                  # number of hostory key frames will be fused into a submap for loop closure
  historyKeyframeFitnessScore: 0.3              # icp threshold, the smaller the better alignment

  # Visualization
  globalMapVisualizationSearchRadius: 1000.0    # meters, global map visualization radius
  globalMapVisualizationPoseDensity: 10.0       # meters, global map visualization keyframe density
  globalMapVisualizationLeafSize: 1.0           # meters, global map visualization cloud density


# Navsat (convert GPS coordinates to Cartesian)
navsat:
  frequency: 50
  wait_for_datum: false
  delay: 0.0
  magnetic_declination_radians: 0
  yaw_offset: 0
  zero_altitude: true
  broadcast_utm_transform: false
  broadcast_utm_transform_as_parent_frame: false
  publish_filtered_gps: false

# EKF for Navsat
ekf_gps:
  publish_tf: false
  map_frame: map
  odom_frame: odom
  base_link_frame: base_link
  world_frame: odom

  frequency: 50
  two_d_mode: false
  sensor_timeout: 0.01
  # -------------------------------------
  # External IMU:
  # -------------------------------------
  imu0: imu_correct
  # make sure the input is aligned with ROS REP105. "imu_correct" is manually transformed by myself. EKF can also transform the data using tf between your imu and base_link
  imu0_config: [false, false, false,
                true,  true,  true,
                false, false, false,
                false, false, true,
                true,  true,  true]
  imu0_differential: false
  imu0_queue_size: 50
  imu0_remove_gravitational_acceleration: true
  # -------------------------------------
  # Odometry (From Navsat):
  # -------------------------------------
  odom0: odometry/gps
  odom0_config: [true,  true,  true,
                 false, false, false,
                 false, false, false,
                 false, false, false,
                 false, false, false]
  odom0_differential: false
  odom0_queue_size: 10

  #                            x     y     z     r     p     y   x_dot  y_dot  z_dot  r_dot p_dot y_dot x_ddot y_ddot z_ddot
  process_noise_covariance: [  1.0,  0,    0,    0,    0,    0,    0,     0,     0,     0,    0,    0,    0,    0,      0,
                               0,    1.0,  0,    0,    0,    0,    0,     0,     0,     0,    0,    0,    0,    0,      0,
                               0,    0,    10.0, 0,    0,    0,    0,     0,     0,     0,    0,    0,    0,    0,      0,
                               0,    0,    0,    0.03, 0,    0,    0,     0,     0,     0,    0,    0,    0,    0,      0,
                               0,    0,    0,    0,    0.03, 0,    0,     0,     0,     0,    0,    0,    0,    0,      0,
                               0,    0,    0,    0,    0,    0.1,  0,     0,     0,     0,    0,    0,    0,    0,      0,
                               0,    0,    0,    0,    0,    0,    0.25,  0,     0,     0,    0,    0,    0,    0,      0,
                               0,    0,    0,    0,    0,    0,    0,     0.25,  0,     0,    0,    0,    0,    0,      0,
                               0,    0,    0,    0,    0,    0,    0,     0,     0.04,  0,    0,    0,    0,    0,      0,
                               0,    0,    0,    0,    0,    0,    0,     0,     0,     0.01, 0,    0,    0,    0,      0,
                               0,    0,    0,    0,    0,    0,    0,     0,     0,     0,    0.01, 0,    0,    0,      0,
                               0,    0,    0,    0,    0,    0,    0,     0,     0,     0,    0,    0.5,  0,    0,      0,
                               0,    0,    0,    0,    0,    0,    0,     0,     0,     0,    0,    0,    0.01, 0,      0,
                               0,    0,    0,    0,    0,    0,    0,     0,     0,     0,    0,    0,    0,    0.01,   0,
                               0,    0,    0,    0,    0,    0,    0,     0,     0,     0,    0,    0,    0,    0,      0.015]
实际运行时先启动ROS主节点:
roscore在工作目录下source以下,启动launch节点:
source devel/setup.bash
roslaunch lio_sam run.launch
然后我们播放数据:
rosbag play outdoor.bag运行成功是这个样子:
参考文章:
参考文章1
https://blog.csdn.net/u011519172/article/details/122322116?ops_request_misc=&request_id=&biz_id=102&utm_term=liosam%E9%85%8D%E7%BD%AE18.04&utm_medium=distribute.pc_search_result.none-task-blog-2~all~sobaiduweb~default-1-122322116.142^v87^control_2,239^v2^insert_chatgpt&spm=1018.2226.3001.4187
2. LVI - SAM安装
2.1 一些依赖库的安装
sudo apt-get install liblapack-dev libblas-dev libeigen3-dev libgflags-dev libgoogle-glog-dev
sudo apt-get install liblapack-dev libsuitesparse-dev libcxsparse3.1.2 libgflags-dev libgoogle-glog-dev libgtest-dev
sudo add-apt-repository ppa:borglab/gtsam-release-4.0
sudo apt install libgtsam-dev libgtsam-unstable-dev
可能出现无法定位:
//第一步,打开sources.list
sudo gedit /etc/apt/sources.list
//第二步,将下面的源粘贴到最上方sources.list
deb http://cz.archive.ubuntu.com/ubuntu trusty main universe
//第三步,更新源
sudo apt-get update
//第四步,重新输入依赖项安装命令安装依赖项
sudo apt-get install liblapack-dev libsuitesparse-dev libcxsparse3.1.2 libgflags-dev libgoogle-glog-dev libgtest-dev
2.2 安装ceres1.1.14
wget -O ~/Downloads/ceres.zip https://github.com/ceres-solver/ceres-solver/archive/1.14.0.zip
cd ~/Downloads/ && unzip ceres.zip -d ~/Downloads/
cd ~/Downloads/ceres-solver-1.14.0
mkdir ceres-bin && cd ceres-bin
cmake ..
sudo make install -j4
2.3 安装LVI-SAM
cd ~/catkin_ws/src
git clone https://github.com/TixiaoShan/LVI-SAM.git
cd ..
catkin_make
然后运行下面的代码即可执行:
# 启动LVI-SAM建图节点
roslaunch lvi_sam run.launch

# 播放示例数据
rosbag play handheld.bag


