目录
1.ActiveMQ下载
2.ActiveMQ目录说明
3.启动activemq
4.修改activemq默认密码
5.设置8161端口仅本地访问。
1.ActiveMQ下载
官网下载ActiveMQ![]() https://activemq.apache.org/
https://activemq.apache.org/
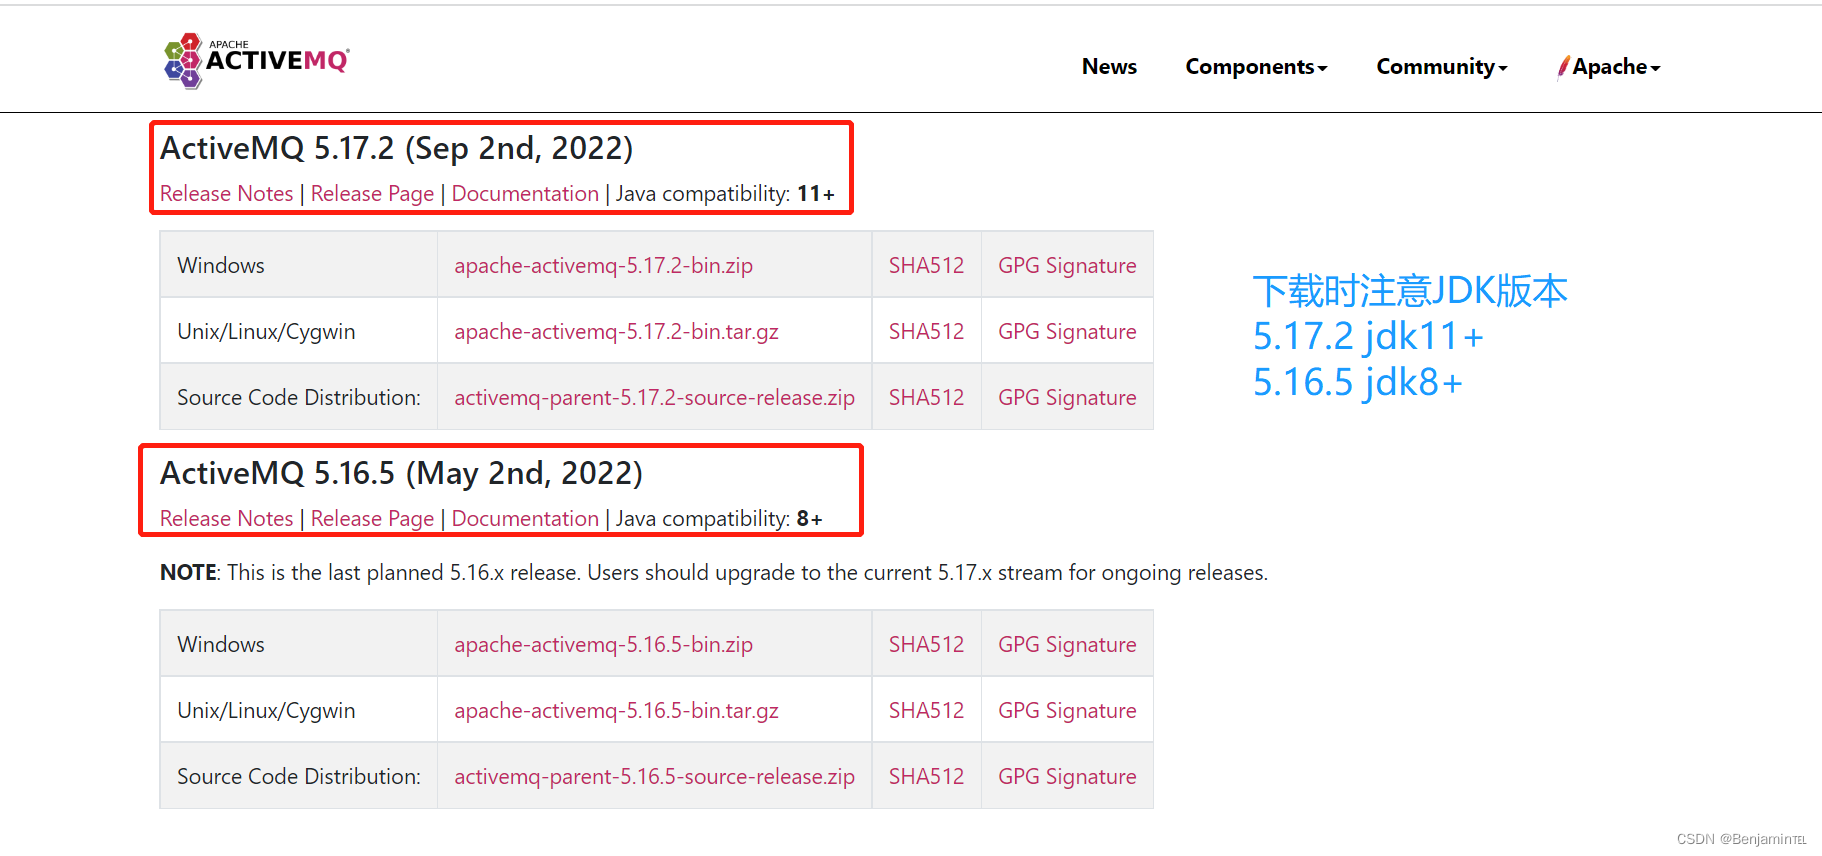 window版本直接解压就可以。
2.ActiveMQ目录说明
apache-activemq-5.16.5 activemq目录结构
├─bin(启动脚本)
│  ├─win32
│  └─win64
│     ├─activemq.bat(启动文件)
│     ├─InstallService.bat(安装activemq到系统服务)
│     ├─UninstallService.bat(卸载activemq中的系统服务)
│     ├─wrapper.conf(配置文件)
│     ├─wrapper.dll
│     ├─wrapper.exe(程序)
├─conf(配置文件)
├─data(日志文件)
├─docs(说明文档)
├─example(例子:包括配置文件、代码)
│  ├─conf
│  ├─perfharness
│  ├─ruby
│  ├─src
│  └─transactions
│      └─src
├─lib(activemq用到的jar包)
│  ├─camel
│  ├─extra
│  ├─optional
│  └─web
└─webapps(管理台的应用)
    ├─admin
    │  ├─decorators
    │  ├─images
    │  ├─js
    │  │
    │  ├─META-INF
    │  ├─styles
    │  ├─test
    │  ├─WEB-INF
    │  │
    │  └─xml
    ├─demo
    │  ├─js
    │  ├─META-INF
    │  ├─portfolio
    │  ├─sandbox
    │  ├─test
    │  │
    │  ├─WEB-INF
    │  └─websocket
    ├─fileserver
    │  ├─META-INF
    │  └─WEB-INF
    │
    └─styles
bin目录说明
bin
│  activemq(Linux下的启动脚本)
│  activemq-admin(Linux下的命令行管理工具)
│  activemq-admin.bat(Windows下的命令行管理工具)
│  activemq.bat(Windows下的启动脚本)
│  run.jar
│
├─win32
│    ├─activemq.bat
│    ├─InstallService.bat
│    ├─UninstallService.bat
│    ├─wrapper.conf
│    ├─wrapper.dll
│    └─wrapper.exe
│
└─win64
      ├─activemq.bat
      ├─InstallService.bat
      ├─UninstallService.bat
      ├─wrapper.conf
      ├─wrapper.dll
      └─wrapper.exe
3.启动activemq
方式一:双击bin/activemq.bat
能启动起来访问8161 61616端口不通,下图地址没有打印
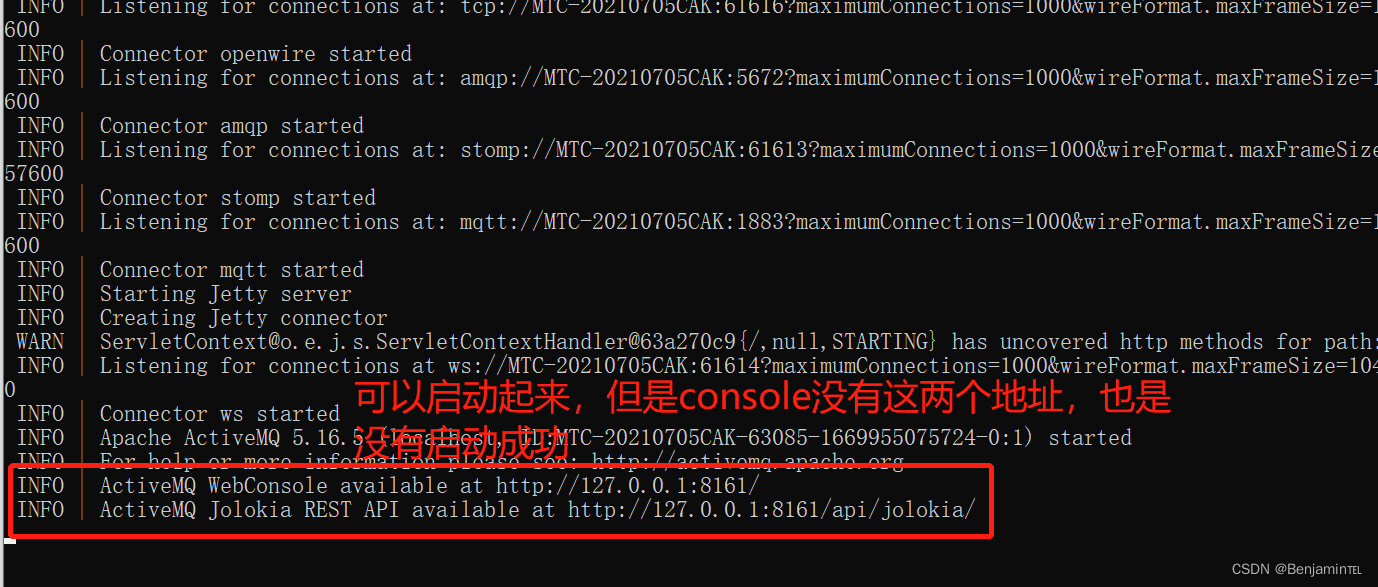
可以是jdk没有正确配置,如下配置即可


命令可以启动成功。
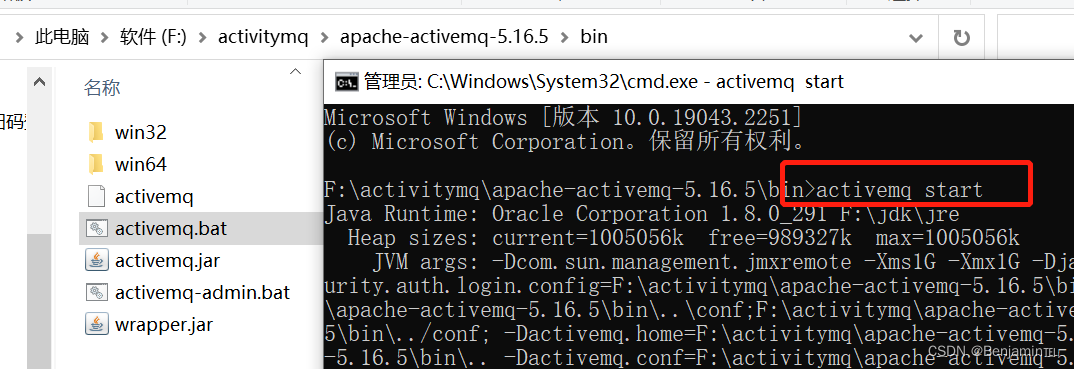
方式二:cmd窗口,执行命令 activemq-admin start
可以成功启动
方式三:系统服务启动activemq
解压后系统服务里面是没有activemq服务的,需要手动进行安装才可以。

执行InstallService.bat进行系统服务安装,第一次执行会一闪而过,一闪而过再次执行出现下图即安装成功。

表明安装成功,启动即可。
4.修改activemq默认密码
第一步:打开apache-activemq-5.16.5\conf\jetty.xml确保authenticate的value=true

第二步:打开apache-activemq-5.16.5\conf\jetty-realm.properties修改定义的用户的用户名密码角色,这里是所用的用户。
 下面的两个启动bat都有atuh的认证配置,用到的配置文件是login.config
apache-activemq-5.16.5\bin\activemq.bat
 apache-activemq-5.16.5\bin\win64\wrapper.conf
apache-activemq-5.16.5\conf\login.config
 apache-activemq-5.16.5\conf\users.properties
apache-activemq-5.16.5\conf\groups.properties

第三步:访问8161端口
修改apache-activemq-5.16.5\conf\users.properties里面的用户,修改成不是jetty-realm.properties配置的用户和密码,重新启动,访问8161端口是访问不通的。

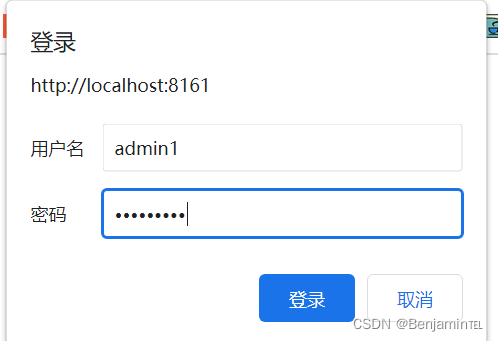
将users.properties里面的用户修改成jetty-realm.properties文件存在的用户密码,重新启动再访问8161端口。是可以成功访问的。


配置的用户必须是jetty-realm.properties文件存在的。
5.设置8161端口仅本地访问。8161存在漏洞问题
apache-activemq-5.16.5\conf\jetty.xml里面修改host为127.0.0.1有的版本没有host变量,配置上去activemq可以启动起来,但是配置host后访问8161activemq服务会停止。出现这种情况可能是此版本没有host变量配置,升级activemq版本即可。
 <bean id="jettyPort" class="org.apache.activemq.web.WebConsolePort" init-method="start">
             <!-- the default port number for the web console -->
        <property name="host" value="127.0.0.1"/>
        <property name="port" value="8161"/>
    </bean>


![[附源码]Python计算机毕业设计Django架构的博客平台设计](https://img-blog.csdnimg.cn/87e5f88f553b4cd1bc19a3813b9ce568.png)





![[附源码]Python计算机毕业设计Django高校学生摄影作品展示平台](https://img-blog.csdnimg.cn/6d35736248c54ce8b8920d349fc81c45.png)
