一 找最新的安装镜像
推荐用清华源

目前最新版本是15.95
二 在/opt 下创建gitlab文件夹
[root@localhost ~]# mkdir /opt/gitlab
[root@localhost ~]#
三 在gitlab目录下写一个 shell脚本
vim int.sh
给它加上执行权限
chmod u+x int.sh
运行这个脚本
./ins.sh
出现这个截图
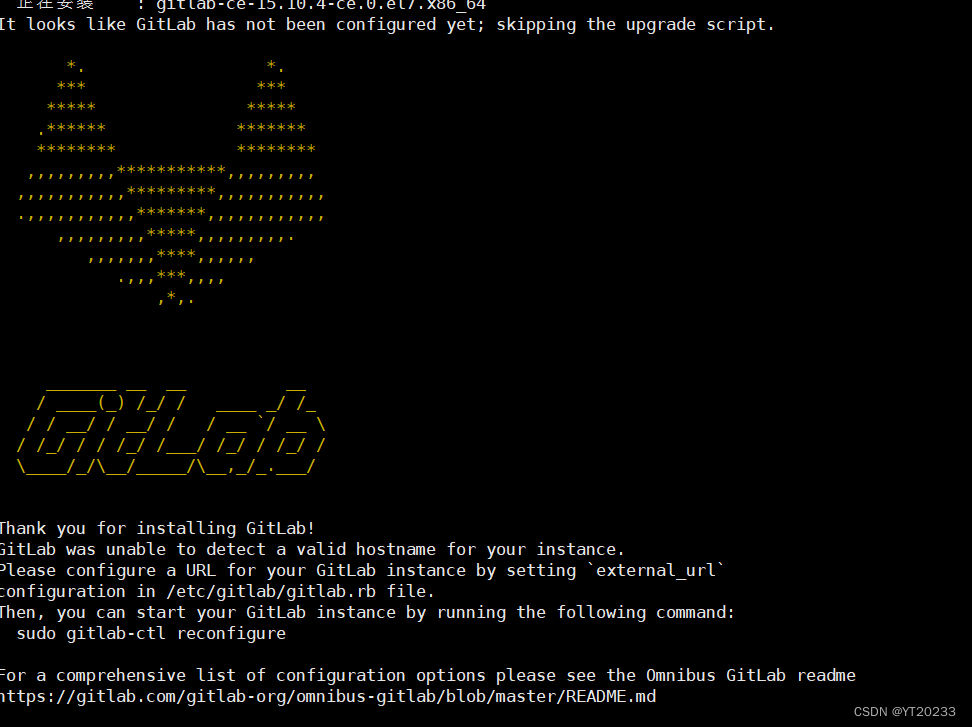
安装成功
四 初始化这个gitlab
gitlab-ctl reconfigure
出现下面这句话,就是安装成功
Notes:
Default admin account has been configured with following details:
Username: root
Password: You didn't opt-in to print initial root password to STDOUT.
Password stored to /etc/gitlab/initial_root_password. This file will be cleaned up in first reconfigure run after 24 hours.

NOTE: Because these credentials might be present in your log files in plain text, it is highly recommended to reset the password following https://docs.gitlab.com/ee/security/reset_user_password.html#reset-your-root-password.

gitlab Reconfigured!
启动服务
[root@localhost ~]# gitlab-ctl start
ok: run: alertmanager: (pid 11192) 75s
ok: run: gitaly: (pid 11147) 83s
ok: run: gitlab-exporter: (pid 11172) 76s
ok: run: gitlab-kas: (pid 11155) 78s
ok: run: gitlab-workhorse: (pid 11161) 77s
ok: run: logrotate: (pid 10229) 250s
ok: run: nginx: (pid 10758) 171s
ok: run: node-exporter: (pid 11168) 77s
ok: run: postgres-exporter: (pid 11199) 74s
ok: run: postgresql: (pid 10394) 231s
ok: run: prometheus: (pid 11179) 76s
ok: run: puma: (pid 10632) 189s
ok: run: redis: (pid 10271) 244s
ok: run: redis-exporter: (pid 11174) 76s
ok: run: sidekiq: (pid 10663) 183s
使用浏览器访问GitLab,输入网址:http://gitcangku/users/sign_in
如果登录不上
参考三步搞定虚拟机
31  hostname
   32  systemctl stop firewalld
   33  systemctl disable firewalld
   34  vi /etc/selinux/config
   35  vi /etc/hosts
   36  gitlab-ctl stop
   37  gitlab-ctl start
   38  vi /etc/hosts
   39  history
五 登录
登录
http://192.168.80.125/users/sign_in

初始化时,软件会提供默认管理员账户:root,但是密码是随机生成的。

根据提示,在/etc/gitlab/initial_root_password文件中查找密码
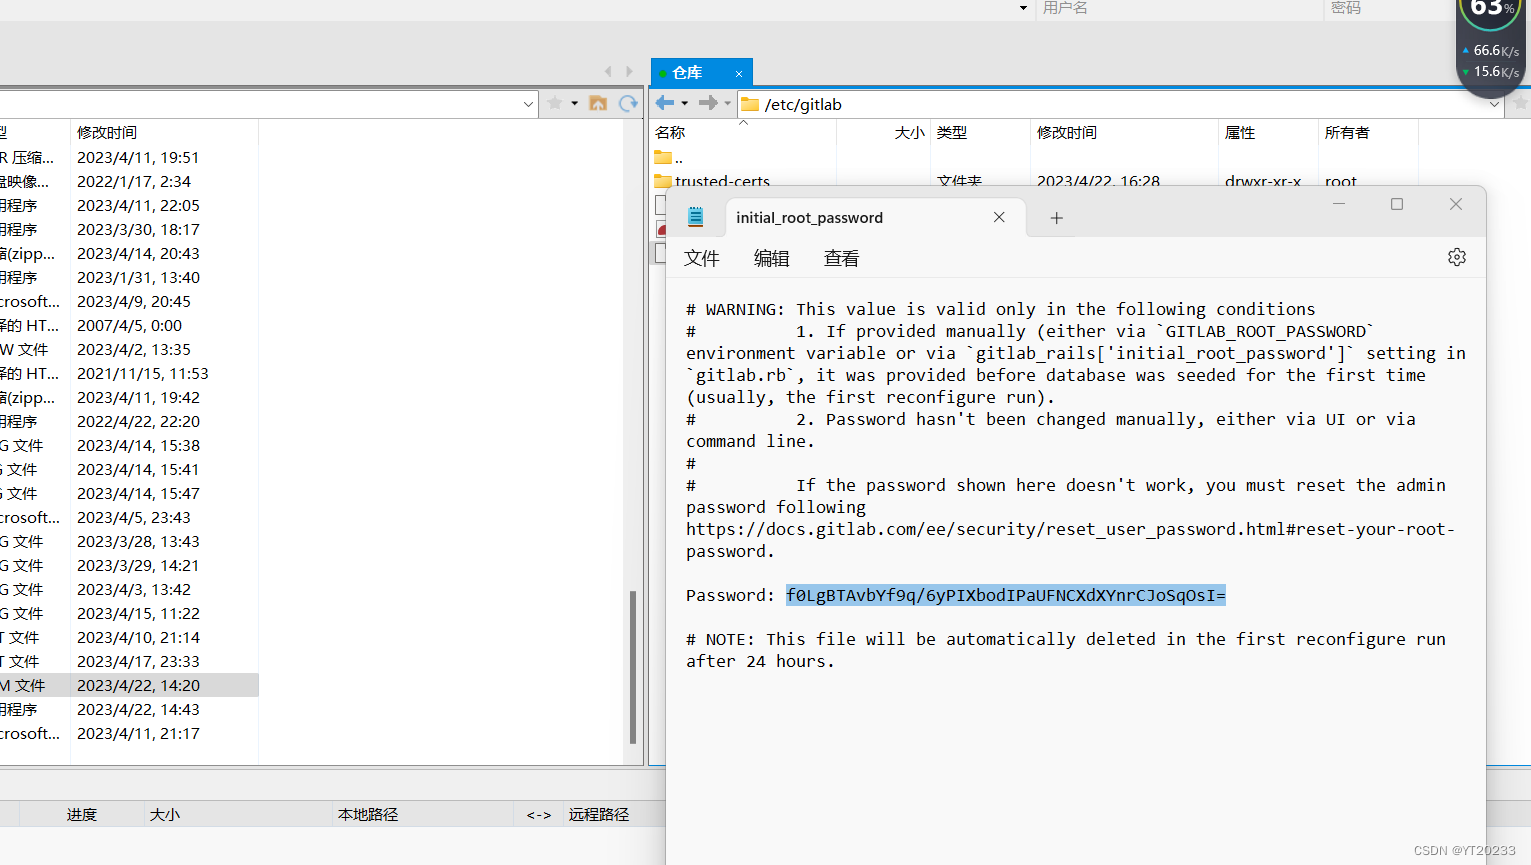
输入账号,密码,进入系统

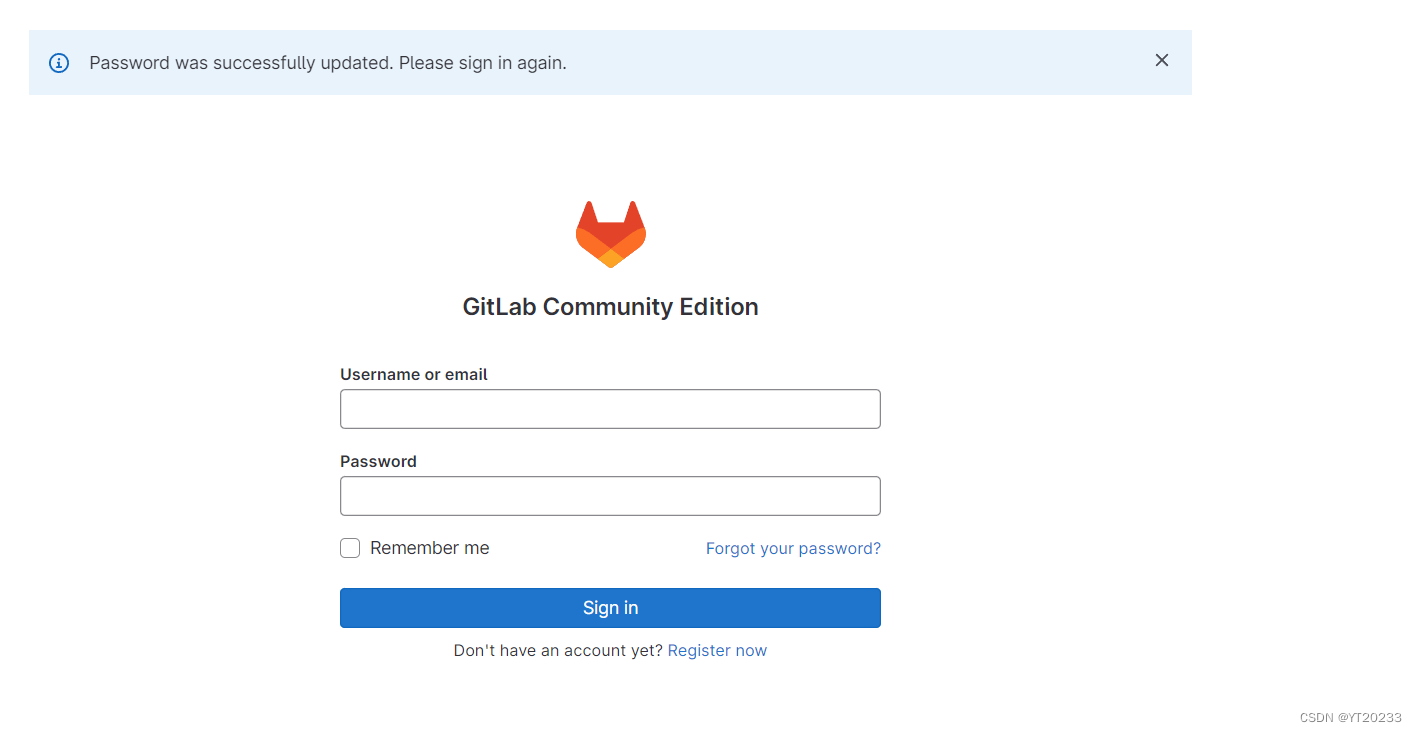
修改密码
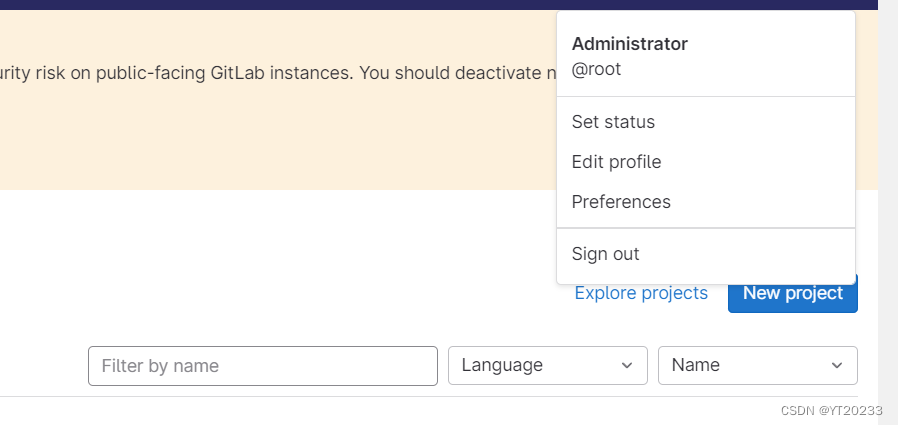
点击头像,之后选择edit profile
选择password,先输入上次从etc里复制的密码
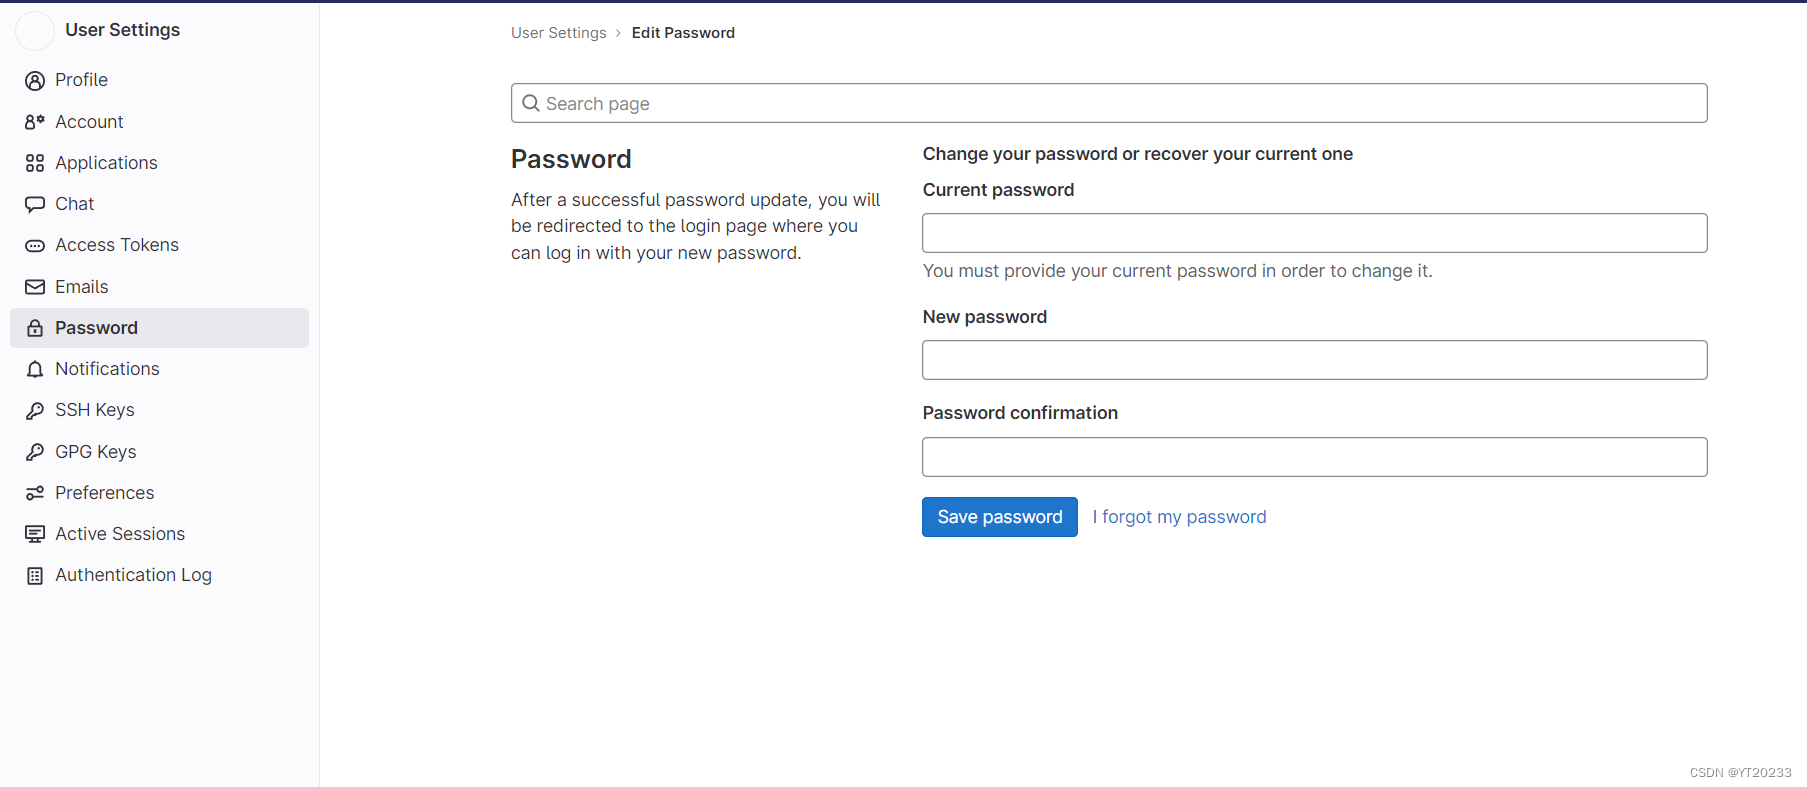
复制得到这个密码
选择一个新的项目,blank project

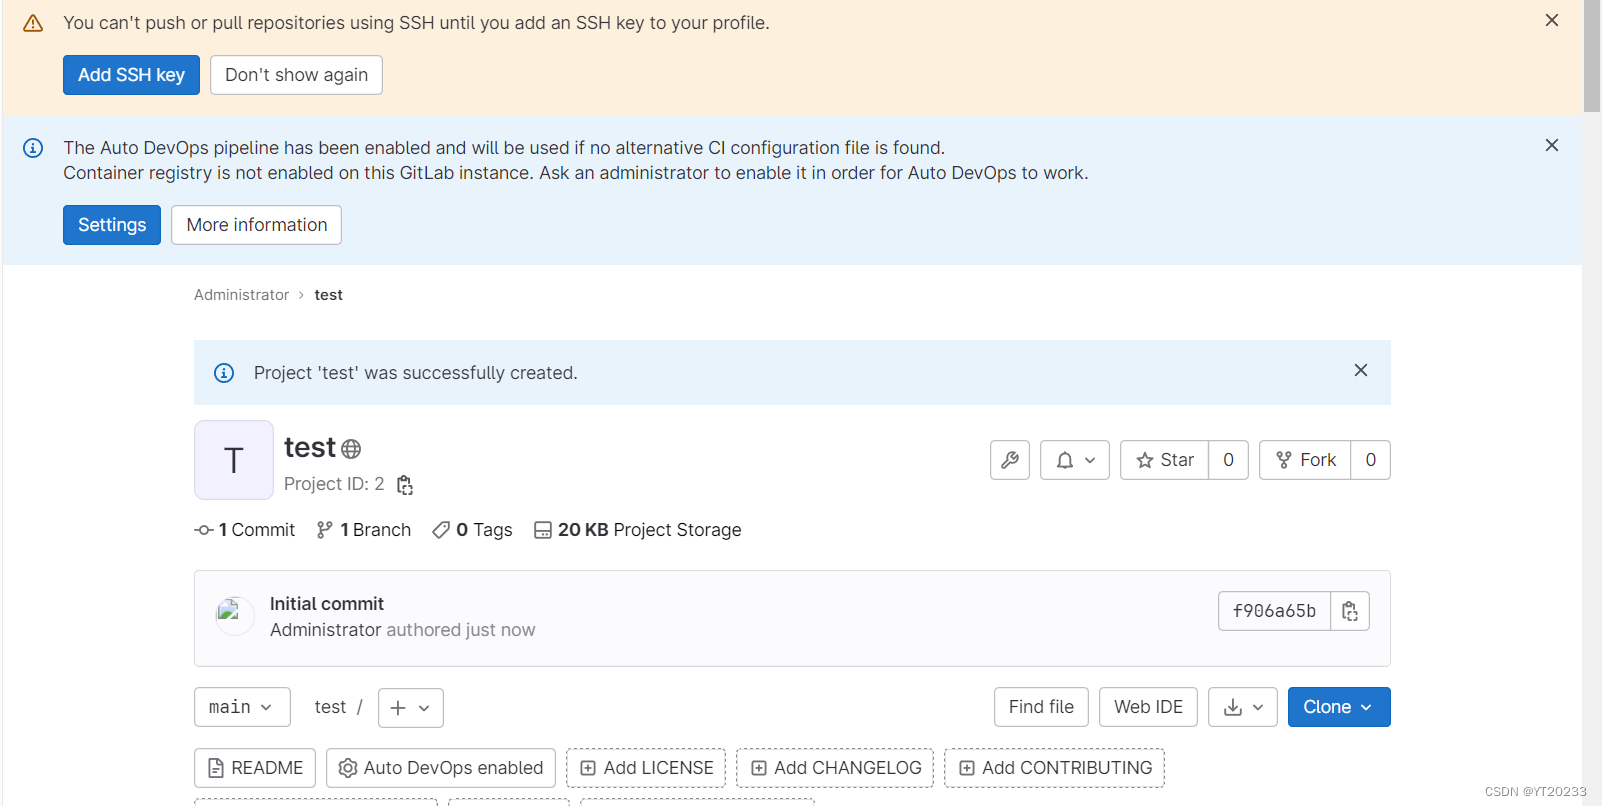
按照图中所示模式来创建
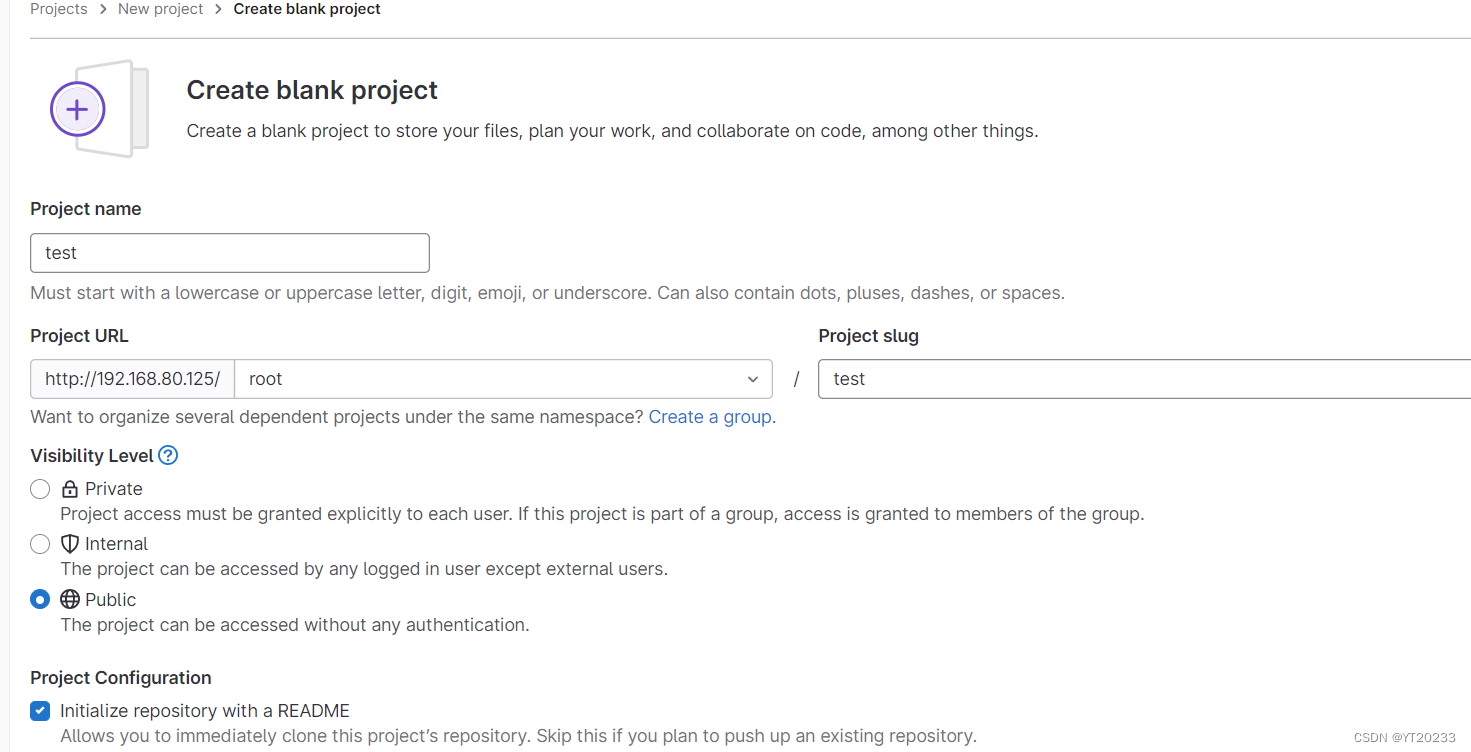
crate之后,得到一个项目
