Imx6ull交叉编译nginx
需要下好的包
Nginx(下载压缩包源码)
nginx-rtmp-module(可以下载压缩包源码也可以 git clone https://github.com/arut/nginx-rtmp-module.git)
pcre(下载源码)
zlib(下载源码)
openssl(下载源码)
下载完之后解压到指定目录就好了(不用交叉编译 不用交叉编译 真可以不用)
我的位置是:
/home/jemee/linux/tool/openssl-1.1.1g
/home/jemee/linux/tool/nginx-rtmp-module
/home/jemee/linux/tool/pcre-8.39
/home/jemee/linux/tool/zlib-1.2.13

进入nginx-1.20.0目录。在这个目录下新建一个名为config.sh的脚本文件,文件内容如下:
./configure --prefix=/home/jemee/linux/tool/nginx-1.20.0/install \
--with-http_ssl_module \
--with-http_mp4_module \
--with-http_v2_module \
--without-http_upstream_zone_module \
--with-cc=arm-linux-gnueabihf-gcc  \
--with-cpp=arm-linux-gnueabihf-cpp \
--with-pcre=/home/jemee/linux/tool/pcre-8.39 \
--with-openssl=/home/jemee/linux/tool/openssl-1.1.1g \
--without-http_gzip_module \
--add-module=/home/jemee/linux/tool/nginx-rtmp-module
参数—prefix指定安装目录,–with-cc=arm-linux-gnueabihf-gcc
–with-cpp=arm-linux-gnueabihf-cpp \在指定交叉编译工具
指定库文件目录
在consigure之前还需要配置一些文件
首先打开 nginx 源码目录下的 auto/cc/name 文件,将 21 行处的”exit 1”给注释掉!
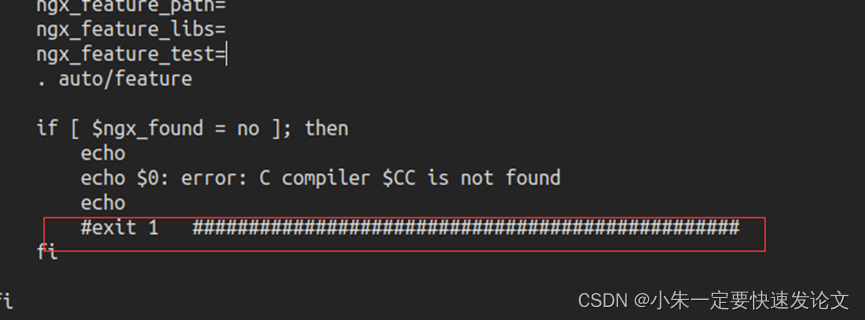
修改完成之后保存退出。接着打开 auto/types/sizeof 文件,将 15 行处的” ngx_size=”修改为” ngx_size=4”,
并且将 36 行处的”$CC”修改为”gcc”,如下所示


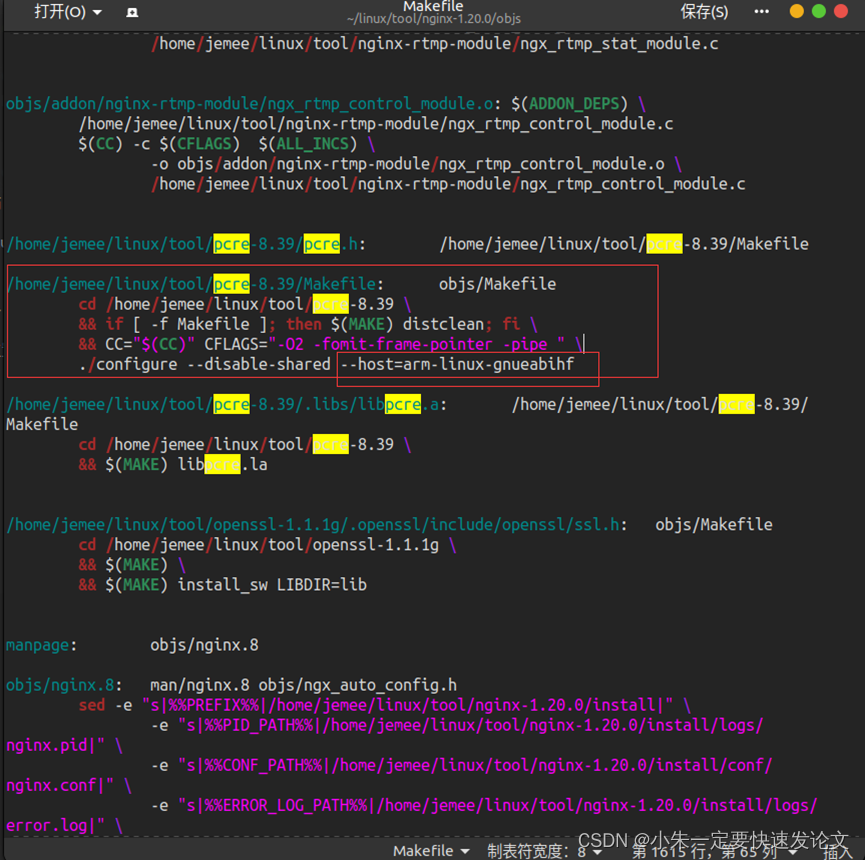
为了防止编译pcre的时候报错,需要配置pcre交叉工具链。修改auto/options

修改objs/Makefile
使用sh config.sh,执行脚本成功如下:
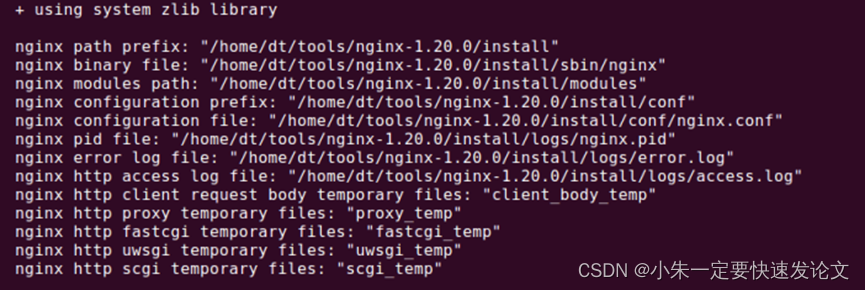
这个时候我们需要修改 nginx 源码目录下的 objs/ngx_auto_config.h 文件,将如下内容添加到该头文件中
#ifndef NGX_HAVE_SYSVSHM
#define NGX_HAVE_SYSVSHM 1
#endif
添加完成之后保存退出, make 编译
若出现以下错误(参考知乎:https://zhuanlan.zhihu.com/p/591025497)

查看报错信息是openssl的编译出错,但是在objs/Makefile下并未找到和 -m64 相关的选项。 此时的-m64参数其实在openssl解压文件夹下。其实到这一步,我们可以发现Nginx的Makefile会生成各个模块的Makefile,最后调用这些Makefile去编译各个模块。既然如此,自己手动配置openssl的编译选项,并单独编译。
编辑 objs/Makefile 文件

修改为:

进入openssl解压目录
先建一个 .openssl 目录(用命令行建立 nginx会在这个目录里找需要的库),然后执行以下配置
./config no-asm shared --prefix=/home/jemee/linux/tool/openssl-1.1.1g/.openssl --cross-compile-prefix=arm-linux-gnueabihf-
no-asm: 在交叉编译过程中不使用汇编代码代码加速编译过程;
shared: 生成动态连接库。
–cross-compile:交叉工具前缀
修改openssl 的Makefile 在 vim 下/-m64找到所有-m64选项删除-m64,我这里只有两处
然后执行openssl 的make
成功会生成以下内容:
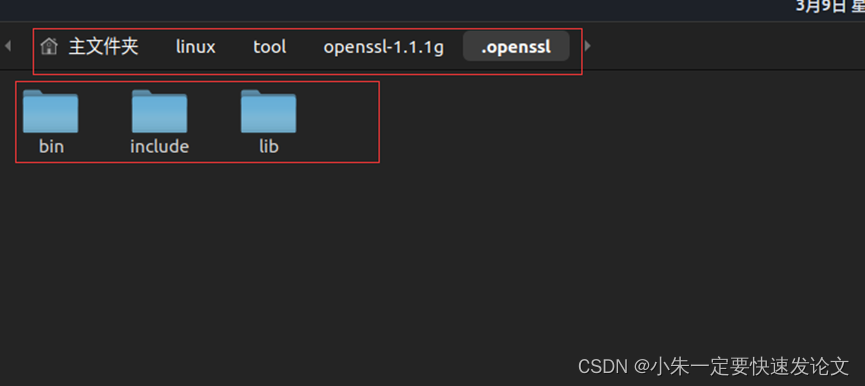
然后回到nginx解压目录 执行make
若出现以下错误:

在/obj/Makefile里添加 –lpthread

执行make 成功如下:
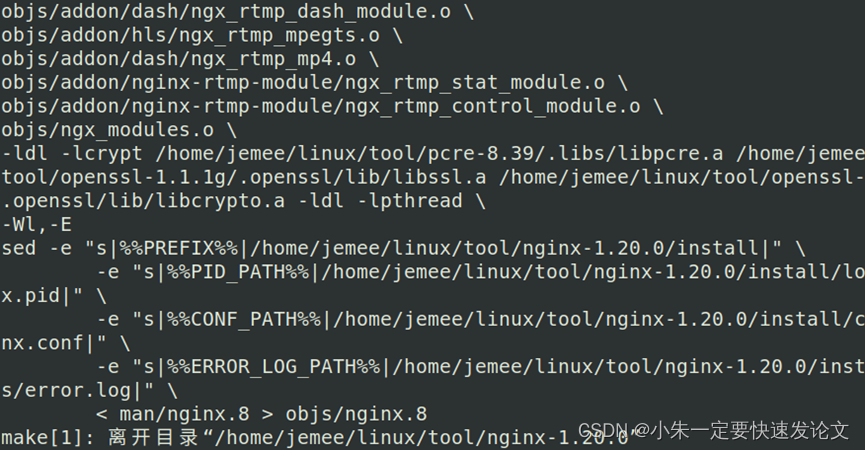
make install
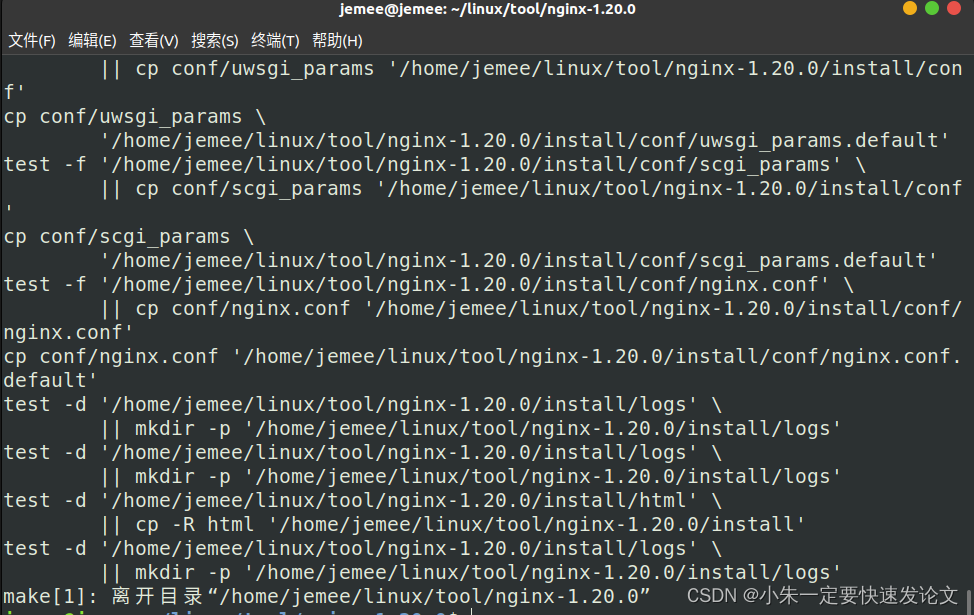
在ARM上执行nginx
将nginx拷贝到arm平台根文件系统下。再将安装目录下的conf、logs、html 文件夹拷贝到开发板Linux 系统的/etc/nginx 目录下。 conf文件夹下包含了nginx的配置文件。
执行 nginx ./nginx -p /etc/nginx 报错:getpwnam (“ xxxx ”) failed in /etc/ nginx / nginx .conf
在开发板系统上 vi /etc/nginx/conf/nginx.conf 将第一行内容改成如下图所示:

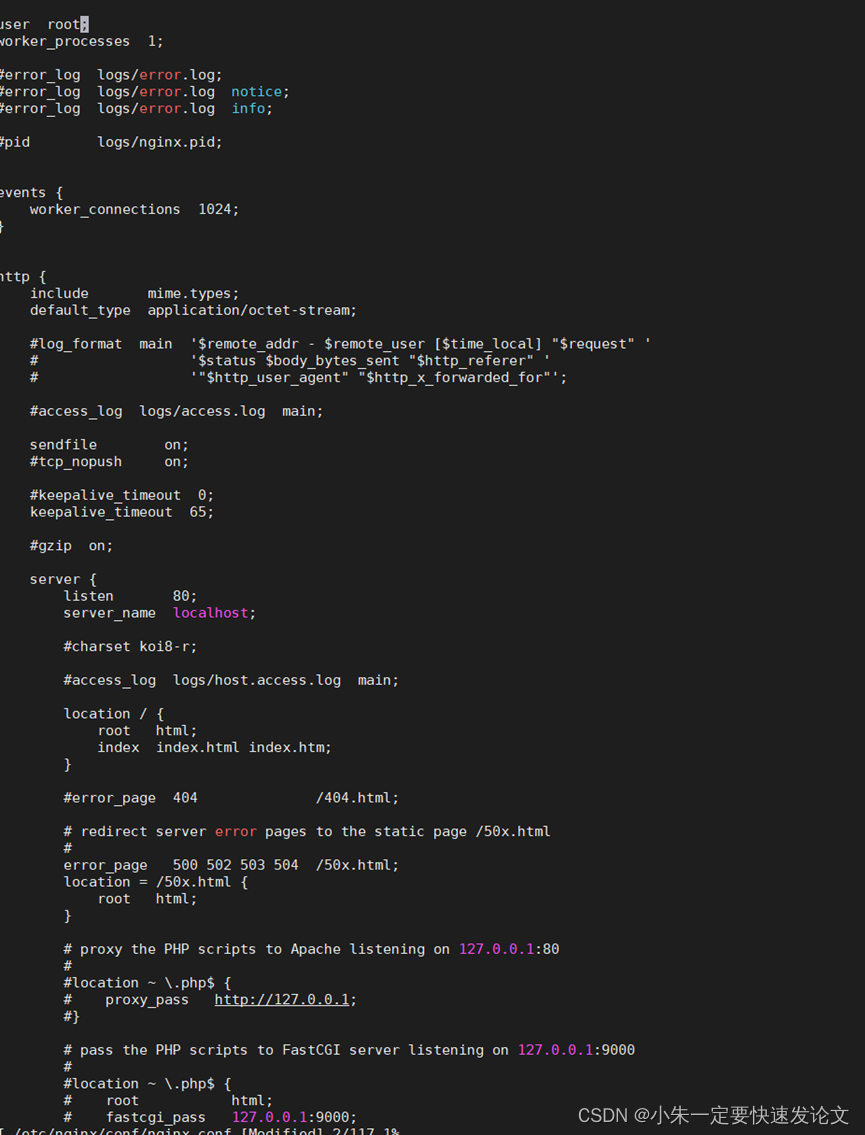
没有用户的话建立用户

我们先用addgroup命令,添加root组,组号(GID)为0。执行addgroup命令前,必须先建立空白的/etc/group文件:
/ # touch /etc/group
/ # addgroup -g0 -S root
然后再用adduser命令,添加一个root账户,用户号(UID)为0,所属组为root组,家目录为/root,shell为/bin/sh。执行adduser命令前,必须先建立空白的/etc/passwd文件:
/ # touch /etc/passwd
/ # adduser -h/root -Groot -S -u0 -s/bin/sh root
我这里建立的是root1

运行出错

给权限运行

Pc测试
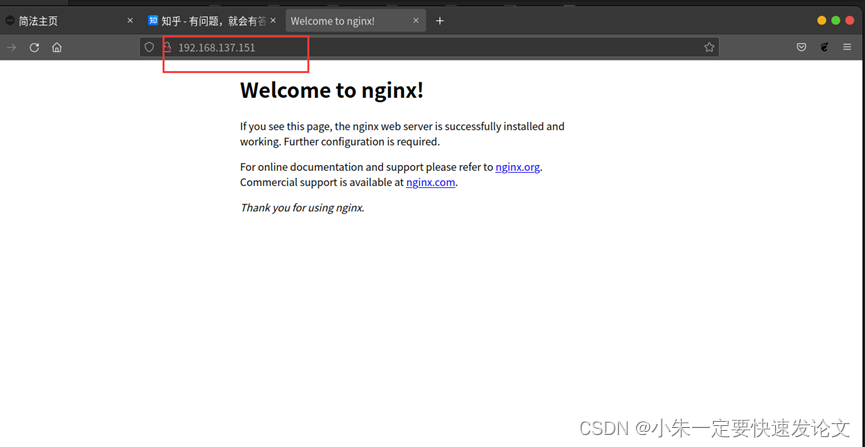
在交叉编译可能会遇到很多错误(我装了两天半才搞好),可以参考别人的经验:
https://codeleading.com/article/125368509/
https://zhuanlan.zhihu.com/p/591025497
https://blog.csdn.net/qq_42020799/article/details/125874687
真诚的感谢其他博主的帮忙


