深度学习目标检测ui界面-交通标志检测识别
为了将算法封装起来,博主尝试了实验pyqt5的上位机界面进行封装,其中遇到了一些坑举给大家避开。这里加载的训练模型参考之前写的博客:
自动驾驶目标检测项目实战(一)—基于深度学习框架yolov的交通标志检测
效果
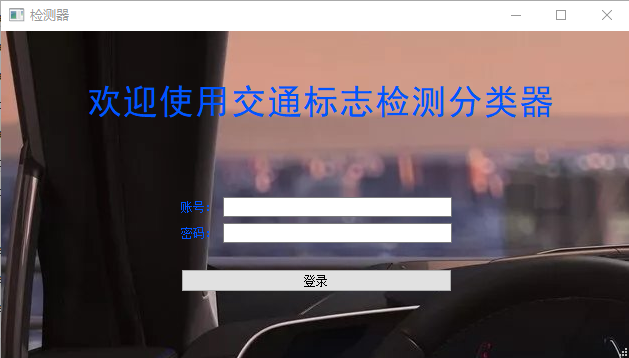
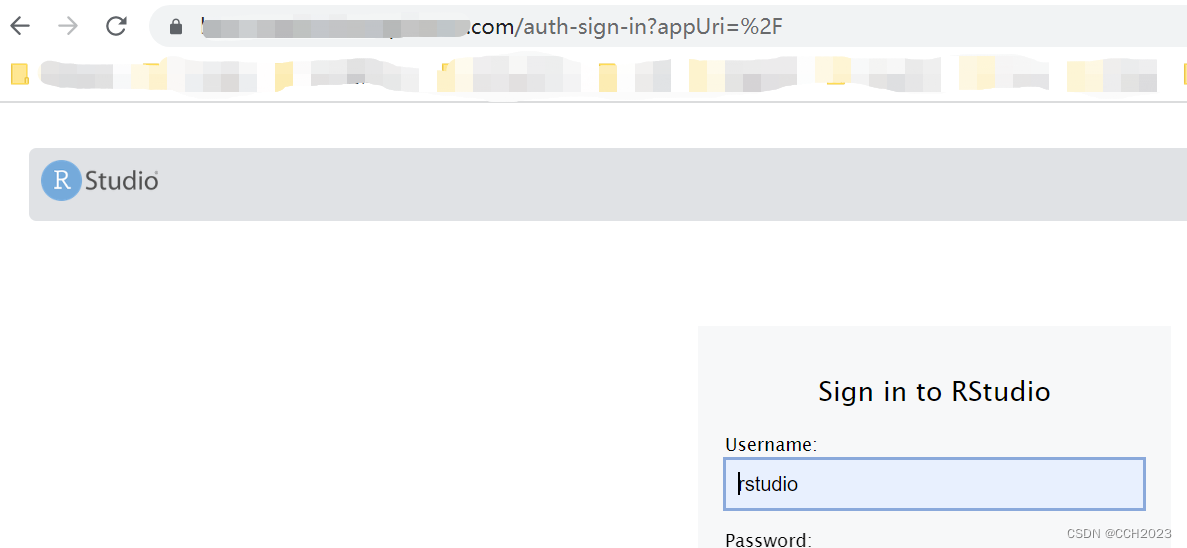
输入设置好账号密码
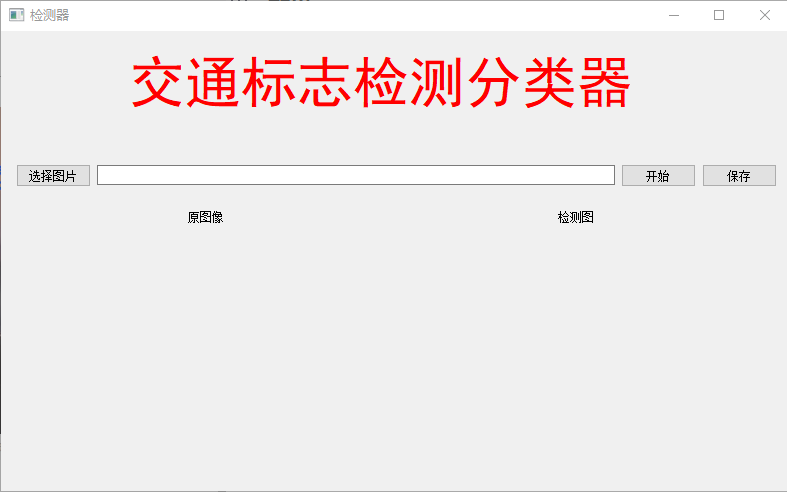
加载一张交通标志图片
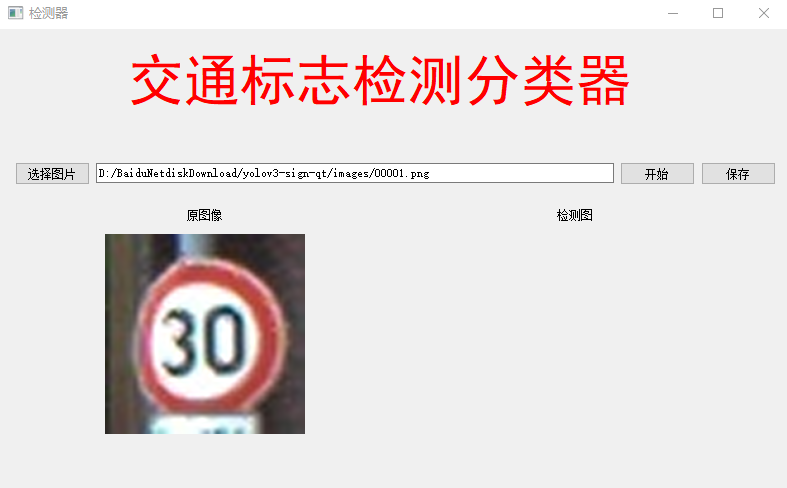
点击开始
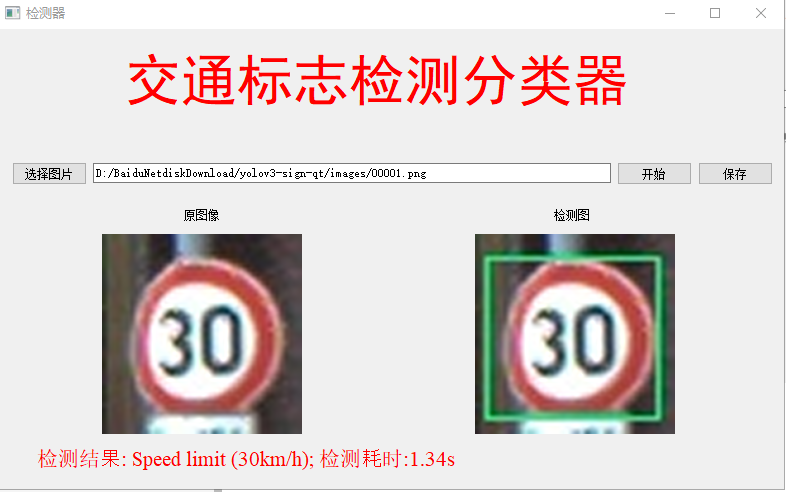
测试使用cpu跑的,使用gpu的话检测速度会更快。
过程
主要包括检测代码和界面代码:
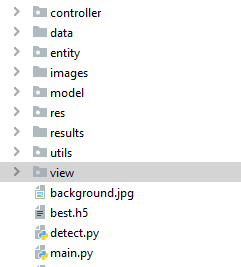
我们只需要将检测完的图片在界面显示即可,但是这样遇到一些问题:
(1)QtGui.QImage加载图片时,图片的红色变成蓝色,解决方法:一开始猜想是图像通道问题,于是把:
 _image = QtGui.QImage(self.img_defect[:], self.img_defect.shape[1], self.img_defect.shape[0],
                              self.img_defect.shape[1] * 3,
                              QtGui.QImage.Format_RGB888)
中的Format_RGB888改为Format_BGR888,即:
 _image = QtGui.QImage(self.img_defect[:], self.img_defect.shape[1], self.img_defect.shape[0],
                              self.img_defect.shape[1] * 3,
                              QtGui.QImage.Format_BGR888)
就可以正常显示图片的颜色。
(2)另外,如何使用以下代码直接读取截图的png图片时,图片会乱码:
  img_orignal = cv_imread(self.fname)  # opencv读取图片
  res = cv2.resize(img_orignal, (200, 200), interpolation=cv2.INTER_CUBIC)  # 用cv2.resize设置图片大小
  self.img_o = res
  _image = QtGui.QImage(self.img_o[:], self.img_o.shape[1], self.img_o.shape[0], self.img_o.shape[1] * 3,
                        QtGui.QImage.Format_BGR888)  # pyqt5转换成自己能放的图片格式
  jpg_out = QtGui.QPixmap(_image)  # 转换成QPixmap
  self.label_4.setPixmap(jpg_out)  # 设置图片显示
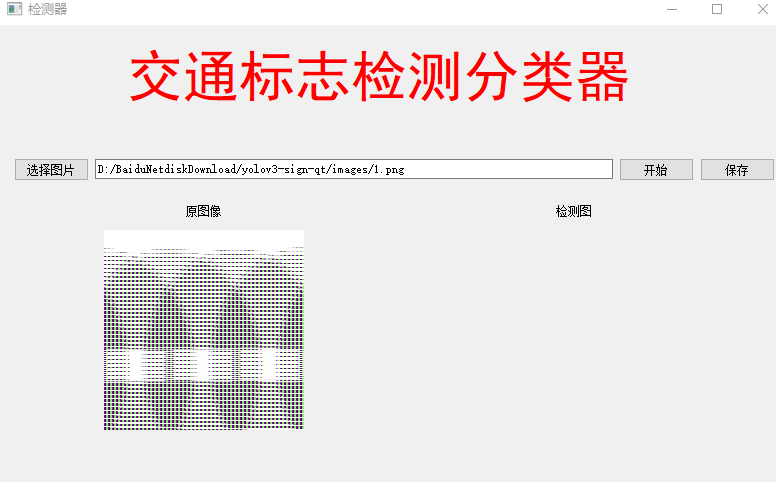
解决方法:
先用opencv保存图片,如何再加载:
 # 显示图片
 img_orignal = cv_imread(self.fname)  # opencv读取图片
 cv2.imwrite('./images/res/origin.jpg', img_orignal)
 img = cv_imread("./images/res/origin.jpg")
 res = cv2.resize(img, (200, 200), interpolation=cv2.INTER_CUBIC)  # 用cv2.resize设置图片大小
 self.img_o = res
 _image = QtGui.QImage(self.img_o[:], self.img_o.shape[1], self.img_o.shape[0], self.img_o.shape[1] * 3,
                       QtGui.QImage.Format_BGR888)  # pyqt5转换成自己能放的图片格式
 jpg_out = QtGui.QPixmap(_image)  # 转换成QPixmap
 self.label_4.setPixmap(jpg_out)  # 设置图片显示
就可以解决:
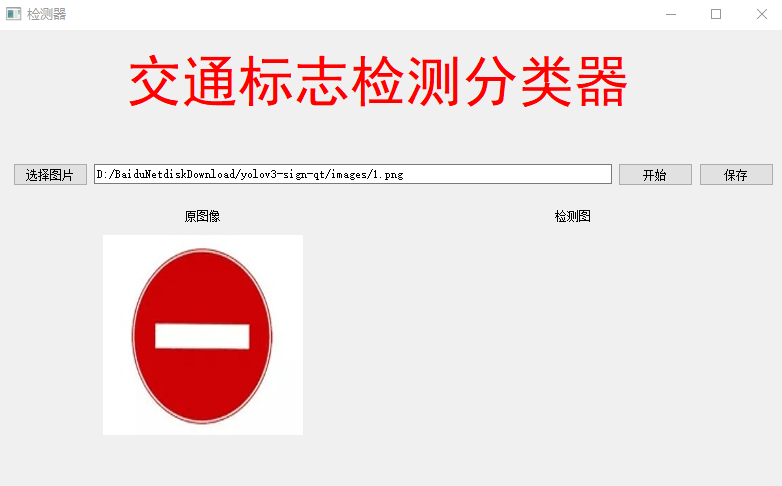
当然这只是其中一种解决方法,其他我还没发现。
记录到这里,需要源码的私信

![[YOLO] yolov4 博客笔记](https://img-blog.csdnimg.cn/4fc6b9403e9f495f94d896cc4bf3beba.png)

