一.数据库编程的必备条件
编程语言:java c c++ Python
数据库 Oracle,MySQL,SQL Server
数据库驱动包:不同的数据库,对应不同的编程语言提供了不同的数据库驱动包:MySQL提供了Java的驱动包
mysql=connector-java,需要就Java操作MySQL需要该驱动包
二.Java的数据库编程
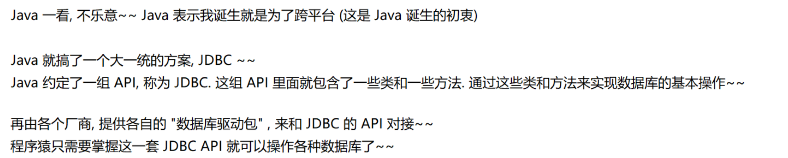
JDBC,即Java Database Connectivity,java数据库连接。是一种用于执行SQL语句的Java API,它是
Java中的数据库连接规范。这个API由 java.sql.,javax.sql. 包中的一些类和接口组成,它为Java
开发人员操作数据库提供了一个标准的API,可以为多种关系数据库提供统一访问。

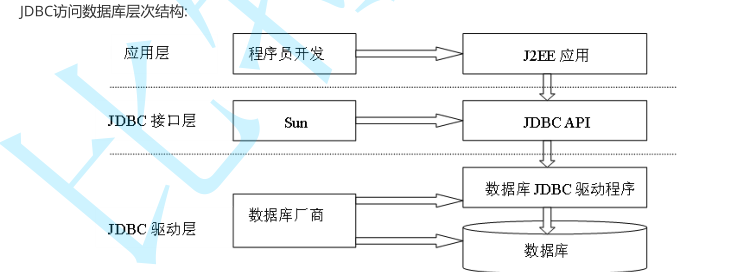
三.jdbc工作原理
JDBC 为多种关系数据库提供了统一访问方式,作为特定厂商数据库访问API的一种高级抽象,它主要包
含一些通用的接口类。
JDBC优势:
Java语言访问数据库操作完全面向抽象接口编程
开发数据库应用不用限定在特定数据库厂商的API
程序的可移植性大大增强
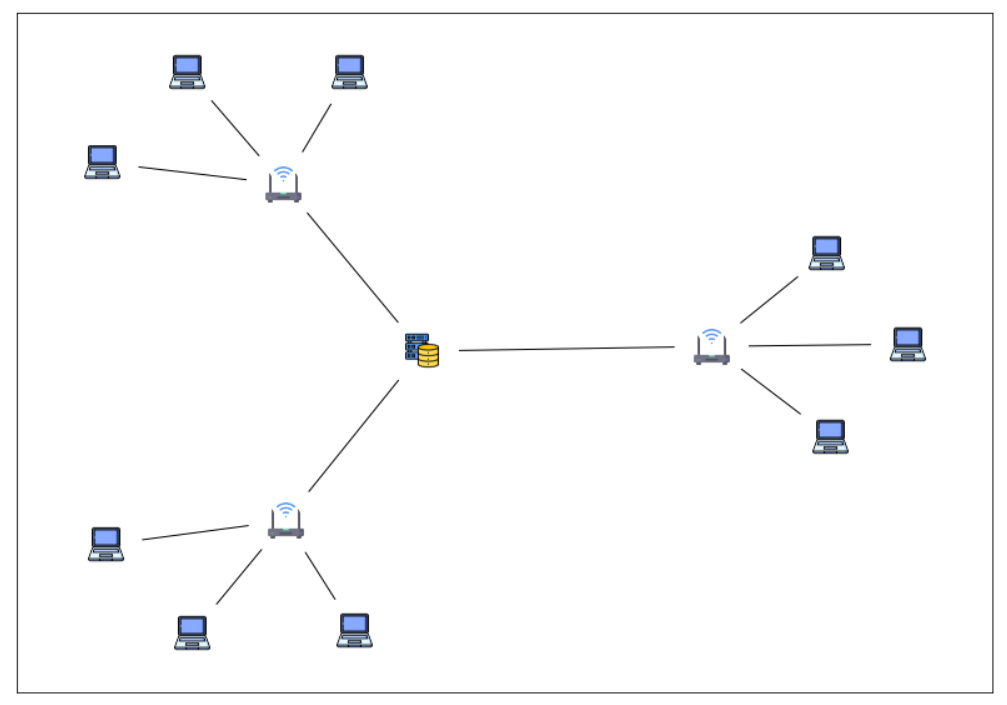
MySQL是一个-服务器结构的程序


四.JDBC编程
1.创建项目

2.引入依赖
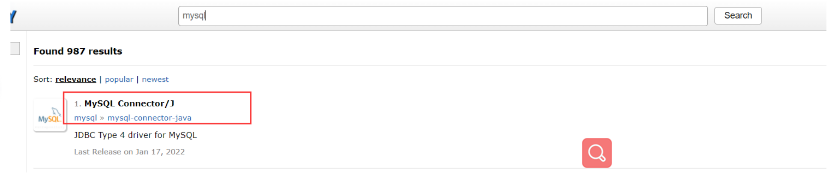
JDBC编程需要用到MySQL的驱动包
驱动包就是将mysql本身的API给转化成jdbc风格的
1)下载驱动包

去maven中央仓库去下载

https://mvnrepository.com/


2)导入到项目中
a)创建个目录,随便取名字
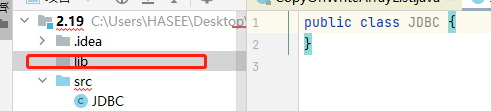
b)把刚才下载的jar文件拷贝到刚才的目录


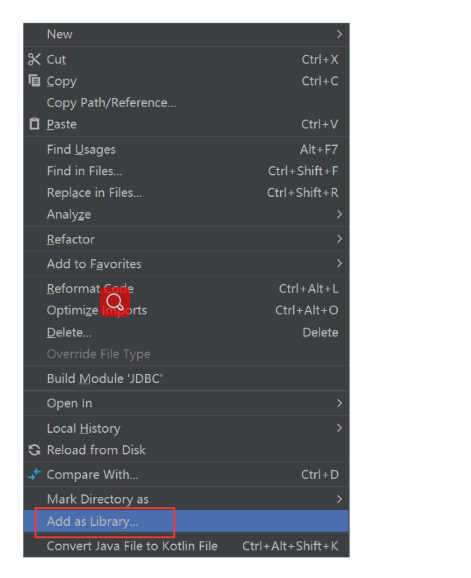
c)右键刚刚的目录,有一个选项,佳作add as library

3)编写代码
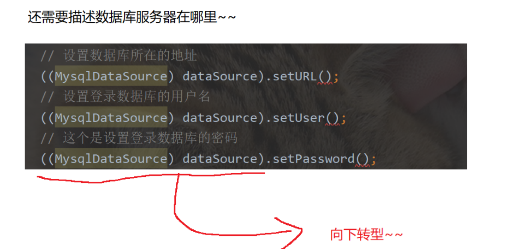
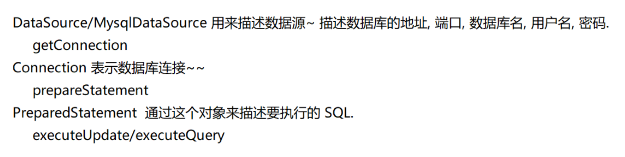
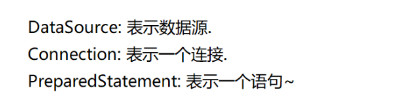
1.创建DataSource对象,这个对象就描述了数据库服务器在哪里
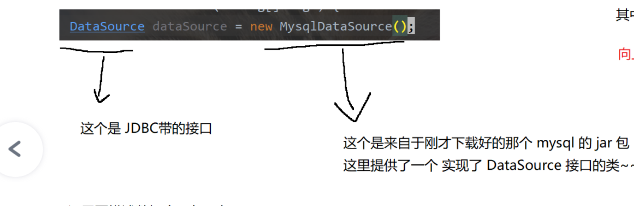
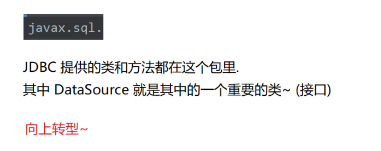
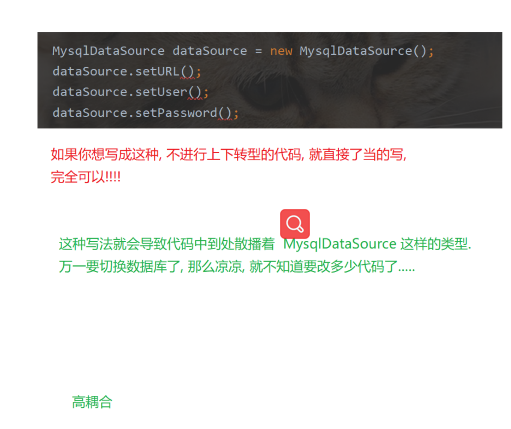
父类引用指向子类实例

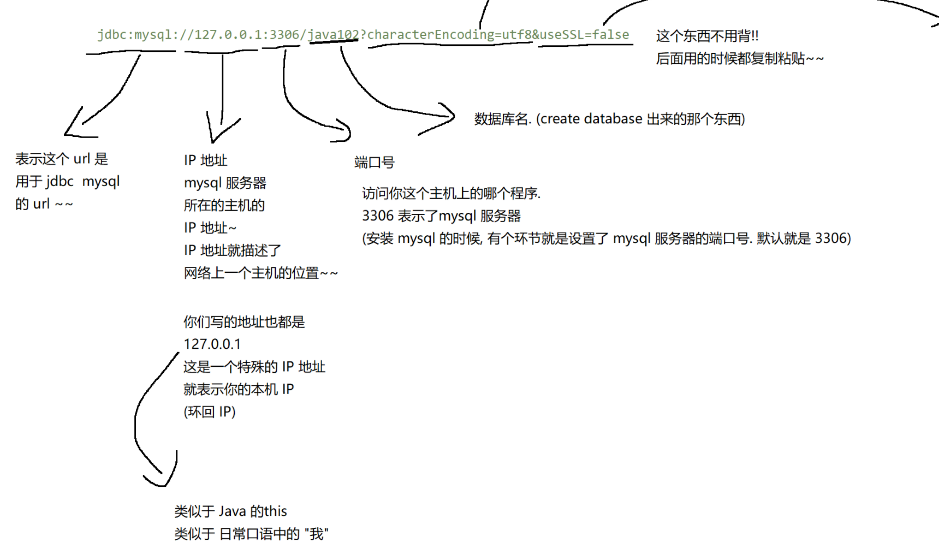
URL:Uniform Resource Locator
唯一资源定位符


2.建立连接

3操作数据库(插入)-构造语句


4.执行sql

5.释放资源
释放资源的时候先释放statement,再释放connection
先创建的后释放
4)总结
(42条消息) 如何查看MySQL的端口号?_安西宁的博客-CSDN博客_mysql8 查看端口
五.灵活处理插入删除数据
0.以前的方法

1.使用户输入

2.将id和name替换到insert语句对应的位置上

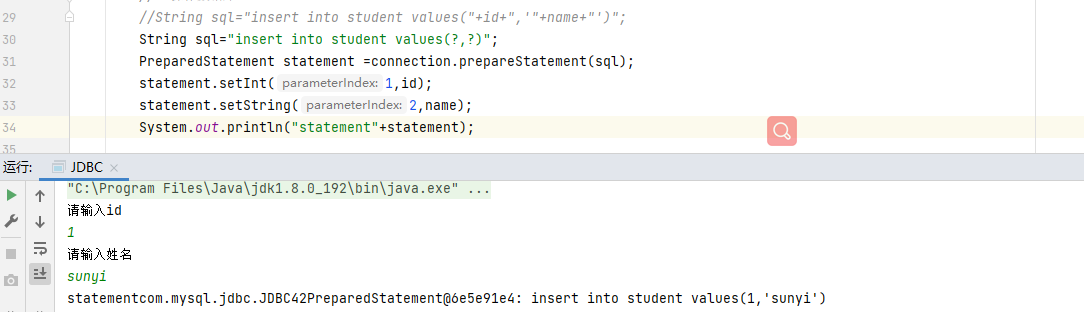
方法1,用字符串的拼接

方法2:替代写法

3.进行替换操作


4.打印拼接好的sql

六.注意事项
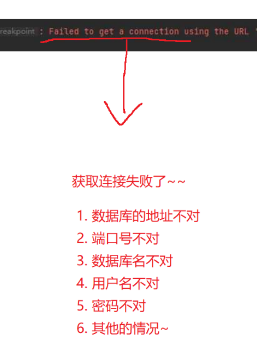
1.无法用idea连接


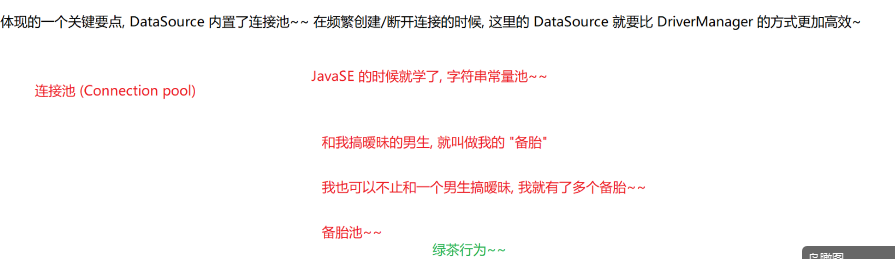
2.连接池

import com.mysql.jdbc.jdbc2.optional.MysqlDataSource;
import javax.sql.DataSource;
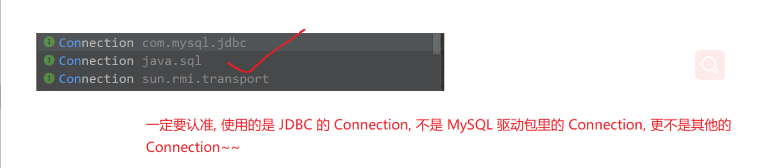
import java.sql.Connection;
import java.sql.PreparedStatement;
import java.sql.SQLException;
import java.util.Scanner;
public class JDBC {
public static void main(String[] args) throws SQLException {
Scanner scanner = new Scanner(System.in);
// 1. 创建好数据源
DataSource dataSource = new MysqlDataSource();
// 设置数据库所在的地址
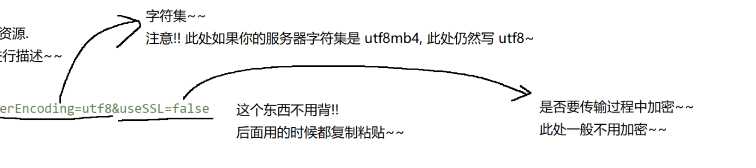
((MysqlDataSource) dataSource).setURL("jdbc:mysql://127.0.0.1:3306/java102?characterEncoding=utf8&useSSL=false");
// 设置登录数据库的用户名
((MysqlDataSource) dataSource).setUser("root");
// 这个是设置登录数据库的密码
((MysqlDataSource) dataSource).setPassword("2222");
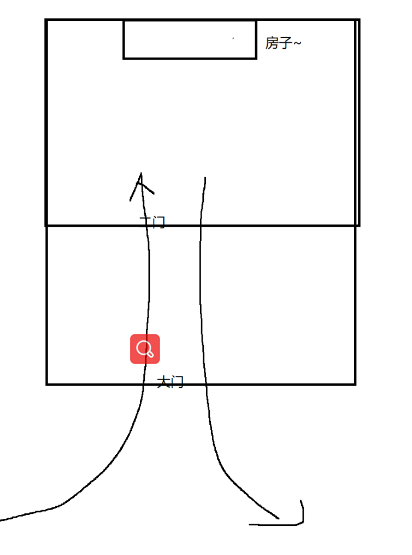
// 2. 让代码和数据库服务器建立连接~~ 相当于到达了菜鸟驿站
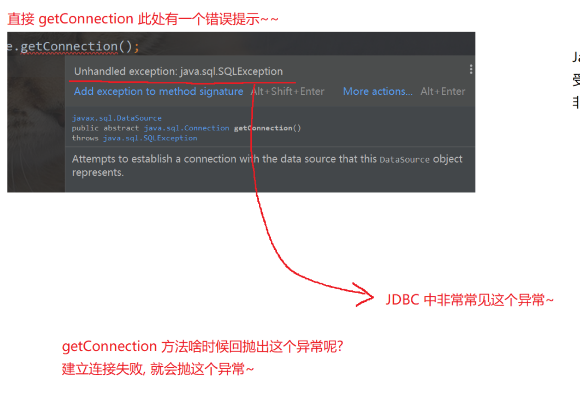
Connection connection = dataSource.getConnection();
// 2.5 让用户通过控制台输入一下待插入的数据.
System.out.println("请输入学号: ");
int id = scanner.nextInt();
System.out.println("请输入姓名: ");
String name = scanner.next();
// 3. 操作数据库. 以插入数据为例.
// 关键所在就是构造一个 SQL 语句~
// 在 JDBC 中构造的 SQL, 不必带上 ;
// ; 只是在命令行中用来区分不同的语句. 现在是直接在代码中操作~~
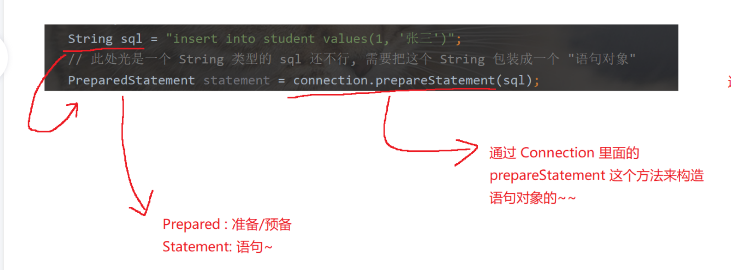
String sql = "insert into student values(?, ?)";
// 此处光是一个 String 类型的 sql 还不行, 需要把这个 String 包装成一个 "语句对象"
PreparedStatement statement = connection.prepareStatement(sql);
// 进行替换操作.
statement.setInt(1, id);
statement.setString(2, name);
System.out.println("statement: " + statement);
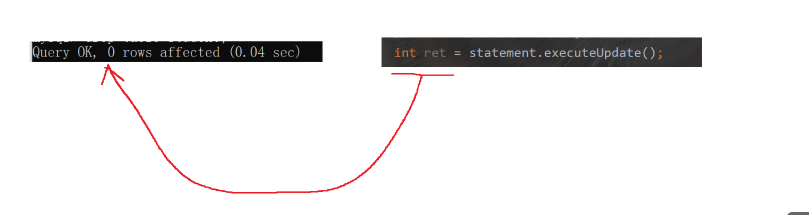
// 4. 执行 SQL , 相当于扫码取件
// SQL 里面如果是 insert, update, delete, 都使用 executeUpdate 方法.
// SQL 里面如果是 select, 则使用 executeQuery 方法.
// 返回值就表示这个操作, 影响到了 几行. 就相当于在控制台里输入 sql 之后, 得到的数字~
int ret = statement.executeUpdate();
System.out.println(ret);
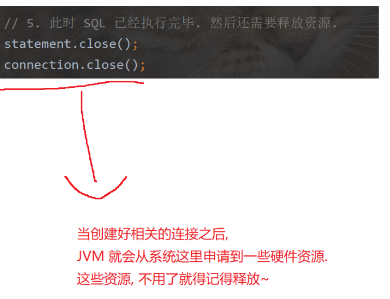
// 5. 此时 SQL 已经执行完毕. 然后还需要释放资源.
statement.close();
connection.close();
}
}七 .查找操作
import com.mysql.jdbc.jdbc2.optional.MysqlDataSource;
import javax.sql.DataSource;
import java.sql.Connection;
import java.sql.PreparedStatement;
import java.sql.ResultSet;
import java.sql.SQLException;
public class JDBCSelect {
public static void main(String[] args) throws SQLException {
// 查找数据库中的记录
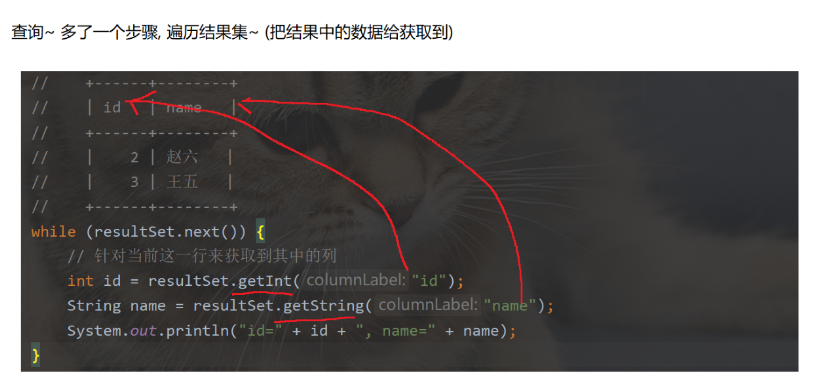
// 这个查找和前面的操作就不太一样了~~ 多了一个步骤, 要遍历结果集合~
// 1. 创建数据源
DataSource dataSource = new MysqlDataSource();
((MysqlDataSource)dataSource).setUrl("jdbc:mysql://127.0.0.1:3306/java104?characterEncoding=utf8&useSSL=false");
((MysqlDataSource)dataSource).setUser("root");
((MysqlDataSource)dataSource).setPassword("2222");
// 2. 和数据库服务器建立连接
Connection connection = dataSource.getConnection();
// 3. (此处不输入条件了, 直接查找所有记录)
// 4. 构造 SQL
String sql = "select * from student";
PreparedStatement statement = connection.prepareStatement(sql);
// 5. 执行 SQL.
// 此处要使用的是 executeQuery.
// executeUpdate 只能返回一个 int.
// executeQuery 返回的是一个 ResultSet 对象. 可以把这个对象视为是一个 "临时表"
ResultSet resultSet = statement.executeQuery();
// 6. 遍历临时表, 拿到里面的数据.
// resultSet 简单的当成一个类似于 "迭代器" 这样的东西来看待~
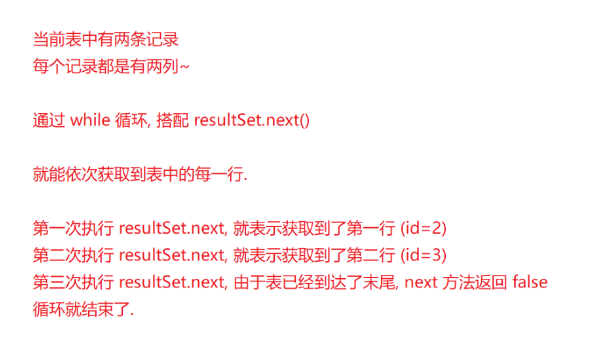
// next 如果没有到达末尾, 就是返回 true, 要继续循环.
// next 如果到达末尾, 就返回 false, 结束循环.
while (resultSet.next()) {
// 在这里就可以取这一行的数据了.
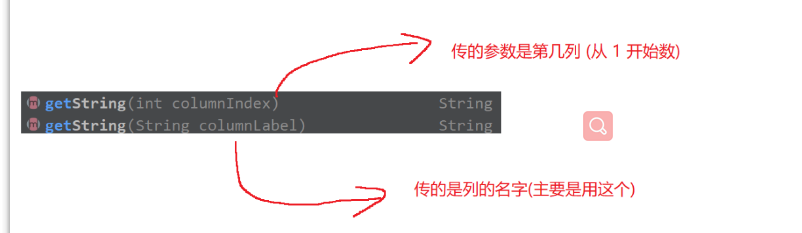
// 通过 ResultSet 里面的 getXXX 方法, 来获取到这里指定的列.
// 取 id, id 是整数, getInt
int id = resultSet.getInt("id");
// 取 name, name 是 String, getString
String name = resultSet.getString("name");
System.out.println(id + ": " + name);
}
// 7. 关闭连接, 释放资源
resultSet.close();
statement.close();
connection.close();
}
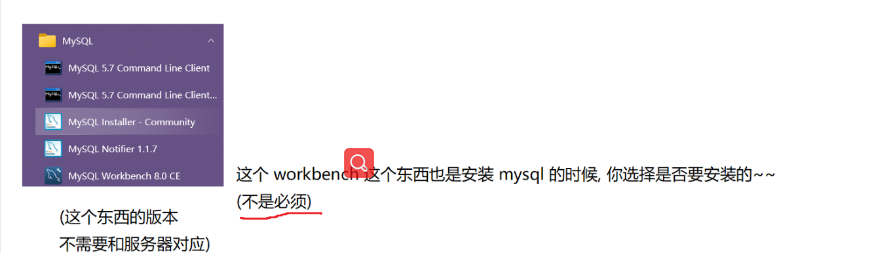
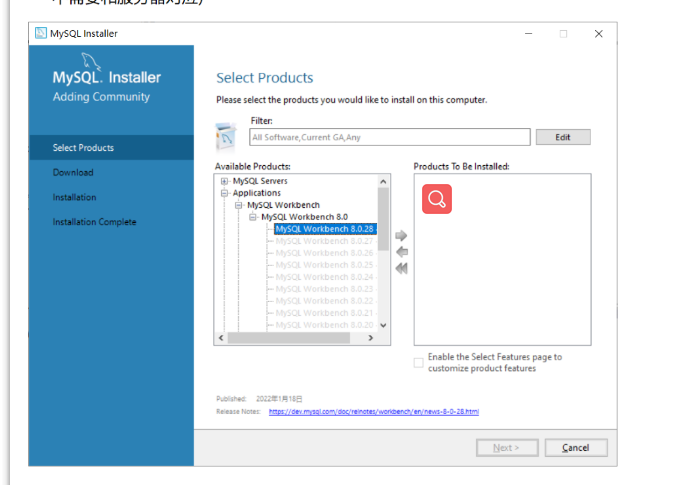
}八.workbench