安装Redis
使用yum命令,直接将redis安装到linux服务器:
yum -y install redis启动redis
使用以下命令,以后台运行方式启动redis:
redis -server /etc/redis.conf &操作redis
使用以下命令启动redis客户端:
redis-cli
设置远程连接
1. 将 redis 配置文件下载到本地:redis 配置文件是 linux 下的 /etc/redis.conf ;
2. 将 redis.conf 中的 “bind 127.0.0.1”注释掉;
3. 将 redis.conf 中的“protected-mode yes” 改为“protected-mode no”;
4. 将修改后的 redis.conf 上传至 liunx 下的 /etc 目录;
5. 使用命令“redis-cli shutdown”先关闭 redis 服务,再使用“redis-server /etc/redis.conf &”启动 redis 服务
注意:在连接redis终端的之前一定要开放安全组
SpringBoot集成Redis
1.添加redis依赖
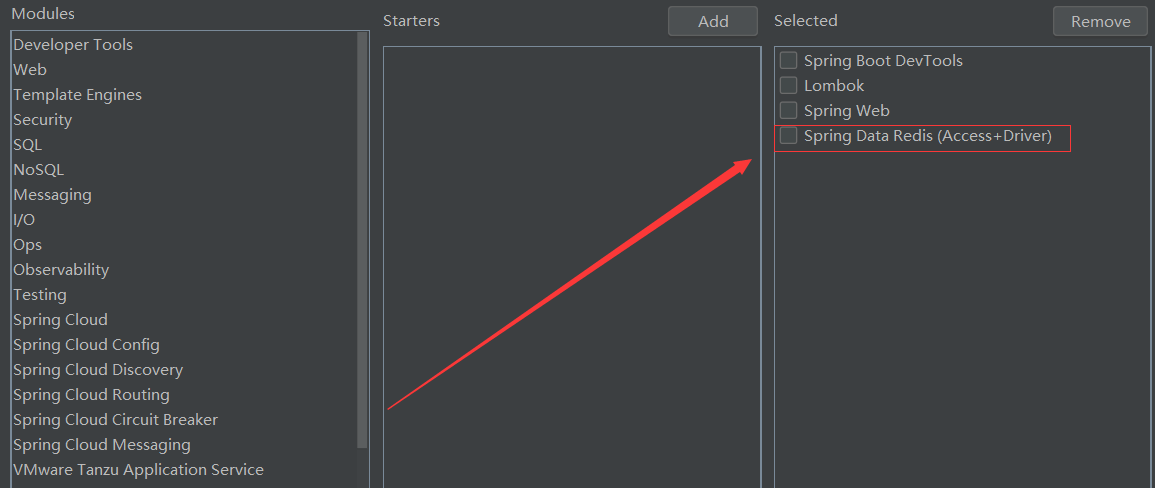
或者是在pom.xml文件中配置一下依赖:
<dependency>
 <groupId>org.springframework.boot</groupId>
 <artifactId>spring-boot-starter-data-redis</artifactId>
</dependency>
2.配置Redis(主要是配置前三个)
spring.redis.database=0
spring.redis.port=6379
spring.redis.host=82.157.146.10
spring.redis.lettuce.pool.min-idle=5
spring.redis.lettuce.pool.max-idle=10
spring.redis.lettuce.pool.max-active=8
spring.redis.lettuce.pool.max-wait=1ms
spring.redis.lettuce.shutdown-timeout=100ms
3.操作Redis
操作字段
package com.example.demo.controller;

import org.springframework.beans.factory.annotation.Autowired;
import org.springframework.data.redis.core.StringRedisTemplate;
import org.springframework.stereotype.Controller;
import org.springframework.util.StringUtils;
import org.springframework.web.bind.annotation.RequestMapping;
import org.springframework.web.bind.annotation.RestController;

@RestController
public class RedisController {
    @Autowired
    private StringRedisTemplate stringRedisTemplate;

    /**
     * 将字符串存贮到redis
     * @param key
     * @param value
     * @return
     */
    @RequestMapping("/setredis")
    public String setRedis(String key,String value){
        if(StringUtils.hasLength(key) && StringUtils.hasLength(value)){
            //在redis中存储数据
            stringRedisTemplate.opsForValue().set(key,value);
            return "设置成功";
        }else{
            return "请检查输入的值是否正确";
        }
    }


    /**
     * 从redis中获取对象
     * @param key
     * @return
     */
    @RequestMapping("/getredis")
    public String getRedis(String key){
        if(StringUtils.hasLength(key)){
            //获取redis中的value
            String s = stringRedisTemplate.opsForValue().get(key);
            return s;
        }else{
            return "获取失败";
        }
    }
}
结果:


操作对象
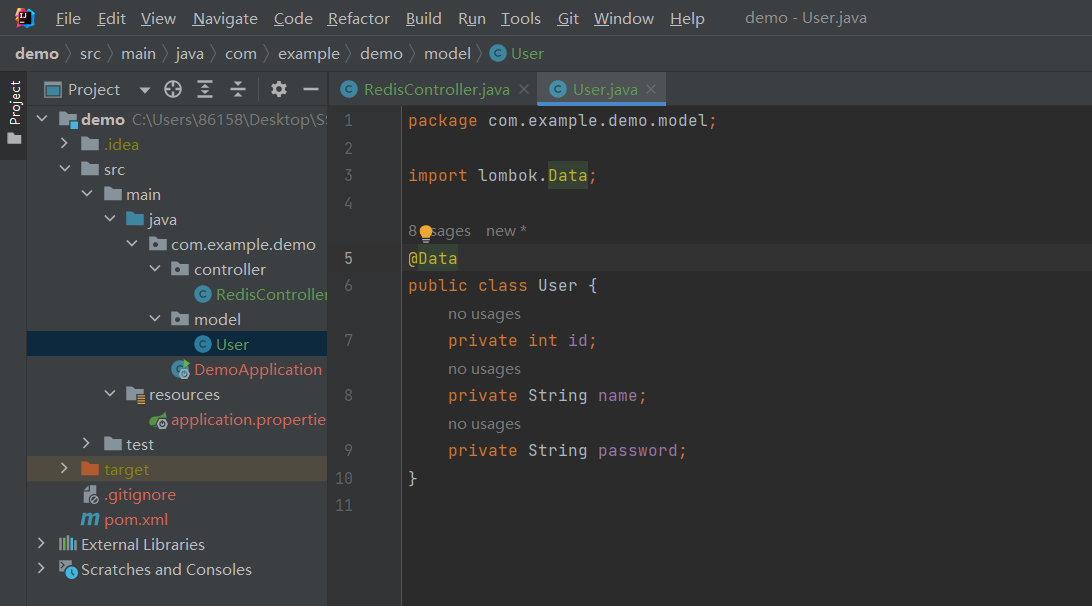
package com.example.demo.model;

import lombok.Data;

@Data
public class User {
    private int id;
    private String name;
    private String password;
}
package com.example.demo.controller;

import com.example.demo.model.User;
import com.fasterxml.jackson.core.JsonProcessingException;
import com.fasterxml.jackson.databind.ObjectMapper;
import org.springframework.beans.factory.annotation.Autowired;
import org.springframework.data.redis.core.StringRedisTemplate;
import org.springframework.stereotype.Controller;
import org.springframework.util.StringUtils;
import org.springframework.web.bind.annotation.RequestMapping;
import org.springframework.web.bind.annotation.RestController;

@RestController
public class RedisController {
    private User user;

    private final String object_redis_key = "user_1";

    @Autowired
    private ObjectMapper objectMapper;

    @Autowired
    private StringRedisTemplate stringRedisTemplate;

    /**
     * 使用双重效验锁来构建一个单例 user 对象
     */
    public User getUser(){
        if(user == null){
            synchronized (this){
                if(user == null){
                    user = new User();
                    user.setId(1);
                    user.setName("韩梅梅");
                    user.setPassword("123");
                }
            }
        }
        return user;
    }

    /**
     * 讲对象存储到redis中
     * @return
     */
    @RequestMapping("/setobj")
    public String setObj() throws JsonProcessingException {
        User user = getUser();
        String userStr = objectMapper.writeValueAsString(user);
        stringRedisTemplate.opsForValue().set(object_redis_key,userStr);
        return "操作成功!";
    }

    @RequestMapping("/getobj")
    public User getObj() throws JsonProcessingException {
        String userStr = stringRedisTemplate.opsForValue().get(object_redis_key);
        User user = objectMapper.readValue(userStr, User.class);
        return user;
    }
}

结果:


使用字典的方式来存储redis的优点可以获取单个值,节省带宽。缺点是存取写起来程序都比较麻烦。
Session的持久化
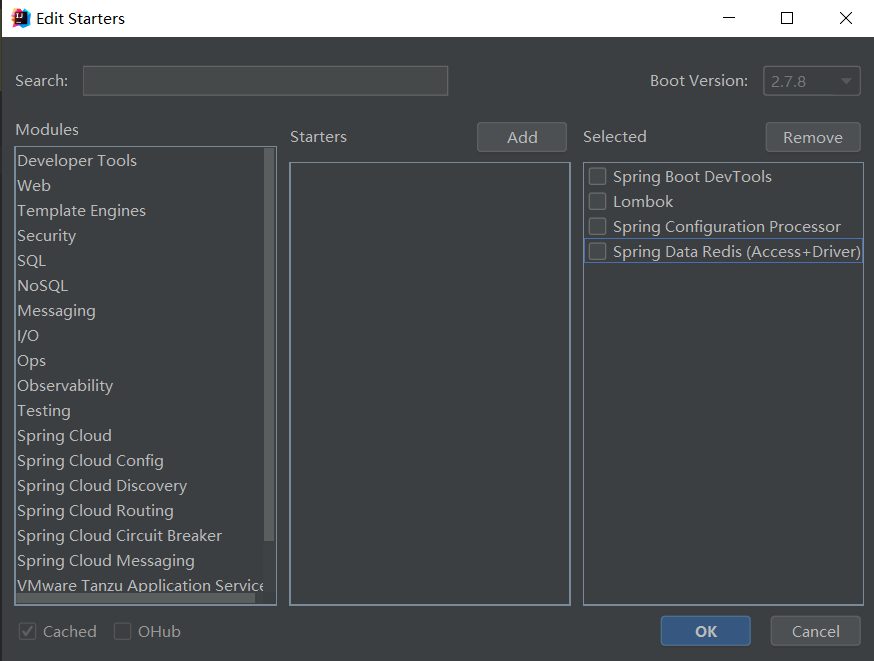
创建项目
添加依赖

        <dependency>
            <groupId>org.springframework.boot</groupId>
            <artifactId>spring-boot-starter-data-redis</artifactId>
        </dependency>
        <dependency>
            <groupId>org.springframework.session</groupId>
            <artifactId>spring-session-data-redis</artifactId>
        </dependency>
修改配置
spring.session.store-type=redis
server.servlet.session.timeout=1800
spring.session.redis.flush-mode=on_save
spring.session.redis.namespace=spring:session
spring.redis.host=82.157.14.10
spring.redis.password=
spring.redis.port=6379
存储和读取代码
package com.example.demo.model;

import lombok.Data;

import java.io.Serializable;

@Data
public class User implements Serializable {
    private int id;
    private String username;
    private String password;
}
package com.example.demo.controller;

import com.example.demo.model.User;
import org.springframework.web.bind.annotation.RequestMapping;
import org.springframework.web.bind.annotation.RestController;

import javax.servlet.http.HttpServletRequest;
import javax.servlet.http.HttpSession;

@RestController
public class UserController {
    private final String user_session_key = "session_1";
    @RequestMapping("/login")
    public boolean login(HttpSession session){
        //  ... 省去验证过程
        User user = new User();
        user.setId(1);
        user.setUsername("王五");
        user.setPassword("123");
        session.setAttribute(user_session_key,user);
        return true;
    }

    @RequestMapping("/getsess")
    public User getSess(HttpServletRequest request){
        HttpSession session = request.getSession(false);
        if(session != null){
           return (User) session.getAttribute(user_session_key);
        }
        return null;
    }
}


上面的操作表示已经将session存储到redis中了,这是即使重启程序,输入相应的路由也能读取redis中的数据:

这时如果将redis中的session信息删除掉再去获得session就获取不到了:




![[安装之3] 笔记本加装固态和内存条教程(超详细)](https://img-blog.csdnimg.cn/img_convert/a859b9e622cc4493a4ef4e15545b9d22.png)
