一、按键在CubeXM里的配置
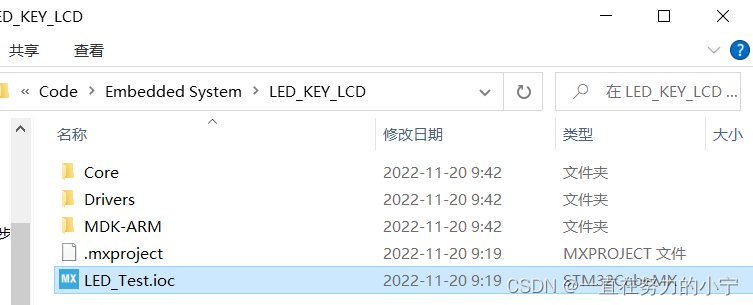
可以打开先前配置过LED的CubeMX,在其基础上进行按键的配置。
个人建议在这里先将原环境拷贝

更改副本文件夹名为LED_KEY_LCD

打开文件夹中的.ioc文件进行配置
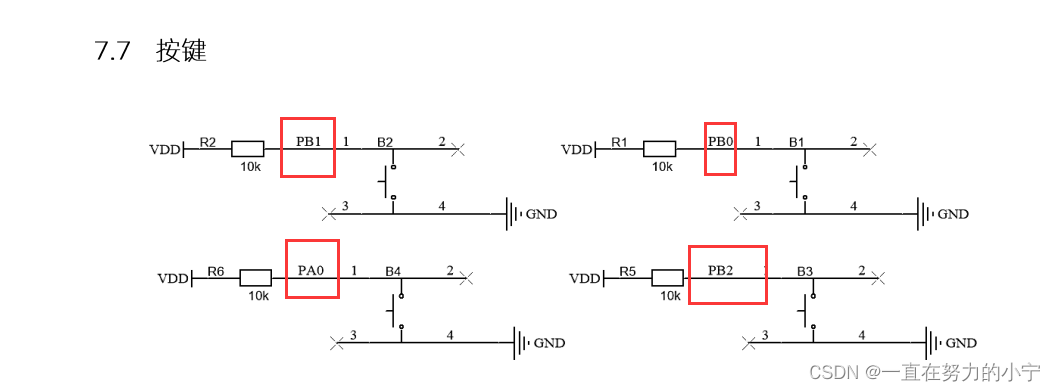
在配置之前,我们先查阅产品手册了解按键的电路图,以便确定我们引脚的选择。
 因此我们需要将这四个引脚进行配置,模式为输入:
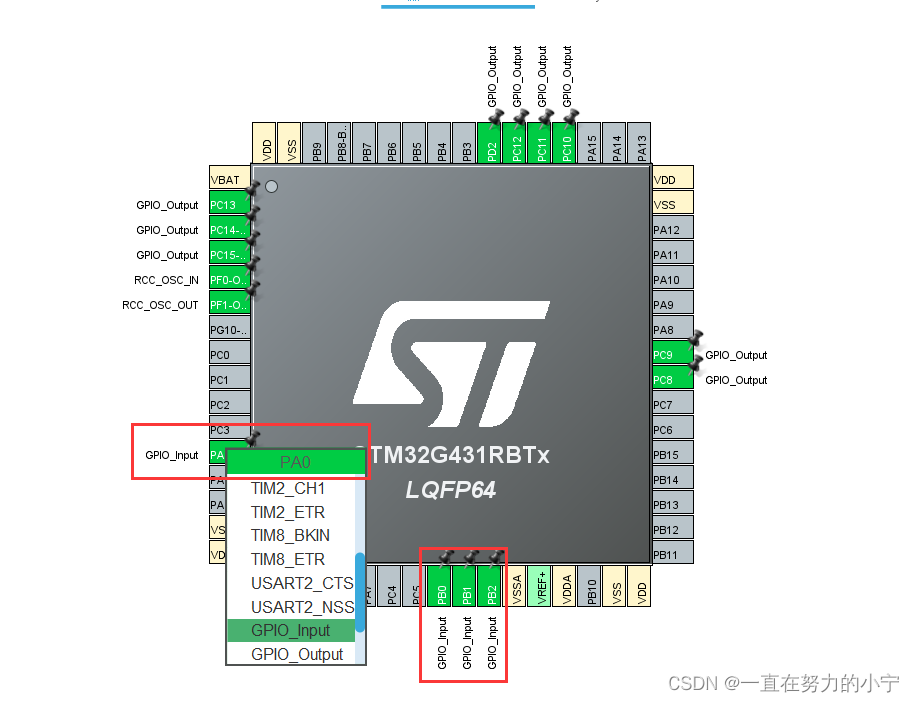
其他位置无需更改,配置完毕后单击右上角生成代码
二、配置按键的文件环境
1.打开keil环境,进行初始化编译
打开LED_KEY_LCD文件夹里的keil环境
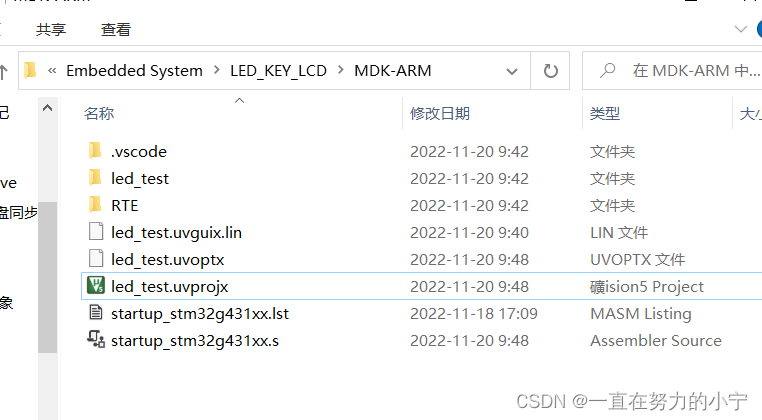
在这里若感觉文件名不适,可以将其修改为与文件夹相同的名字。
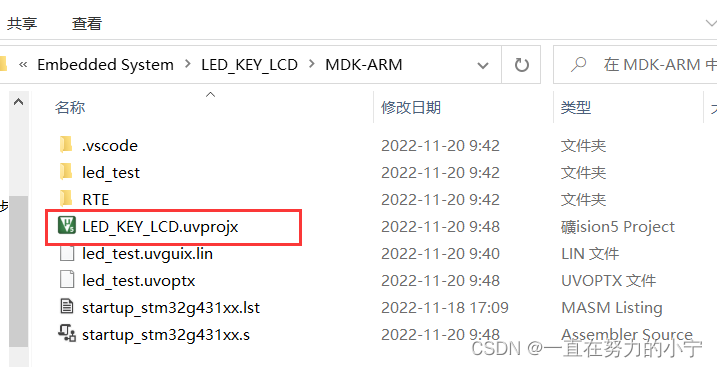
打开环境,进行初始化编译
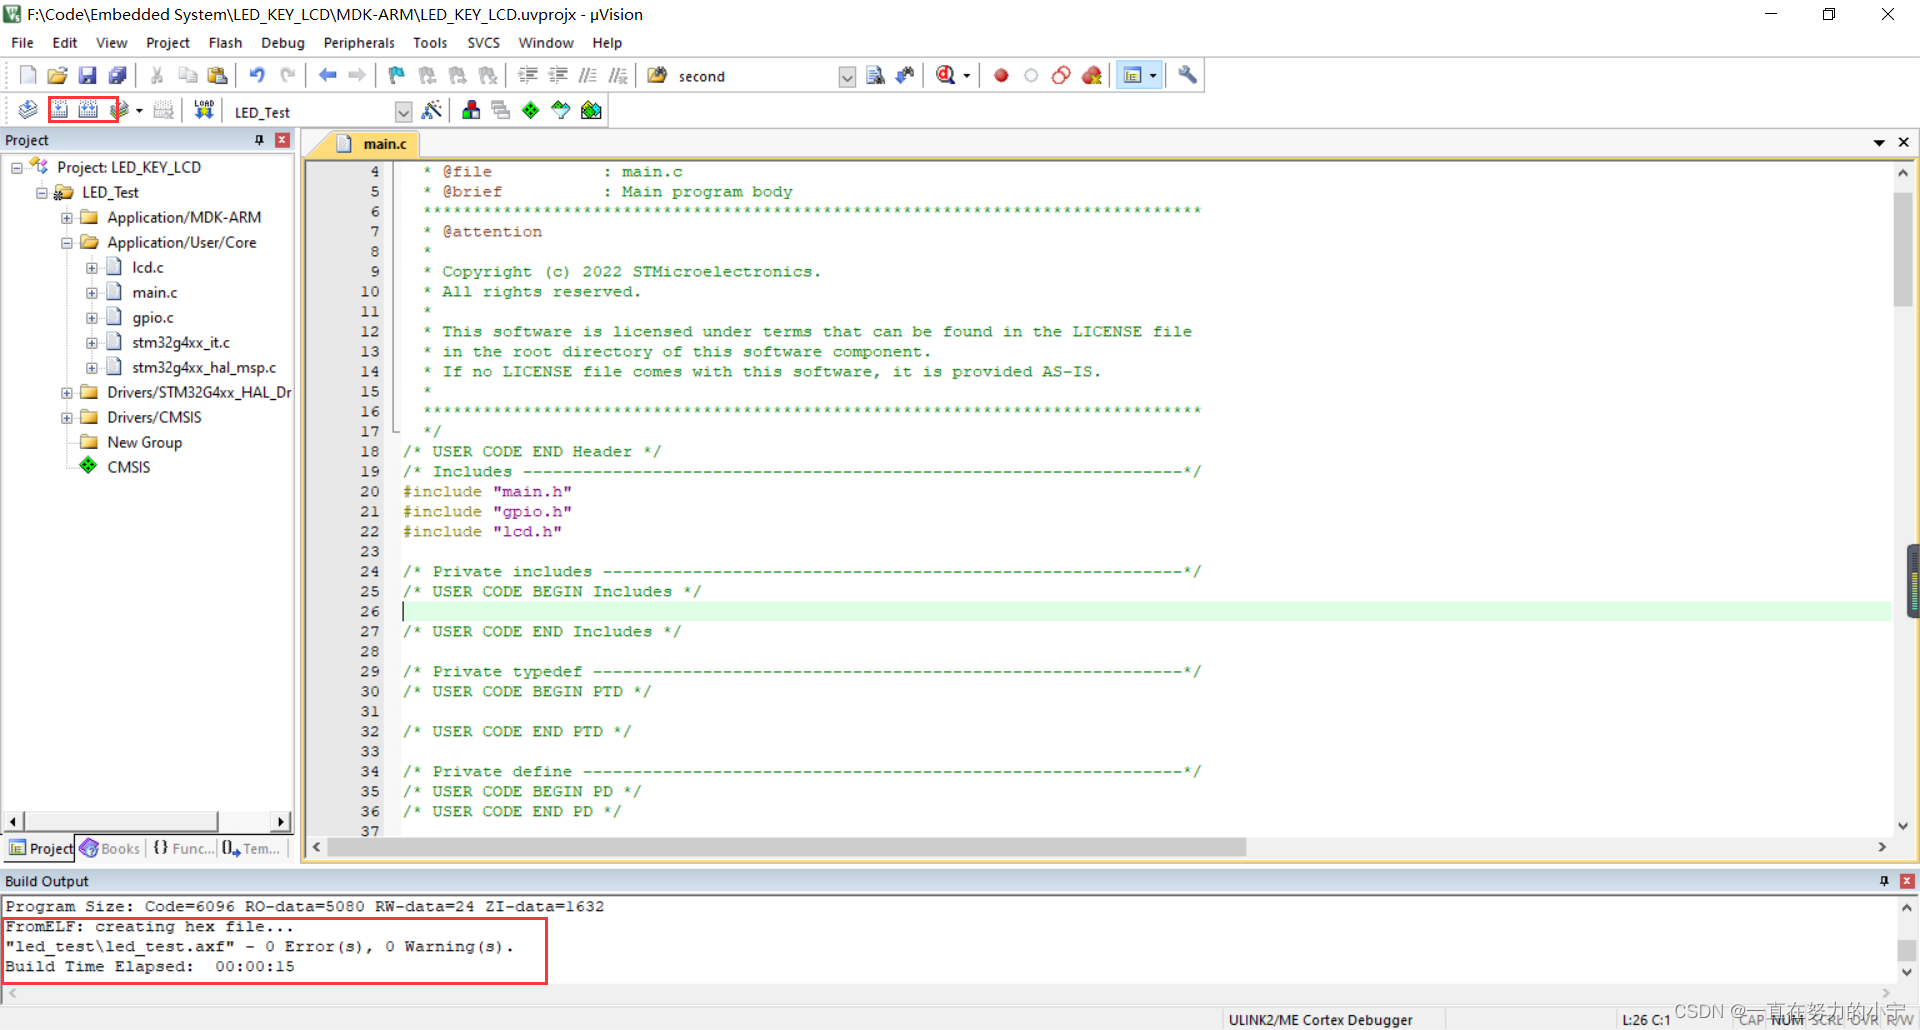
2.添加按键相关的.c .h文件
(1)新建文件
 命名为key.c,保存路径如下
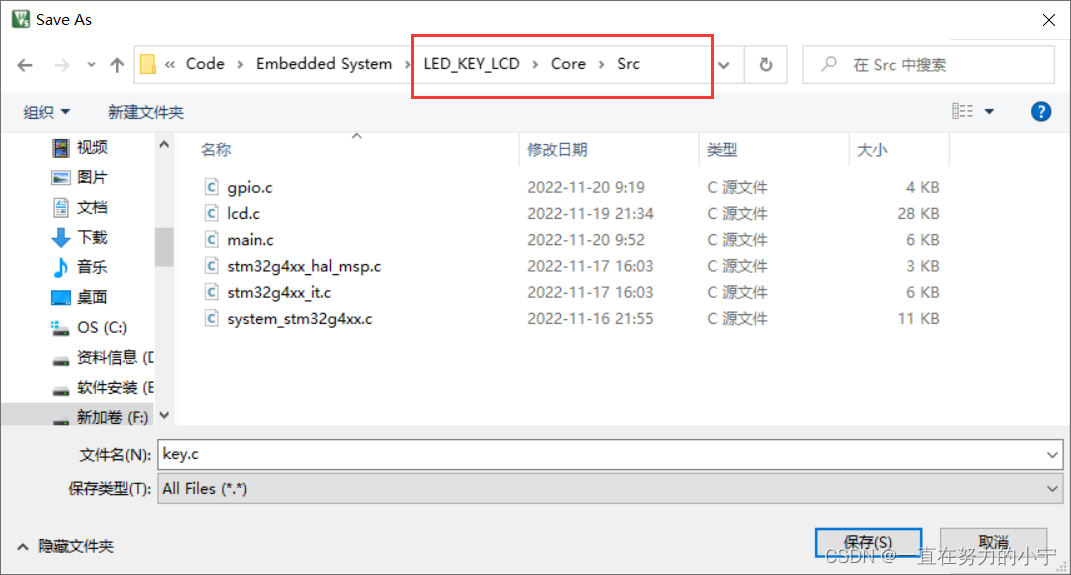 新建key.h头文件,保存路径如下
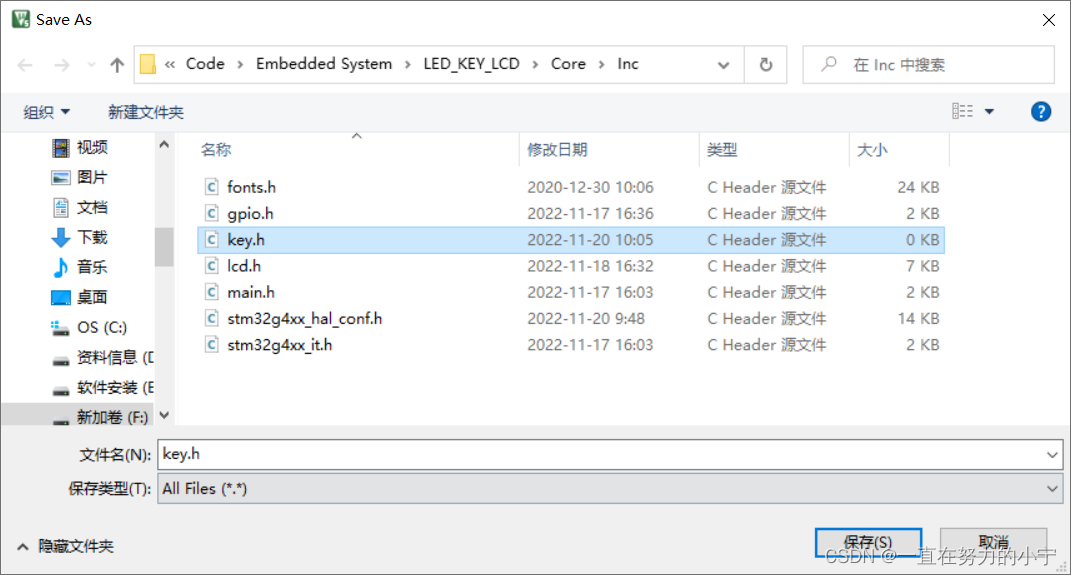
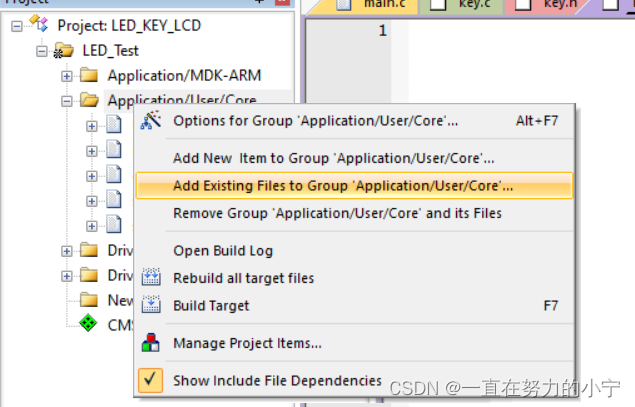
(2)将两文件与环境关联起来。
添加key.c文件进入环境,具体操作可参考基于STM32G431嵌入式学习笔记——二、LCD模块入门中有关于lcd.c文件的导入
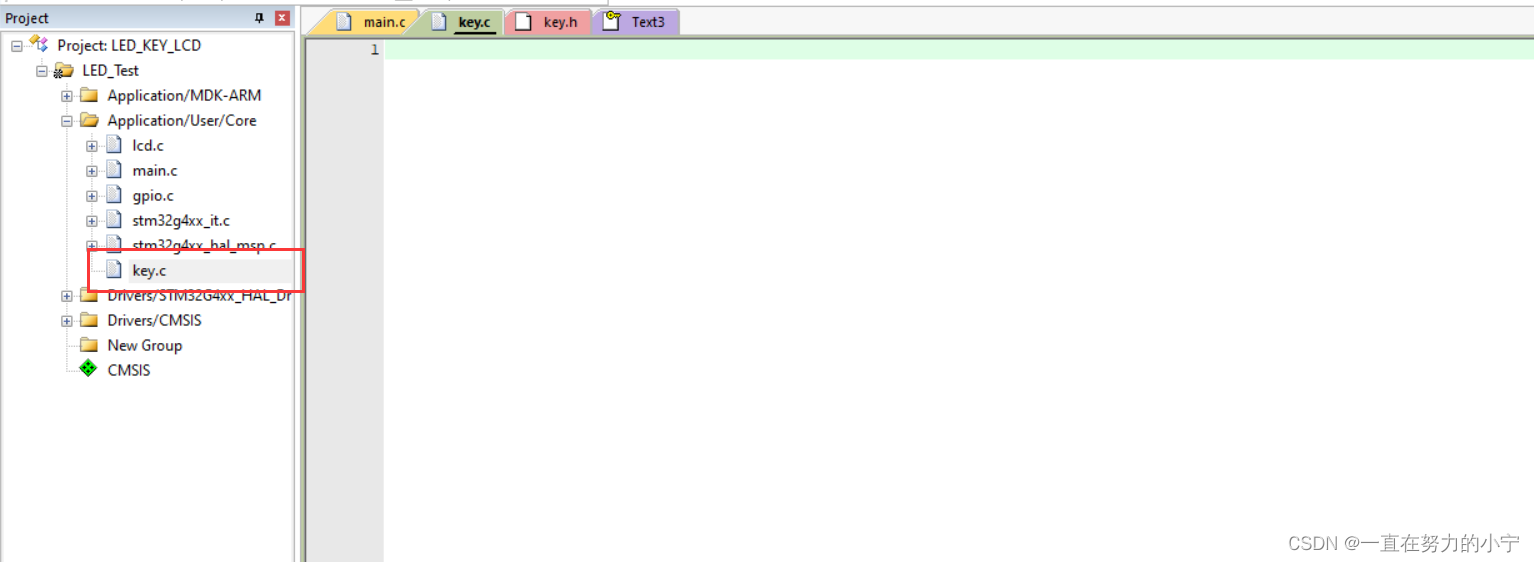
可以发现key.c已经进入环境
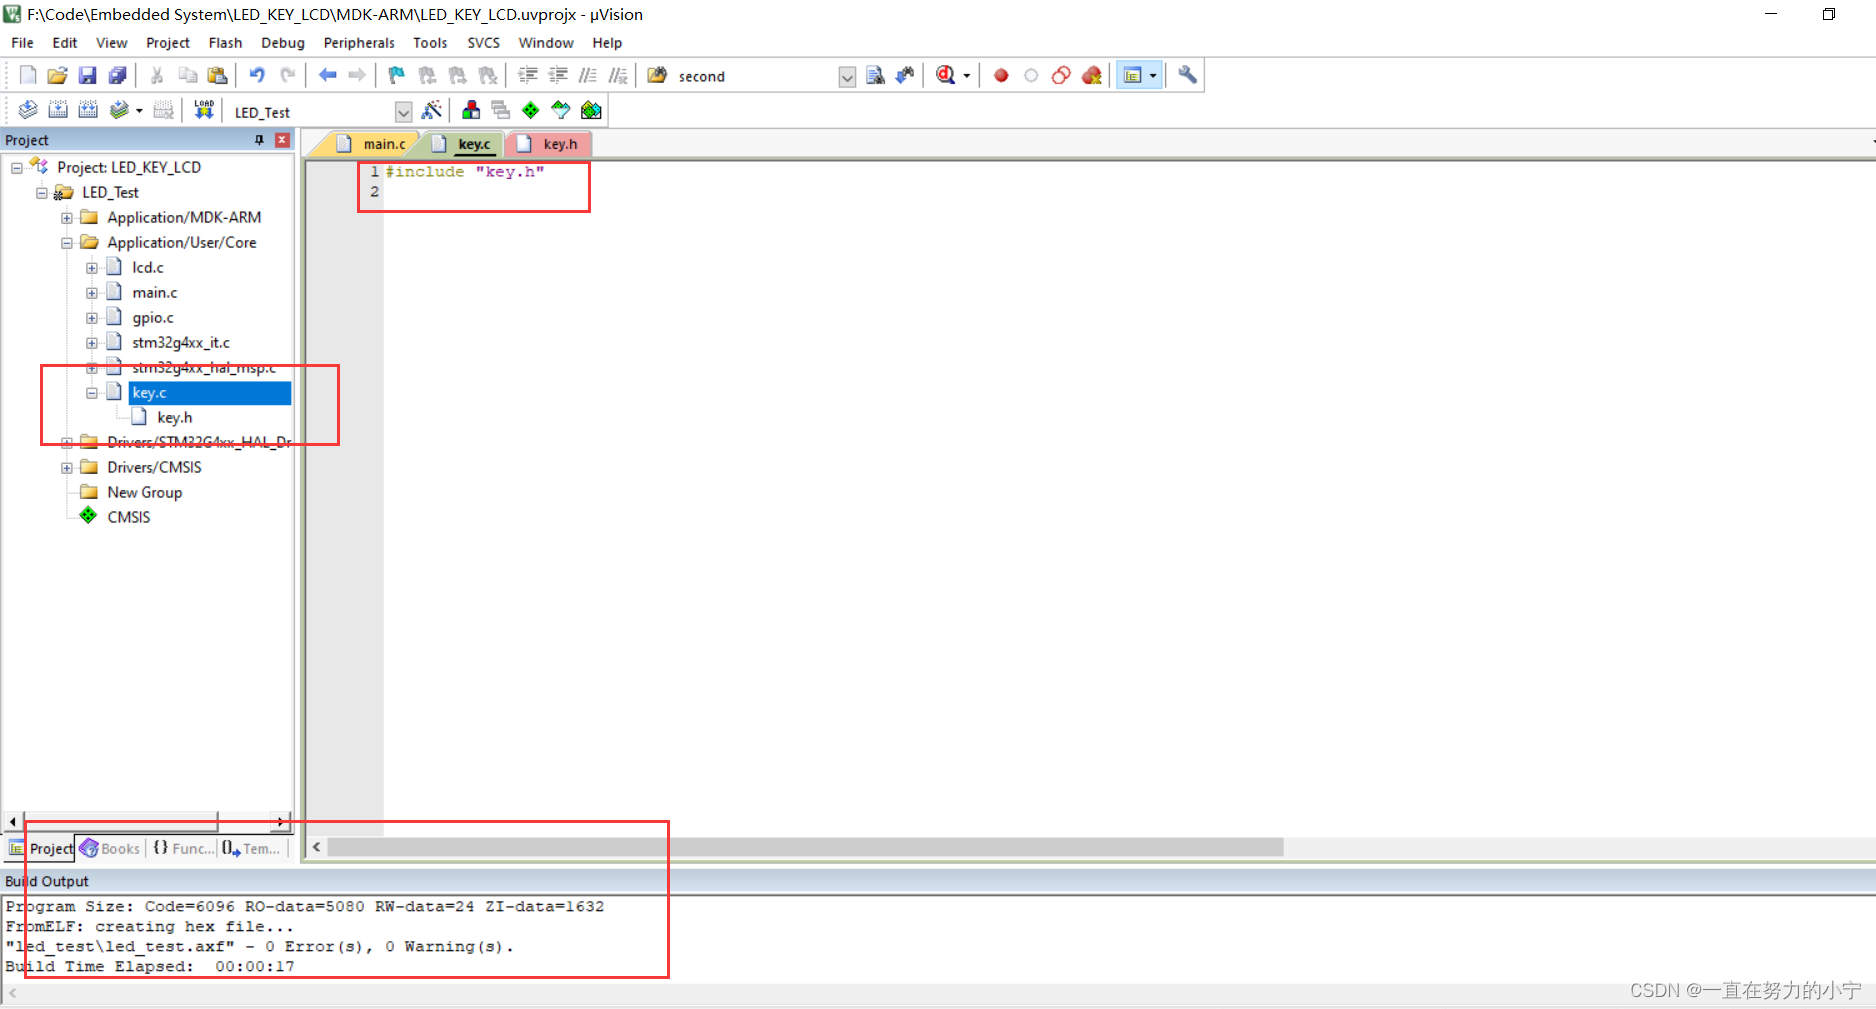
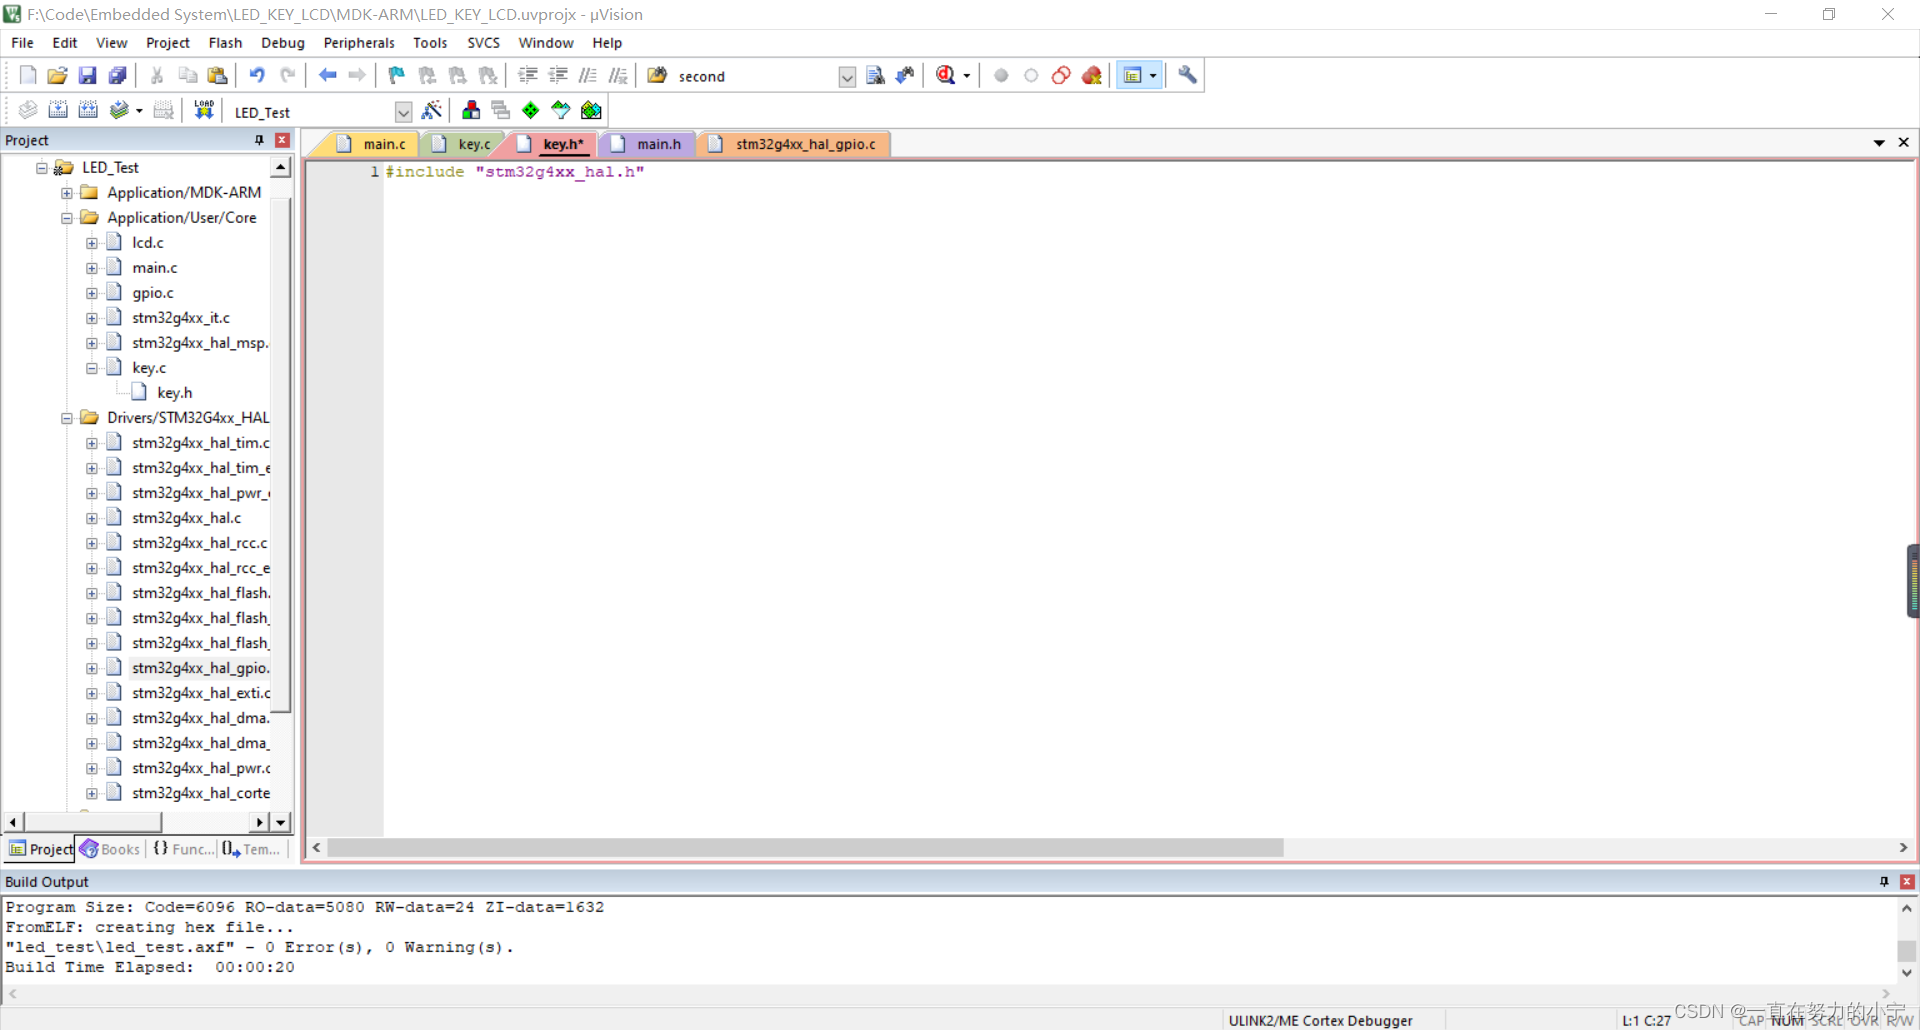
 在该文件里输入#include “key.h”,保存后编译,实现.h文件与环境的关联
3.编写按键函数
(1)在key.h中
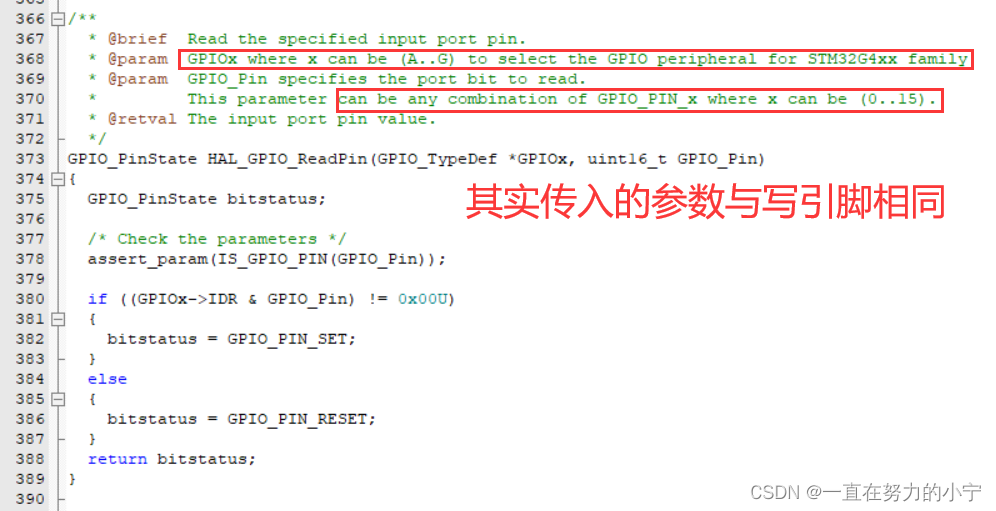
因为我们需要读取按键的状态,而按键的本质还是引脚数据的读取,因此我们需要用到读引脚信息的函数
GPIO_PinState HAL_GPIO_ReadPin(GPIO_TypeDef GPIOx, uint16_t GPIO_Pin)
函数定义位于stm32g4xx_hal_gpio.c的370行左右
 调用该函数需要使用的头文件也在stm32g4xx_hal_gpio.c*中给了我们提示:
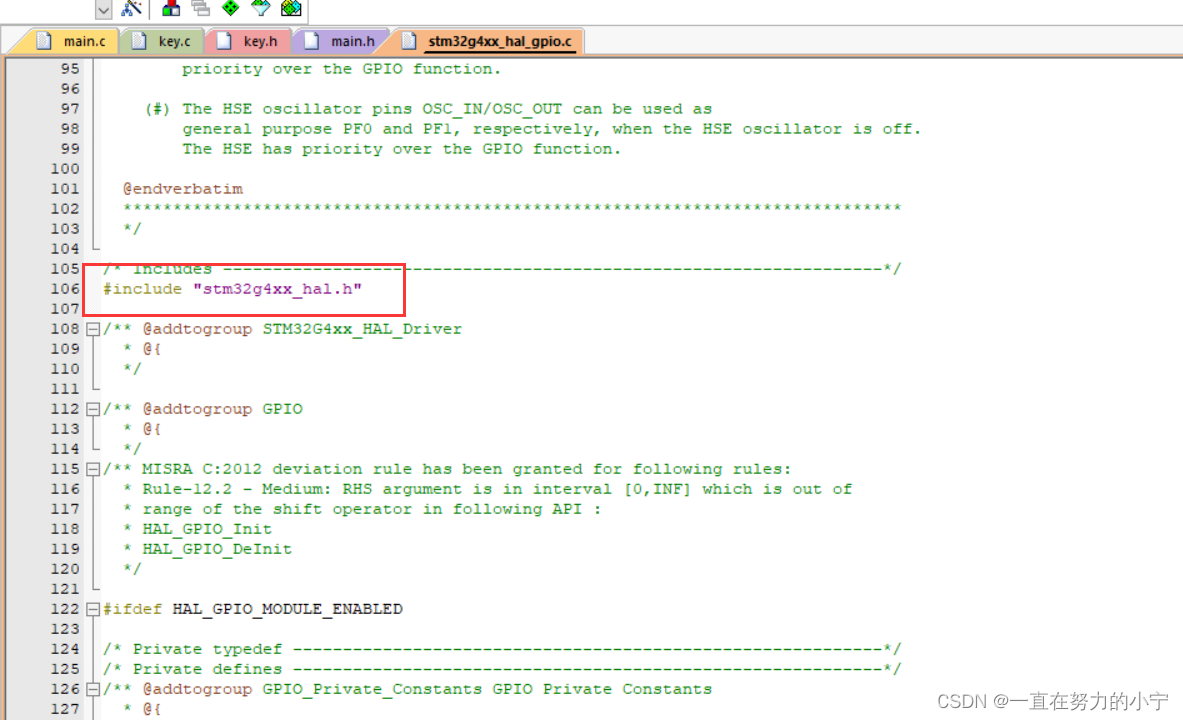 因此我们key.h里一定要加上该头文件
 我们曾了解过,KEY按键与PA0 PB0 PB1 PB2这四个引脚相关(如下)
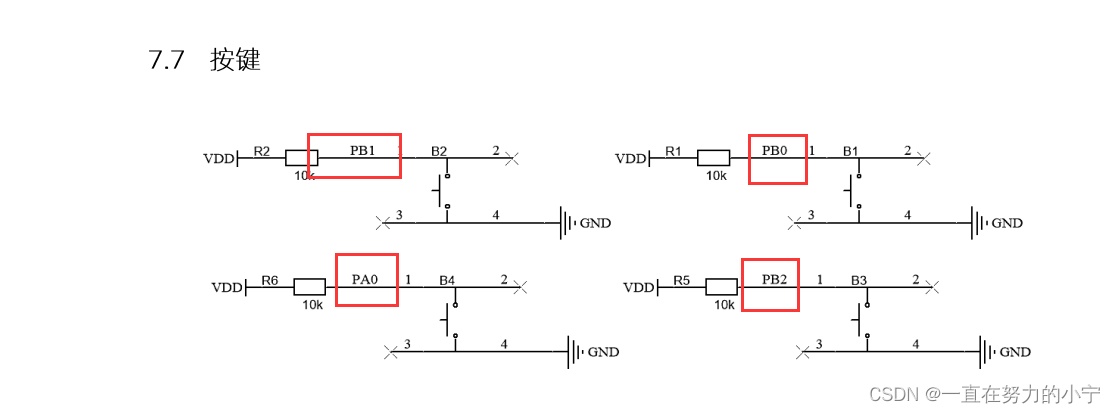 因此我们要想读取这四个按键的状态,结合上面的读引脚函数应以如下方式调用:
HAL_GPIO_ReadPin(GPIOA,GPIO_PIN_0);//key4
HAL_GPIO_ReadPin(GPIOB,GPIO_PIN_2);//key3
HAL_GPIO_ReadPin(GPIOB,GPIO_PIN_1);//key2
HAL_GPIO_ReadPin(GPIOB,GPIO_PIN_0);//key1
借助宏定义表示四个按键的状态,提高代码可读性
#define KB1 HAL_GPIO_ReadPin(GPIOB,GPIO_PIN_0)
#define KB2 HAL_GPIO_ReadPin(GPIOB,GPIO_PIN_1)
#define KB3 HAL_GPIO_ReadPin(GPIOB,GPIO_PIN_2)
#define KB4 HAL_GPIO_ReadPin(GPIOA,GPIO_PIN_0)
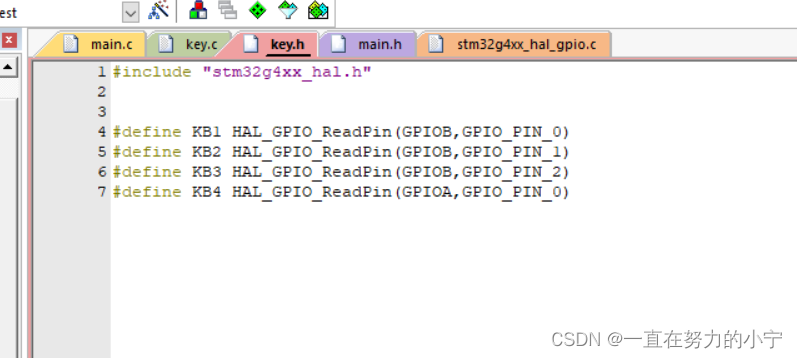 头文件中还要包含我们想要书写的函数的声明,因此再添加相关函数的声明:
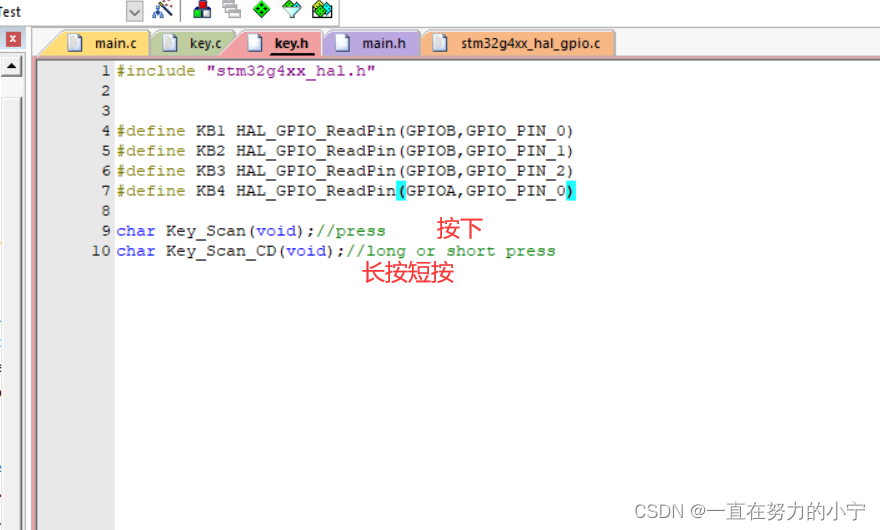
(2)在key.c中
第一个是普通按下的函数
#include "key.h"

char Key_Scan(void)
{
    static int count1,count2,count3,count4;//四个按键
    count1 = count2 = count3 = count4 = 0;
    char key_value = 0;//键值
    /* key1 */
    if(KB1 == 0)
    {
        HAL_Delay(10);//去抖
        if(KB1 == 0)
        {
            count1++;
            if(count1 == 1)
            {
                key_value = 1;//键值为1
                while(KB1 == GPIO_PIN_RESET);//按键松开的效果
            }
        }
    }
    else
    {
        count1 = 0;//置零
    }
    /* key2 */
    if(KB2 == 0)
    {
        HAL_Delay(10);//去抖
        if(KB2 == 0)
        {
            count2++;
            if(count2 == 1)
            {
                key_value = 2;//键值为2
                while(KB2 == GPIO_PIN_RESET);//按键松开的效果
            }
        }
    }
    else
    {
        count2 = 0;//置零
    }
    /* key3 */
    if(KB3 == 0)
    {
        HAL_Delay(10);//去抖
        if(KB3 == 0)
        {
            count3++;
            if(count3 == 1)
            {
                key_value = 3;//键值为3
                while(KB3 == GPIO_PIN_RESET);//按键松开的效果
            }
        }
    }
    else
    {
        count3 = 0;//置零
    }
    /* key4 */
    if(KB4 == 0)
    {
        HAL_Delay(10);//去抖
        if(KB4 == 0)
        {
            count4++;
            if(count4 == 1)
            {
                key_value = 4;//键值为4
                while(KB4 == GPIO_PIN_RESET);
            }
        }
    }
    else
    {
        count4 = 0;
    }
    return key_value;
}
第二个是要求既可以长按,又可以短按的按键函数。
char Key_Scan_CD(void)
{
    static int count1,count2,count3,count4;
    count1 = count2 = count3 = count4 = 0;
    char key_value = 0;
    /* key1 */
    if(KB1 == 0)
    {
        HAL_Delay(10);//去抖
        if(KB1 == 0)
        {
            count1++;
            if(count1 > 70)//长按
            {
                key_value = 11;
            }
        }
    }
    else
    {
        if(count1 >=1 && count1<=50)//短按
            key_value = 1;
        count1 = 0;//恢复置零
    }
    /* key2 */
    if(KB2 == 0)
    {
        HAL_Delay(10);//去抖
        if(KB2 == 0)
        {
            count2++;
            if(count2 > 70)//长按
            {
                key_value = 22;
            }
        }
    }
    else
    {
        if(count2 >=1 && count2<=50)//短按
            key_value = 2;
        count2 = 0;//恢复置零
    }
    /* key3 */
    if(KB3 == 0)
    {
        HAL_Delay(10);//去抖
        if(KB3 == 0)
        {
            count3++;
            if(count3 > 70)//长按
            {
                key_value = 33;
            }
        }
    }
    else
    {
        if(count3 >=1 && count3<=50)//短按
            key_value = 3;
        count3 = 0;//恢复置零
    }
    /* key4 */
    if(KB4 == 0)
    {
        HAL_Delay(10);//去抖
        if(KB4 == 0)
        {
            count4++;
            if(count4 > 70)//长按
            {
                key_value = 44;
            }
        }
    }
    else
    {
        if(count4 >=1 && count4<=50)//短按
            key_value = 4;
        count4 = 0;//恢复置零
    }
    return key_value;
}
三、按键与LED的联动
编写程序实现以下功能:
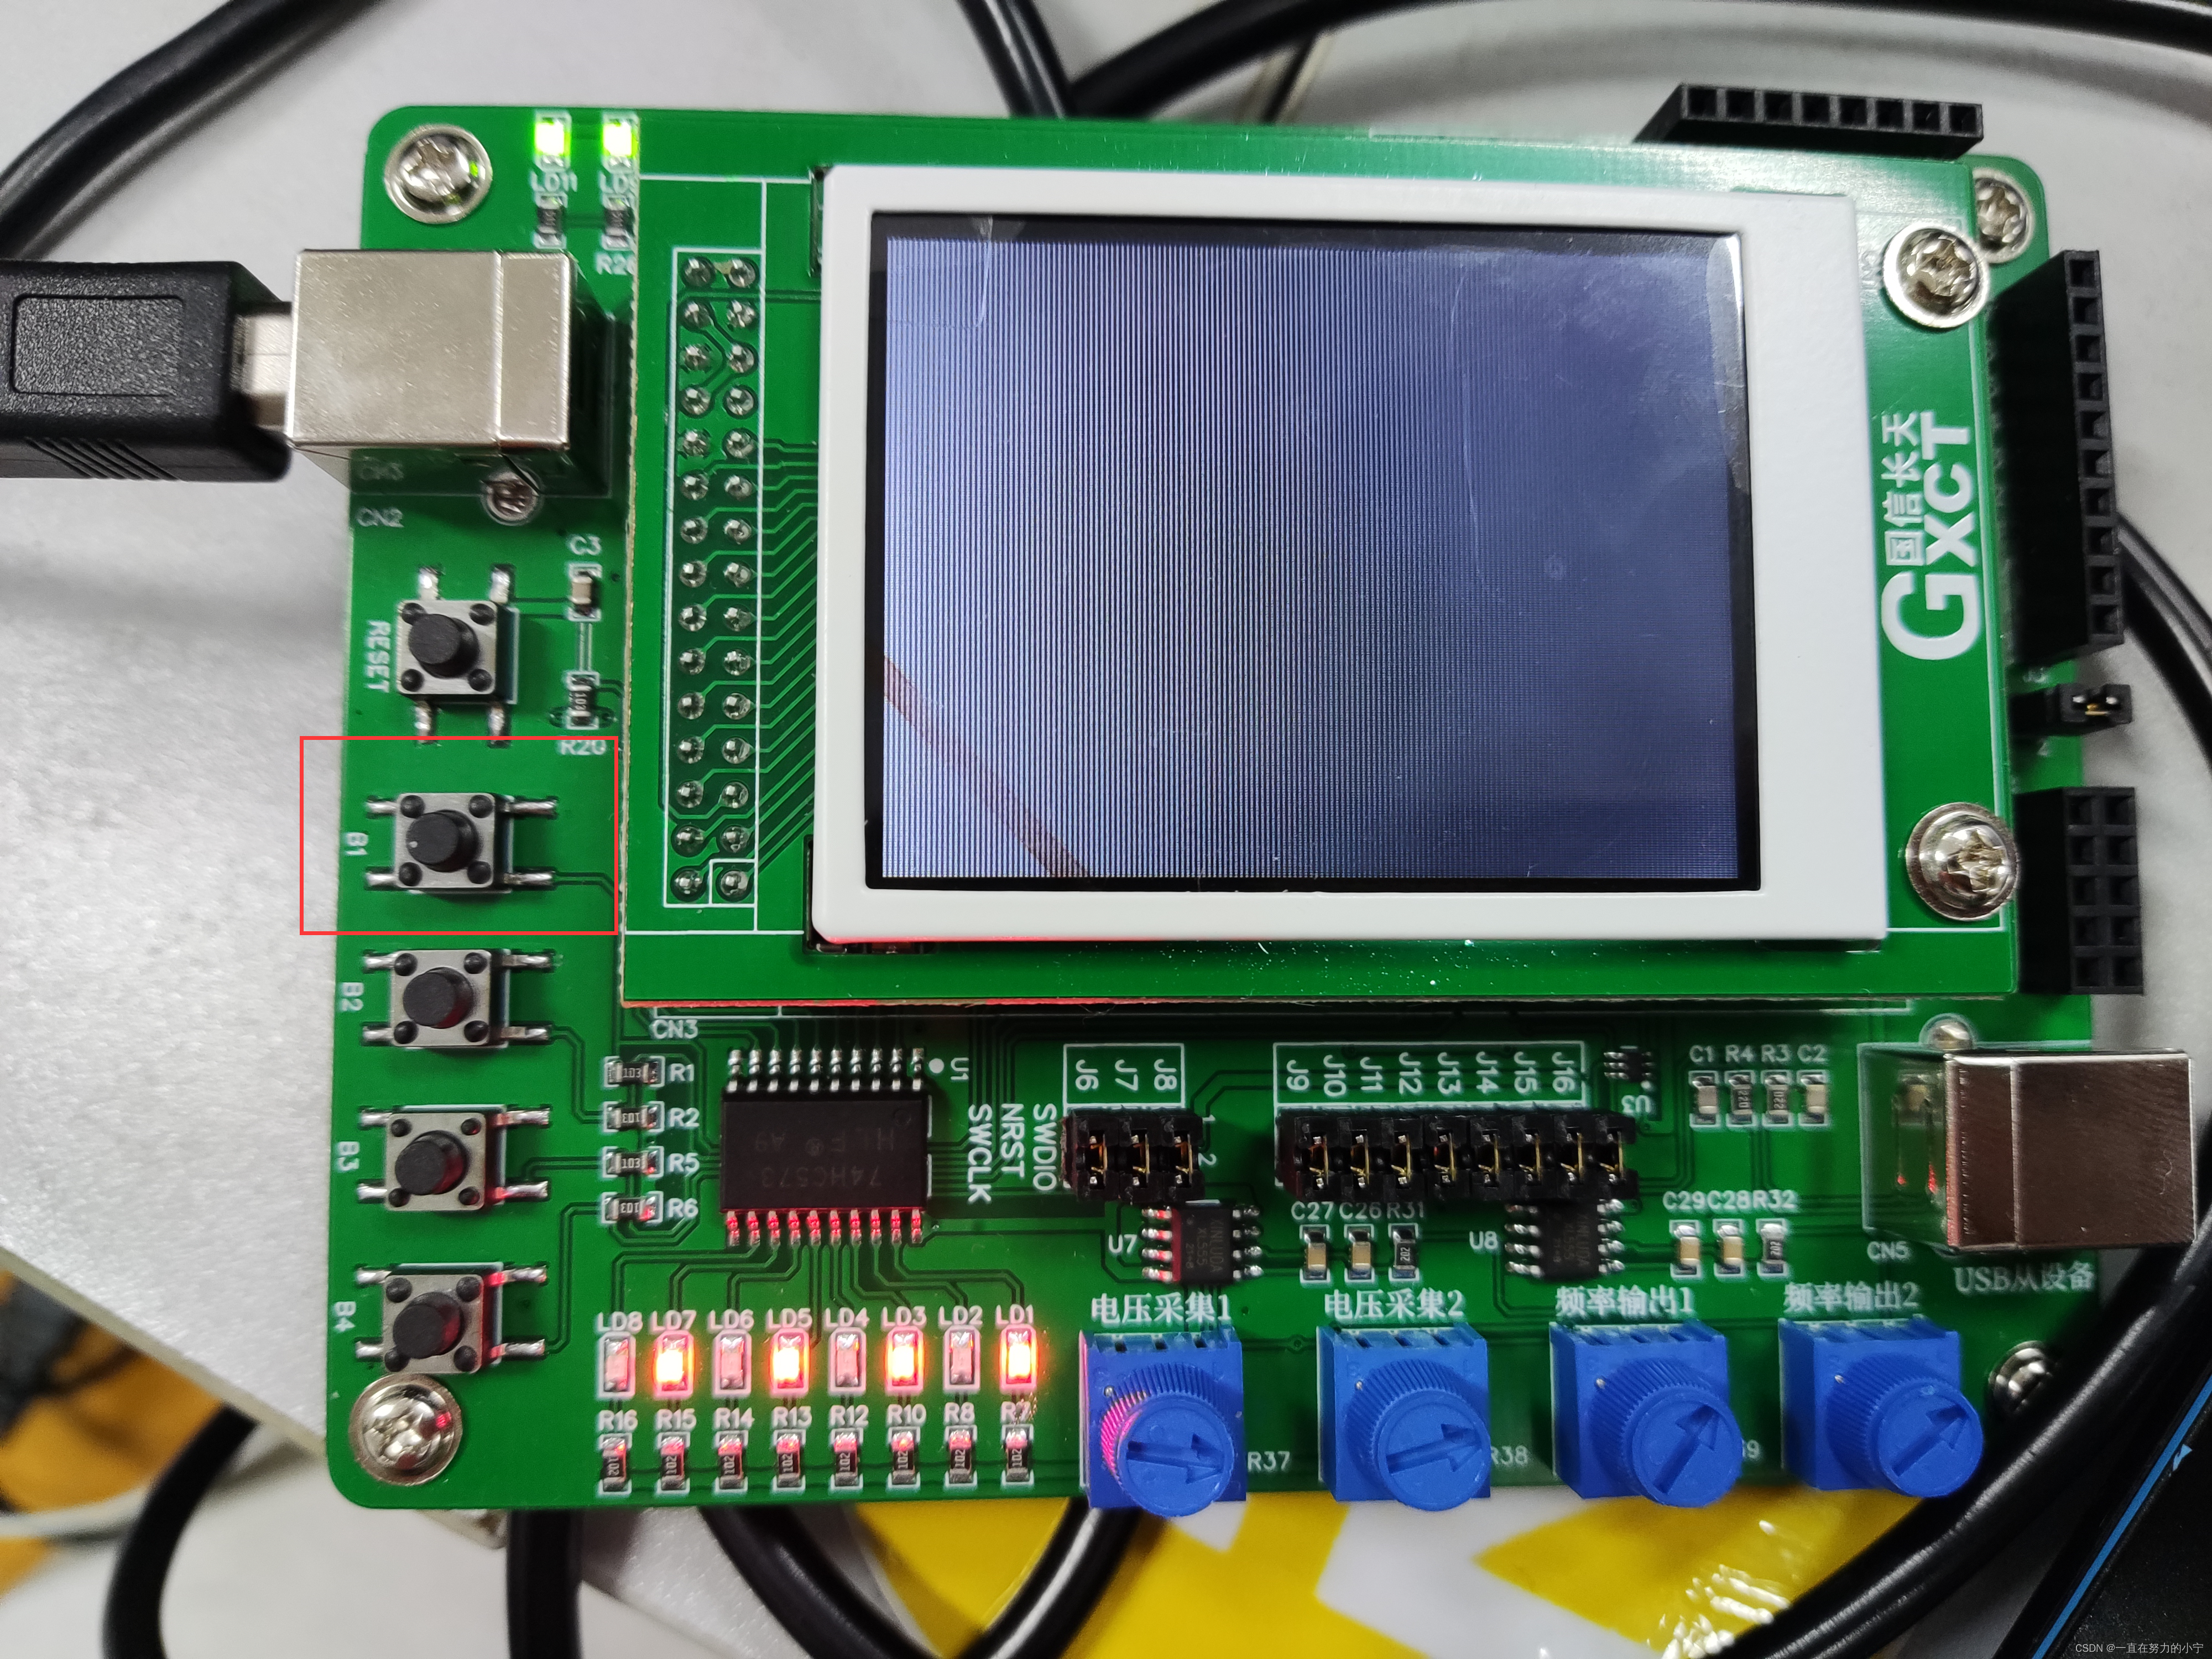
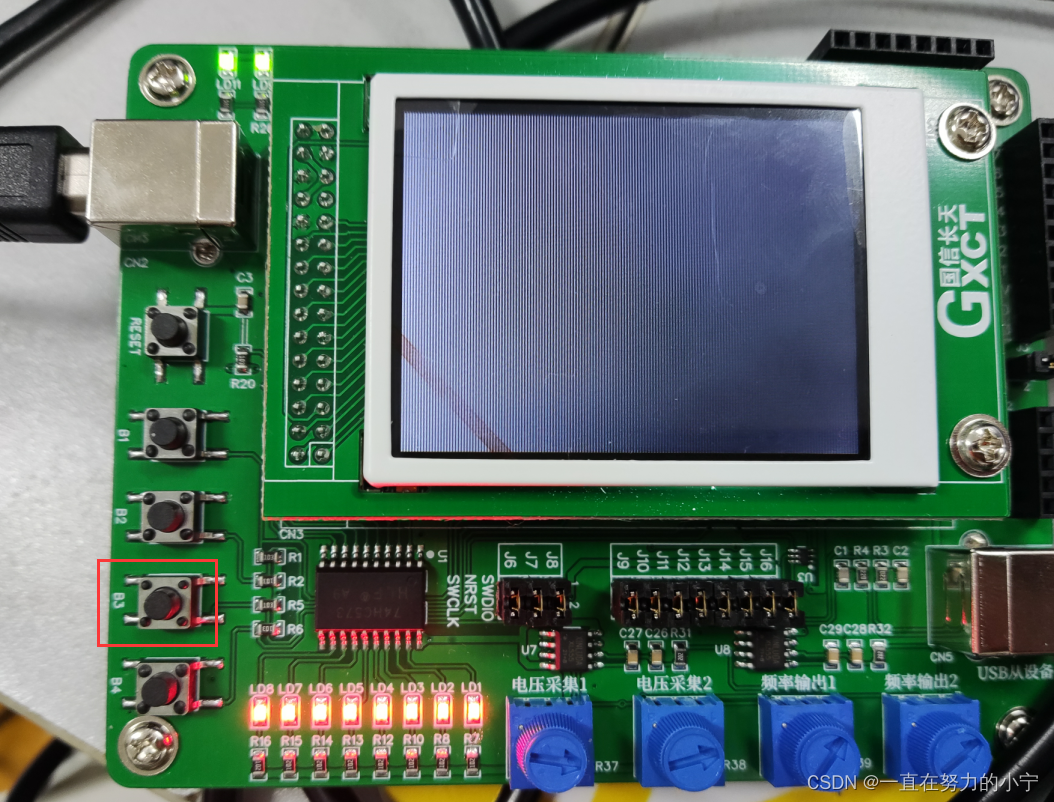
短按key1——只有奇数灯全亮
短按key2——只有偶数灯全亮
短按key3——全亮
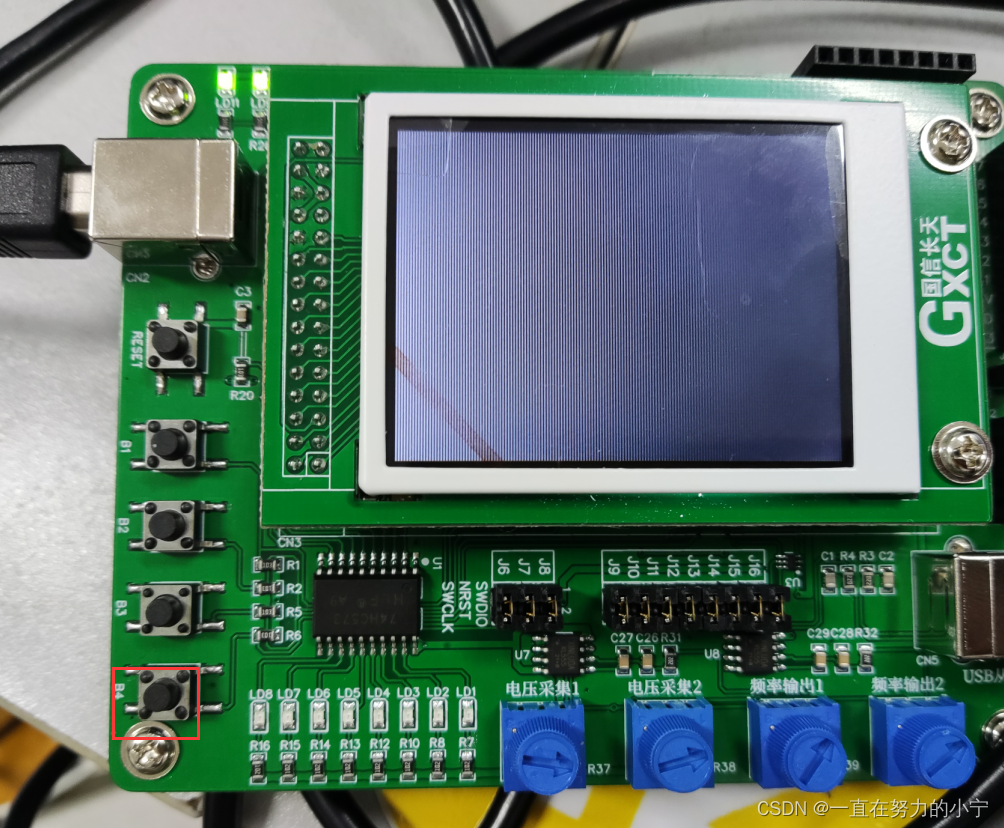
短按key4——全灭
1.编写灯光控制函数
(1)编写led.h
#include "stm32g4xx_hal.h"

/*灯光的亮/灭*/
#define ON	1
#define OFF	0
/*宏定义表示灯光编号*/
#define LED1		GPIO_PIN_8
#define LED2    	GPIO_PIN_9
#define LED3    	GPIO_PIN_10
#define LED4    	GPIO_PIN_11
#define LED5    	GPIO_PIN_12
#define LED6    	GPIO_PIN_13
#define LED7    	GPIO_PIN_14
#define LED8    	GPIO_PIN_15
#define LEDALL		GPIO_PIN_All
/*控制亮灯函数的声明*/
void Control_LED(uint16_t LED, uint8_t LED_Status);
(2)编写亮灯函数
led.c文件内容如下:
#include "led.h"

void Control_LED(uint16_t LED, uint8_t LED_Status)
{
    if(LED_Status == OFF)//灭灯
    {
        HAL_GPIO_WritePin(GPIOC,LED,GPIO_PIN_SET);//设置端口引脚,标明已被占用
        HAL_GPIO_WritePin(GPIOD,GPIO_PIN_2,GPIO_PIN_SET);
        HAL_GPIO_WritePin(GPIOD,GPIO_PIN_2,GPIO_PIN_RESET);
    }
    else //亮灯
    {
        HAL_GPIO_WritePin(GPIOC,LED,GPIO_PIN_RESET);//清除端口引脚,则LED可以使用
        HAL_GPIO_WritePin(GPIOD,GPIO_PIN_2,GPIO_PIN_SET);
        HAL_GPIO_WritePin(GPIOD,GPIO_PIN_2,GPIO_PIN_RESET);
    }
}
2.编写主函数
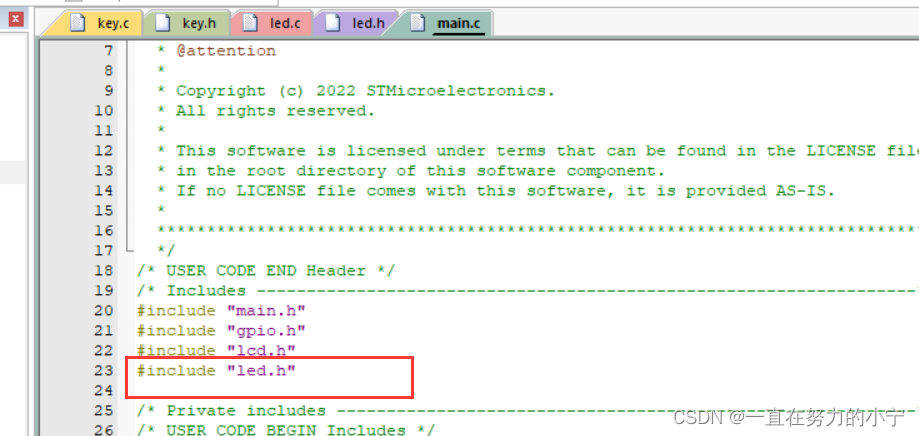
①记得添加#include" led.h"头文件
 ②主函数中书写switch逻辑语句
int main(void)
{
  /* USER CODE BEGIN 1 */

  /* USER CODE END 1 */

  /* MCU Configuration--------------------------------------------------------*/

  /* Reset of all peripherals, Initializes the Flash interface and the Systick. */
  HAL_Init();

  /* USER CODE BEGIN Init */

  /* USER CODE END Init */

  /* Configure the system clock */
  SystemClock_Config();

  /* USER CODE BEGIN SysInit */

  /* USER CODE END SysInit */

  /* Initialize all configured peripherals */
  MX_GPIO_Init();
  /* USER CODE BEGIN 2 */
  LCD_Init();//LCD初始�?
  /* USER CODE END 2 */

  /* Infinite loop */
  /* USER CODE BEGIN WHILE */
	Control_LED(LEDALL,0);
  while (1)
  {
		value = 0;
    value = Key_Scan();
    switch (value)
    {
      case 1://只有奇数灯亮
        Control_LED(LED1,1);
        Control_LED(LED3,1);
        Control_LED(LED5,1);
        Control_LED(LED7,1);
		Control_LED(LED2,0);
        Control_LED(LED4,0);
        Control_LED(LED6,0);
        Control_LED(LED8,0);
        break;
      case 2://只有偶数灯亮
        Control_LED(LED2,1);
        Control_LED(LED4,1);
        Control_LED(LED6,1);
        Control_LED(LED8,1);
        Control_LED(LED1,0);
        Control_LED(LED3,0);
        Control_LED(LED5,0);
        Control_LED(LED7,0);
        break;
      case 3://灯光全亮
        Control_LED(LEDALL,1);
        break;
      case 4://灯光全灭
        Control_LED(LEDALL,0);
        break;
    }
    // lcd_test();
  }
  /* USER CODE END 3 */
}
3.实验结果




![[附源码]java毕业设计校园出入管理系统](https://img-blog.csdnimg.cn/b6d7671ddd0648ea8f8ecb1eaeedb2d8.png)
