前提:
1. 有一个属于自己的GitHub账号
2. 安装好了git
3. 安装好了node
一、安装hexo
1. 建立一个文件夹 Blog(可以自己取名字),进入文件夹标右键打开 Git Bush Here,安装Hexo:
npm install -g hexo-cli2. 初始化博客:
hexo init3. 静态部署:
hexo g  #静态部署
hexo s  #启动
通过访问 http://localhost:4000 可以查看
二、安装butterfly主题
1. 在该博客项目根目录下执行操作clone主题
git clone -b master https://github.com/jerryc127/hexo-theme-butterfly.git themes/butterfly2. 为了使这个主题可用,我们还需要安装几个插件,在博客的根目录下运行下面的命令
npm install hexo-renderer-pug hexo-renderer-stylus --save

npm install hexo-wordcount --save
3. 修改项目根目录下的_config.yml文件(称为站点配置文件),开启主题
# Extensions
## Plugins: https://hexo.io/plugins/
## Themes: https://hexo.io/themes/
#theme: landscape
theme: butterfly
4. 为了減少升级主题带来的不便,我们还需要做以下操作
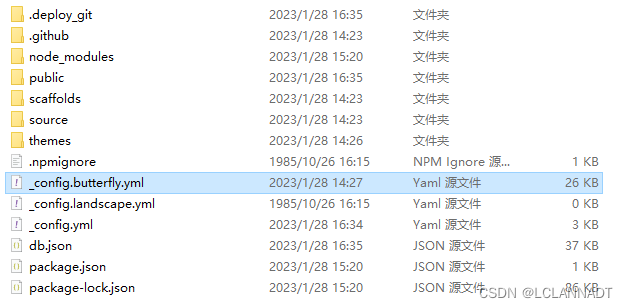
在博客文件夹根目录下新建一个 _config.butterfly.yml的文件,将主题的配置文件复制进去,目前这个版本的主题配置文件在 themes/butterfly/_config.yml
三、将Hexo部署到GitHub
1. 将本机的git和GitHub网站上的账户通过SSH建立连接
过程略
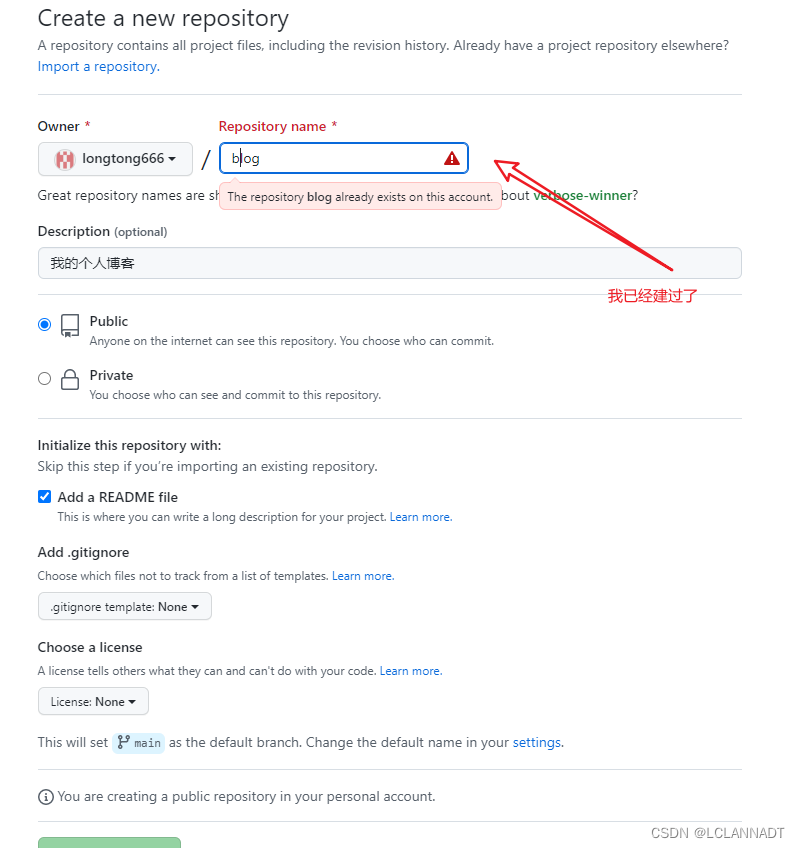
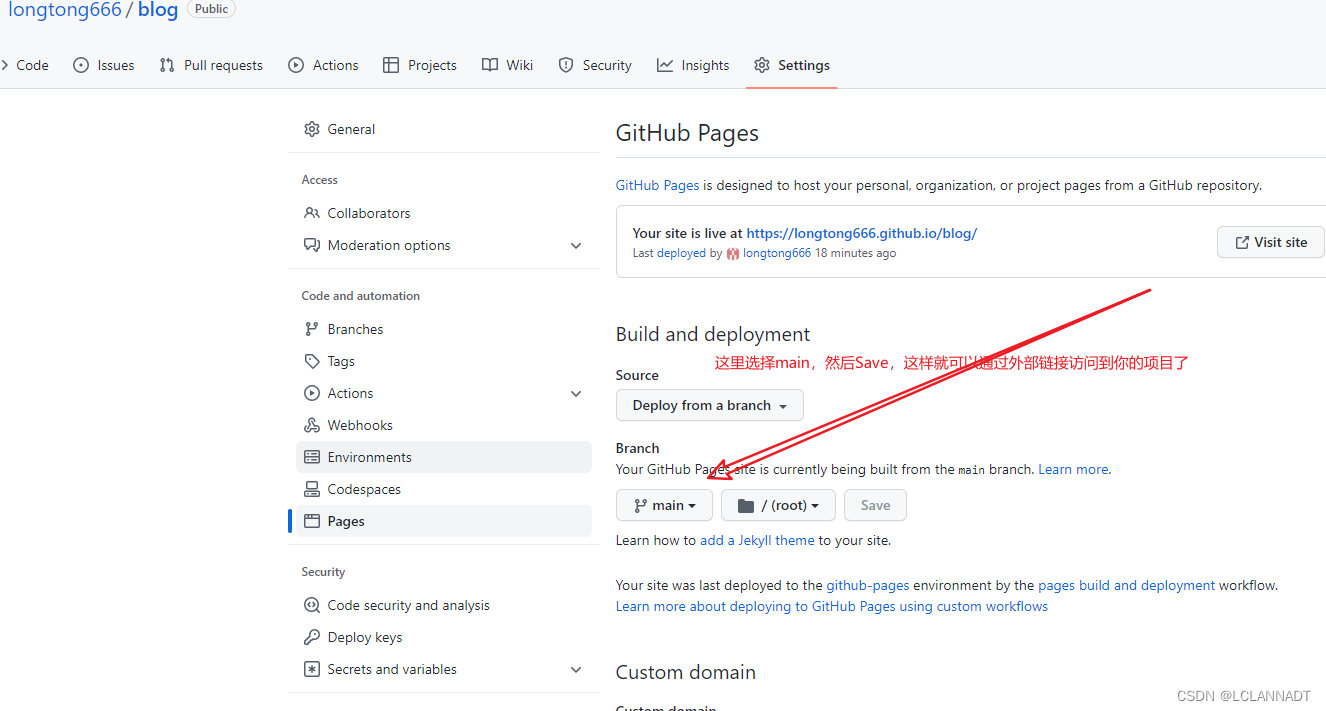
2. 在Github账号中新建一个仓库blog,并且设置pages(这里不使用用户名.github.io为仓库名,pages设置会处理外链接访问问题)
3. 通过修改配置文件并通过Git部署到Github
(1)打开根目录下的 _config.yml文件夹,在文件顶部的URL和底部的Deployment替换为如下内容
# URL
## Set your site url here. For example, if you use GitHub Page, set url as 'https://username.github.io/project'
url: https://你的用户名.github.io/blog
root: .
permalink: :year/:month/:day/:title/
permalink_defaults:
pretty_urls:
  trailing_index: true # Set to false to remove trailing 'index.html' from permalinks
  trailing_html: true # Set to false to remove trailing '.html' from permalinks


# Deployment
## Docs: https://hexo.io/docs/one-command-deployment
deploy:
  type: git
  repository: https://github.com/你的用户名/blog.git  #你的仓库地址
  branch: main
注意:root默认是没有写的,这里如果不加上 root: . 部署后你会发现主题的样式没有生效,这是因为root默认路径是https://你的用户名.github.io,而你的css,js等样式文件夹在https://你的用户名.github.io/blog中,所以必须加上,指定为当前路径。
(2)回到 Blog 文件夹中,打开 Git Bash,安装Git部署插件
npm install hexo-deployer-git --save(3)输入指令,部署到GitHub
hexo clean   #清除缓存文件 db.json 和已生成的静态文件 public
hexo g       #生成网站静态文件到默认设置的 public 文件夹(hexo generate 的缩写)
hexo d       #自动生成网站静态文件,并部署到设定的仓库(hexo deploy 的缩写)
如果hexo d报错 三个命令重复多试几次 可能你的配置文件没缓过来
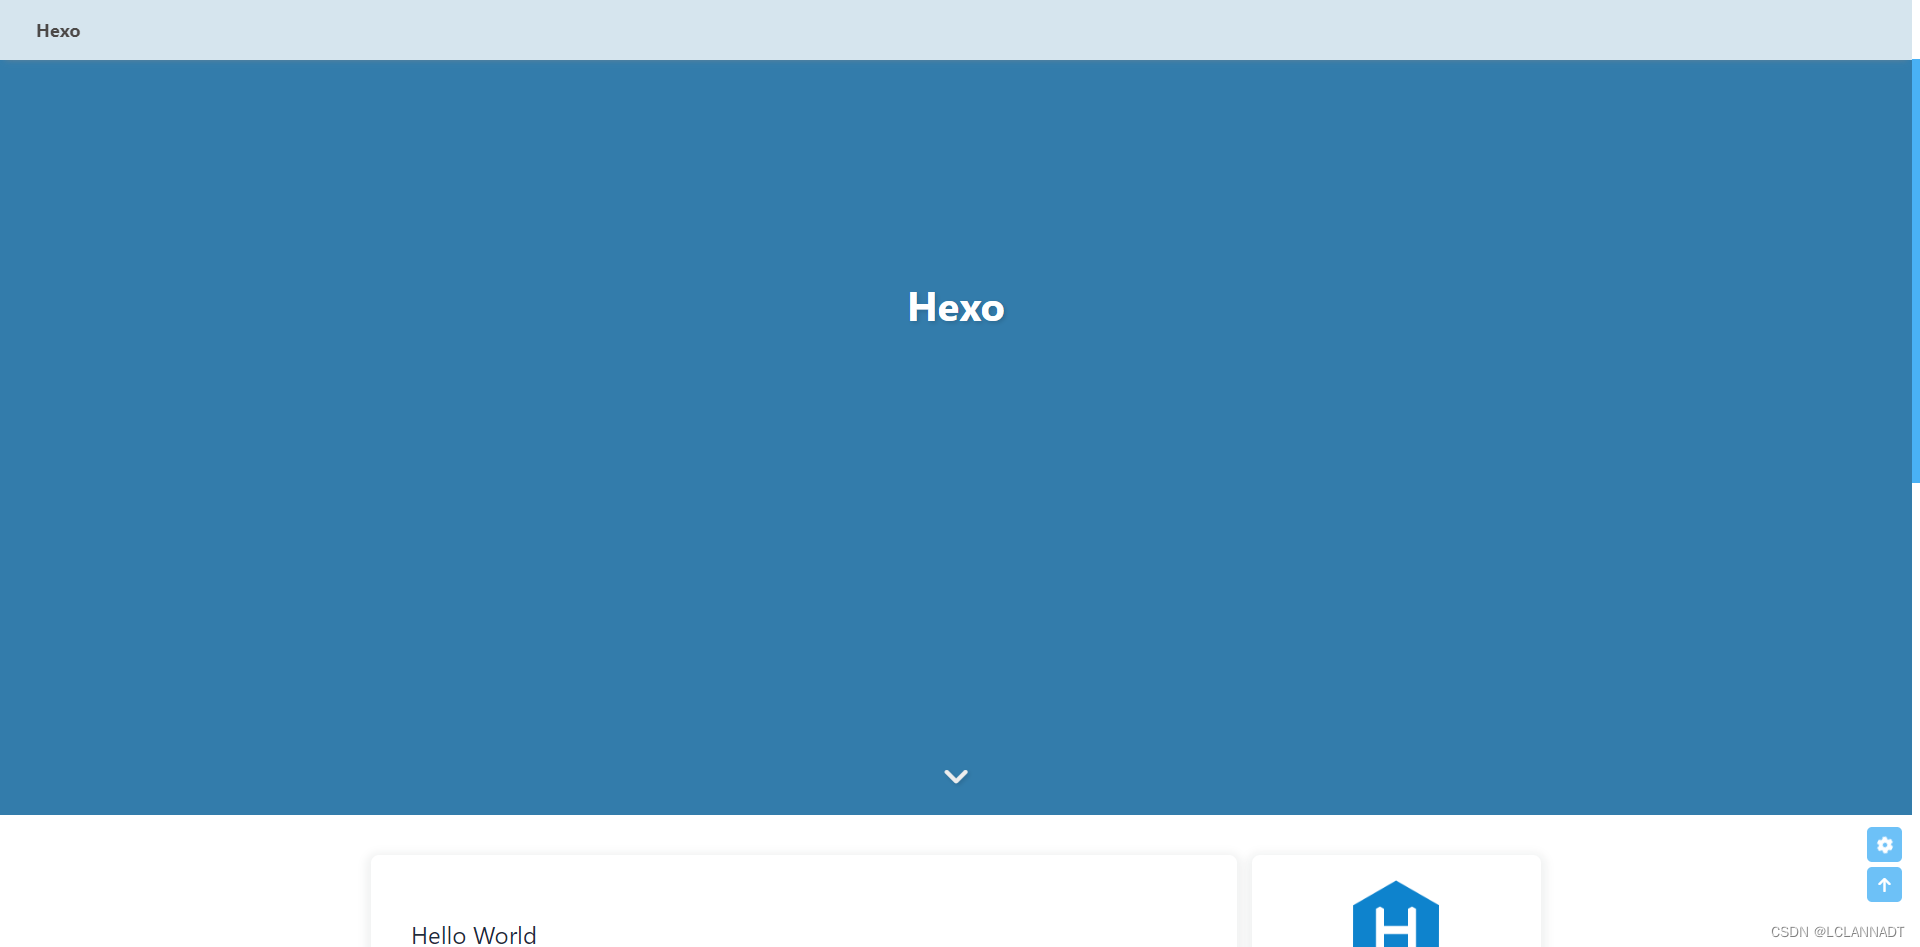
最后通过访问 https://你的用户名.github.io/blog/ 进入你的博客主页




![[GNN] 图神经网络入门](https://img-blog.csdnimg.cn/5adedd83f45546688ad4b2b590e64baa.png#pic_center)

