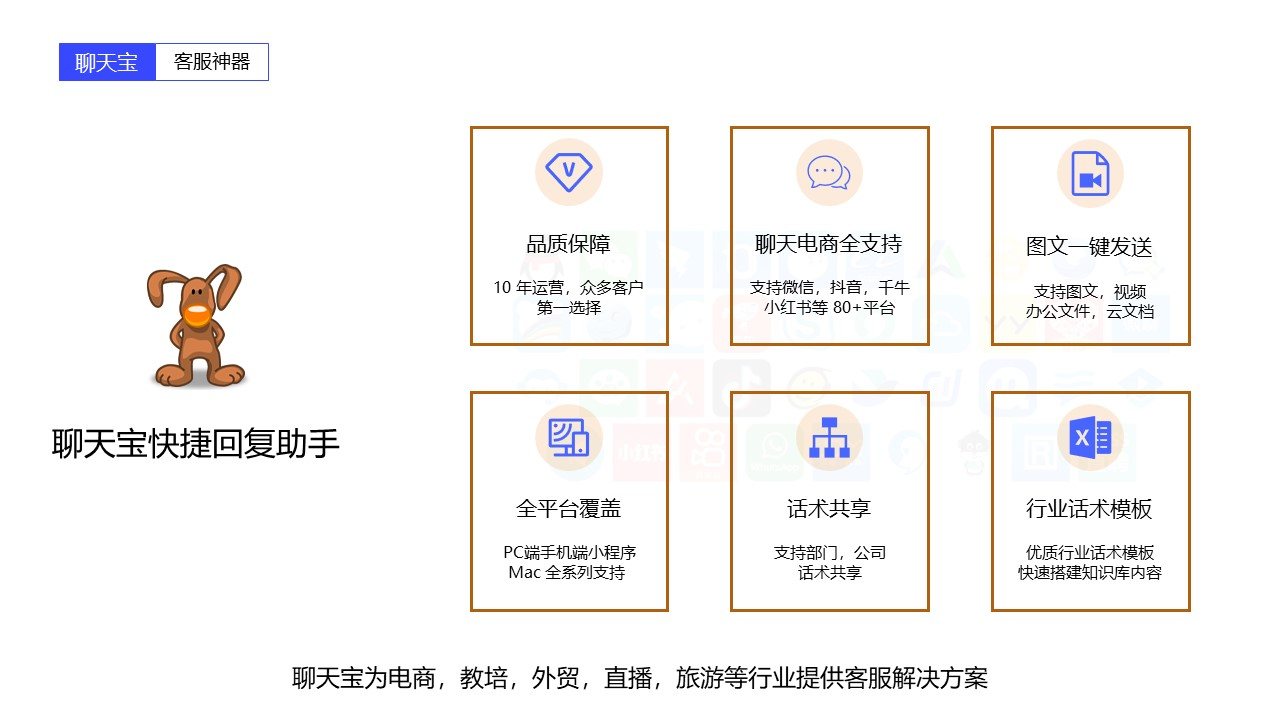
效果图

概述
- 整个界面的布局介绍请看这篇博客
- 想要的到这种自由选择中的Item效果,需要使用到Model-view的思想,每个item中都要存放一个标志位,用在
Paint函数去判断是否绘制为按下的状态。 - 每次item被点击时,更新标志位,并刷新视图,从而实现点击后变色的效果。
部分代码
void CustomDelegate::paint(QPainter *painter, const QStyleOptionViewItem &option, const QModelIndex &index) const
{
    int radius = 10;
    painter->setRenderHint(QPainter::Antialiasing);
    painter->setPen(Qt::NoPen);
    if (index.model()->data(index, Qt::UserRole).toBool())
    {
        painter->setBrush(QColor("#d9d9d9"));
        painter->drawRoundedRect(option.rect.adjusted(2, 2, -2, -2), radius, radius);
    }

    if (option.state & QStyle::State_MouseOver || option.state & QStyle::State_Selected)
    {
        painter->setBrush(QColor("#e4e4e4"));
        painter->drawRoundedRect(option.rect.adjusted(2, 2, -2, -2), radius, radius);
    }
    if (QStyle::State_HasFocus & option.state)
    {
    }
    QStyledItemDelegate::paint(painter, option, index);
}
- 重写
editorEvent函数,这个的目的是忽悠掉qt的这几个事件,这样就不会绘制qt的默认的焦点框了
bool CustomDelegate::editorEvent(QEvent *event, QAbstractItemModel *model, const QStyleOptionViewItem &option, const QModelIndex &index)
{
    if (event->type() == QEvent::MouseMove || event->type() == QEvent::MouseButtonPress || event->type() == QEvent::MouseButtonDblClick)
    {
        return true;
    }
    return QStyledItemDelegate::editorEvent(event, model, option, index);
}
- 在listview中,设置样式,不让悬浮出现自带的样式
setStyleSheet("QListView::item:hover { background: transparent; border: none; }");
    connect(m_listView, &QListView::clicked, [&](const QModelIndex &index)
            {
            bool isChecked = index.model()->data(index, Qt::UserRole).toBool();
              m_listView->model()->setData(index, !isChecked, Qt::UserRole);
              m_listView->update(); });
QVariant IconTextModel::data(const QModelIndex &index, int role) const
{
    if (!index.isValid() || index.row() >= m_data.count())
        return QVariant();

    switch (role)
    {
    case Qt::DecorationRole:
        return QIcon(m_data.at(index.row()).m_icon);
    case Qt::DisplayRole:
        return m_data.at(index.row()).m_name;
    case Qt::UserRole:
        return m_data.at(index.row()).m_isChecked;
    default:
        return QVariant();
    }
}
bool IconTextModel::setData(const QModelIndex &index, const QVariant &value, int role)
{
    if (index.isValid() && role == Qt::UserRole)
    {
        m_data[index.row()].m_isChecked = value.toBool();
        emit dataChanged(index, index);
    }
    return true;
}
总结
- 知识理应共享,源码在此。
- 这个示例中的功能点,主要在于绘制函数的实现,要考虑怎么把原有qt的绘制屏蔽掉,关于数据处理的部分很简单

