一、安装并导入 render_template
功能:渲染/加载模板,一般是html页面
参数:函数的第一个参数是模板的文件名,必填,后面的参数都是键值对,表示模板中变量对应的值,非必填 (不填界面也不会展示成变量名,只是不填则不渲染)。
二、修改app主入口配置,类似SpringBoot的yaml配置。
from flask import Flask, render_template

app = Flask(__name__,
            static_url_path='/',  # 配置静态文件的访问 url 前缀)
            static_folder='static',  # 配置静态文件的文件夹
            template_folder='templates'  # 配置模板文件的文件夹
            )
static_url_path和static_folder写上去,可以在引用css/js可以更好的用/代替写相对路径,不用看到../../类似的写法
三、测试
增加测试请求/index
name = '小明'
year = '2024'


@app.route('/index')
def happy_new_year():
    return render_template('test/index.html', name=name, year=year)
controller
<!DOCTYPE html>
<html lang="en">
<head>
    <meta charset="UTF-8">
    <title><title>{{ year }} 新年快乐</title>
</head>
<link rel="stylesheet" href="/test/index.css">
<body>
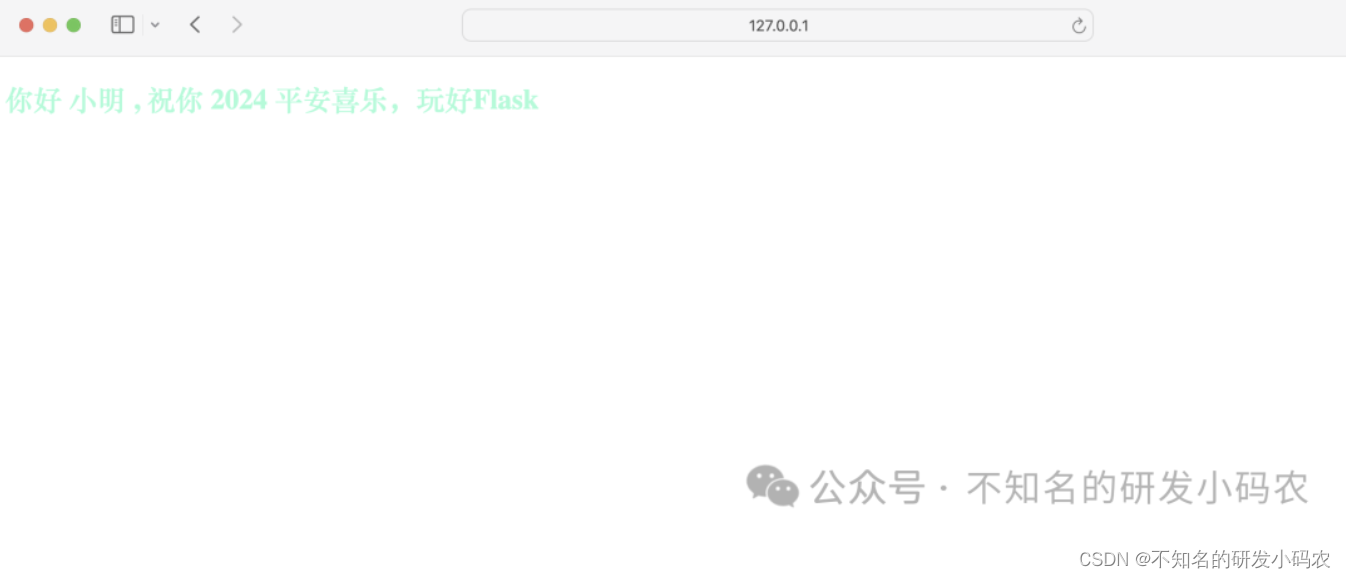
    <h2 id="indexId">你好 {{ name }} , 祝你 {{ year }} 平安喜乐,玩好Flask</h2>
</body>
</html>
index.html
#indexId{
    color: aquamarine;
}
index.css

目录结构
四、运行
五、总结
这个很像springboot里面的Thymeleaf。重点在配置上,避免后续static路径,项目一增加,看着有点乱。建议写上去,少一点../../,增加代码可读性






![中间件 | Redis - [基本信息]](https://img-blog.csdnimg.cn/direct/2bdb86e2378943fa8036bbbc8ecd00fe.png)
