目录
0. 相关文章链接
1. 启动sql-client
1.1. 修改flink-conf.yaml配置
1.2. local模式
1.3. yarn-session模式
2. 插入数据
3. 查询数据
4. 更新数据
5. 流式插入
5.1. 创建测试表
5.2. 执行插入
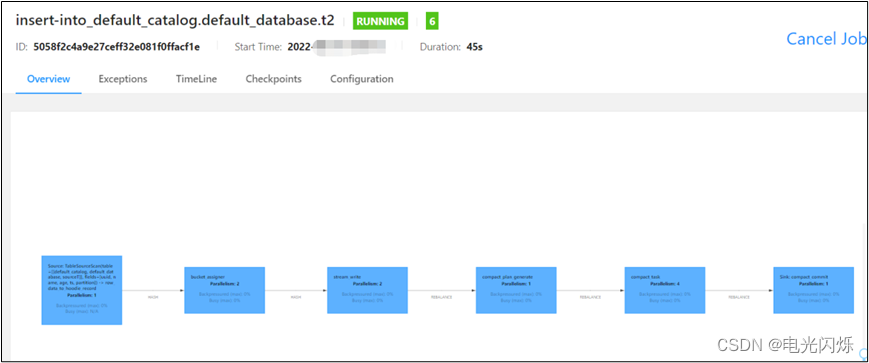
5.3. 查看job
5.4. 查看job
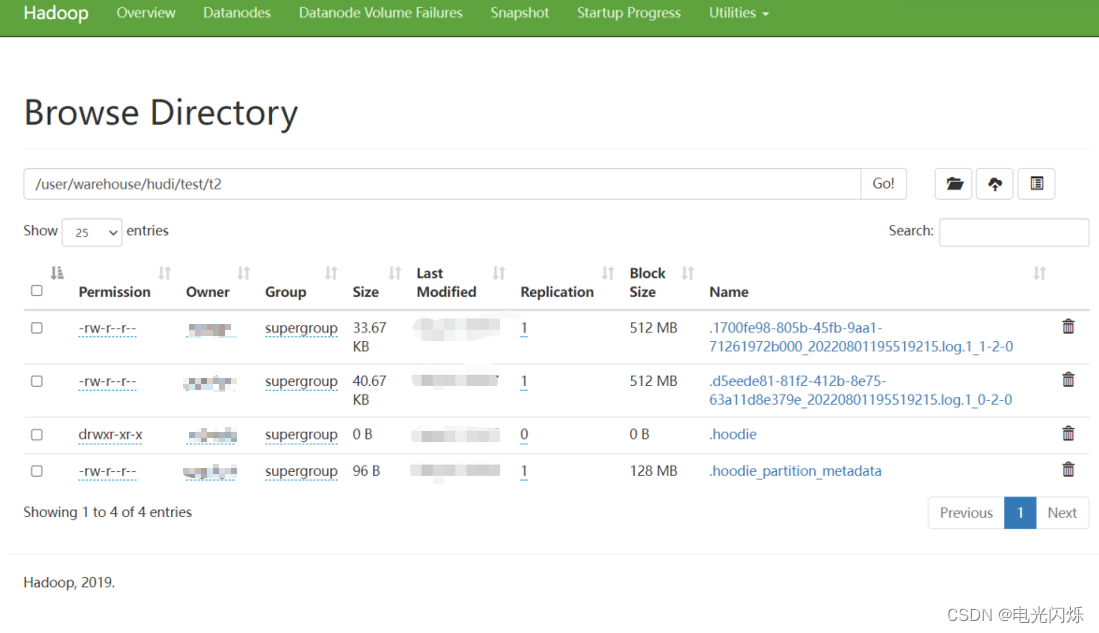
5.5. 查看HDFS目录
5.6. 查询结果
0. 相关文章链接
Hudi文章汇总
1. 启动sql-client
1.1. 修改flink-conf.yaml配置
vim /opt/module/flink-1.13.6/conf/flink-conf.yaml

classloader.check-leaked-classloader: false
taskmanager.numberOfTaskSlots: 4

state.backend: rocksdb
execution.checkpointing.interval: 30000
state.checkpoints.dir: hdfs://hadoop1:8020/ckps
state.backend.incremental: true
1.2. local模式
- 修改workers
vim /opt/module/flink-1.13.6/conf/workers
#表示:会在本地启动3个TaskManager的 local集群
localhost
localhost
localhost
- 启动Flink
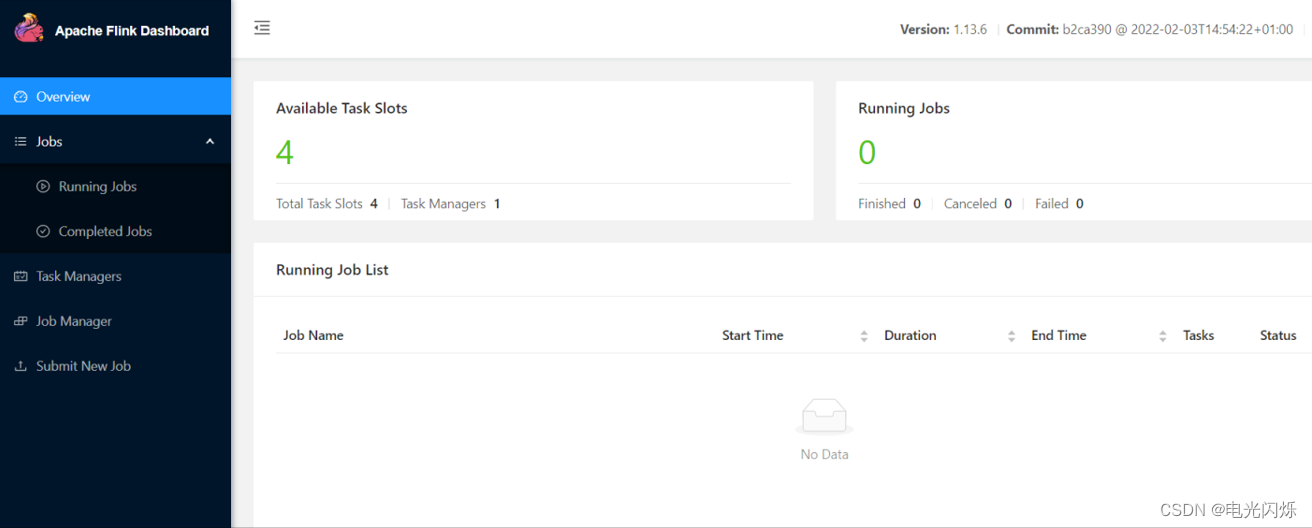
/opt/module/flink-1.13.6/bin/start-cluster.sh查看webui:http://bigdata1:8081
- 启动Flink的sql-client
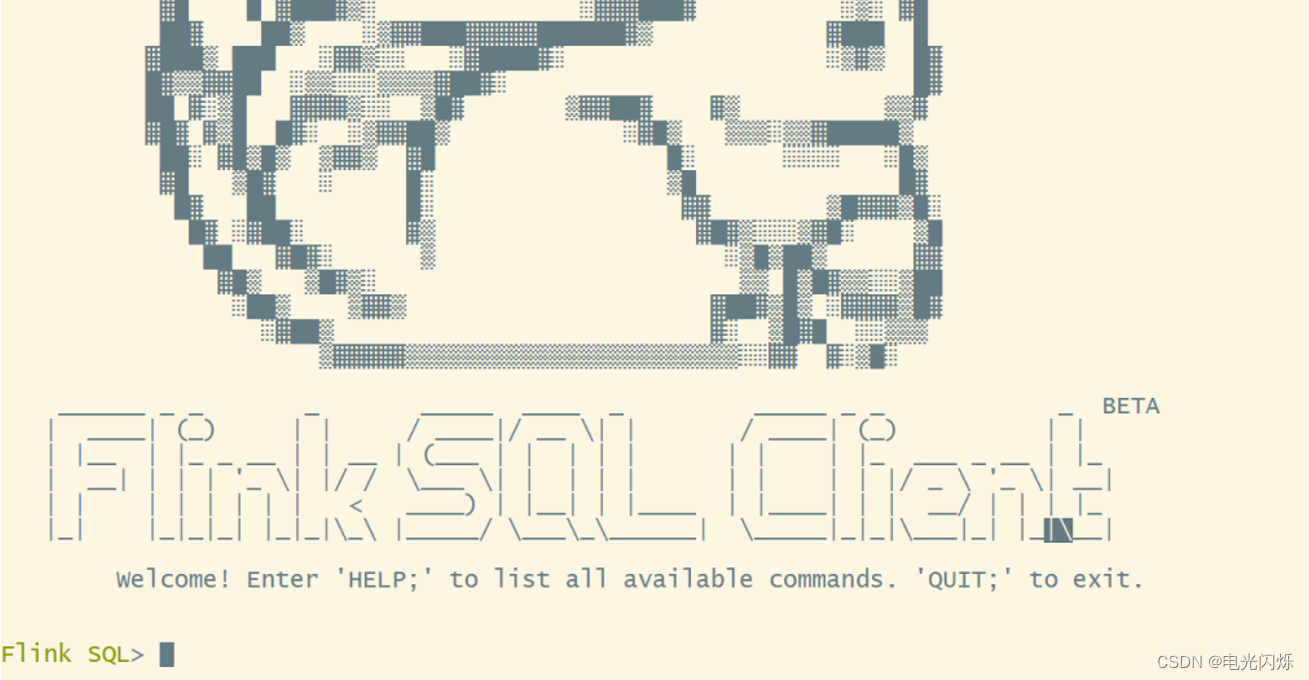
/opt/module/flink-1.13.6/bin/sql-client.sh embedded
1.3. yarn-session模式
- 解决依赖问题
cp /opt/module/hadoop-3.1.3/share/hadoop/mapreduce/hadoop-mapreduce-client-core-3.1.3.jar /opt/module/flink-1.13.6/lib/- 启动yarn-session
/opt/module/flink-1.13.6/bin/yarn-session.sh -d- 启动sql-client
/opt/module/flink-1.13.6/bin/sql-client.sh embedded -s yarn-session2. 插入数据
set sql-client.execution.result-mode=tableau;

-- 创建hudi表
CREATE TABLE t1(
  uuid VARCHAR(20) PRIMARY KEY NOT ENFORCED,
  name VARCHAR(10),
  age INT,
  ts TIMESTAMP(3),
  `partition` VARCHAR(20)
)
PARTITIONED BY (`partition`)
WITH (
  'connector' = 'hudi',
  'path' = 'hdfs://hadoop1:8020/tmp/hudi_flink/t1',
  'table.type' = 'MERGE_ON_READ' –- 默认是COW
);
-- 或如下写法
CREATE TABLE t1(
  uuid VARCHAR(20),
  name VARCHAR(10),
  age INT,
  ts TIMESTAMP(3),
  `partition` VARCHAR(20),
  PRIMARY KEY(uuid) NOT ENFORCED
)
PARTITIONED BY (`partition`)
WITH (
  'connector' = 'hudi',
  'path' = 'hdfs://hadoop1:8020/tmp/hudi_flink/t1',
  'table.type' = 'MERGE_ON_READ'
);


-- 插入数据
INSERT INTO t1 VALUES
  ('id1','Danny',23,TIMESTAMP '1970-01-01 00:00:01','par1'),
  ('id2','Stephen',33,TIMESTAMP '1970-01-01 00:00:02','par1'),
  ('id3','Julian',53,TIMESTAMP '1970-01-01 00:00:03','par2'),
  ('id4','Fabian',31,TIMESTAMP '1970-01-01 00:00:04','par2'),
  ('id5','Sophia',18,TIMESTAMP '1970-01-01 00:00:05','par3'),
  ('id6','Emma',20,TIMESTAMP '1970-01-01 00:00:06','par3'),
  ('id7','Bob',44,TIMESTAMP '1970-01-01 00:00:07','par4'),
  ('id8','Han',56,TIMESTAMP '1970-01-01 00:00:08','par4');
3. 查询数据
select * from t1;4. 更新数据
insert into t1 values ('id1','Danny',27,TIMESTAMP '1970-01-01 00:00:01','par1');
注意,保存模式现在是Append。通常,除非是第一次创建表,否则请始终使用追加模式。现在再次查询数据将显示更新的记录。每个写操作都会生成一个用时间戳表示的新提交。查找前一次提交中相同的_hoodie_record_keys在_hoodie_commit_time、age字段中的变化。
5. 流式插入
5.1. 创建测试表
CREATE TABLE sourceT (
  uuid varchar(20),
  name varchar(10),
  age int,
  ts timestamp(3),
  `partition` varchar(20)
) WITH (
  'connector' = 'datagen',
  'rows-per-second' = '1'
);

create table t2(
  uuid varchar(20),
  name varchar(10),
  age int,
  ts timestamp(3),
  `partition` varchar(20)
)
with (
  'connector' = 'hudi',
  'path' = '/tmp/hudi_flink/t2',
  'table.type' = 'MERGE_ON_READ'
);
5.2. 执行插入
insert into t2 select * from sourceT;5.3. 查看job
insert into t2 select * from sourceT;5.4. 查看job
5.5. 查看HDFS目录
5.6. 查询结果
set sql-client.execution.result-mode=tableau;
select * from t2 limit 10;

注:其他Hudi相关文章链接由此进 -> Hudi文章汇总
