前文参考:
NestJS入门1
NestJS入门2:创建模块
NestJS入门3:不同请求方式前后端写法
NestJS入门4:MySQL typeorm 增删改查
NestJS入门5:加入Swagger
NestJS入门6:日志中间件
本文代码基于上一篇文章《NestJS入门6:日志中间件》
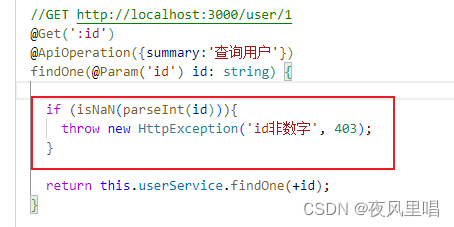
1. 标准异常写法
在user.controller.ts中加入以下语句

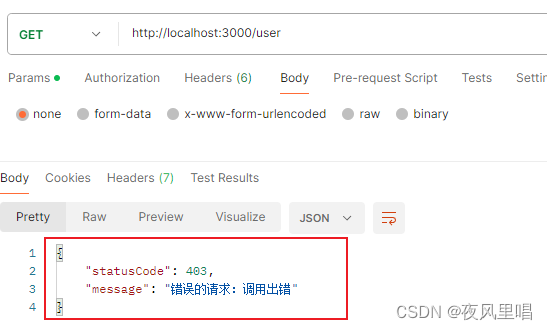
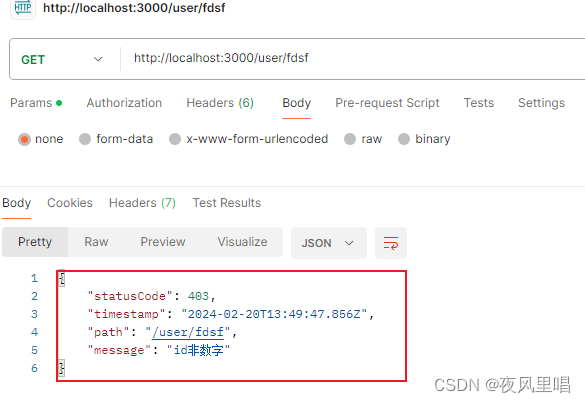
postman中测试如下:
2. 安装过滤器
nest g filter common/filter/http-exception安装完成后在common/filter下增加两个文件

3. 修改http-exception.filter.ts
将http-exception.filter.ts

修改为:
import { ArgumentsHost, Catch, ExceptionFilter, HttpException } from '@nestjs/common';
import { Request, Response } from 'express';

@Catch(HttpException)
export class HttpExceptionFilter implements ExceptionFilter {
  catch(exception: HttpException, host: ArgumentsHost) {

    const ctx = host.switchToHttp();
    const response = ctx.getResponse<Response>();
    const request = ctx.getRequest<Request>();
    const status = exception.getStatus();
    const msg = exception.getResponse().toString();

    response
      .status(status)
      .json({
        statusCode: status,  //HttpException的status
        timestamp: new Date().toISOString(), // 时间戳
        path: request.url, //调用路径
        message: msg, //错误说明
      });

  }
}
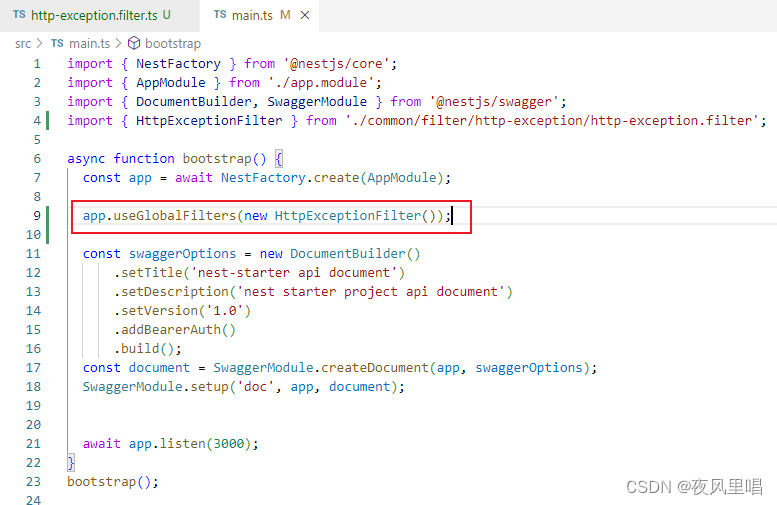
4. main.ts创建全局过滤器
增加以下一条语句
5. 验证
user.controller.ts依然是这个写法
使用Postman测试如下


![[面试] 什么是死锁? 如何解决死锁?](https://img-blog.csdnimg.cn/direct/9048c6d089494a31a310e3084430396d.png#pic_center)






![[SpringDataMongodb开发游戏服务器实战]](https://img-blog.csdnimg.cn/direct/16f74fa4de8044cea54c4cceff13e856.png)
