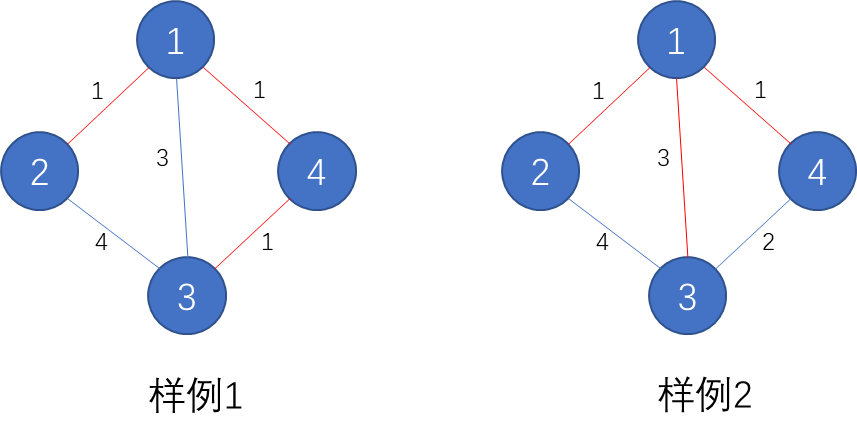
1、HTML 代码结构
要实现无缝,我们需要复制出文案结构放在后面
<div class="marquee__wrapper">
  <div class="marquee">
    <div class="marquee__content">
      <p>有人知道在 Shopify 中使用@media 的正确方法吗?</p>
      <p>有人知道在 Shopify 中使用@media 的正确方法吗?</p>
    </div>
  </div>
</div>
效果

2、CSS 处理布局,使第二段文案衔接在第一段文案后面
代码
SCSS
// 演示使用,后面要删除
// 相当可视区域
.marquee__wrapper {
  width: 375px;
  margin: 100px auto 0;
  // overflow: hidden;
}

// 核心代码
.marquee {
  width: 100%;
  background: rgba(0, 0, 0, 0.1);
  .marquee__content {
    display: inline-block;
    white-space: nowrap;
    position: relative;
    p {
      margin: 0;
      // 插入一个字符,用于间隔开首尾
      &::after {
        content: "";
        width: 15.5px;
        display: inline-block;
      }
    }
    p:last-child {
      position: absolute;
      left: 100%;
      top: 0;
      color: red;
    }
  }
}

3、添加CSS动画
代码
SCSS
.marquee__content {
  // --marquee-time 动画时间, 默认10s
  animation: marquee var(--marquee-time, 10s) linear infinite;
}
@keyframes marquee {
  0% {
    transform: translateX(0);
  }
  100% {
    transform: translateX(-100%);
  }
}

添加 overflow: hidden;

Liquid + CSS 实现响应式无缝跑马灯
备注
由于每个字符的宽度都不是固定的,所以文案宽度会存在一定的误差(误差大小取决于你怎么取文案平均值)。字符宽度的取值可以取一段文案的平均值,至于怎么取就不用多说了。如果你的字体大小还受到分辨率影响,那么就考虑手动设置文案宽度,或者再做一些细致的计算
代码
Liquid
{%- liquid
  assign text = "有人知道在 Shopify 中使用@media 的正确方法吗?"
  # 一个字的宽度
  assign one_text_width = 14
  # 文案字符数
  assign text_length = text | size
  # 文案宽度 == .marquee__content 的宽度
  assign text_width = text_length | plus: 1 | times: one_text_width
  # 跑马灯的时间, 可通过这个调节跑马灯的速度
  assign marquee_time = text_width | times: 15
-%}

<!-- 文案宽度能够完全显示时,取消动画,删除间隔,隐藏复制的文案 -->
<style>
  @media (min-width: {{ text_width }}px) {
    #shopify-section-{{ section.id }} .marquee__content {
      animation: none;
    }
    #shopify-section-{{ section.id }} .marquee__content p::after {
      content: none;
    }
    #shopify-section-{{ section.id }} .marquee__content p:last-child {
      display: none;
    }
  }
</style>
<div class="marquee__wrapper">
  <div class="marquee" style="--marquee-time: {{ marquee_time }}ms">
    <div class="marquee__content">
      <p>{{ text }}</p>
      <p>{{ text }}</p>
    </div>
  </div>
</div>








![被围绕的区域[中等]](https://img-blog.csdnimg.cn/direct/0b0373b831a64b3480d7d410377f82bf.png)
![输入一组数据,以-1结束输入[c]](https://img-blog.csdnimg.cn/direct/f5d8d179cbc940d7b4d08db682813c0e.png)
