本地部署 Qwen-14B-Chat
- 1. Qwen-14B 概述
- 2. Github 地址
- 3. 创建虚拟环境
- 4. 安装依赖项
- 5. 快速使用
- 6. 启动 web 演示
- 7. 访问 Qwen
1. Qwen-14B 概述
通义千问-14B(Qwen-14B) 是阿里云研发的通义千问大模型系列的140亿参数规模的模型。Qwen-14B是基于Transformer的大语言模型, 在超大规模的预训练数据上进行训练得到。预训练数据类型多样,覆盖广泛,包括大量网络文本、专业书籍、代码等。同时,在Qwen-14B的基础上,我们使用对齐机制打造了基于大语言模型的AI助手Qwen-14B-Chat。本仓库为Qwen-14B-Chat的仓库。
2. Github 地址
https://github.com/QwenLM/Qwen
3. 创建虚拟环境
创建虚拟环境,
conda create -n qwen-14b-chat python=3.10 -y
conda activate qwen-14b-chat
安装 pytorch,
pip install torch==2.0.0+cu118 torchvision==0.15.1+cu118 torchaudio==2.0.1 --index-url https://download.pytorch.org/whl/cu118
4. 安装依赖项
安装 modelscope,
pip install modelscope>=1.9.1
安装 tiktoken,
pip install tiktoken
安装 transformers_stream_generator,
pip install transformers_stream_generator einops
安装 auto-gptq 和 optimum,
pip install auto-gptq optimum
(可选)另外,推荐安装flash-attention库,以实现更高的效率和更低的显存占用。
pip install packaging
pip uninstall -y ninja && pip install ninja

python -m pip install wheel setuptools

git clone https://github.com/Dao-AILab/flash-attention; cd flash-attention
# 20231120 时点最新是 flash_attn-2.3.3 版本
pip install flash-attn --no-build-isolation
# 下方安装可选,安装可能比较缓慢。
pip install csrc/layer_norm
pip install csrc/rotary
refer:
- https://github.com/Dao-AILab/flash-attention
- https://github.com/Dao-AILab/flash-attention/tree/main/csrc/layer_norm
5. 快速使用
下面我们展示了一个使用 Qwen-14B-Chat 模型,进行多轮对话交互的样例,
cat << EOF > quick_demo.py
from modelscope import AutoModelForCausalLM, AutoTokenizer, snapshot_download
from modelscope import GenerationConfig

model_dir = snapshot_download('Qwen/Qwen-14B-Chat', revision='v1.0.4')

# Note: The default behavior now has injection attack prevention off.
tokenizer = AutoTokenizer.from_pretrained(model_dir, trust_remote_code=True)

# use bf16
# model = AutoModelForCausalLM.from_pretrained(model_dir, device_map="auto", trust_remote_code=True, bf16=True).eval()
# use cpu only
# model = AutoModelForCausalLM.from_pretrained(model_dir, device_map="cpu", trust_remote_code=True).eval()
# use auto mode, automatically select precision based on the device.
model = AutoModelForCausalLM.from_pretrained(model_dir, device_map="auto", trust_remote_code=True).eval()

# Specify hyperparameters for generation
model.generation_config = GenerationConfig.from_pretrained(model_dir, trust_remote_code=True) # 可指定不同的生成长度、top_p等相关超参

# 第一轮对话 1st dialogue turn
response, history = model.chat(tokenizer, "你好", history=None)
print(response)
# 你好!很高兴为你提供帮助。

# 第二轮对话 2nd dialogue turn
response, history = model.chat(tokenizer, "给我讲一个年轻人奋斗创业最终取得成功的故事。", history=history)
print(response)
# 这是一个关于一个年轻人奋斗创业最终取得成功的故事。
# 故事的主人公叫李明,他来自一个普通的家庭,父母都是普通的工人。从小,李明就立下了一个目标:要成为一名成功的企业家。
# 为了实现这个目标,李明勤奋学习,考上了大学。在大学期间,他积极参加各种创业比赛,获得了不少奖项。他还利用课余时间去实习,积累了宝贵的经验。
# 毕业后,李明决定开始自己的创业之路。他开始寻找投资机会,但多次都被拒绝了。然而,他并没有放弃。他继续努力,不断改进自己的创业计划,并寻找新的投资机会。
# 最终,李明成功地获得了一笔投资,开始了自己的创业之路。他成立了一家科技公司,专注于开发新型软件。在他的领导下,公司迅速发展起来,成为了一家成功的科技企业。
# 李明的成功并不是偶然的。他勤奋、坚韧、勇于冒险,不断学习和改进自己。他的成功也证明了,只要努力奋斗,任何人都有可能取得成功。

# 第三轮对话 3rd dialogue turn
response, history = model.chat(tokenizer, "给这个故事起一个标题", history=history)
print(response)
# 《奋斗创业:一个年轻人的成功之路》
EOF
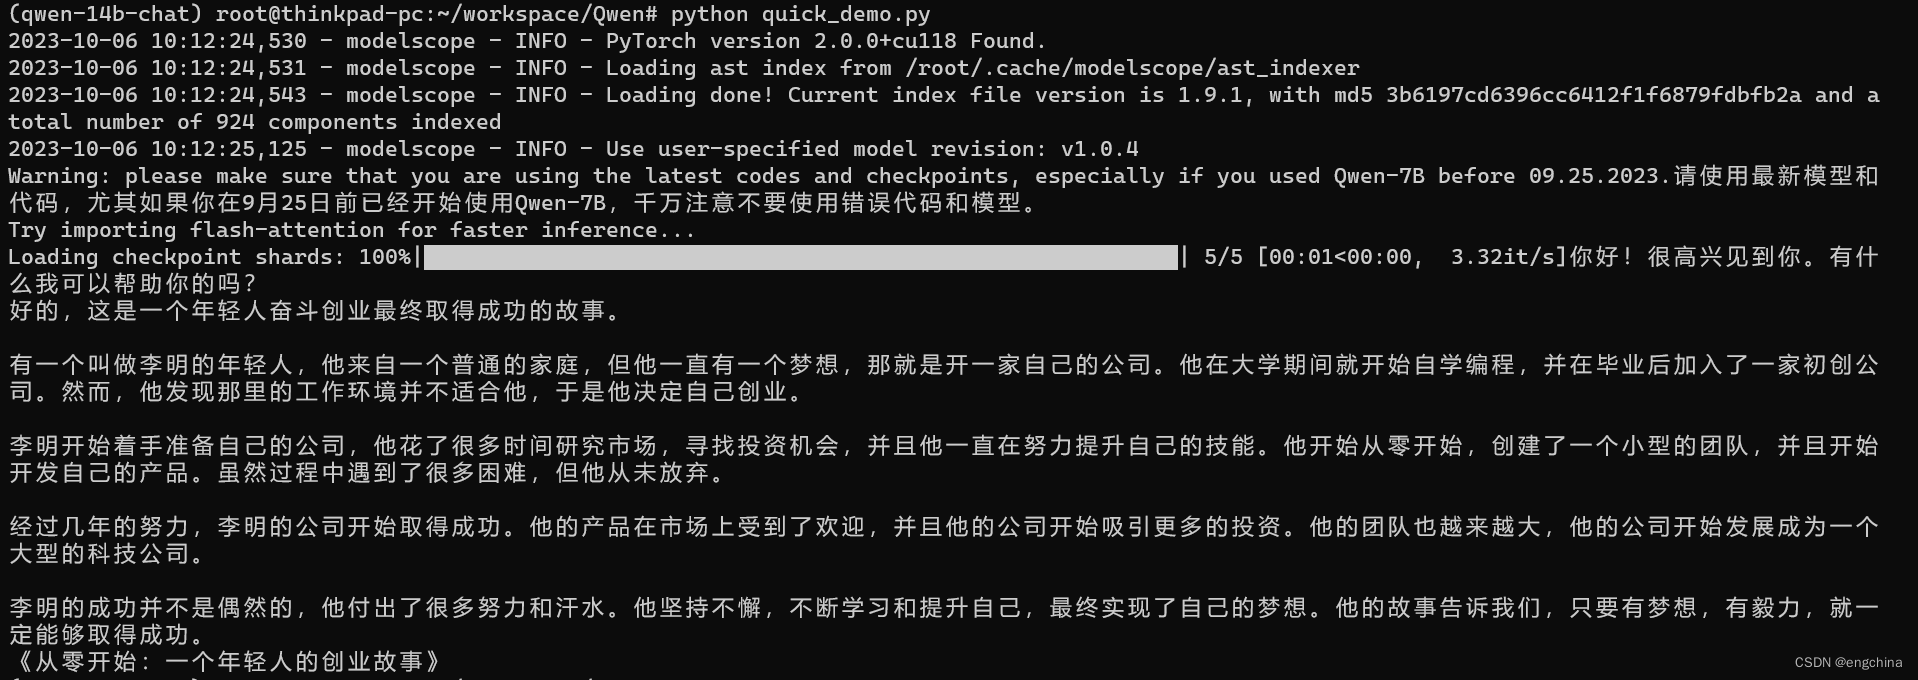
python quick_demo.py
输出结果如下,
6. 启动 web 演示
克隆代码,
https://github.com/engchina/llm-chat-web-ui.git; cd llm-chat-web-ui
安装依赖,
pip install -r requirements.txt
启动 qwen_chat.py,
python qwen_chat.py
7. 访问 Qwen
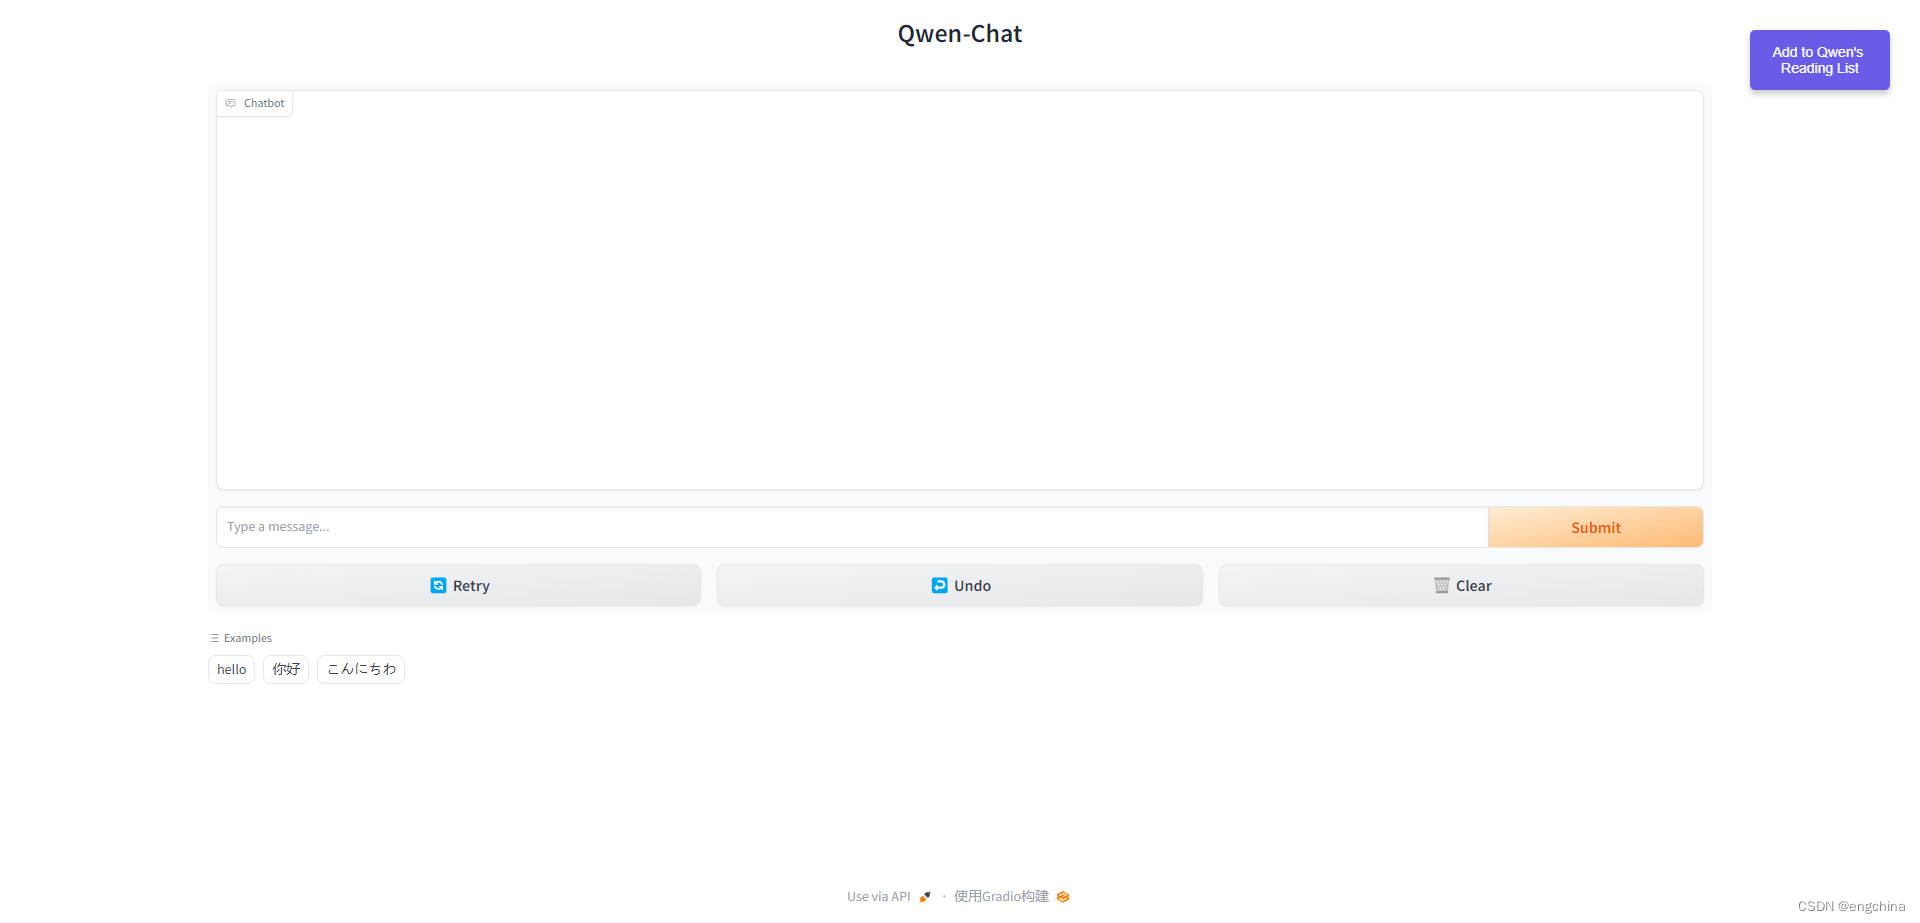
现在您可以访问 http://127.0.0.1:7860 来使用 Qwen 了。
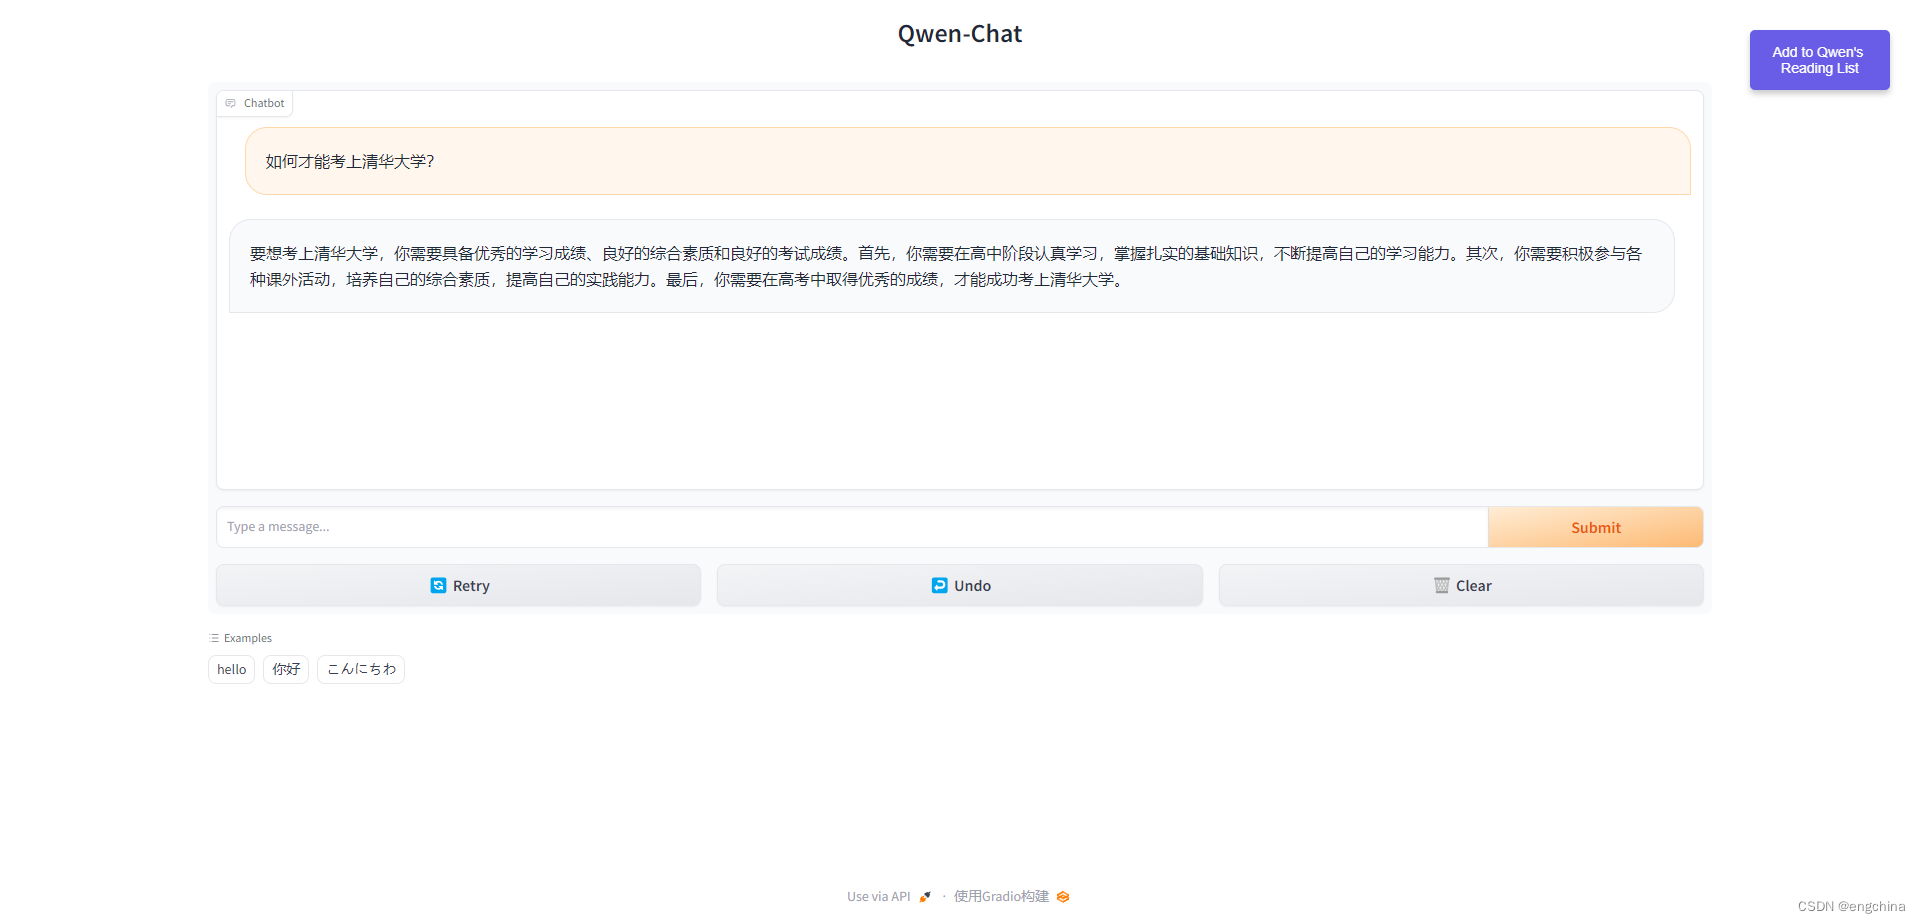
问它一个问题,“如何才能考上清华大学?”,
完结!
