目录
一.小程序登录微信登录接口演示
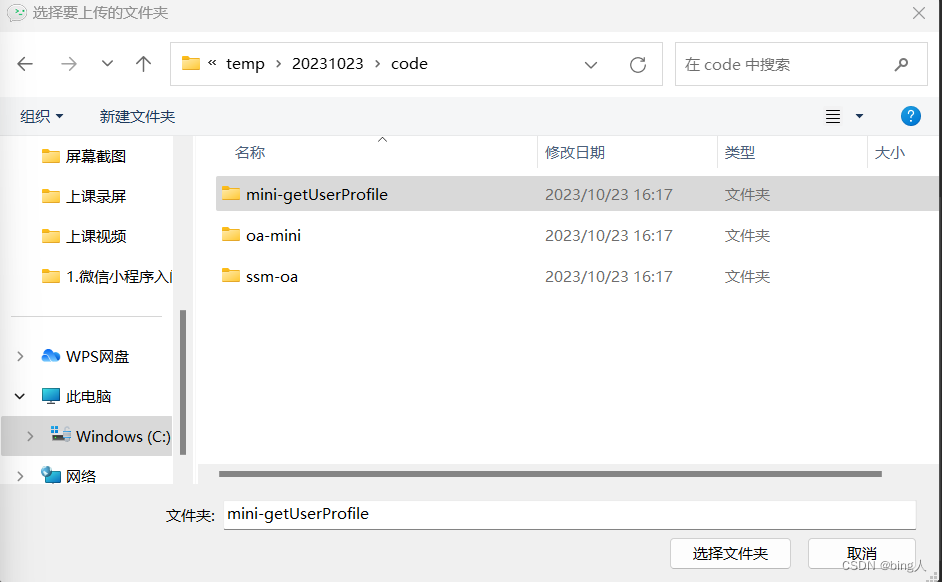
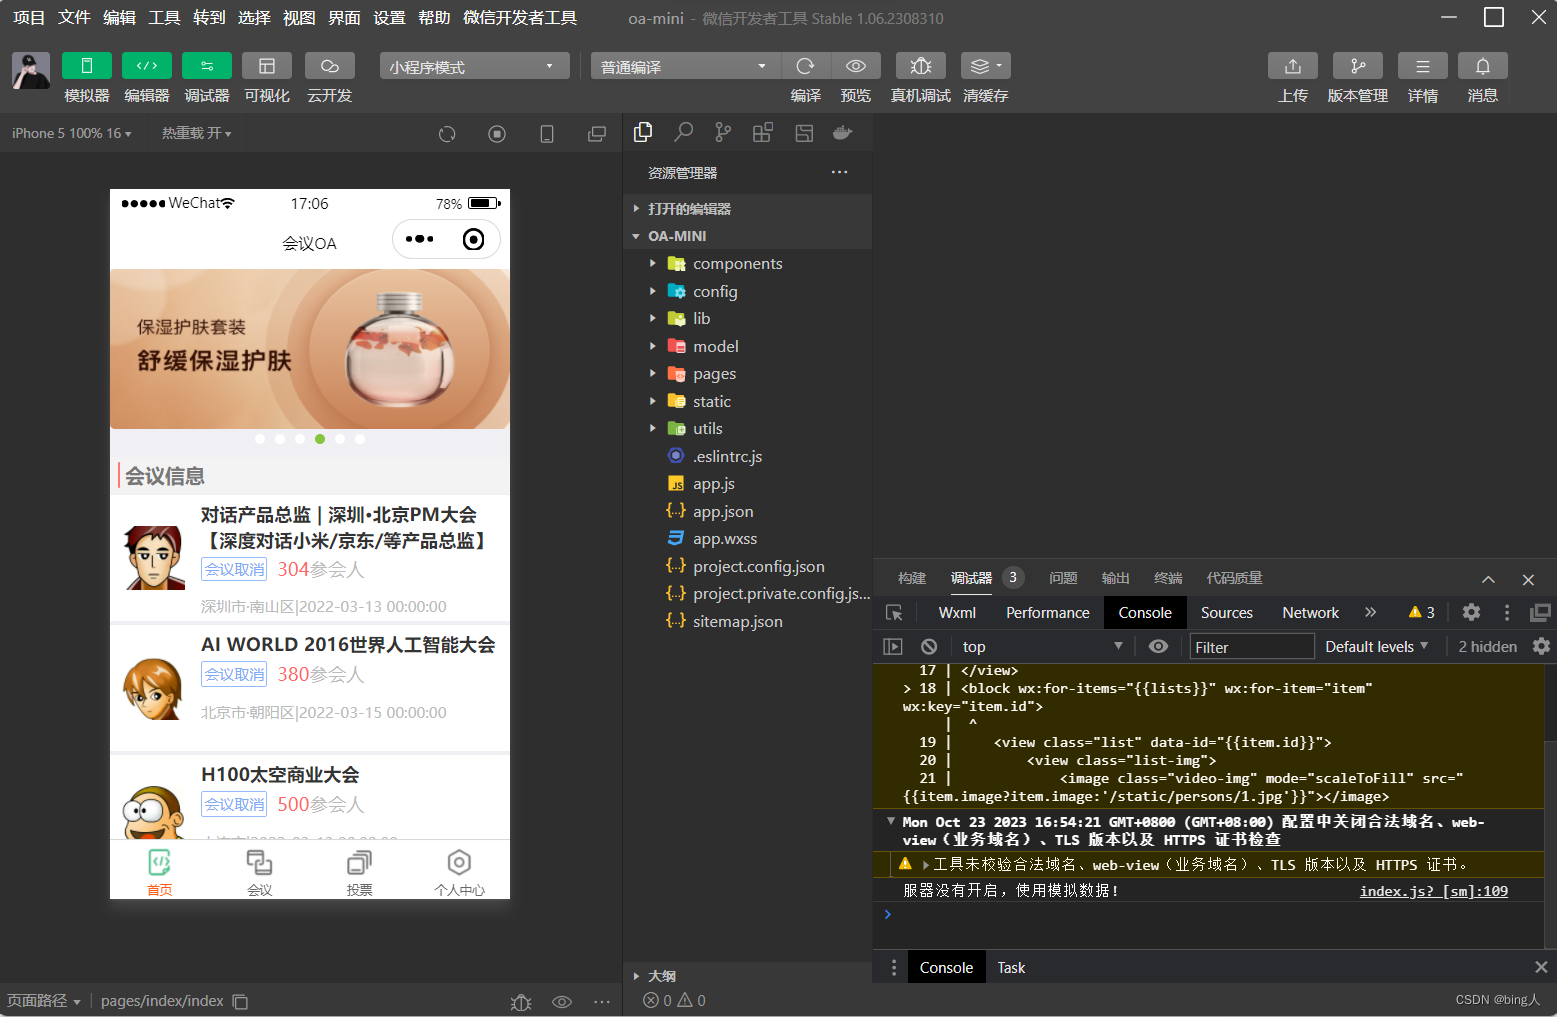
导入项目
登录信息
二.小程序授权登录理论与登录代码演示
图解
编辑
后端代码
前端代码
前端代码如下所示
代码案例演示
个人中心
后端代码如下所示
测试结果如下
一.小程序登录微信登录接口演示
导入项目
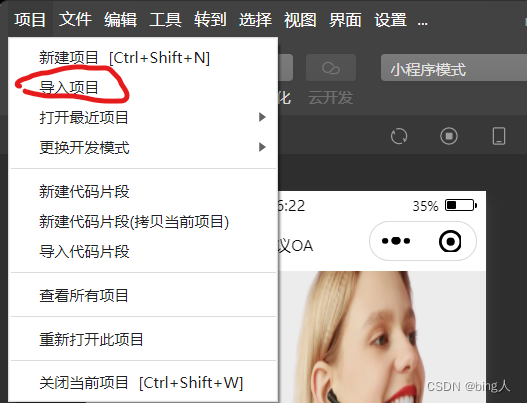
选择此项目导入
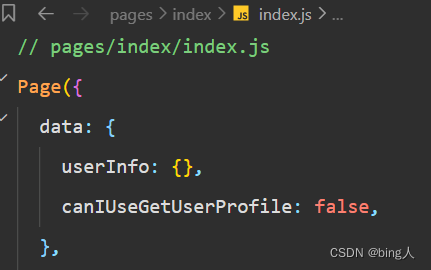
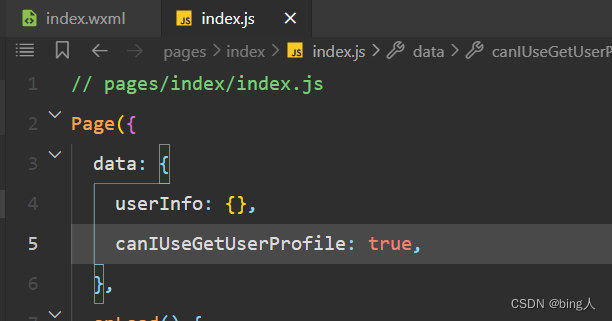
登录信息
如使用false的话它不会弹出确认登录框,所有不介意使用这个
测试结果
如使用true则会跳出确认登录
测试结果

二.小程序授权登录理论与登录代码演示
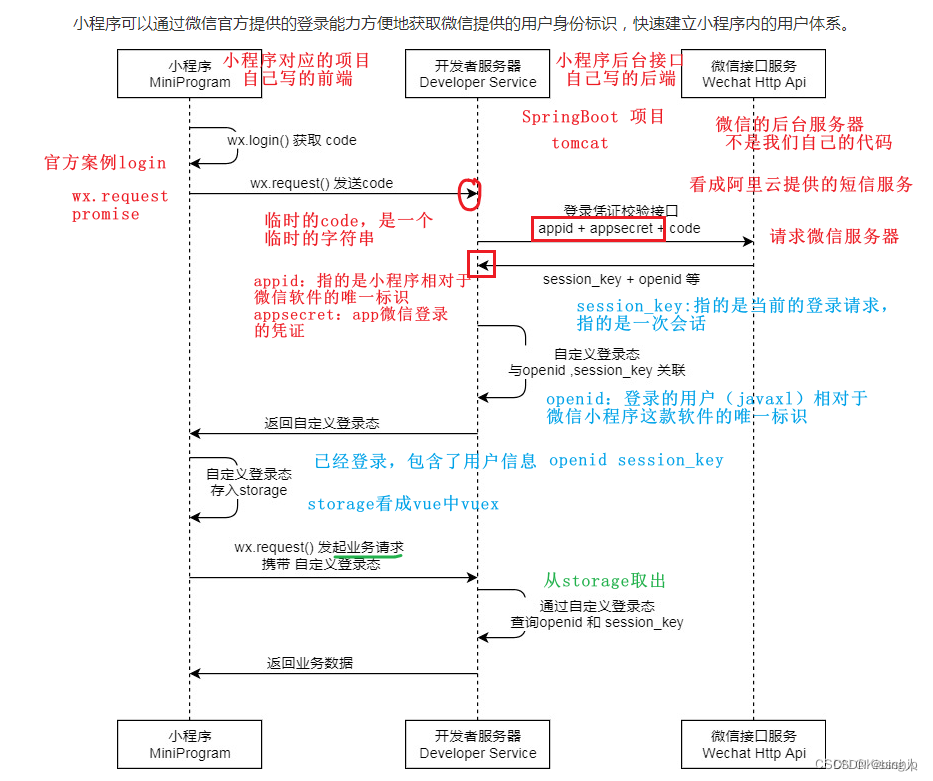
微信小程序的授权登录过程通常包括以下几个步骤:
小程序初始化: 在小程序初始化的时候,可以调用 wx.login 接口获取临时登录凭证 code。这个 code 的有效期很短,通常只有几分钟,所以需要在获取到 code 后尽快使用。
将 code 发送到开发者服务器: 小程序前端通过网络请求将获取到的 code 发送到开发者服务器。
开发者服务器获取 session_key 和 openid: 开发者服务器收到 code 后,可以将其发送到微信服务器的登录凭证校验接口,换取 session_key 和 openid。session_key 是会话密钥,用于加密数据传输,openid 是用户在当前小程序的唯一标识。
校验登录状态: 开发者服务器使用获取到的 session_key 和 openid 创建一个用户登录态,同时生成一个自定义的登录态标识,例如 token,并将这个标识返回给小程序前端。
小程序前端存储登录态: 小程序前端收到开发者服务器返回的登录态标识后,可以将它存储在本地,一般存储在缓存中。
后续请求携带登录态: 小程序前端在后续的网络请求中,可以在请求的 header 中携带这个登录态标识,以表明当前请求是一个已登录用户发起的。
图解
后端代码
导入后端登录代码
前端代码
导入前端登录代码
前端代码如下所示
代码案例演示
调用接口地址
api.js
// 以下是业务服务器API地址
 // 本机开发API地址
var WxApiRoot = 'http://localhost:8080/oapro/wx/';
// 测试环境部署api地址
// var WxApiRoot = 'http://192.168.191.1:8080/oapro/wx/';
// 线上平台api地址
//var WxApiRoot = 'https://www.oa-mini.com/demo/wx/';

module.exports = {
  IndexUrl: WxApiRoot + 'home/index', //首页数据接口
  SwiperImgs: WxApiRoot+'swiperImgs',
  MettingInfos: WxApiRoot+'meeting/list',
  AuthLoginByWeixin: WxApiRoot + 'auth/login_by_weixin', //微信登录
  UserIndex: WxApiRoot + 'user/index', //个人页面用户相关信息
  AuthLogout: WxApiRoot + 'auth/logout', //账号登出
  AuthBindPhone: WxApiRoot + 'auth/bindPhone' //绑定微信手机号
};
个人中心
编写index.wxml
<view class="page-container">
    <view class="user-info-container">
        <view class="user-info"  bindtap="goLogin">
            <image class="user-img" mode="scaleToFill" src="{{userInfo.avatarUrl}}" />
            <text class="user-info-name">{{userInfo.nickName}}</text>
        </view>
        <image class="user-update" src="/static/tabBar/component.png" bindtap='goPages' data-url='/pages/ucenter/user/user'/>
    </view>

    <view class="boundary" />
    <view class="cells-container">
        <view class="cell-wrap">
            <image class="cell-icon" src="/static/tabBar/sdk.png" />
            <text class="cell-text">我主持的会议</text>
            <view class="cell-right">
                <view class="cell-list-num">{{metting_pubs}}</view>
                <view class="cell-arrow"></view>
            </view>
        </view>
        <view class="cell-wrap">
            <image class="cell-icon" src="/static/tabBar/sdk.png" />
            <text class="cell-text">我参与的会议</text>
            <view class="cell-right">
                <view class="cell-list-num">{{metting_joins}}</view>
                <view class="cell-arrow"></view>
            </view>
        </view>
    </view>
    <view class="boundary" />
    <view class="cells-container">
        <view class="cell-wrap">
            <image class="cell-icon" src="/static/tabBar/sdk.png" />
            <text class="cell-text">我发布的投票</text>
            <view class="cell-right">
                <view class="cell-list-num">1</view>
                <view class="cell-arrow"></view>
            </view>
        </view>
        <view class="cell-wrap">
            <image class="cell-icon" src="/static/tabBar/sdk.png" />
            <text class="cell-text">我参与的投票</text>
            <view class="cell-right">
                <view class="cell-list-num">10</view>
                <view class="cell-arrow"></view>
            </view>
        </view>
    </view>
    <view class="boundary" />
    <view class="cells-container">
        <view class="cell-wrap">
            <image class="cell-icon" src="/static/tabBar/template.png" />
            <text class="cell-text">消息</text>
            <view class="cell-right">
                <view class="cell-list-num"></view>
                <view class="cell-arrow"></view>
            </view>
        </view>
        <view class="cell-wrap">
            <image class="cell-icon" src="/static/tabBar/component.png" />
            <text class="cell-text">设置</text>
            <view class="cell-right">
                <view class="cell-list-num"></view>
                <view class="cell-arrow"></view>
            </view>
        </view>
    </view>
</view>
编写index.js
// pages/ucenter/index/index.js
var util = require('../../../utils/util.js');
var api = require('../../../config/api.js');
const app = getApp();
Page({

    /**
     * 页面的初始数据
     */
    data: {
        userInfo: {
            nickName: '点击登录',
            avatarUrl: '/static/images/avatar.png'
        },
        hasLogin: false,
        metting_pubs: '',
        metting_joins: ''
    },

    /**
     * 生命周期函数--监听页面加载
     */
    onLoad(options) {

    },


    /**
     * 生命周期函数--监听页面显示
     */
    onShow() {
        this.getUserInfo();
    },
    getUserInfo() {
      // console.log('ucenter.index.app.globalData.hasLogin='+app.globalData.hasLogin)
        //获取用户的登录信息
        if (app.globalData.hasLogin) {
            let userInfo = wx.getStorageSync('userInfo');
            this.setData({
                userInfo: userInfo,
                hasLogin: true
            });
            //查询个人统计信息
            util.request(api.UserIndex).then(res => {
                if (res.errno === 0) {
                    this.setData({
                        metting_pubs: res.data.metting_pubs,
                        metting_joins: res.data.metting_joins
                    });
                }
            });
        }
    },
    goLogin() {
        if (!this.data.hasLogin) {
            wx.navigateTo({
                url: "/pages/auth/login/login"
            });
        }
    },
    /**
     * 页面跳转
     */
    goPages: function (e) {
        if (this.data.hasLogin) {
            wx.navigateTo({
                url: e.currentTarget.dataset.url
            });
        } else {
            wx.navigateTo({
                url: "/pages/auth/login/login"
            });
        };
    }

})
创建一个用户登入后的设置页面为 : user。
user.js
var util = require('../../../utils/util.js');
var api = require('../../../config/api.js');
var user = require('../../../utils/user.js');
var app = getApp();
Page({

  /**
   * 页面的初始数据
   */
  data: {
    userInfo: {},
    hasLogin: false,
    userSharedUrl: ''
  },

  /**
      * 生命周期函数--监听页面加载
   */
  onLoad: function (options) {

  },
  onShow: function () {
    let that = this;
    //获取用户的登录信息
    let userInfo = wx.getStorageSync('userInfo');
    this.setData({
      userInfo: userInfo,
      hasLogin: true
    });

  },
  getPhoneNumber: function (e) {
    let that = this;
    if (e.detail.errMsg !== "getPhoneNumber:ok") {
      // 拒绝授权
      return;
    }

    if (!this.data.hasLogin) {
      wx.showToast({
        title: '绑定失败:请先登录',
        icon: 'none',
        duration: 2000
      });
      return;
    }

    util.request(api.AuthBindPhone, {
      iv: e.detail.iv,
      encryptedData: e.detail.encryptedData
    }, 'POST').then(function (res) {
      if (res.errno === 0) {
        let userInfo = wx.getStorageSync('userInfo');
        userInfo.phone = res.data.phone;//设置手机号码
        wx.setStorageSync('userInfo', userInfo);
        that.setData({
          userInfo: userInfo,
          hasLogin: true
        });
        wx.showToast({
          title: '绑定手机号码成功',
          icon: 'success',
          duration: 2000
        });
      }
    });
  },
  exitLogin: function () {
    wx.showModal({
      title: '',
      confirmColor: '#b4282d',
      content: '退出登录?',
      success: function (res) {
        if (!res.confirm) {
          return;
        }

        util.request(api.AuthLogout, {}, 'POST');
        app.globalData.hasLogin = false;
        wx.removeStorageSync('token');
        wx.removeStorageSync('userInfo');
        wx.reLaunch({
          url: '/pages/index/index'
        });
      }
    })
  }
})
编写user.wxml
<!--pages/ucenter/user/user.wxml-->
<form bindsubmit="formSubmit">
    <view class='personal-data'>
        <view class='list'>
            <view class='item acea-row row-between-wrapper'>
                <view>头像</view>
                <view class='pictrue'>
                    <image src='{{userInfo.avatarUrl}}'></image>
                </view>
            </view>
            <view class='item acea-row row-between-wrapper'>
                <view>名字</view>
                <view class='input'><input type='text' disabled='true' name='nickname' value='{{userInfo.nickName}}'></input></view>
            </view>
            <view class='item acea-row row-between-wrapper'>
                <view>手机号码</view>
                <button name='phone' class='phone' value='{{userInfo.phone}}' wx:if="{{!userInfo.phone}}" bindgetphonenumber="getPhoneNumber" hover-class='none' open-type='getPhoneNumber'>
                    点击获取
                </button>
                <view class='input acea-row row-between-wrapper' wx:else>
                    <input type='text' disabled='true' name='phone' value='{{userInfo.phone}}' class='id'></input>
                    <text class='iconfont icon-suozi'></text>
                </view>
            </view>

            <view class='item acea-row row-between-wrapper'>
                <view>ID号</view>
                <view class='input acea-row row-between-wrapper'>
                    <input type='text' value='1000{{userInfo.userId}}' disabled='true' class='id'></input>
                    <text class='iconfont icon-suozi'></text>
                </view>
            </view>
        </view>
        <button class='modifyBnt' bindtap="exitLogin">退 出</button>
    </view>
</form>
编写user.wxss
@import '/static/font/iconfont.wxss';
.personal-data .list {
    margin-top: 15rpx;
    background-color: #fff;
}

.personal-data .list .item {
    padding: 30rpx 30rpx 30rpx 0;
    border-bottom: 1rpx solid #f2f2f2;
    margin-left: 30rpx;
    font-size: 32rpx;
    color: #282828;
}

.personal-data .list .item .phone {
    background-color: #85c43f;
    width: 160rpx;
    height: 56rpx;
    font-size: 24rpx;
    color: #fff;
    line-height: 56rpx;
    border-radius: 32rpx
}

.personal-data .list .item .pictrue {
    width: 88rpx;
    height: 88rpx;
}

.personal-data .list .item .pictrue image {
    width: 100%;
    height: 100%;
    border-radius: 50%;
}

.personal-data .list .item .input {
    width: 415rpx;
    text-align: right;
    color: #868686;
}

.personal-data .list .item .input .id {
    width: 365rpx;
}

.personal-data .list .item .input .iconfont {
    font-size: 35rpx;
}

.personal-data .modifyBnt {
    /* background-color: #85c43f; */
    /* background: linear-gradient(to left right, #85c43f, #fefefd); */
    background: radial-gradient(circle at 50%,#85c43f,#CDDC39);
    font-size: 32rpx;
    color: #fff;
    width: 690rpx;
    height: 90rpx;
    border-radius: 50rpx;
    display: flex;
    justify-content: center;
    align-items: center;
    line-height: 90rpx;
    margin: 76rpx auto 0 auto;
}


.acea-row{display:flex;flex-wrap:wrap;}
.acea-row.row-top{align-items:flex-start;}
.acea-row.row-middle{align-items:center;}
.acea-row.row-bottom{align-items:flex-end;}
.acea-row.row-left{justify-content:flex-start;}
.acea-row.row-center{justify-content:center;}
.acea-row.row-right{justify-content:flex-end;}
.acea-row.row-between{justify-content:space-between;}
.acea-row.row-around{justify-content:space-around;}
.acea-row.row-column{flex-direction:column;}
.acea-row.row-column-between{flex-direction:column;justify-content:space-between;}
.acea-row.row-column-around{flex-direction:column;justify-content:space-around;}
.acea-row.row-center-wrapper{align-items:center;justify-content:center;}
.acea-row.row-between-wrapper{align-items:center;justify-content:space-between;}
view, image, text, navigator {
    box-sizing: border-box;
    padding: 0;
    margin: 0;
}
后端代码如下所示
在后台编写的控制器,来进行出来前端的请求及数据处理并且反馈带前端
WxAuthController :
package com.zking.ssm.wxcontroller;

/**
 * @Autho donkee
 * @Since 2022/6/27
 */

import cn.binarywang.wx.miniapp.bean.WxMaPhoneNumberInfo;
import com.alibaba.fastjson.JSONObject;
import com.zking.ssm.annotation.LoginUser;
import com.zking.ssm.model.UserInfo;
import com.zking.ssm.model.WxLoginInfo;
import com.zking.ssm.model.WxUser;
import com.zking.ssm.service.UserToken;
import com.zking.ssm.service.UserTokenManager;
import com.zking.ssm.service.WxUserService;
import com.zking.ssm.util.JacksonUtil;
import com.zking.ssm.util.ResponseUtil;
import com.zking.ssm.util.UserTypeEnum;
import lombok.extern.slf4j.Slf4j;
import org.springframework.beans.factory.annotation.Autowired;
import org.springframework.util.StringUtils;
import org.springframework.web.bind.annotation.PostMapping;
import org.springframework.web.bind.annotation.RequestBody;
import org.springframework.web.bind.annotation.RequestMapping;
import org.springframework.web.bind.annotation.RestController;

import cn.binarywang.wx.miniapp.api.WxMaService;
import cn.binarywang.wx.miniapp.bean.WxMaJscode2SessionResult;
import javax.servlet.http.HttpServletRequest;
import java.text.DateFormat;
import java.text.SimpleDateFormat;
import java.util.Date;
import java.util.HashMap;
import java.util.Map;

/**
 * 鉴权服务
 */
@Slf4j
@RestController
@RequestMapping("/wx/auth")
public class WxAuthController {
    @Autowired
    private WxMaService wxService;
    @Autowired
    private WxUserService userService;
    /**
     * 微信登录
     *
     * @param wxLoginInfo
     *            请求内容,{ code: xxx, userInfo: xxx }
     * @param request
     *            请求对象
     * @return 登录结果
     */
    @PostMapping("login_by_weixin")
    public Object loginByWeixin(@RequestBody WxLoginInfo wxLoginInfo, HttpServletRequest request) {

        //客户端需携带code与userInfo信息
        String code = wxLoginInfo.getCode();
        UserInfo userInfo = wxLoginInfo.getUserInfo();
        if (code == null || userInfo == null) {
            return ResponseUtil.badArgument();
        }
        //调用微信sdk获取openId及sessionKey
        String sessionKey = null;
        String openId = null;
        try {
            long beginTime = System.currentTimeMillis();
            //
            WxMaJscode2SessionResult result = this.wxService.getUserService().getSessionInfo(code);
//            Thread.sleep(6000);
            long endTime = System.currentTimeMillis();
            log.info("响应时间:{}",(endTime-beginTime));
            sessionKey = result.getSessionKey();//session id
            openId = result.getOpenid();//用户唯一标识 OpenID
        } catch (Exception e) {
            e.printStackTrace();
        }

        if (sessionKey == null || openId == null) {
            log.error("微信登录,调用官方接口失败:{}", code);
            return ResponseUtil.fail();
        }else{
            log.info("openId={},sessionKey={}",openId,sessionKey);
        }
        //根据openId查询wx_user表
        //如果不存在,初始化wx_user,并保存到数据库中
        //如果存在,更新最后登录时间
        WxUser user = userService.queryByOid(openId);

        if (user == null) {
            user = new WxUser();
            user.setUsername(openId);
            user.setPassword(openId);
            user.setWeixinOpenid(openId);
            user.setAvatar(userInfo.getAvatarUrl());
            user.setNickname(userInfo.getNickName());
            user.setGender(userInfo.getGender());
            user.setUserLevel((byte) 0);
            user.setStatus((byte) 0);
            user.setLastLoginTime(new Date());
            user.setLastLoginIp(IpUtil.client(request));
            user.setShareUserId(1);

            userService.add(user);

        } else {
            user.setLastLoginTime(new Date());
            user.setLastLoginIp(IpUtil.client(request));
            if (userService.updateById(user) == 0) {
                log.error("修改失败:{}", user);
                return ResponseUtil.updatedDataFailed();
            }
        }
        // token
        UserToken userToken = null;
        try {
            userToken = UserTokenManager.generateToken(user.getId());
        } catch (Exception e) {
            log.error("微信登录失败,生成token失败:{}", user.getId());
            e.printStackTrace();
            return ResponseUtil.fail();
        }
        userToken.setSessionKey(sessionKey);
        log.info("SessionKey={}",UserTokenManager.getSessionKey(user.getId()));
        Map<Object, Object> result = new HashMap<Object, Object>();
        result.put("token", userToken.getToken());
        result.put("tokenExpire", userToken.getExpireTime().toString());
        userInfo.setUserId(user.getId());
        if (!StringUtils.isEmpty(user.getMobile())) {// 手机号存在则设置
            userInfo.setPhone(user.getMobile());
        }
        try {
            DateFormat df = new SimpleDateFormat("yyyy-MM-dd");
            String registerDate = df.format(user.getAddTime() != null ? user.getAddTime() : new Date());
            userInfo.setRegisterDate(registerDate);
            userInfo.setStatus(user.getStatus());
            userInfo.setUserLevel(user.getUserLevel());// 用户层级
            userInfo.setUserLevelDesc(UserTypeEnum.getInstance(user.getUserLevel()).getDesc());// 用户层级描述
        } catch (Exception e) {
            log.error("微信登录:设置用户指定信息出错:"+e.getMessage());
            e.printStackTrace();
        }
        result.put("userInfo", userInfo);


        log.info("【请求结束】微信登录,响应结果:{}", JSONObject.toJSONString(result));

        return ResponseUtil.ok(result);
    }
    /**
     * 绑定手机号码
     *
     * @param userId
     * @param body
     * @return
     */
    @PostMapping("bindPhone")
    public Object bindPhone(@LoginUser Integer userId, @RequestBody String body) {
        log.info("【请求开始】绑定手机号码,请求参数,body:{}", body);

        String sessionKey = UserTokenManager.getSessionKey(userId);
        String encryptedData = JacksonUtil.parseString(body, "encryptedData");
        String iv = JacksonUtil.parseString(body, "iv");
        WxMaPhoneNumberInfo phoneNumberInfo = null;
        try {
            phoneNumberInfo = this.wxService.getUserService().getPhoneNoInfo(sessionKey, encryptedData, iv);
        } catch (Exception e) {
            log.error("绑定手机号码失败,获取微信绑定的手机号码出错:{}", body);
            e.printStackTrace();
            return ResponseUtil.fail();
        }
        String phone = phoneNumberInfo.getPhoneNumber();
        WxUser user = userService.selectByPrimaryKey(userId);
        user.setMobile(phone);
        if (userService.updateById(user) == 0) {
            log.error("绑定手机号码,更新用户信息出错,id:{}", user.getId());
            return ResponseUtil.updatedDataFailed();
        }
        Map<Object, Object> data = new HashMap<Object, Object>();
        data.put("phone", phone);

        log.info("【请求结束】绑定手机号码,响应结果:{}", JSONObject.toJSONString(data));
        return ResponseUtil.ok(data);
    }
    /**
     * 注销登录
     */
    @PostMapping("logout")
    public Object logout(@LoginUser Integer userId) {
        log.info("【请求开始】注销登录,请求参数,userId:{}", userId);
        if (userId == null) {
            return ResponseUtil.unlogin();
        }
        try {
            UserTokenManager.removeToken(userId);
        } catch (Exception e) {
            log.error("注销登录出错:userId:{}", userId);
            e.printStackTrace();
            return ResponseUtil.fail();
        }

        log.info("【请求结束】注销登录成功!");
        return ResponseUtil.ok();
    }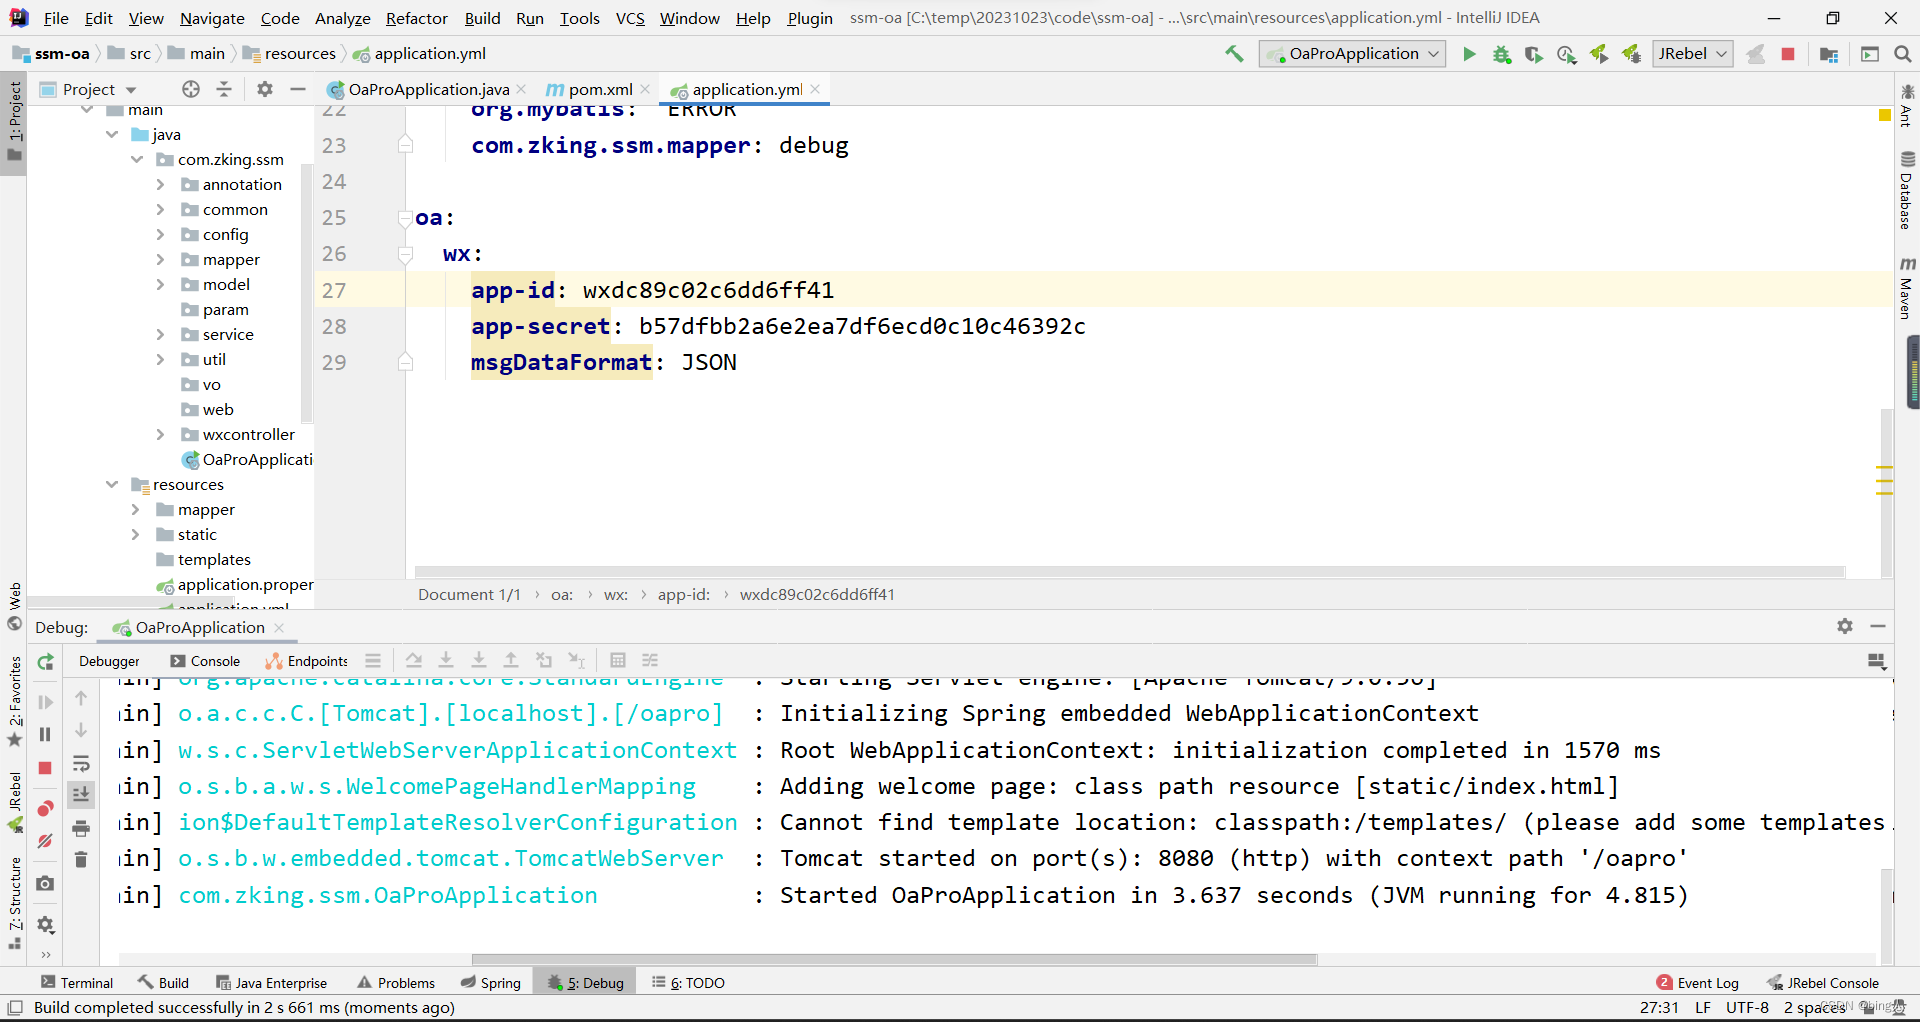
}在application.yml文件中编写密钥
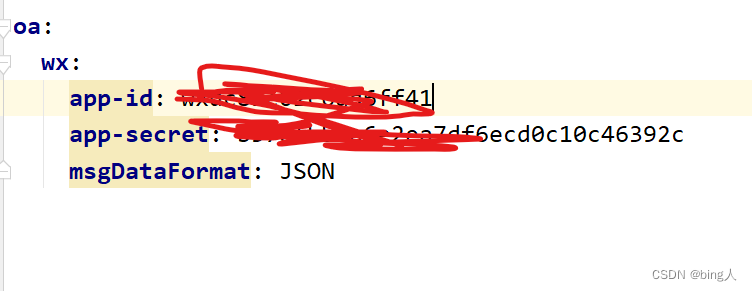
测试结果如下