源码分析
跳转至Axios.js文件中
// 构造函数
constructor(instanceConfig) {
    this.defaults = instanceConfig
    // 创建对应的拦截器
    this.interceptors = {
        request: new InterceptorManager(),
        response: new InterceptorManager()
  }
}
那么,拦截器是怎么创建的呢
- 首先,我们来看下拦截器的用法
- www.axios-http.cn/docs/interc…
// 添加请求拦截器
axios.interceptors.request.use(function (config) {
// 在发送请求之前做些什么
return config;
}, function (error) {
// 对请求错误做些什么
return Promise.reject(error);
});
// 添加响应拦截器
axios.interceptors.response.use(function (response) {
// 2xx 范围内的状态码都会触发该函数。
// 对响应数据做点什么
return response;
}, function (error) {
// 超出 2xx 范围的状态码都会触发该函数。
// 对响应错误做点什么
return Promise.reject(error);
});
移除拦截器,可以这样:
const myInterceptor = axios.interceptors.request.use(function () {/*...*/});
axios.interceptors.request.eject(myInterceptor);
给自定义的 axios 实例添加拦截器。
const instance = axios.create();
instance.interceptors.request.use(function () {/*...*/});
可以看到,请求拦截器和响应拦截器都是使用axios.interceptors.xxx.use进行挂载
我们来看下源码实现
'use strict'
import utils from './../utils.js'
class InterceptorManager {
// 用一个数组来存储拦截器函数
constructor() {
this.handlers = []
}
/**
* 添加一个新的拦截器到栈中
*
* @参数 {Function} Promise.then(fulfilled)回调函数
* @参数 {Function} Promise.reject(rejected) 回调函数
*
* @return {Number} 返回ID 用来移除拦截器时使用
*
*/
use(fulfilled, rejected, options) {
this.handlers.push({
fulfilled,
rejected,
// 是否同步
synchronous: options ? options.synchronous : false,
// 运行时机
runWhen: options ? options.runWhen : null
})
return this.handlers.length - 1
}
eject(id) {
// 如果在handlers中找到对应的id,对应的位置置为空
if (this.handlers[id]) {
this.handlers[id] = null
}
}
// 重置拦截器数组
clear() {
if (this.handlers) {
this.handlers = []
}
}
// 遍历拦截器数组,如果当前的位置为Null,则跳过,否则执行回调函数
forEach(fn) {
utils.forEach(this.handlers, function forEachHandler(h) {
if (h !== null) {
fn(h)
}
})
}
}
export default InterceptorManager
尝试调试
在全局搜索new XMLHttpRequest并打上断点,点击页面中的Send Request,进入断点
0.点击触发onClick
2.创建axios
3.调用request,检查是否有拦截器* 如果存在拦截器,则先触发
4.执行完dispatchRequest后,调用适配器
5.用Promise包裹xhrRequest
所以这个流程是
点击触发`onClick`
创建axios
调用`request`,检查是否有拦截器
执行完`dispatchRequest`后,调用适配器
用`Promise`包裹`xhrRequest`
我们来看下request是怎么实现的
request
request(configOrUrl, config) {
// 检查传入的url是否是string 类型
if (typeof configOrUrl === 'string') {
config = config || {}
config.url = configOrUrl
} else {
config = configOrUrl || {}
}
// 合并默认参数和用户定义的参数
config = mergeConfig(this.defaults, config)
const { transitional, paramsSerializer, headers } = config
// config 对象格式化
/*
code...
*/
// 设置发送请求的方式,默认是get
// Set config.method
config.method = (
config.method ||
this.defaults.method ||
'get'
).toLowerCase()
let contextHeaders
// Flatten headers
contextHeaders =
headers && utils.merge(headers.common, headers[config.method])
// 根据传入的请求方式,构建config中的method
contextHeaders &&
utils.forEach(
['delete', 'get', 'head', 'post', 'put', 'patch', 'common'],
(method) => {
delete headers[method]
}
)
config.headers = AxiosHeaders.concat(contextHeaders, headers)
// filter out skipped interceptors
// 收集所有的请求拦截器和响应拦截器
const requestInterceptorChain = []
let synchronousRequestInterceptors = true
// 遍历请求拦截器,放到数组中
this.interceptors.request.forEach()
/*
code...
*/
// 遍历响应拦截器,放到数组中
const responseInterceptorChain = []
this.interceptors.response.forEach()
/*
code...
*/
let promise
let i = 0
let len
if (!synchronousRequestInterceptors) {
const chain = [dispatchRequest.bind(this), undefined]
// 将请求拦截器放到chain前面
chain.unshift.apply(chain, requestInterceptorChain)
// 将响应拦截器放到chain后面
chain.push.apply(chain, responseInterceptorChain)
len = chain.length
// 生成promise实例
promise = Promise.resolve(config)
while (i < len) {
// 将 fulfilled, rejected 取出
// 链式调用
promise = promise.then(chain[i++], chain[i++])
}
return promise
}
len = requestInterceptorChain.length
let newConfig = config
i = 0
while (i < len) {
const onFulfilled = requestInterceptorChain[i++]
const onRejected = requestInterceptorChain[i++]
try {
newConfig = onFulfilled(newConfig)
} catch (error) {
onRejected.call(this, error)
break
}
}
try {
promise = dispatchRequest.call(this, newConfig)
} catch (error) {
return Promise.reject(error)
}
i = 0
len = responseInterceptorChain.length
while (i < len) {
promise = promise.then(
responseInterceptorChain[i++],
responseInterceptorChain[i++]
)
}
return promise
}
小结
根据上图所示,请求拦截器不断在前面unshift进去队列,响应拦截器不断在后面push进去队列,通过promise.then(chain[i++], chain[i++])的方式,从而实现Promise链式调用
dispatchRequest
这个函数处于chain队列的中间,我们来看下他做了什么事情
export default function dispatchRequest(config) {
// 如果取消请求,抛出异常
throwIfCancellationRequested(config)
config.headers = AxiosHeaders.from(config.headers)
// Transform request data
// 请求的data 转换
config.data = transformData.call(config, config.transformRequest)
// 添加头部
if (['post', 'put', 'patch'].indexOf(config.method) !== -1) {
config.headers.setContentType('application/x-www-form-urlencoded', false)
}
// 配置适配器
const adapter = adapters.getAdapter(config.adapter || defaults.adapter)
return adapter(config).then(
function onAdapterResolution(response) {
// 取消相关
throwIfCancellationRequested(config)
// Transform response data
// 响应数据转换
response.data = transformData.call(
config,
config.transformResponse,
response
)
// 处理响应的header
response.headers = AxiosHeaders.from(response.headers)
return response
},
function onAdapterRejection(reason) {
if (!isCancel(reason)) {
throwIfCancellationRequested(config)
// Transform response data
if (reason && reason.response) {
reason.response.data = transformData.call(
config,
config.transformResponse,
reason.response
)
reason.response.headers = AxiosHeaders.from(reason.response.headers)
}
}
return Promise.reject(reason)
}
)
}
小结
这个函数主要做了几件事情
- 处理取消请求,抛出异常
- 处理
config.header - 根据请求的方法处理请求头
- 对请求和响应的头部和响应数据进行格式化
- 返回适配器
adapter.then处理后的Promise实例
throwIfCancellationRequested
function throwIfCancellationRequested(config) {
    // 文档中已不推荐使用
    if (config.cancelToken) {
        config.cancelToken.throwIfRequested()
  }// signal.aborted 来取消操作
    if (config.signal && config.signal.aborted) {
        // 抛出错误,外面的catch进行捕捉
        // return Promise.reject(reason)
        throw new CanceledError(null, config)
  }
}
getAdapter
接下来,就是到适配器的实现。
适配器是什么呢,适配器相当于一个转换头,出境旅游的时候,插座可能是英标,欧标等,与我们国标的插头是不一致的,国内的电器设备无法使用,这个时候需要一个**转换插头**,这个就是适配器。
// adapters.js
const knownAdapters = {
http: httpAdapter,
xhr: xhrAdapter
}
export default {
getAdapter: (adapters) => {
adapters = utils.isArray(adapters) ? adapters : [adapters];
const {length} = adapters;
let nameOrAdapter;
let adapter;
// 判断adapter是否定义或者是否是http/xhr请求
for (let i = 0; i < length; i++) {
nameOrAdapter = adapters[i];
if((adapter = utils.isString(nameOrAdapter) ? knownAdapters[nameOrAdapter.toLowerCase()] : nameOrAdapter)) {
break;
}
}
//如果adapter校验不通过,抛出错误信息
if (!adapter) {
// 省略代码...
}
if (!utils.isFunction(adapter)) {
// 省略代码...
}
return adapter;
},
adapters: knownAdapters
}
总结
我们分析了axios的核心流程,可以知道以下几点:
- 拦截器是怎么实现链式调用并分别加载到合适的位置中
- 自定义的适配器怎么通过配置加入到
axios中 axios怎么实现取消功能- request中是怎么去收集和处理拦截器的
通过我们的深入了解,我们可以回答这些面试问题
- juejin.cn/post/684490…
0.为什么 axios 既可以当函数调用,也可以当对象使用?* axios本质上是函数,拓展了一些别名的方法,比如get(),post()等方法,本质上是调用了Axios.prototype.request函数,通过apply的形式将Axios.prototype.request赋值给axios
2.简述 axios 调用流程。* 实际上是调用Axios.prototype.request函数,内部通过Promise.then()实现链式调用,实际的请求在dispatchRequest中派发
3.有用过拦截器吗?原理是怎样的?* 拦截器通过axios.interceptors.request.use来添加请求拦截器和响应拦截器函数,先用两个数组分别收集请求拦截器和响应拦截器,然后在内部循环分别添加到两端。* 如果需要移除拦截器,可以使用eject方法移除
4.有使用axios的取消功能吗?是怎么实现的?* axios的取消功能通过config配置cancelToken(弃用)或者signal来控制,如果传入了cancelToken(弃用)或者signal,则抛出异常,使流程走到Promise.rejected
5.为什么支持浏览器中发送请求也支持node发送请求?* axios内部默认支持http,xhr请求的适配器,可以根据当前的环境去适配不同的请求,也可以自定义适配器来满足更多的场景需求。
最后
整理了一套《前端大厂面试宝典》,包含了HTML、CSS、JavaScript、HTTP、TCP协议、浏览器、VUE、React、数据结构和算法,一共201道面试题,并对每个问题作出了回答和解析。

有需要的小伙伴,可以点击文末卡片领取这份文档,无偿分享
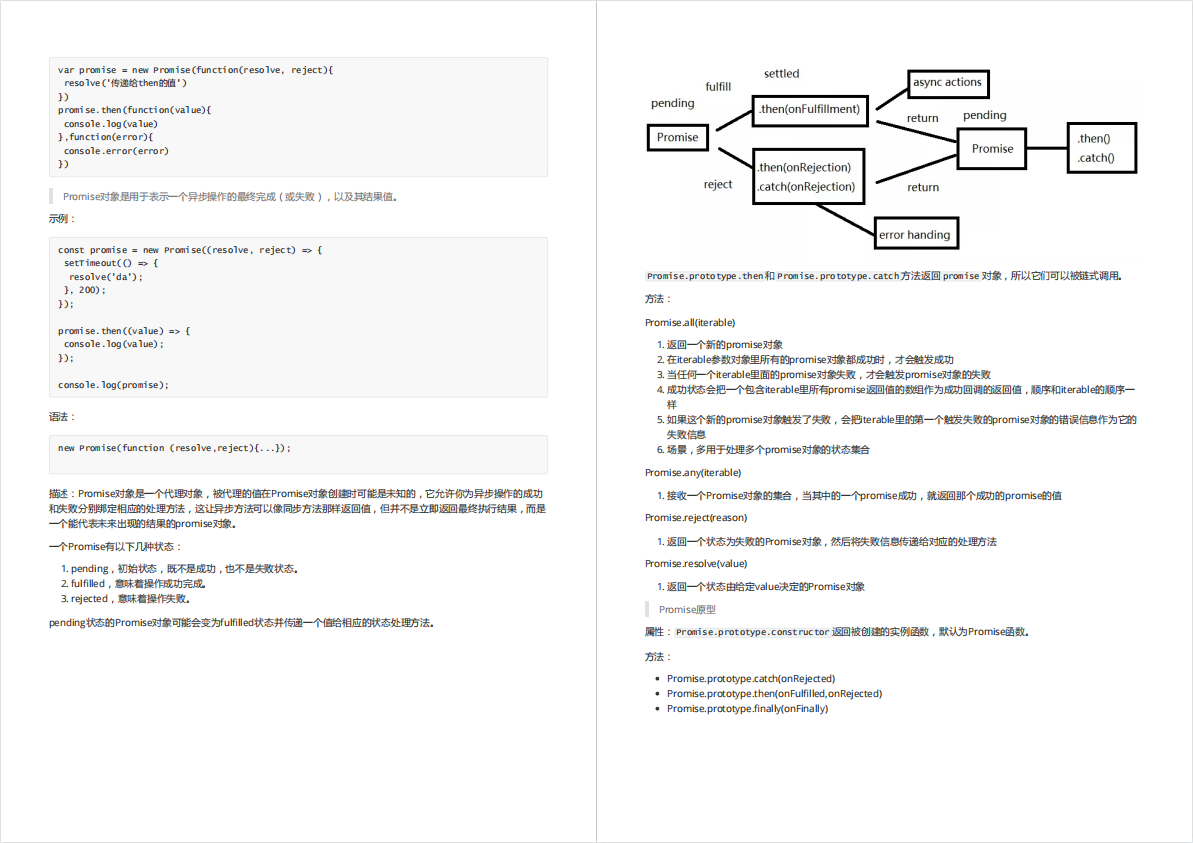
部分文档展示:


文章篇幅有限,后面的内容就不一一展示了
有需要的小伙伴,可以点下方卡片免费领取
