代码来源:cxinping/PyQt5: 《PyQt5快速开发与实战》配套代码 (github.com)
《PyQt5快速开发与实战》
(1)使用气泡提示
import sys
from PyQt5.QtWidgets import QWidget, QToolTip, QApplication
from PyQt5.QtGui import QFont

class Winform(QWidget):
    def __init__(self):
        super(Winform, self).__init__()
        self.initUI()

    def initUI(self):
        QToolTip.setFont(QFont('SansSerif', 10))
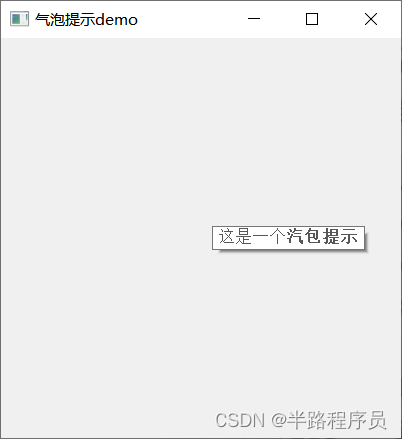
        self.setToolTip('这是一个<b>汽包提示</b>')
        self.setGeometry(200, 300, 400, 400)
        self.setWindowTitle('气泡提示demo')


if __name__ == "__main__":
    app = QApplication(sys.argv)
    win = Winform()
    win.show()
    sys.exit(app.exec_())
运行截图
(2)显示QLabel标签
from PyQt5.QtWidgets import QApplication, QLabel, QWidget, QVBoxLayout
from PyQt5.QtCore import Qt
from PyQt5.QtGui import QPixmap, QPalette
import sys

class WindowDemo(QWidget):
    def __init__(self):
        super().__init__()

        label1 = QLabel(self)
        label2 = QLabel(self)
        label3 = QLabel(self)
        label4 = QLabel(self)

        # 初始化标签控件
        label1.setText("这是一个文本标签")
        label1.setAutoFillBackground(True)
        palette = QPalette()
        palette.setColor(QPalette.Window, Qt.blue)
        label1.setPalette(palette)
        label1.setAlignment(Qt.AlignCenter)

        label2.setText("<a href='#'>欢迎使用Python GUI应用</a>")

        label3.setAlignment(Qt.AlignCenter)
        label3.setToolTip('这是一个图片标签')
        label3.setPixmap(QPixmap("./1.jpg"))

        label4.setText("<A href='http://baidu.com'>欢迎访问百度</a>")
        label4.setAlignment(Qt.AlignCenter)
        label4.setToolTip('这是一个超链接标签')

        # 在窗口布局中添加控件
        vbox = QVBoxLayout()
        vbox.addWidget(label1)
        vbox.addStretch()
        vbox.addWidget(label2)
        vbox.addStretch()
        vbox.addWidget(label3)
        vbox.addStretch()
        vbox.addWidget(label4)

        # 允许label控件访问超链接
        label1.setOpenExternalLinks(True)
        # 打开允许访问超链接
        label4.setOpenExternalLinks(False)
        # 点击文本框绑定槽事件
        label4.linkActivated.connect(link_clicked)
        # 滑过文本绑定槽事件
        label2.linkHovered.connect(link_hovered)
        label1.setTextInteractionFlags(Qt.TextSelectableByMouse)

        self.setLayout(vbox)
        self.setWindowTitle("QLabel1例子")

def link_hovered():
    print("当鼠标滑过label-2标签时,触发事件")

def link_clicked():
    print("当用鼠标点击label-4标签时,触发事件")

if __name__ == "__main__":
    app = QApplication(sys.argv)
    win = WindowDemo()
    win.show()
    sys.exit(app.exec_())
运行

(3)QLineEdit使用
from PyQt5.QtWidgets import QApplication, QLineEdit, QWidget, QFormLayout
import sys

class lineEditDemo(QWidget):
    def __init__(self, parent=None):
        super(lineEditDemo, self).__init__(parent)
        self.setWindowTitle('QLineEdit例子')

        flo = QFormLayout()
        pNormalLineEdit = QLineEdit()
        pNoEchoLineEdit = QLineEdit()
        pPasswordLineEdit = QLineEdit()
        pPasswordEchoOnEditLineEdit = QLineEdit()
        pIPLineEdit = QLineEdit()
        pMACLineEdit = QLineEdit()
        pDateLineEdit = QLineEdit()
        pLicenseLineEdit = QLineEdit()

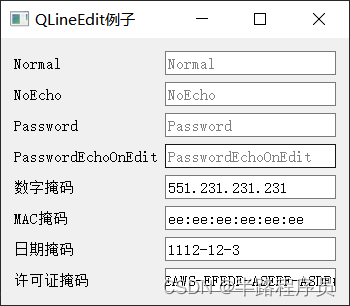
        pIPLineEdit.setInputMask("000.000.000.000;_")
        pMACLineEdit.setInputMask("HH:HH:HH:HH:HH:HH;_")
        pDateLineEdit.setInputMask("0000-00-00")
        pLicenseLineEdit.setInputMask(">AAAAA-AAAAA-AAAAA-AAAAA-AAAAA;#")

        flo.addRow("Normal", pNormalLineEdit)
        flo.addRow("NoEcho", pNoEchoLineEdit)
        flo.addRow("Password", pPasswordLineEdit)
        flo.addRow("PasswordEchoOnEdit", pPasswordEchoOnEditLineEdit)
        flo.addRow("数字掩码", pIPLineEdit)
        flo.addRow("MAC掩码", pMACLineEdit)
        flo.addRow("日期掩码", pDateLineEdit)
        flo.addRow("许可证掩码", pLicenseLineEdit)

        pNormalLineEdit.setPlaceholderText("Normal")
        pNoEchoLineEdit.setPlaceholderText("NoEcho")
        pPasswordLineEdit.setPlaceholderText("Password")
        pPasswordEchoOnEditLineEdit.setPlaceholderText("PasswordEchoOnEdit")

        # 设置显示效果
        pNormalLineEdit.setEchoMode(QLineEdit.Normal)
        pNoEchoLineEdit.setEchoMode(QLineEdit.NoEcho)
        pPasswordLineEdit.setEchoMode(QLineEdit.Password)
        pPasswordEchoOnEditLineEdit.setEchoMode(QLineEdit.PasswordEchoOnEdit)

        self.setLayout(flo)

if __name__ == "__main__":
    app = QApplication(sys.argv)
    win = lineEditDemo()
    win.show()
    sys.exit(app.exec_())
ploty: Plotly Python Graphing Library

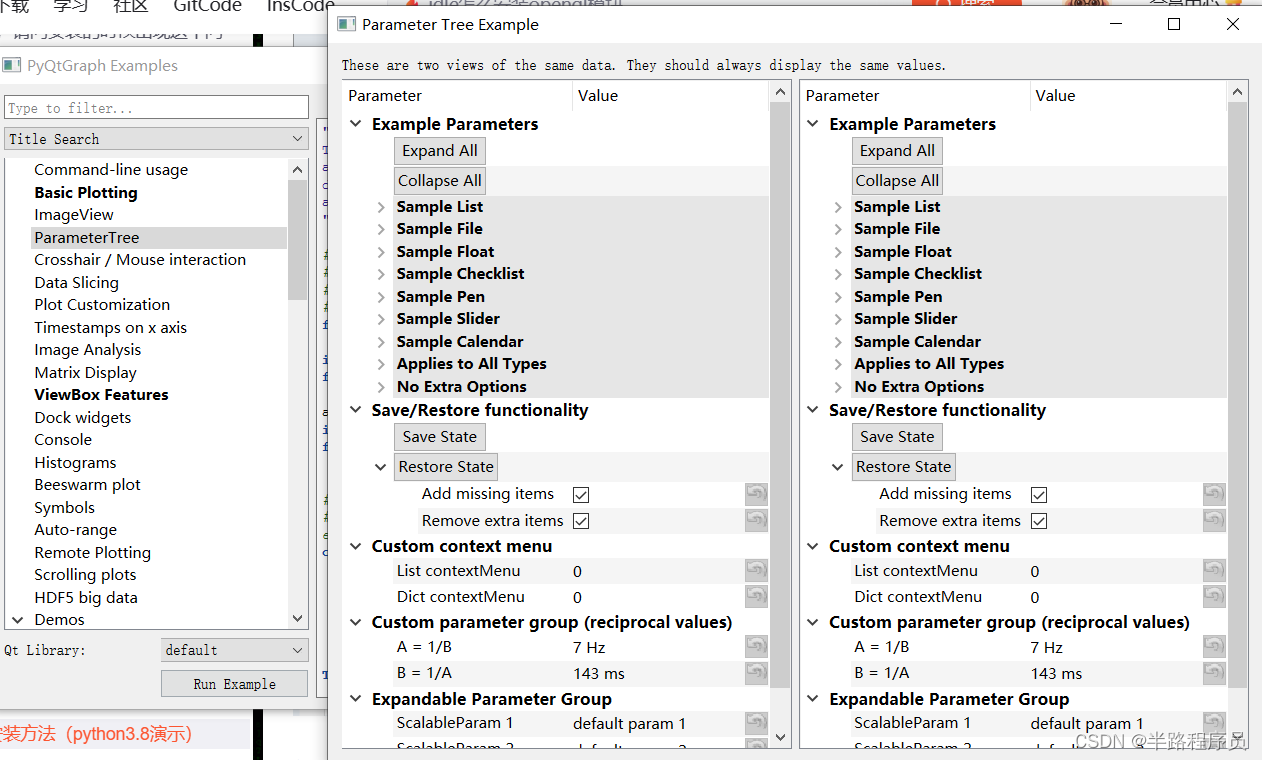
pyqtgraph图像展示
查看样例代码
import pyqtgraph.examples
pyqtgraph.examples.run()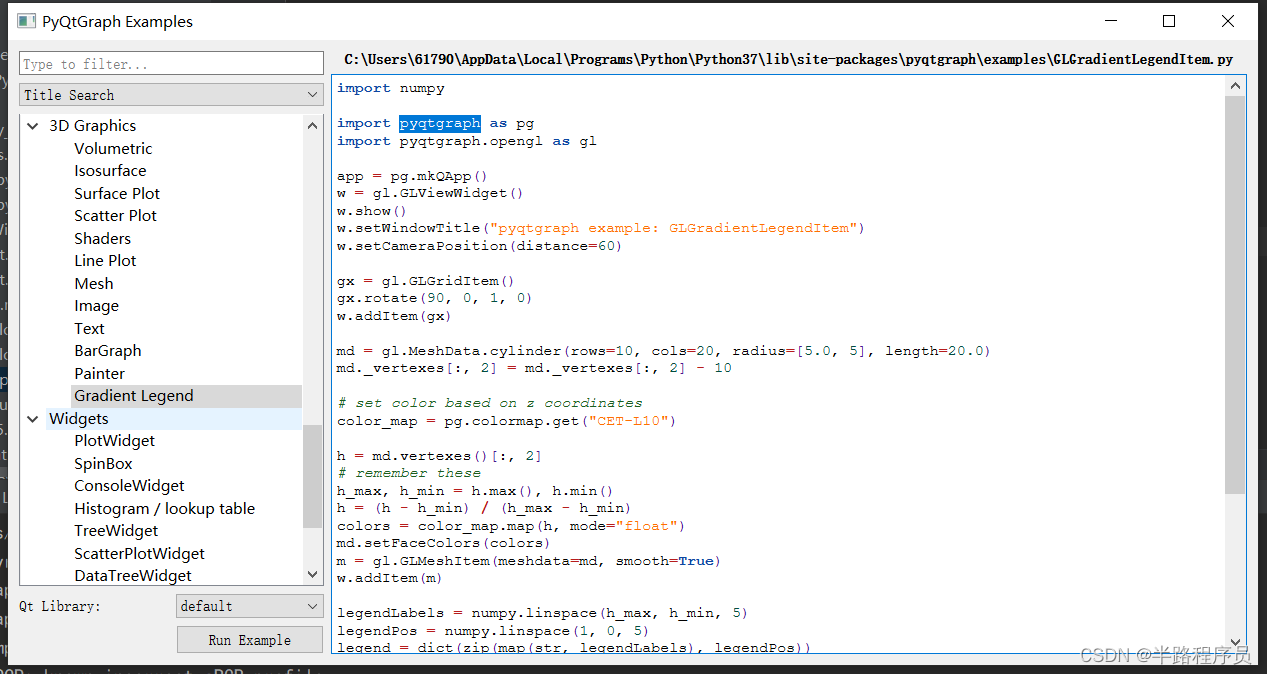
安装PyOpenGL:Python安装配置OpenGL环境_idle怎么安装opengl模块_威尔、的博客-CSDN博客
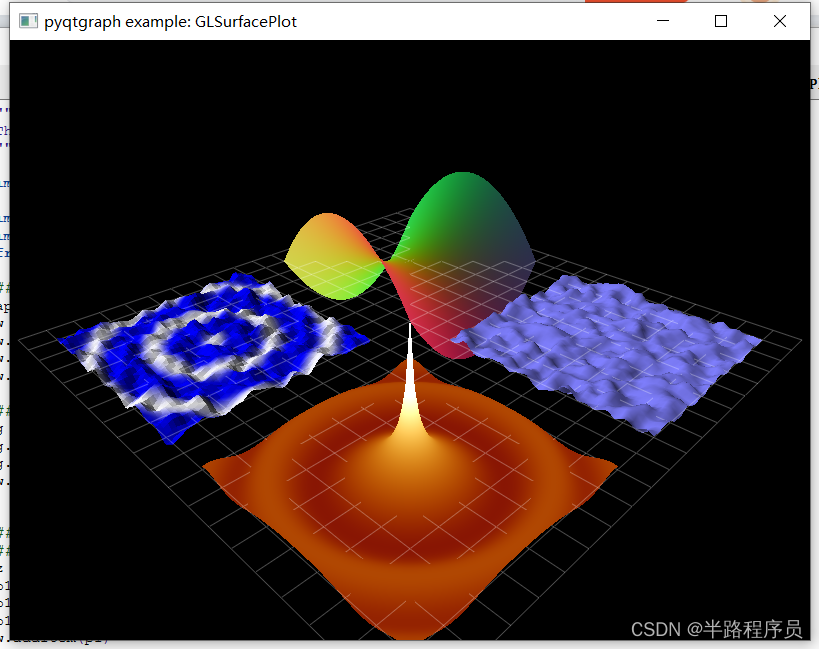
展示3D图

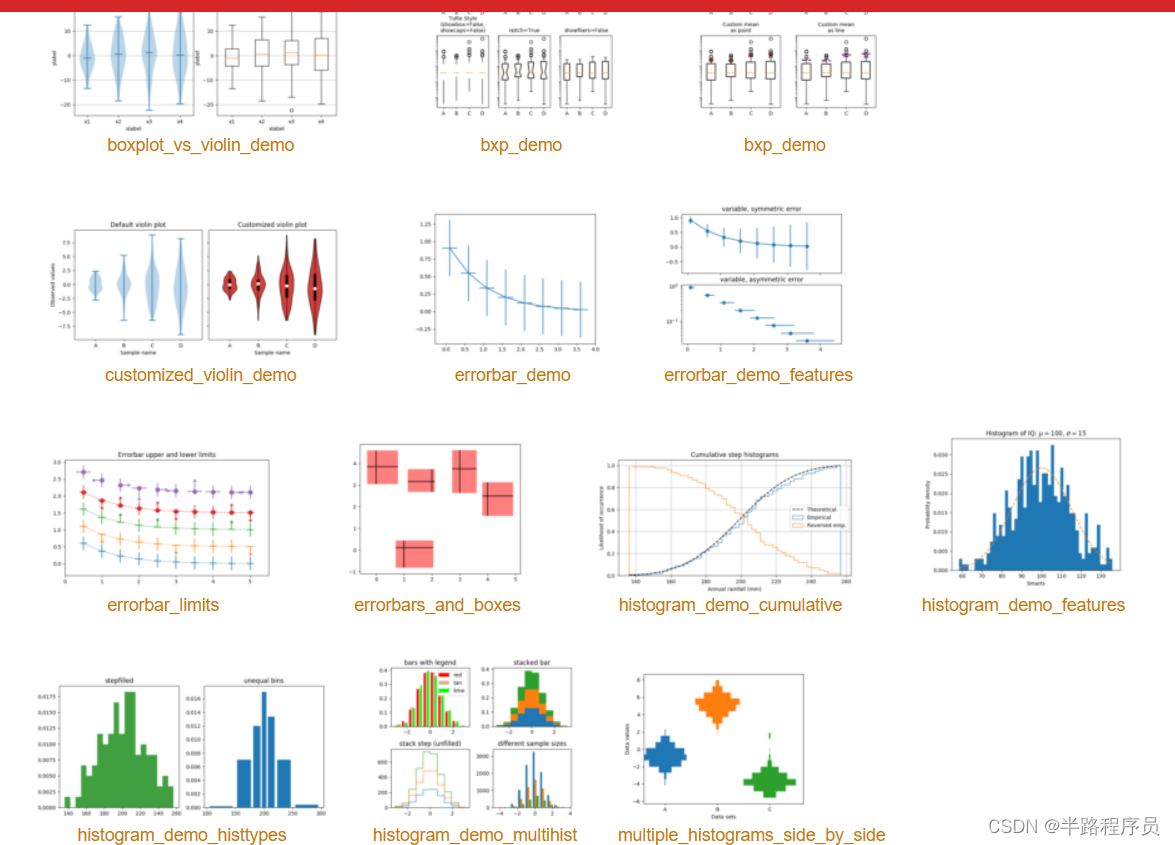
更多拓展Thumbnail gallery — Matplotlib 2.0.2 documentation
