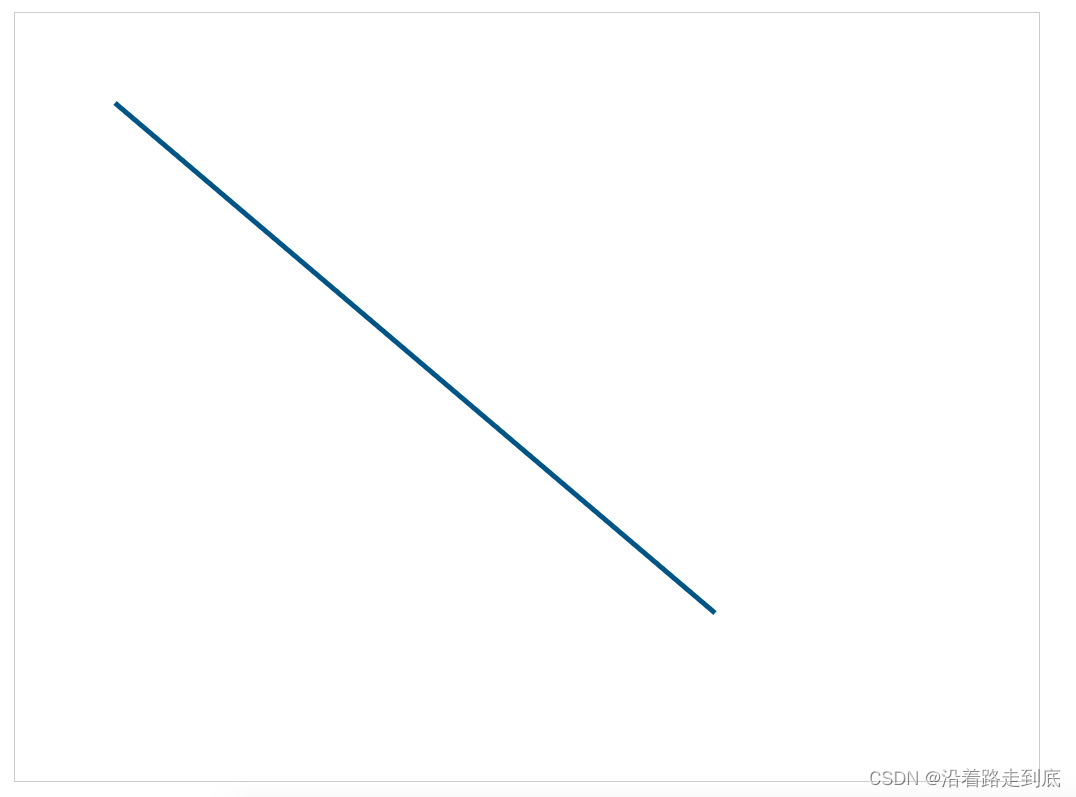
直线
<!DOCTYPE html>
<html lang="en">
<head>
  <meta charset="UTF-8">
  <meta name="viewport" content="width=device-width, initial-scale=1.0">
  <title>Document</title>
</head>
<body>
  <canvas id="canvas" style="border:1px solid #ccc;margin:50px;"></canvas>

  <script>
    const canvas = document.getElementById('canvas')
    canvas.width = 1024
    canvas.height = 768
    const context = canvas.getContext('2d')

    // 绘制直线
    context.moveTo(100, 90) // 笔尖移动到 x:100 y:90 的位置
    context.lineTo(700, 600) // 画一条直线到 x: 700 y: 600 的位置
    context.lineWidth = 5  // 设置直线宽度为 5
    context.strokeStyle = '#005588'  // 设置直线颜色

    // 以上只是设置直线状态,并未开始画
    context.stroke() // 将之前描述的线条状态画出来  stroke用于绘制线条

  </script>
</body>
</html>
图示:
多边形
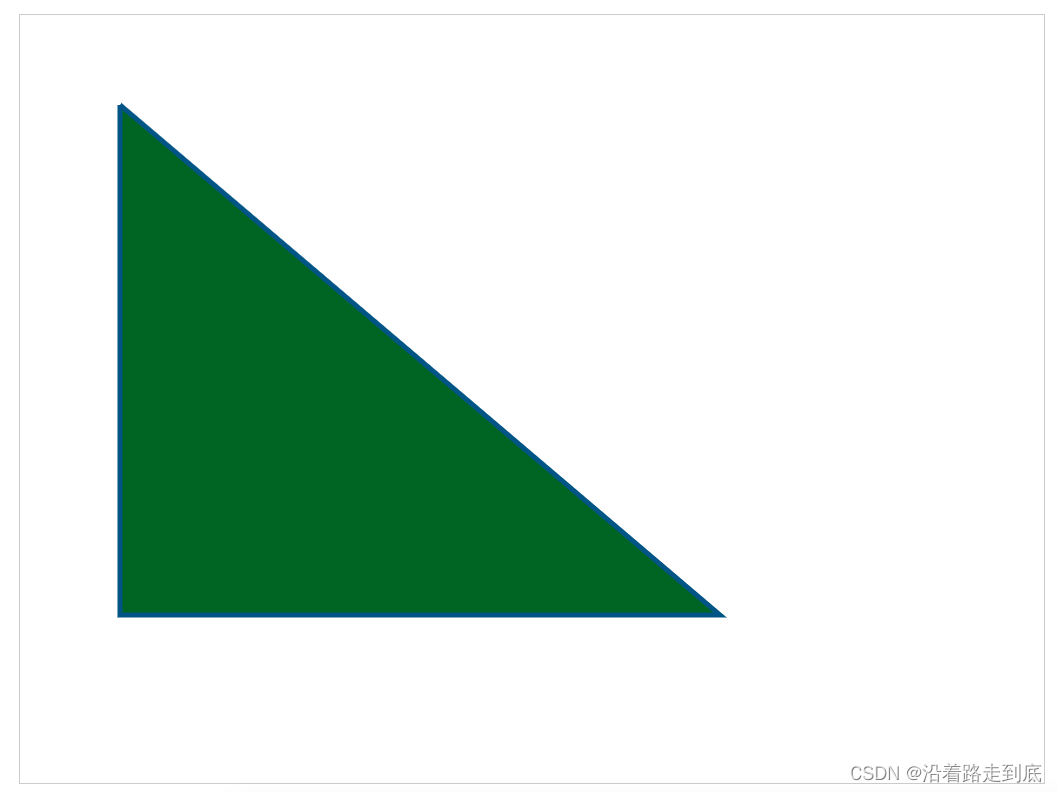
多边形就是多个线条连接起来
    // 绘制多边形
    context.moveTo(100, 90) // 笔尖移动到 x:100 y:90 的位置
    context.lineTo(700, 600) // 画一条直线到 x: 700 y: 600 的位置
    context.lineTo(100, 600)
    context.lineTo(100, 90)

    context.fillStyle = 'rgb(2, 100, 30)'  // 设置形状内的填充色
    context.fill()    // 填充颜色

    context.lineWidth = 5  // 设置直线宽度为 5
    context.strokeStyle = '#005588'  // 设置直线颜色

    // 以上只是设置直线状态,并未开始画
    context.stroke() // 将之前描述的线条状态画出来  stroke用于绘制线条
图示:
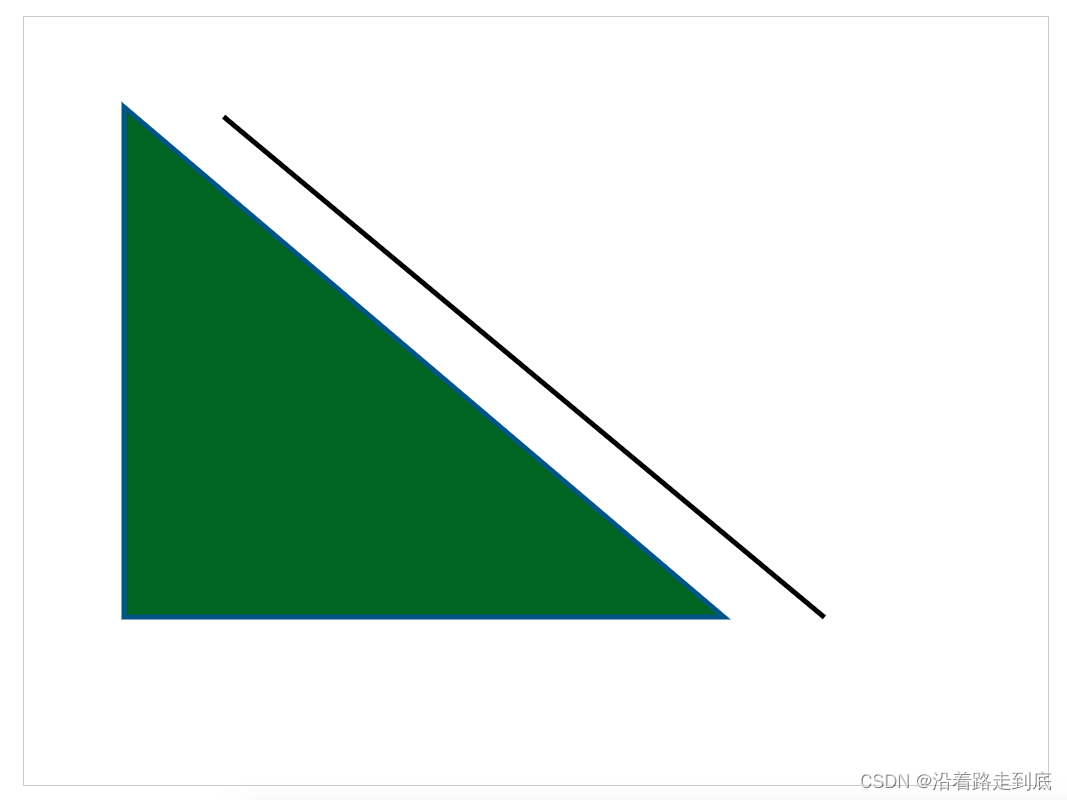
多个图形
后面设置的线段的宽度、颜色等会覆盖之前的设定
需要用 beginPath 和 closePath 包裹起来, 这样就不会被后面设置的状态覆盖
    // 绘制多个图形  需要用 beginPath 和 closePath 包裹起来, 这样就不会被后面设置的状态覆盖
    context.beginPath()
    context.moveTo(100, 90) // 笔尖移动到 x:100 y:90 的位置
    context.lineTo(700, 600) // 画一条直线到 x: 700 y: 600 的位置
    context.lineTo(100, 600)
    context.lineTo(100, 90)
    context.closePath()

    context.fillStyle = 'rgb(2, 100, 30)'  // 设置形状内的填充色
    context.fill()    // 填充颜色

    context.lineWidth = 5  // 设置直线宽度为 5
    context.strokeStyle = '#005588'  // 设置直线颜色

    // 以上只是设置直线状态,并未开始画
    context.stroke() // 将之前描述的线条状态画出来  stroke用于绘制线条

    context.beginPath()
    context.moveTo(200, 100)
    context.lineTo(800, 600)
    context.closePath()

    context.strokeStyle = 'black'
    context.stroke()
图示:
七巧板
七巧板本质上就是 分别由几个直线 拼成一个个图形,再将这些图形结合起来
var tangram = [
      { p: [{ x: 0, y: 0 }, { x: 800, y: 0 }, { x: 400, y: 400 }], color: "#caff67" },
      { p: [{ x: 0, y: 0 }, { x: 400, y: 400 }, { x: 0, y: 800 }], color: "#67beef" },
      { p: [{ x: 800, y: 0 }, { x: 800, y: 400 }, { x: 600, y: 600 }, { x: 600, y: 200 }], color: "#ef3d61" },
      { p: [{ x: 600, y: 200 }, { x: 600, y: 600 }, { x: 400, y: 400 }], color: "#f9f5la" },
      { p: [{ x: 400, y: 400 }, { x: 600, y: 600 }, { x: 400, y: 800 }, { x: 200, y: 600 }], color: "#a594c0" },
      { p: [{ x: 200, y: 600 }, { x: 400, y: 800 }, { x: 0, y: 800 }], color: "#fa8ecc" },
      { p: [{ x: 800, y: 400 }, { x: 800, y: 800 }, { x: 400, y: 800 }], color: "#f6ca29" }
    ]
    const canvas = document.getElementById('canvas')
    canvas.width = 800
    canvas.height = 800
    const context = canvas.getContext('2d')

    for (let i = 0; i < tangram.length; i++) {
      draw(tangram[i], context)
    }

    function draw(piece, cxt) {
      cxt.beginPath()
      cxt.moveTo(piece.p[0].x, piece.p[0].y)
      for (var i = 1; i < piece.p.length; i++) {
        cxt.lineTo(piece.p[i].x, piece.p[i].y)
      }
      cxt.closePath()

      cxt.fillStyle = piece.color
      cxt.fill()

      cxt.strokeStyle = "black"
      cxt.lineWidth = 3
      cxt.stroke()
    }
图示:

弧
context.arc(centerx, centery, radius, startingAngle, endingAngle, anticlockwise = false)
centerx: x坐标
centery: y坐标
radius: 半径
startingAngle: 从哪个弧度值开始
endingAngle: 结束于哪个弧度值
anticlockwise: 是否逆时针绘制,默认为 false,也就是顺时针绘制
弧度值
无论是顺时针绘制还是逆时针绘制,弧度制是不变的

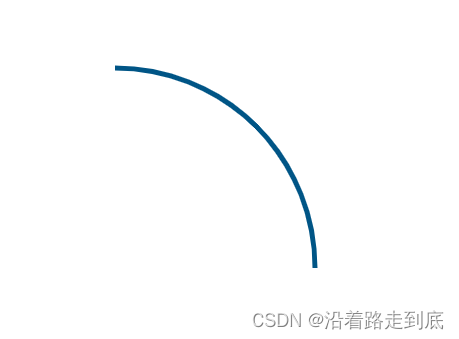
顺时针:
// 绘制弧线
    /*
        context.arc(centerx, centery, radius, startingAngle, endingAngle, anticlockwise = false)
        centerx: x坐标
        centery: y坐标
        radius: 半径
        startingAngle: 从哪个弧度值开始
        endingAngle: 结束于哪个弧度值
        anticlockwise: 是否逆时针绘制,默认为 false,也就是顺时针绘制
    */
    context.lineWidth = 5
    context.strokeStyle = '#005588'
    context.arc(300, 300, 200, 0, 1.5*Math.PI)
    context.stroke()
图示:

逆时针:
context.lineWidth = 5
context.strokeStyle = '#005588'
context.arc(300, 300, 200, 0, 1.5*Math.PI, true)
context.stroke()
图示:
1


![[代码学习]einsum详解](https://img-blog.csdnimg.cn/2b2d39c35924425fb7f8f557d1a15f80.png#pic_center)
