与他人分享你的机器学习模型、API或数据科学工作流的最佳方式之一,就是创建一个交互式应用程序,让用户或同事可以在他们的浏览器中尝试演示,Gradio是创建提供了用非常方便的方式快速创建一个前端交互应用,那如何使用Gradio呢?因为用Gradio创建的所有前端交互应用,所以,需要按照Python环境,安装后可以下载VSCode作为IDE工具,环境安装后,pip install gradio后即可开始用gradio框架快速搭建一个前端应用。
下图是一个用gradio搭建的包含name,password等输入信息的前端应用,这里使用了gradio提供的Interface方法,Interface 是 Gradio 的主要高级类,它允许你在几行代码中围绕机器学习模型(或任何 Python 函数)创建一个基于 Web 的图形用户界面(GUI)/ 演示。你需要指定三个参数:(1)要为之创建 GUI 的函数,(2)所需的输入组件,以及(3)所需的输出组件。还可以使用其他参数来控制演示的外观和行为。使用gradio.Interface class的使用格式如下所示:
gradio.Interface(fn, inputs, outputs, ···)import gradio as gr
def generate_human_message(username, password, sex, age):
human = {}
human["name"] = username
human["password "] = password
human["sex"] = "man" if sex == "Male" else "woman"
human["age"] = age
return list(human.values())
demo1 = gr.Interface(fn=generate_human_message, inputs=[
"text", "text", gr.Radio(["Male", "Female"], label="sex", info="choose sex"), gr.Slider(1, 100, value=20, label="age", info="show age")], outputs="text")
demo1.launch()最后一行代码是demo1.launch(),这样运行代码后,默认在7860端口启动应用,应用启动的截图如下所示,输入相关信息,提交Submit button,执行就是generate_human_message这个function。

inputs里面放入需要在前端显示的coponent,这些component可以是text类型的input,也可以是Radio,Slider等,这些component负责接收用户的输入,输入的内容传入function,作为function的参数,这里,outputs也是一个text类型的input,function返回的内容,默认显示在outputs的component上。Clear,Submit,Flag button是Interface这个class默认自带的。
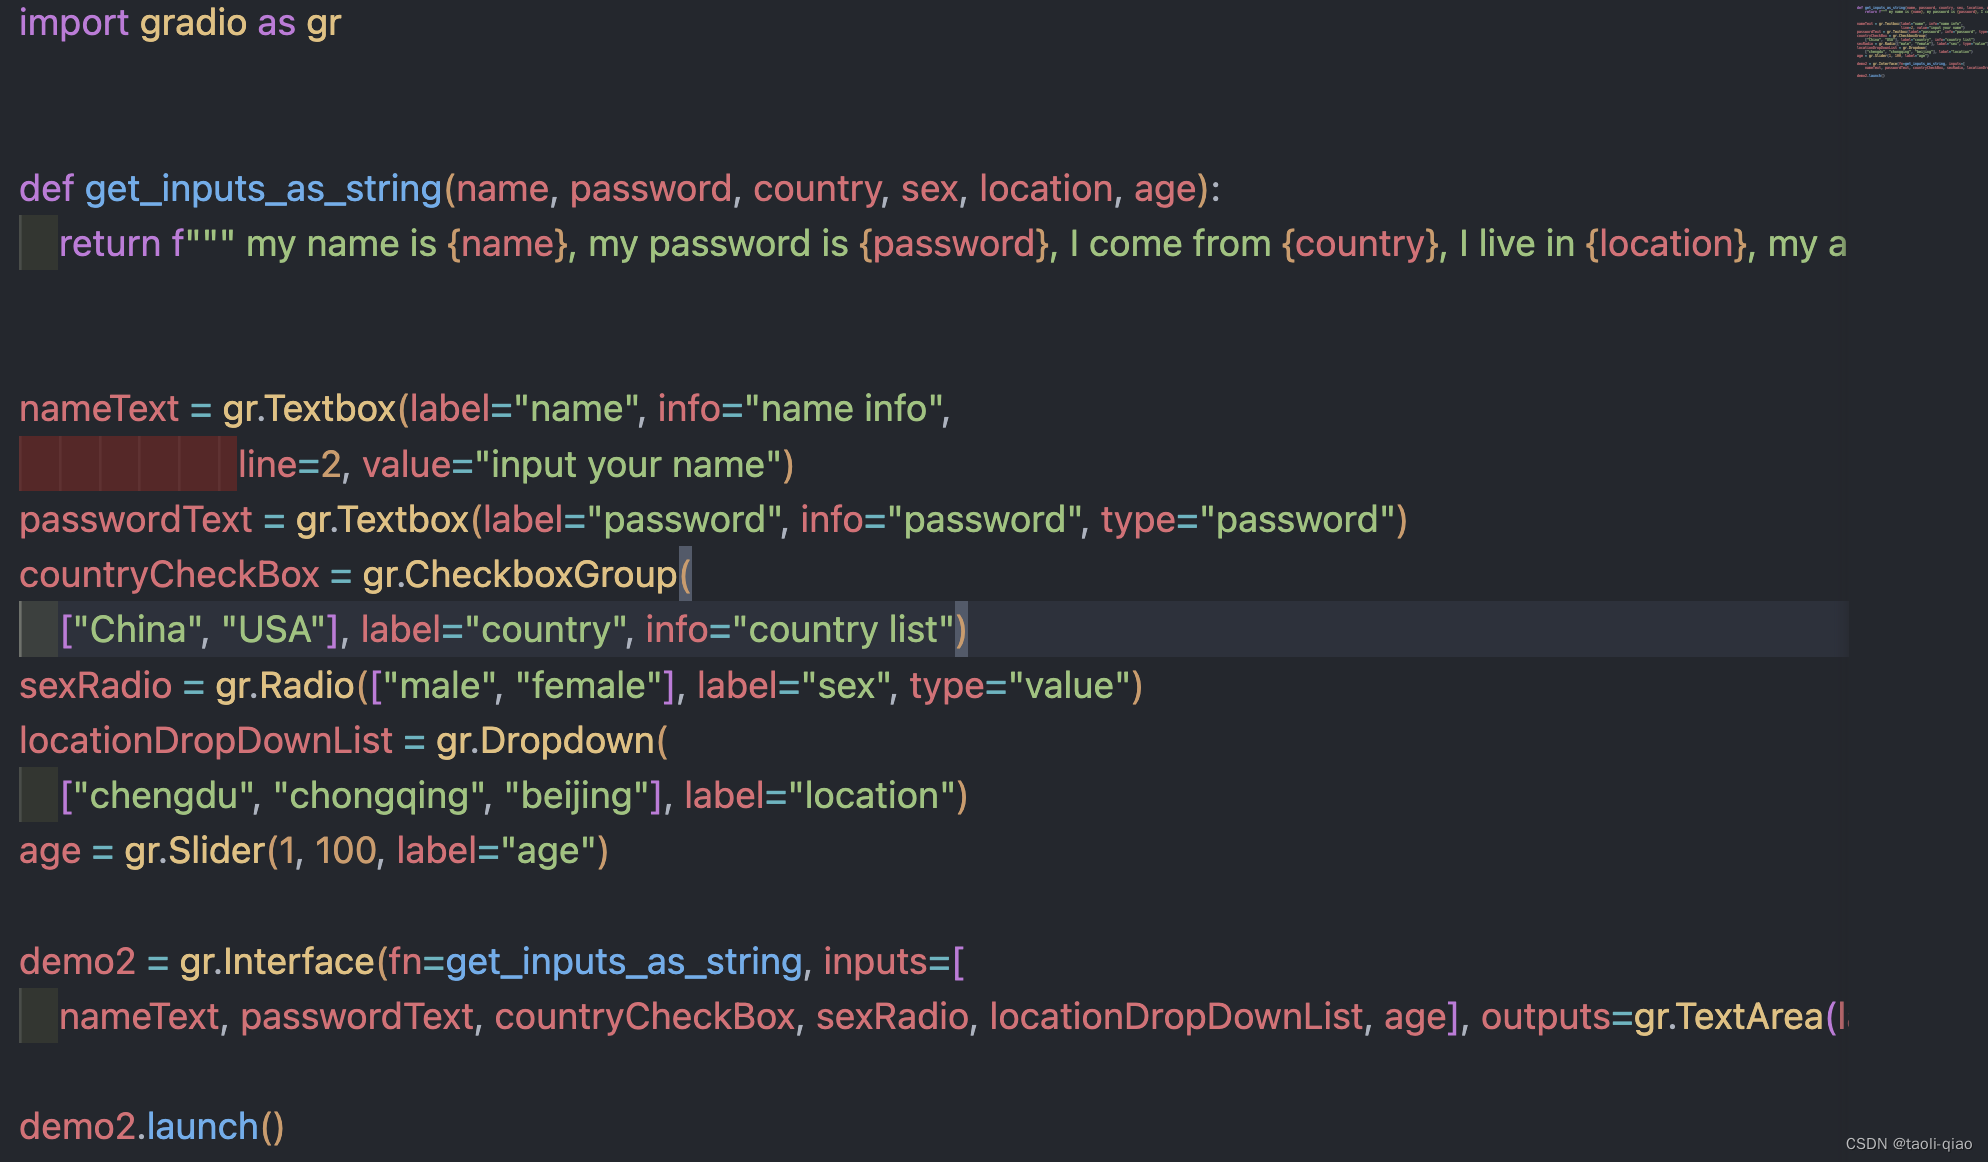
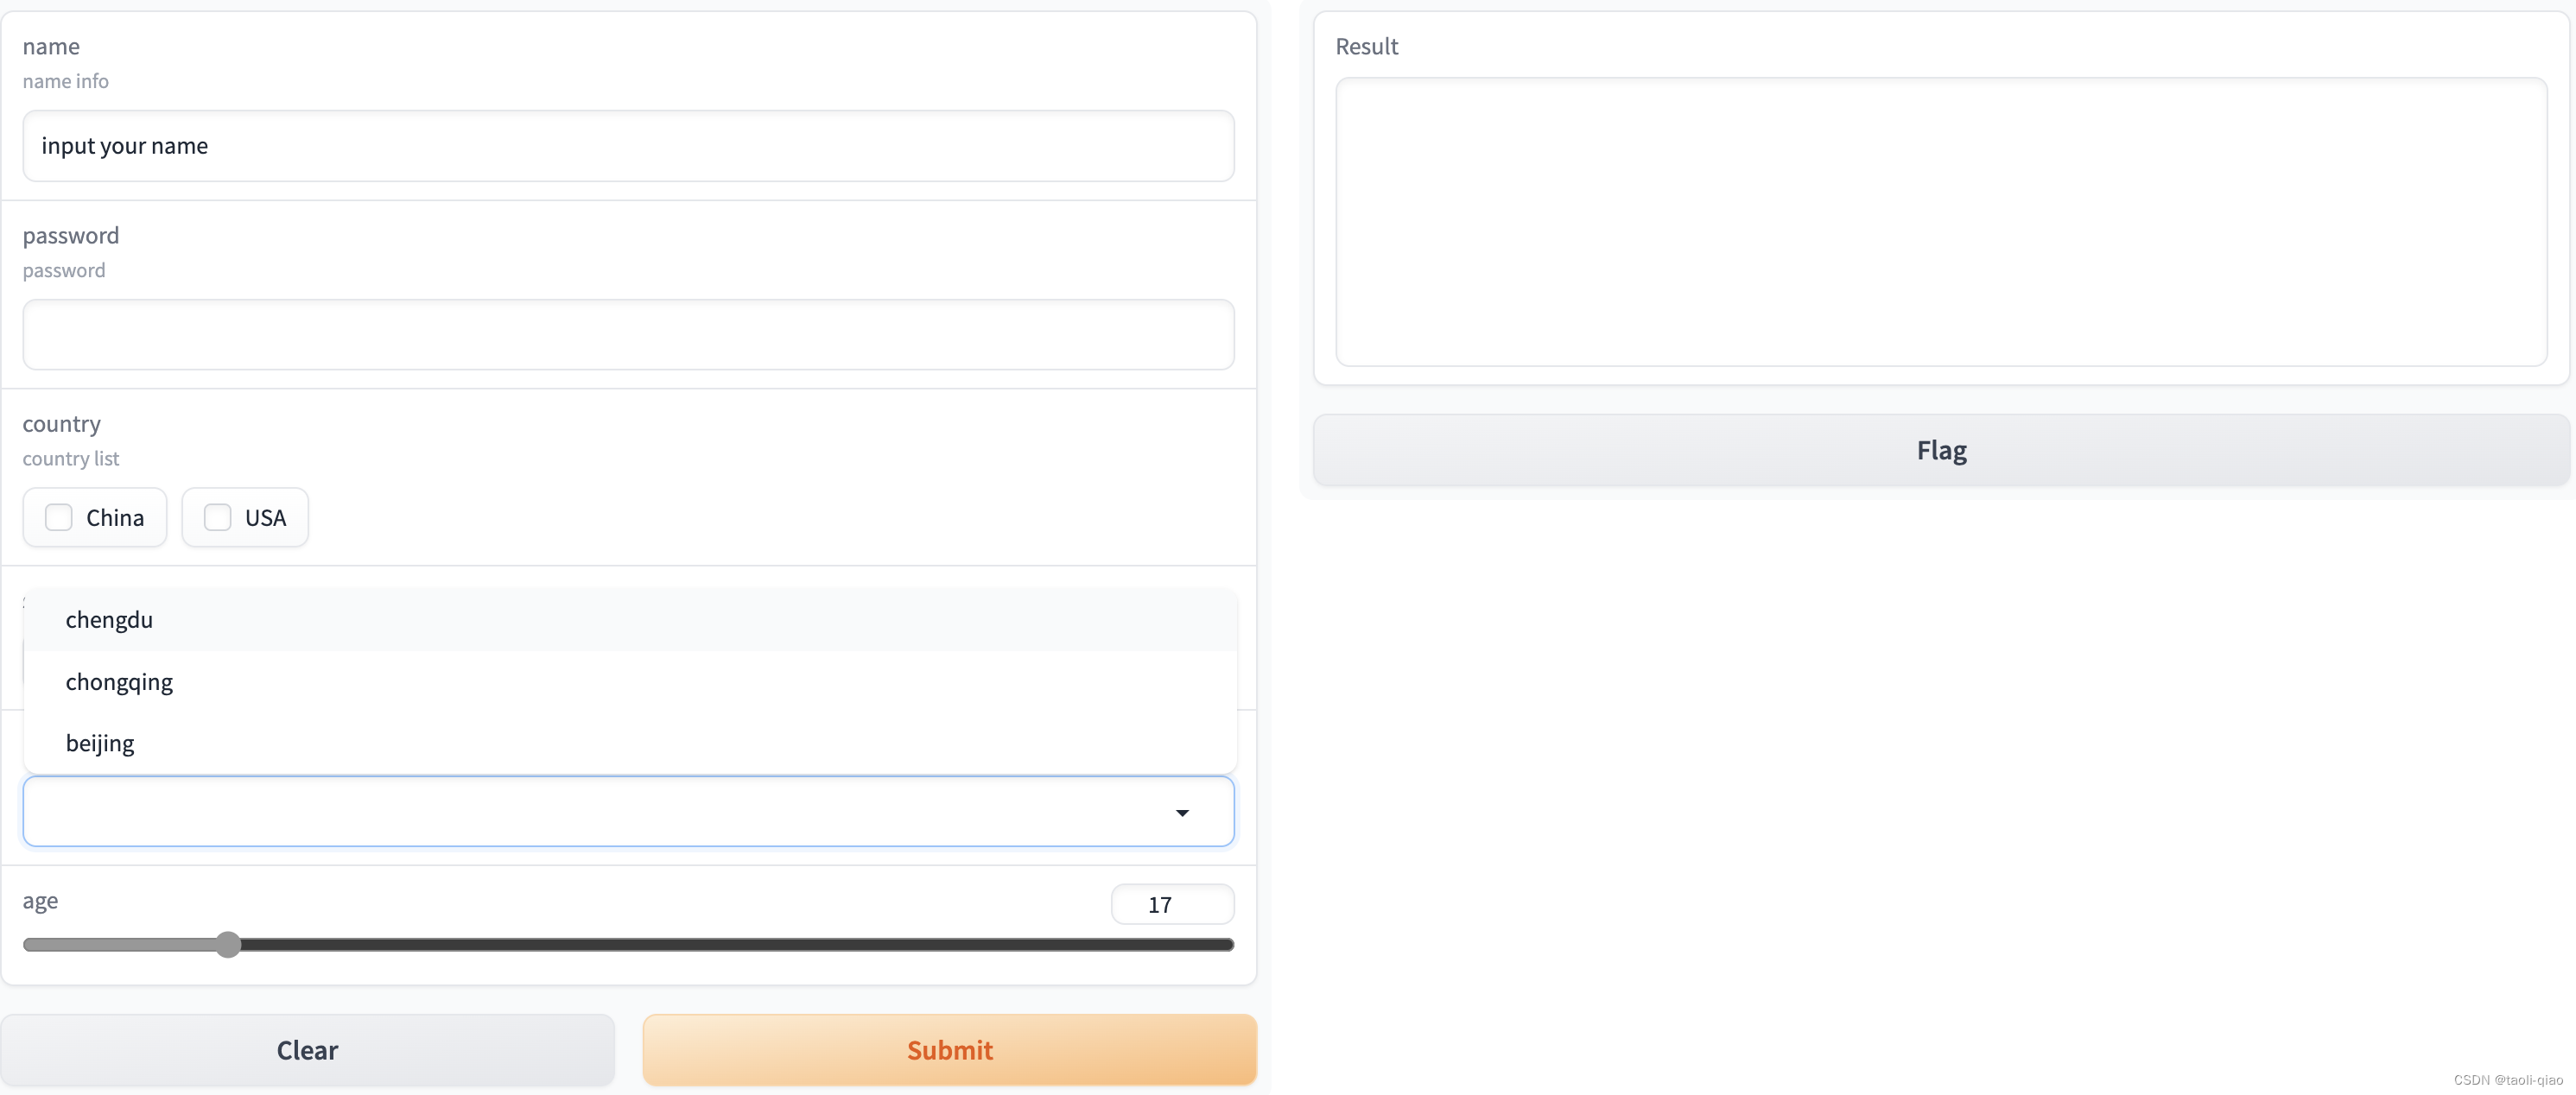
实际,Gradio除了支持上面的component外,还支持CheckBox,DropDownList等component。如下图所示,这里定义了TextBox,CheckBox,Radio,Dropdown,Slider五种类型的component,在定义每个component时,可以给该component制定label名称,对于TextBox还可以制定type类型,type类型包括text,password,email。
运行这个代码,应用启动后入下图所示:可以看到可以选择下拉列表信息等,也可以选择多选框和单选框等。
除了通过Interface在快速编写一个用于前端交互的应用,还可以使用Blocks,Blocks 是 Gradio 的低级 API,它允许你创建比 Interface 更自定义的 Web 应用程序和演示,而这些都是完全使用 Python 实现的。与 Interface 类相比,Blocks 在以下方面提供了更多的灵活性和控制:(1)组件布局,(2)触发函数执行的事件,(3)数据流(例如,输入可以触发输出,而输出可以触发下一层输出)。Blocks 还提供了将相关演示组合在一起的方式,例如使用选项卡。
import gradio as gr

def return_result(name, password):
    return f""" my name is {name}, my password is {password}"""

with gr.Blocks(css=".gradio-container {background-color: white}") as demo:
    gr.Markdown("Here is a block demo")
    with gr.Row():
        usernameText = gr.Textbox(label="email", type="email")
        passwordText = gr.Textbox(label="password", type="password")
        number = gr.Number(label="number")
        out = gr.TextArea(label="out", line=5)
    button = gr.Button(label="Submit")
    button.click(fn=return_result, inputs=[
                 usernameText, passwordText], outputs=out)
    demo.launch()
gr.Blocks()以with开头,通过with gr.Row()和with gr.column()可以自定义布局。上面的应用启动后显示如下图所示,可以看到除了布局外,还可以对component的样式进行处理,比如设置颜色等。

除了在component中添加css样式外,还可以把css相关内容放到统一的地方,component引用已有的样式即可,具体代码如下所示,在css中,#表示element Id,.表示element class.
import gradio as gr
css = """
#warning {background-color: #FFCCCB}
.feedback textarea {font-size: 24px !important}
"""

with gr.Blocks(css=css) as demo:
    with gr.Row():
        with gr.Column(scale=1):
            gr.Textbox(label="name", elem_id="warning")
            gr.Textbox(label="age", elem_classes="feedback")
        with gr.Column(scale=2):
            gr.Dropdown(["one", "two", "tree"], label="class")
            gr.CheckboxGroup(["male", "female"], label="sex")
        with gr.Column(scale=1):
            gr.Radio(["is_girl"], label="is_girl")
            gr.Slider(1, 100, 20)
    with gr.Row():
        gr.Button(value="Submit")
        gr.Button(value="Clear")
demo.launch()
应用启动后的界面入下图所示,可以看到,通过Blocks()可以更加自由的进行页面布局。

除了上面使用到的component,Gradio还提供很多其他Component,包括一些用于显示数据的图表等,详细信息可参见官网。
除了基本功能外,Gradio还提供很多其他功能,例如gr.TabbedInterface()可以将多个页面进行组合,前面的例子中,删除掉demo.launch()方法,引入demo1,demo2,使用gr.TabbedInterface()方法就可以对多个UI tab进行整合。
from interface_demo import demo1
from component_demo import demo2
import gradio as gr

app = gr.TabbedInterface([demo1, demo2], ["First", "Second"])
app.launch()
如果应用的并发流量很大,gradio还提供排队处理机制,在demo.queue()中可以指定并发处理数量,例如
demo.queue(concurrency_count=3)with gr.Blocks() as demo:
#...
demo.queue()
demo.launch()以上就是Gradio提供的常用功能,更多信息可以查看官网进行熟悉使用。
