Zabbix的安装:
1、基础环境准备:
安装zabbix的yum源,阿里的yum源提供了zabbix3.0。
rpm -ivh http://mirrors.aliyun.com/zabbix/zabbix/3.0/rhel/7/x86_64/zabbix-release-3.0-1.el7.noarch.rpm这个文件就是生成了一个zabbix.repo

2、安装相关软件:
yum install zabbix-server zabbix-agent zabbix-web zabbix-server-mysql mariadb-server mariadb -y如果zabbix也需要进行监控,那么也需要安装zabbix-agent。
3、修改PHP时区的配置:
vim /etc/httpd/conf.d/zabbix.conf
使用sed命令:
sed -i 's@# php_value date.timezone Eurpoe/Riga@php_value date.timezone Asia/Shanghai@g' /etc/httpd/conf.d/zabbix.conf要注意的是,修改的文件不是/etc/php.ini。
4、启动数据库:
[root@vm1 ~]# systemctl start mariadb
[root@vm1 ~]# systemctl enable mariadb
Created symlink from /etc/systemd/system/multi-user.target.wants/mariadb.service to /usr/lib/systemd/system/mariadb.service.
5、创建zabbix所使用的数据库:
mysql

create database zabbix default charset utf8 collate utf8_bin;
grant all on zabbix.* to 'zabbix'@'localhost' identified by '123456';
flush privileges;
6、导入初始架构sechma和数据:
cd /usr/share/doc/zabbix-server-mysql-3.0.32

zcat create.sql.gz |mysql -uzabbix -p123456 zabbix
zcat是针对gz包的,跟cat命令相似。
7、修改zabbix的配置文件:
vim /etc/zabbix/zabbix_server.conf

DBHost=localhost
DBName=zabbix
DBUser=zabbix
DBPassword=123456
注意:生产环境不要使用123456密码。
8、启动zabbix-server:
systemctl start zabbix-server
systemctl enable zabbix-server
检查下端口:

再启动下httpd:
[root@vm1 zabbix]# systemctl start httpd
[root@vm1 zabbix]# systemctl enable httpd
Created symlink from /etc/systemd/system/multi-user.target.wants/httpd.service to /usr/lib/systemd/system/httpd.service.
再使用浏览器访问:http://192.168.17.181/zabbix:


如果时区我们没有修改,那这个地方会给出错误提示。

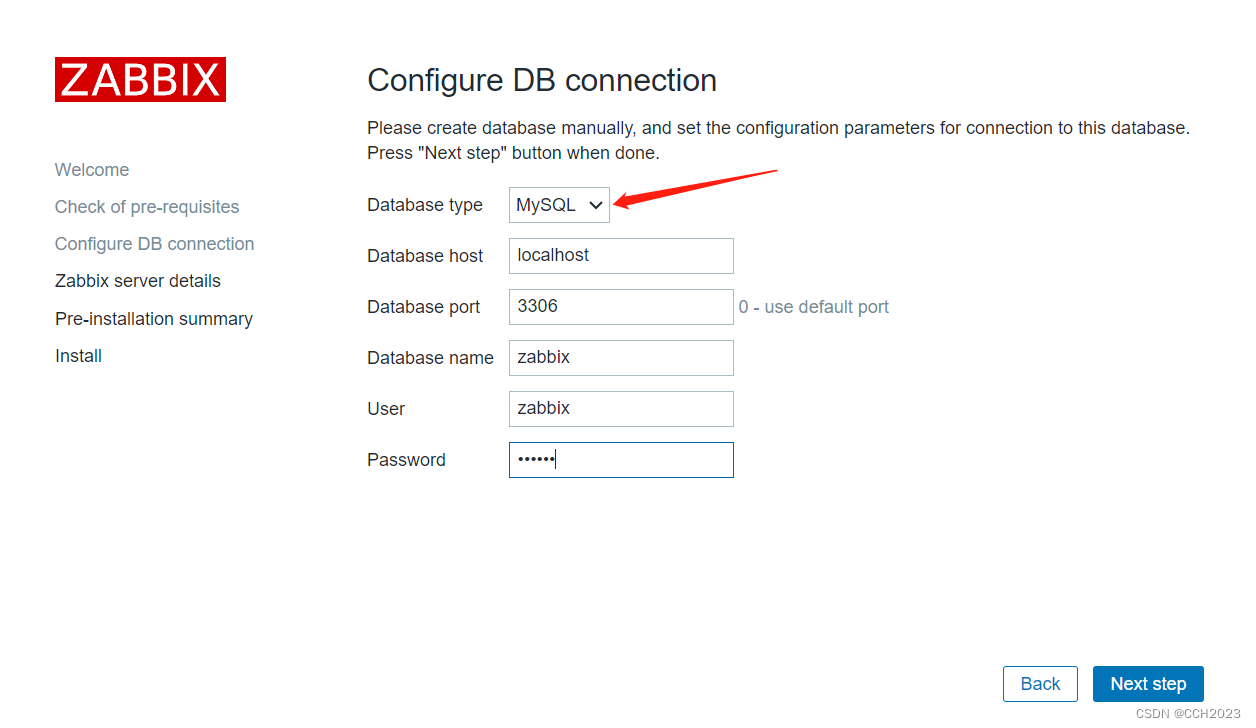
这边只显示PostgreSQL,没显示MySQL或者Mariadb的类型。
这个我暂时没想到解决办法。所以我重新按照Linux运维监控学习笔记1_CCH2023的博客-CSDN博客
进行了zabbix的部署。

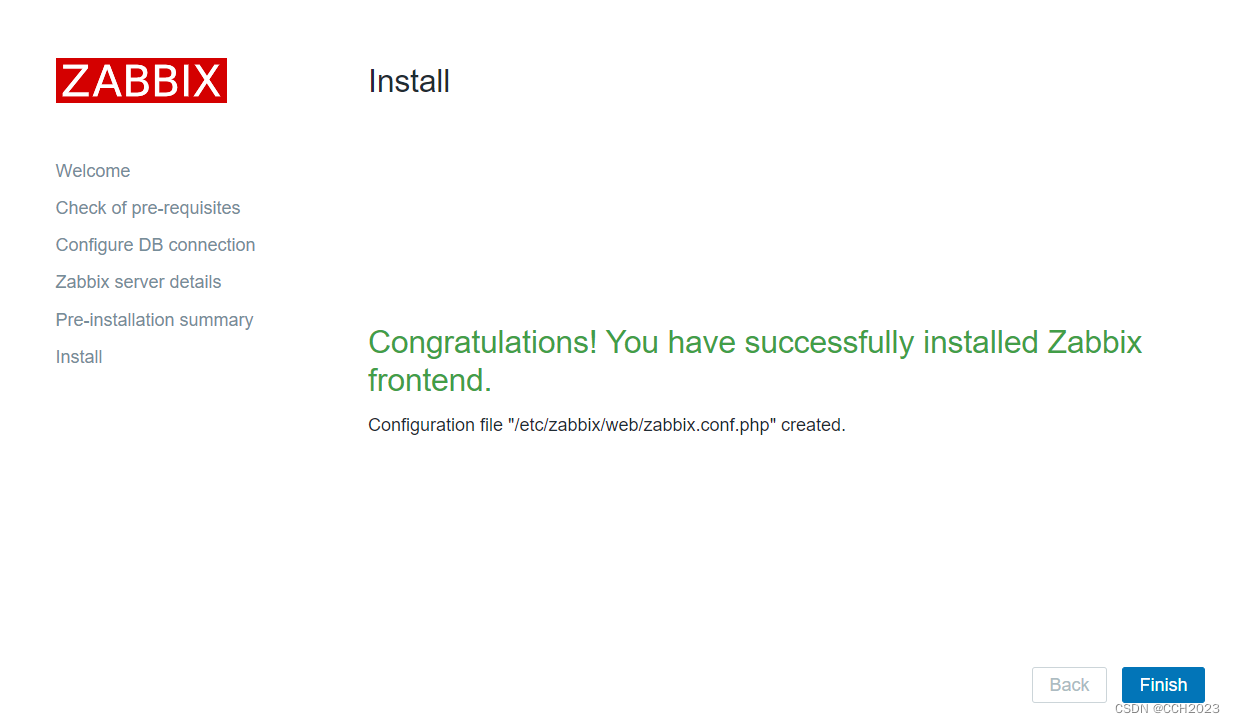
登录进来之后,首先是需要更改密码。
然后还有将界面更改成中文界面。
