前期准备工作
vue.config.js
const { defineConfig } = require('@vue/cli-service')
module.exports = defineConfig({
  // 项目出Bug,点击错误可以跳到对应的位置,实际生成环境是不需要的 默认为true
  productionSourceMap: false,
  lintOnSave: false,
  publicPath: process.env.NODE_ENV === "production" ? "/static/" : "/",
})
socket.js
  constructor() {
    if(process.env.NODE_ENV == "production"){
      this.server_host = window.location.origin
    }else{
      this.server_host = "http://127.0.0.1:5000";
    }
    this.socket = io(this.server_host);
  }
在终端输入下面命令进行打包
npm run build
将生成的这四个部分放置到服务端static中

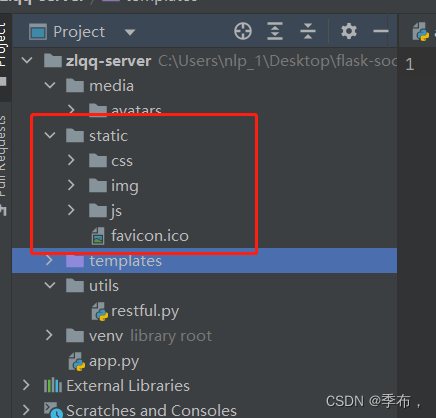
生成的index.html放到templates中
app.py中渲染模板
@app.route("/")
def index():
    return render_template("index.html")
连接服务器
tabby
添加一个用户
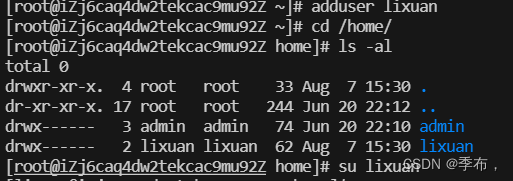
cd lixuan/
mkdir chat
cd chat
apt update

   error:lixuan is not in the sudoers file.  This incident will be reported.

	解决办法: 执行su -  切换到root  将指定用户添加到root  执行adduser lixuan sudo

apt install git -y
代码拉下来之后直接执行
pip install -r requirements.txt
需要添加环境变量


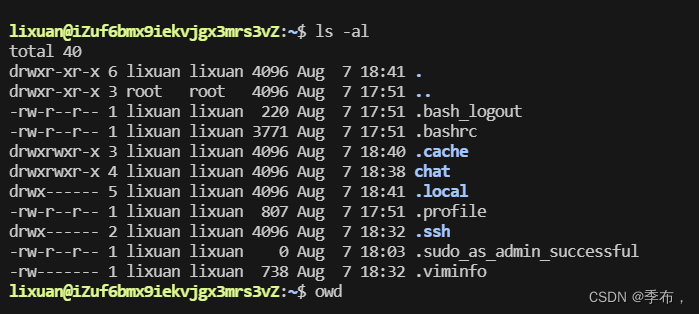

source .bashrc
这时就可以使用flask进行启动了
安装
pip install gunicorn
执行下面命令
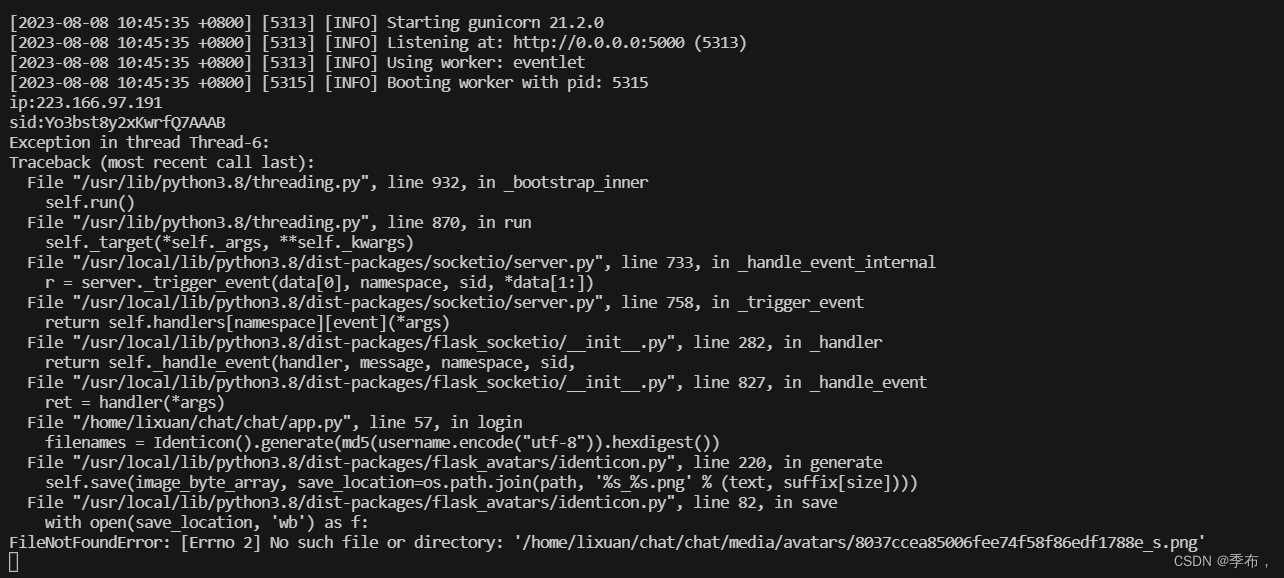
gunicorn --worker-class=eventlet --workers=1 --bind=0.0.0.0:5000 app:app
可以把对应的文件夹创建下
部署-使用Nginx和Gunicorn部署项目
sudo apt install nginx
cd /etc/nginx/conf.d/
touch chat.conf
vi chat.conf
server {
    listen 80;
                如果映射了域名可替换此ip
    server_name 47.116.114.26;

    location / {
        include proxy_params;
        proxy_pass http://127.0.0.1:5000;
    }

    location /static {
        alias /home/lixuan/chat/chat/static;
        expires 30d;
    }

    location /socket.io {
        include proxy_params;
        proxy_http_version 1.1;
        proxy_buffering off;
        proxy_set_header Upgrade $http_upgrade;
        proxy_set_header Connection "Upgrade";
        # 如果使用socket.io这个框架  后缀会自动加上
        proxy_pass http://127.0.0.1:5000/socket.io;
    }
}
测试nginx
service nginx configtest
结果:* Testing nginx configuration

sudo service nginx restart
启动服务
gunicorn --worker-class=eventlet --workers=1 --bind=127.0.0.1:5000 app:app

上面的启动方式会卡终端
新建gunicorn.conf.py
worker_class = "eventlet"
workers=1
bind = "0.0.0.0:5000"
accesslog = "/home/lixuan/chat/chat/log/access.log"
errorlog = "/home/lixuan/chat/chat/log/error.log"
daemon=True


