一文教你在SpringBoot中使用Thymeleaf
- 1.快速使用Thymeleaf
- 2.Thymeleaf快速入门案例
- 3.Thymeleaf基本语法
- each遍历
- 其他语法
1.快速使用Thymeleaf
首先导入Maven依赖:
<!-- https://mvnrepository.com/artifact/org.springframework.boot/spring-boot-starter-thymeleaf -->
<dependency>
    <groupId>org.springframework.boot</groupId>
    <artifactId>spring-boot-starter-thymeleaf</artifactId>
    <version>3.0.0</version>
</dependency>
其实完全可以直接使用,不用配置。但是Spring Boot官方文档建议在开发时将缓存关闭,那就在application.properties文件中加入下面这行就行了:
spring.thymeleaf.cache=false
编写控制器:(此控制器将会跳转到templates目录下的test.html文件)
@Controller
public class TestController {
    @RequestMapping("/test")
    public String test() {
        return "test";
    }
}
编写模板文件:
<!DOCTYPE html>
<html lang="en">
<head>
    <meta charset="UTF-8">
    <title>test</title>
</head>
<body>
<h1>Test SpringBoot!</h1>
</body>
</html>
启动项目,访问:http://localhost:8080/test
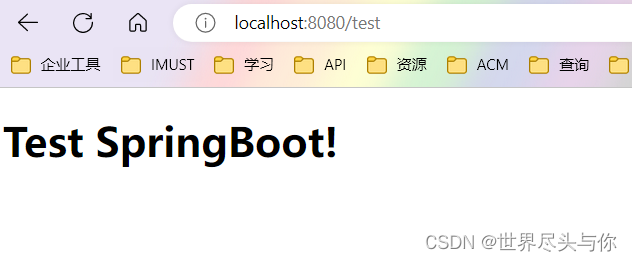
出错了?
使用 Thymeleaf 时报错
2.Thymeleaf快速入门案例
要想完整的使用Thymeleaf的语法内容,我们需要在html引入Thymeleaf的配置:
<html lang="en" xmlns:th="http://www.thymeleaf.org">
新建一个控制器,这时我们需要传入Model一个值:
@Controller
public class TestController {
    @RequestMapping("/test")
    public String test(Model model) {
        model.addAttribute("msg", "Hello Thymeleaf");
        return "test";
    }
}
在模板中取出:
<!DOCTYPE html>
<html lang="en" xmlns:th="http://www.thymeleaf.org">
<head>
    <meta charset="UTF-8">
    <title>test</title>
</head>
<body>
<div th:text="${msg}"></div>
</body>
</html>
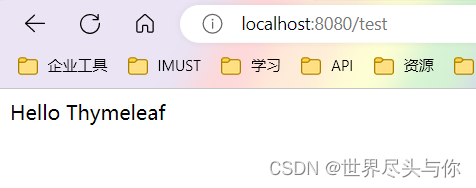
效果展示:
3.Thymeleaf基本语法
each遍历
我们想接受来自控制器的一个数组:
@Controller
public class TestController {
    @RequestMapping("/test")
    public String test(Model model) {
        model.addAttribute("users", Arrays.asList("dahe", "pipi"));
        return "test";
    }
}
可以使用each表达式遍历:
<!DOCTYPE html>
<html lang="en" xmlns:th="http://www.thymeleaf.org">
<head>
    <meta charset="UTF-8">
    <title>test</title>
</head>
<body>
<div th:each="user:${users}" th:text="${user}"></div>
</body>
</html>
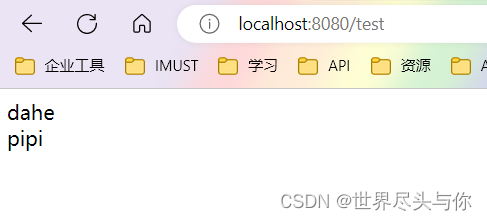
效果:
其他语法
学会读文档自学,比什么都重要


![[附源码]Python计算机毕业设计大学生志愿者管理系统Django(程序+LW)](https://img-blog.csdnimg.cn/09c1c1cb17c64c60856bc89421698c0f.png)
