IntersectionObserver实现小程序长列表优化
关于 IntersectionObserver
思路
这里以一屏数据为单位【一个分页的10条数据,最好大于视口高度】,
监听每一屏数据和视口的相交比例,即用户能不能看到它
只将可视范围的数据渲染到页面上,其余的使用空白高度占位符代替,
可视范围可扩大到当前可视范围的上下两倍到三倍,减少滚动时留白现象
实现
大多数都是监听 scroll,结合防抖函数,来控制数据的渲染
这里我们使用小程序自带api,IntersectionObserver 来实现
小程序 IntersectionObserver
通过 IntersectionObserver 来监听可视范围内的元素,当元素进入可视范围时,将对应的数据渲染到页面上。
其返回的 intersectionRatio 为相交比例,大于0 说明进入可视范围,渲染真实数据,否则,渲染高度占位符
第一步
首先需要两个数组,一个用来存放真实数据,一个用来存放高度占位符数据
将原来的 storeList,改为二维数组,以一屏为单位进行分割
// Taro

// wholePageHeight和wholeStoreList不用放在state中,页面销毁时记得释放

// 高度占位符数据
let wholePageHeight = [];
// 真实数据
let wholeStoreList = [];

state = {
    // 当前页码
    pageCurrent: 0,
    // 渲染的数据
    storeList: [],
    // 高度占位符数据
    storeListPlaceholder: [],
    // ...
}
第二步
获取界面上的节点信息
保存所有的列表数据以及页面高度数据
每次数据请求完成,将列表数据push到 wholeStoreList 中,
然后将当前这一屏的数据放到对应页面的 pageCurrent 的 storeList 中,
setState后, 计算这一屏的高度,然后将其存放到 wholePageHeight
// Taro

// 分页获取列表数据
getList = async () => {
    // 接口请求数据
    const { pageCurrent } = this.state;
    const records = await api.getList({
        pageCurrent
    });
    // 分页累加
    pageCurrent++

    // 保存所有的列表数据
    wholeStoreList.push(records);
    // 设置当前这一屏的数据
    storeList[pageCurrent] = records;

    this.setState({
        storeList,
        pageCurrent,
    }, () => {
        // 数据setState后,获取当前页的高度
        this.getPageHeight();
    });
}

// 计算当前页的高度
getPageHeight = () => {
    const {
        pageCurrent,
    } = this.state;
    // 返回一个 SelectorQuery 对象实例
    const query = Taro.createSelectorQuery();
    // 查询节点信息的对象
    query
        // 在当前页面下选择第一个匹配选择器 selector 的节点。返回一个 NodesRef 对象实例,可以用于获取节点信息。
        // 类似于 CSS 的选择器
        .select(`#storePage${pageCurrent}`)
        // 添加节点的布局位置的查询请求,SelectorQuery.exec 方法后,节点信息会在 callback 中返回
        .boundingClientRect()
        // 执行所有的请求。请求结果按请求次序构成数组,在callback的第一个参数中返回。
        .exec(res => {
        if (res && res[0].height) {
            /**
             *   rect.id      // 节点的ID
             *   rect.dataset // 节点的dataset
             *   rect.left    // 节点的左边界坐标
             *   rect.right   // 节点的右边界坐标
             *   rect.top     // 节点的上边界坐标
             *   rect.bottom  // 节点的下边界坐标
             *   rect.width   // 节点的宽度
             *   rect.height  // 节点的高度
             */
            // 保存当前页的高度
            wholePageHeight.push(res[0].height);

            // 监听当前页的节点
            this.observePage(pageCurrent);
        }
    });
}
第三步
针对每一屏都去添加监听,判断是否需要渲染真实数据,还是高度占位符
这里通过 IntersectionObserver 来监听,当元素进入可视范围时,将对应的数据渲染到页面上。
:::tip 小细节
如果只控制一屏的显示,那么当用户快速滑动上下屏时,
会出现一屏的数据还没渲染完,就已经滚动到下一屏了,导致白屏出现
所以:需要设置 relativeToViewport top 和 bottom 参数,顶部和底部的边界,进入上下三个屏幕高度就开始渲染
:::
// Taro

observePage = () => {
    const {
        storeList,
    } = this.state;

    const windowHeight = Taro.systemInfo.windowHeight;

    // WXML节点布局相交状态
    // 创建 IntersectionObserver 对象,用于推断某些节点是否可以被用户看见、有多大比例可以被用户看见。
    const observerObj = Taro.createIntersectionObserver(this)
        // 指定页面显示区域作为参照区域之一
        .relativeToViewport({
            // 设置顶部和底部的边界,进入上下三个屏幕高度就开始渲染
            top: 3 * windowHeight,
            bottom: 3 * windowHeight
        });

    // 返回IntersectionObserver对象实例,用于推断某些节点是否可以被用户看见、有多大比例可以被用户看见
    observerObj.observe(`#storePage${pageIndex}`, (res) => {
        /**
         *   res.id // 目标节点 id
         *   res.dataset // 目标节点 dataset
         *   res.intersectionRatio // 相交区域占目标节点的布局区域的比例
         *   res.intersectionRect // 相交区域
         *   res.intersectionRect.left // 相交区域的左边界坐标
         *   res.intersectionRect.top // 相交区域的上边界坐标
         *   res.intersectionRect.width // 相交区域的宽度
         *   res.intersectionRect.height // 相交区域的高度
         */
        // < 0,未相交,使用高度占位符
        if (res.intersectionRatio <= 0) {
            storeList[pageIndex] = {
                height: wholePageHeight[pageIndex]
            }
            // > 0,相交,使用真实数据
        } else {
            storeList[pageIndex] = wholeStoreList[pageIndex];
        }
        this.setState({
            storeList
        });
    });
}
第四步
在页面上渲染数据,如果当前这一屏有数据,就渲染真实数据,否则渲染高度高度占位符
// Taro

// 列表渲染
renderStoreList = () => {
    const {
        storeList,
    } = this.state;
    return (
        storeList.map((storePage, index) => (
            <View className='store-page' key={index} id={'storePage' + index}>
                {
                    // 是否存在当前页的数据
                    storePage && storePage.length ?
                        <View className='store-list'>
                            {
                                storePage.map((storeItem) => (<StoreInfo item={storeItem} key={storeItem.id} />))
                            }
                        </View>
                        :
                        // 占位组件 ---
                        <PlaceWrap customStyle={{height: storePage.height + 'px'}} />
                }
            </View>
        ))
    )
};
到此,一个长列表的优化就OK了
IntersectionObserver
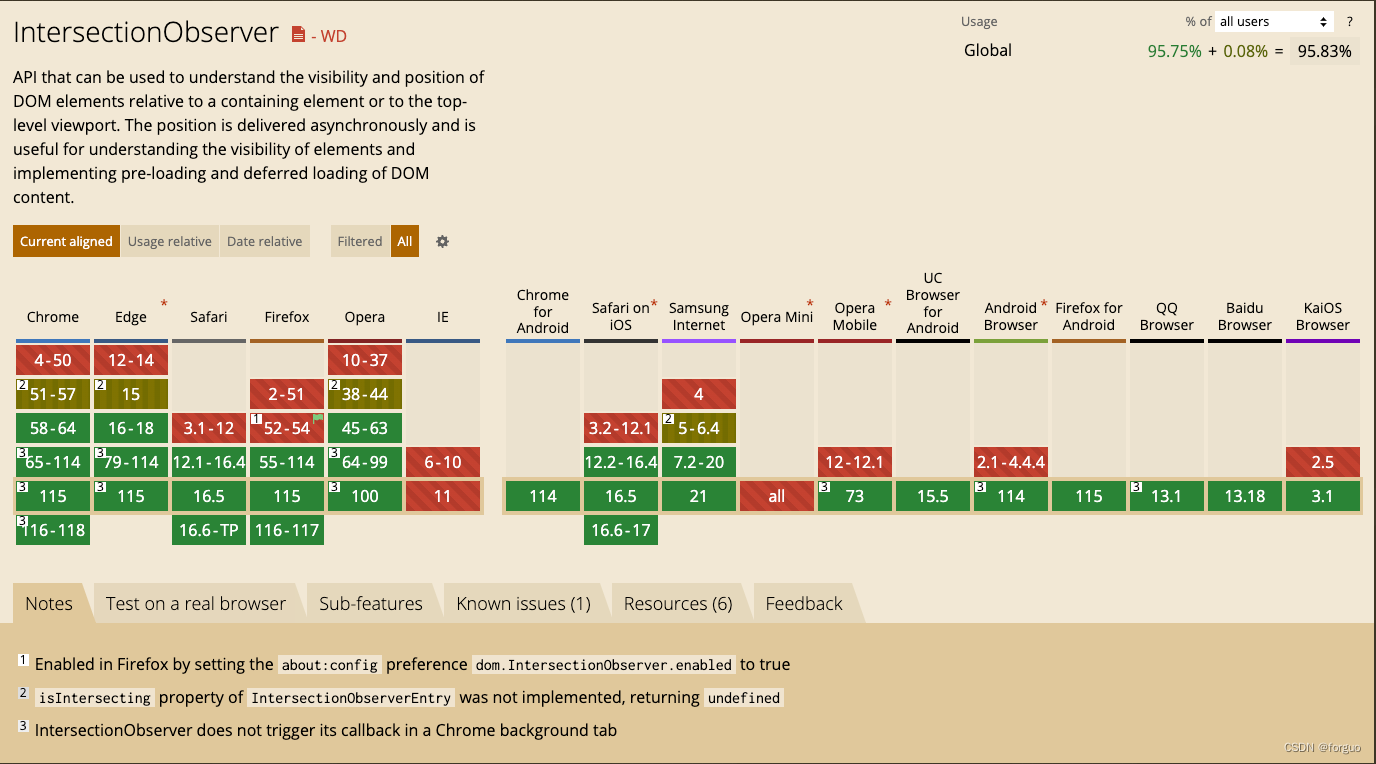
看了下 caniuse ,发现除了IE,兼容性也还行,那web端也可以尝试下的
