使用css给图片添加酷炫标题的几种方式
在本文章中,将会向大家展示如何使用 CSS3 创建具有各种过渡动画的图像标题。
浏览器支持情况
这些方式将在很大程度上依赖于css3的transform和transition属性,这些属性是相对较新的功能,因此,我们在使用时注意浏览器是否支持。
以下是已经支持的浏览器:
Internet Explorer 10+Firefox 6+Chrome 13+Safari 3.2+Opera 11+
定义基础的html结构
<div id="box" class="box">
  <img id="image" src="xxx.jpg"/>
  <span class="caption caption-style">
    <h4>图片标题</h4>
    <p>这是一张图片</p>
  </span>
</div>
以下是未设置任何css样式的情况:
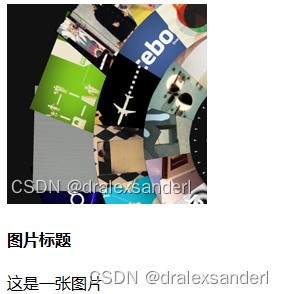
让我们添加一些通用css来让样式更加方便后边我们实现不同酷炫标题.
.box {
    border: 5px solid #fff;
    cursor: pointer;
    height: 182px;
    float: left;
    margin: 5px;
    position: relative;
    overflow: hidden;
    width: 200px;
    -webkit-box-shadow: 1px 1px 1px 1px #ccc;
    -moz-box-shadow: 1px 1px 1px 1px #ccc;
    box-shadow: 1px 1px 1px 1px #ccc;
}

.box .caption {
    background-color: rgba(0,0,0,0.8);
    position: absolute;
    color: #fff;
    z-index: 100;
    -webkit-transition: all 300ms ease-out;
    -moz-transition: all 300ms ease-out;
    -o-transition: all 300ms ease-out;
    -ms-transition: all 300ms ease-out;
    transition: all 300ms ease-out;
    left: 0;
}
在上面的样式中,给图片添加了一个框,这个框将使用左浮动并排显示.同时还添加overflow: hidden属性,这将使穿过 div 的所有对象都被隐藏。而且标题也具有一些常见的样式和过渡属性。不过没有使用不透明度属性,而是RGBA 颜色模式设置alpha值为0.8来设置透明度,这样使标题看起来有点透明,而不影响内部文本。
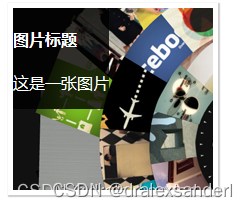
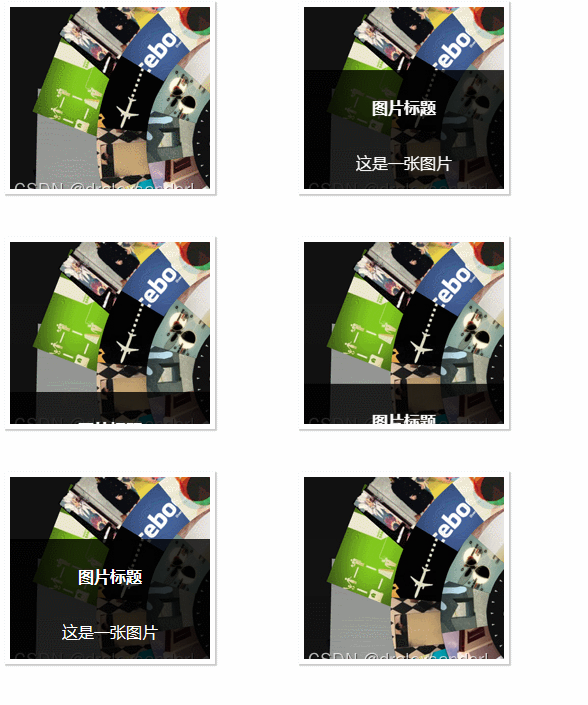
第一种 从底部出现
第一个标题将具有通常用于标题的简单过渡效果。当我们将鼠标悬停在图像上时,标题将从底部出现(使用transform属性)。为了解决这个问题,标题的固定高度为 120p,我们应用其底部位置 -120p 将其隐藏在图像下方。
.box .caption-style {
    height: 120px;
    width: 200px;
    display: block;
    bottom: -120px;
    line-height: 25pt;
    text-align: center;
}
.box:hover .caption-style {
    -moz-transform: translateY(-100%);
    -o-transform: translateY(-100%);
    -webkit-transform: translateY(-100%);
    transform: translateY(-100%);
}
第二种 向下移动
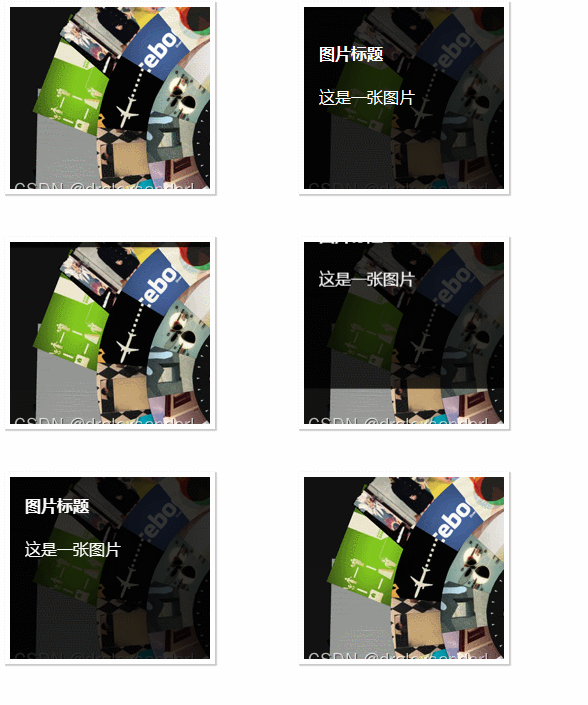
第二种类型具有图像/框尺寸(200x200)的完整宽度和高度,并且过渡就像滑动门效果,只是它会从上滑动到下。因此,需要对translateY 设置正值.
.box .caption-style {
    width: 170px;
    height: 170px;
    top: -200px;
    text-align: left;
    padding: 15px;
}
.box:hover .caption-style {
    -moz-transform: translateY(100%);
    -o-transform: translateY(100%);
    -webkit-transform: translateY(100%);
    transform: translateY(100%);
}
第三种 淡入淡出
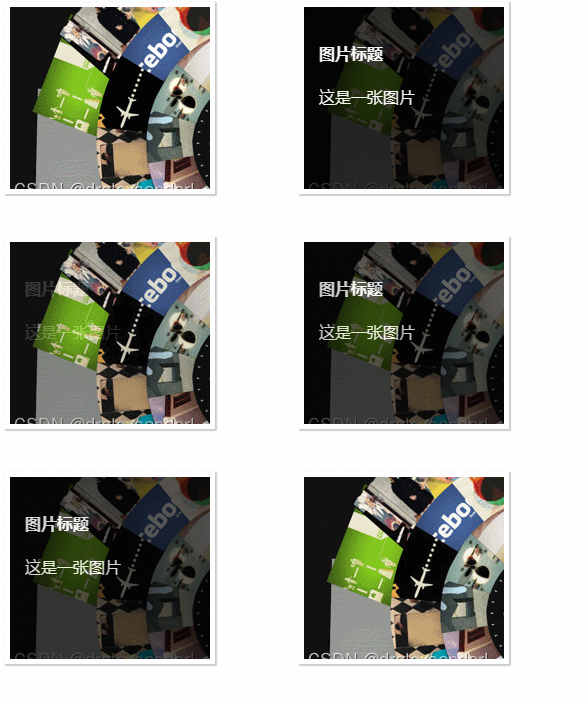
第三种方式将具有淡入淡出效果。因此,我们为其初始状态添加了 opacity: 0。实际上这是最简单的一个。当框悬停时,标题不透明度将变为 1,使其可见,并且由于我们在标题类中添加了转换属性,因此非常简单.
.box .caption-style {
    opacity: 0;
    width: 170px;
    height: 170px;
    text-align: left;
    padding: 15px;
}
.box:hover .caption-style {
    opacity: 1;
}
第四种 向左滑动
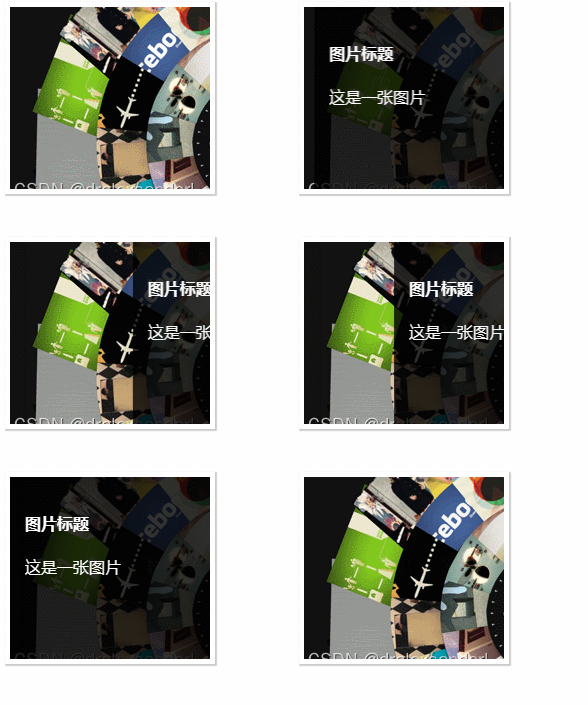
第四种方式将从左向右滑动,因此我们固定 left:200px 作为其初始位置。但是当标题将从左侧滑动,图像也会从右侧滑出。所以,这里我们也需要对img标签也设置相应的css。
下面的 CSS 表示,当我们将鼠标悬停在框上时,标题将向左滑动 100% 的宽度。使用 translateX实现右向左水平移动.
.box .caption-style {
    width: 170px;
    height: 170px;
    text-align: left;
    padding: 15px;
    left: 200px;
}
.box:hover .caption-style {
    -moz-transform: translateX(-100%);
  -o-transform: translateX(-100%);
  -webkit-transform: translateX(-100%);
  opacity: 1;
  transform: translateX(-100%);
}
.box:hover img .image {
  -moz-transform: translateX(-100%);
  -o-transform: translateX(-100%);
  -webkit-transform: translateX(-100%);
  transform: translateX(-100%);
}
第五种 放大
第五种会进行比例变换(需要结合第一种方式一起使用),文本将在转换转换完成后出现。因此,我们在文本上添加转换延迟,在示例为h4和p标签。
.box .caption h4, .box .caption p {
    position: relative;
    left: -200px;
    width: 170px;
    -webkit-transition: all 300ms ease-out;
    -moz-transition: all 300ms ease-out;
    -o-transition: all 300ms ease-out;
    -ms-transition: all 300ms ease-out;
    transition: all 300ms ease-out;
}

.box .caption h4{
    -webkit-transition-delay: 300ms;
    -moz-transition-delay: 300ms;
    -o-transition-delay: 300ms;
    -ms-transition-delay: 300ms;
    transition-delay: 300ms;
}

.box .caption p {
    -webkit-transition-delay: 500ms;
    -moz-transition-delay: 500ms;
    -o-transition-delay: 500ms;
    -ms-transition-delay: 500ms;
    transition-delay: 500ms;
}

.box:hover #image {
    -moz-transform: scale(1.4);
    -o-transform: scale(1.4);
    -webkit-transform: scale(1.4);
    transform: scale(1.4);
}

.box:hover .caption h4, .box:hover .caption p {
    -moz-transform: translateX(200px);
    -o-transform: translateX(200px);
    -webkit-transform: translateX(200px);
    transform: translateX(200px);
}

.box .caption-style {
    height: 120px;
    width: 200px;
    display: block;
    bottom: -120px;
    line-height: 25pt;
    text-align: center;
}
.box:hover .caption-style {
    -moz-transform: translateY(-100%);
    -o-transform: translateY(-100%);
    -webkit-transform: translateY(-100%);
    transform: translateY(-100%);
}
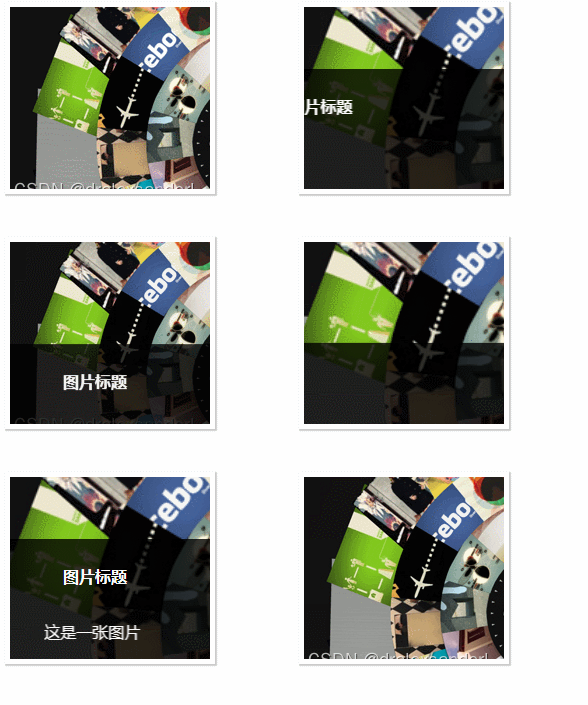
第六种 旋转
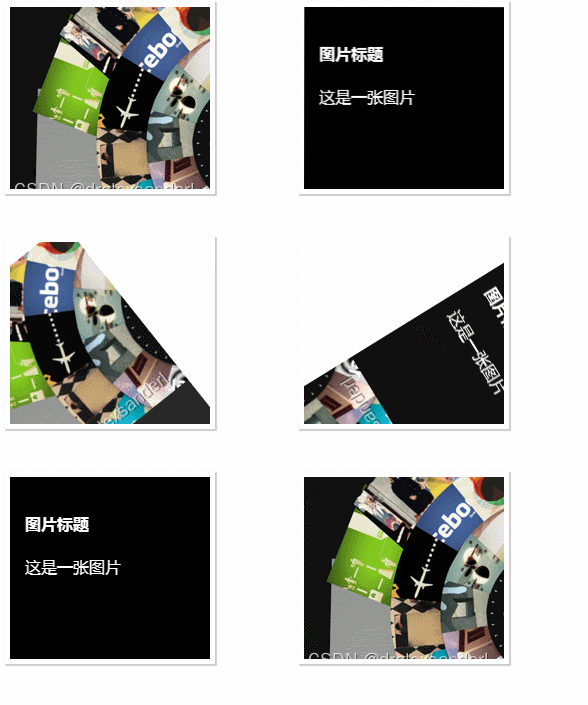
最后一种方式将具有旋转效果。不仅标题会旋转,图像也会旋转。它更像是通过旋转来改变位置。因此,我们设置了旋转180°.因为它不会从右或左移动,而是会旋转。当框悬停时,包含图像和标题的 div 将逆时针旋转 -180 度,隐藏图像并显示标题。这种方式需要在image标签外加一个元素
<div id="box" class="box">
    <div class="rotate">
        <img id="image" src="xxx.jpg"/>
        <span class="caption caption-style">
          <h4>图片标题</h4>
          <p>这是一张图片</p>
        </span>
    </div>
</div>
.box .caption-style {
    width: 170px;
    height: 170px;
    text-align: left;
    padding: 15px;
    top: 200px;
    -moz-transform: rotate(-180deg);
    -o-transform: rotate(-180deg);
    -webkit-transform: rotate(-180deg);
    transform: rotate(-180deg);
}

.box .rotate {
    width: 200px;
    height: 400px;
    -webkit-transition: all 300ms ease-out;
    -moz-transition: all 300ms ease-out;
    -o-transition: all 300ms ease-out;
    -ms-transition: all 300ms ease-out;
    transition: all 300ms ease-out;
}

.box:hover .rotate {
    background-color: rgba(0,0,0,1) !important;
    -moz-transform: rotate(-180deg);
    -o-transform: rotate(-180deg);
    -webkit-transform: rotate(-180deg);
    transform: rotate(-180deg);
}
