搭建数据库
1.创建数据库,名字叫reiggie

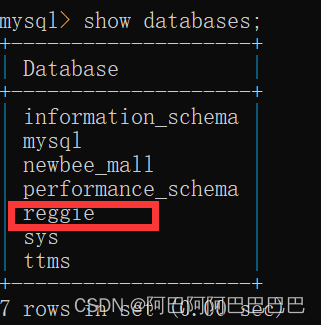
2.导入数据库


创建Maven项目
1.创建项目

2.检查项目新建的是否有问题

3.导入pom.xml文件
4.导入application.yml文件
在从gittee上down的代码的基础上,修改一下端口号,数据库的名称什么的
server:
  port: 8080 #配置时 tomcat的端口号

spring:
  application:
    name: my_reggie #应用的名称 可以自定义
  #datasource:
  #  druid:
  #    driver-class-name: com.mysql.cj.jdbc.Driver
  #    url: jdbc:mysql://localhost:3306/ruiji?serverTimezone=Asia/Shanghai&useUnicode=true&characterEncoding=utf-8&zeroDateTimeBehavior=convertToNull&useSSL=false&allowPublicKeyRetrieval=true
  #    username: root
  #    password: 333
  shardingsphere:
    datasource:
      names:
        master,slave
      # 主库(增删改操作)
      master:
        type: com.alibaba.druid.pool.DruidDataSource
        driver-class-name: com.mysql.cj.jdbc.Driver
        url: jdbc:mysql://localhost:3306/reggie?characterEncoding=utf-8
        username: root
        password: 111111
      # 从数据源(读操作)
      slave:
        type: com.alibaba.druid.pool.DruidDataSource
        driver-class-name: com.mysql.cj.jdbc.Driver
        url: jdbc:mysql://localhost:3306/reggie?characterEncoding=utf-8
        username: root
        password: 111111
    masterslave:
      # 读写分离配置
      load-balance-algorithm-type: round_robin #轮询(如果有多个从库会轮询着读)
      # 最终的数据源名称
      name: dataSource
      # 主库数据源名称
      master-data-source-name: master
      # 从库数据源名称列表,多个逗号分隔
      slave-data-source-names: slave
    props:
      sql:
        show: true #开启SQL显示,默认false
  main:
    allow-bean-definition-overriding: true


  redis:
    host: localhost # 本地IP 或是 虚拟机IP
    port: 6379
    #    password: root
    database: 0  # 默认使用 0号db
  cache:
    redis:
      time-to-live: 1800000  # 设置缓存数据的过期时间,30分钟

mybatis-plus:
  configuration:
    #在映射实体或者属性时,将数据库中表名和字段名中的下划线去掉,开启按照驼峰命名法映射
    map-underscore-to-camel-case: true #将以下划线作分隔符的部分 换成大写字母
    log-impl: org.apache.ibatis.logging.stdout.StdOutImpl
  global-config:
    db-config:
      id-type: ASSIGN_ID

#自定义的文件上传存储位置
takeOutFile:
  fileLocaltion: D:\my_reggie\takeOutUploadFile
5.编写启动类
package com.springboot.reggie;
import lombok.extern.slf4j.Slf4j;
import org.springframework.boot.SpringApplication;
import org.springframework.boot.autoconfigure.SpringBootApplication;

@Slf4j
@SpringBootApplication
//创建一个启动类
public class ReggieApplication {
    public static void main(String[] args)
    {
        SpringApplication.run(ReggieApplication.class,args);
        log.info("项目启动成功...");
    }
}
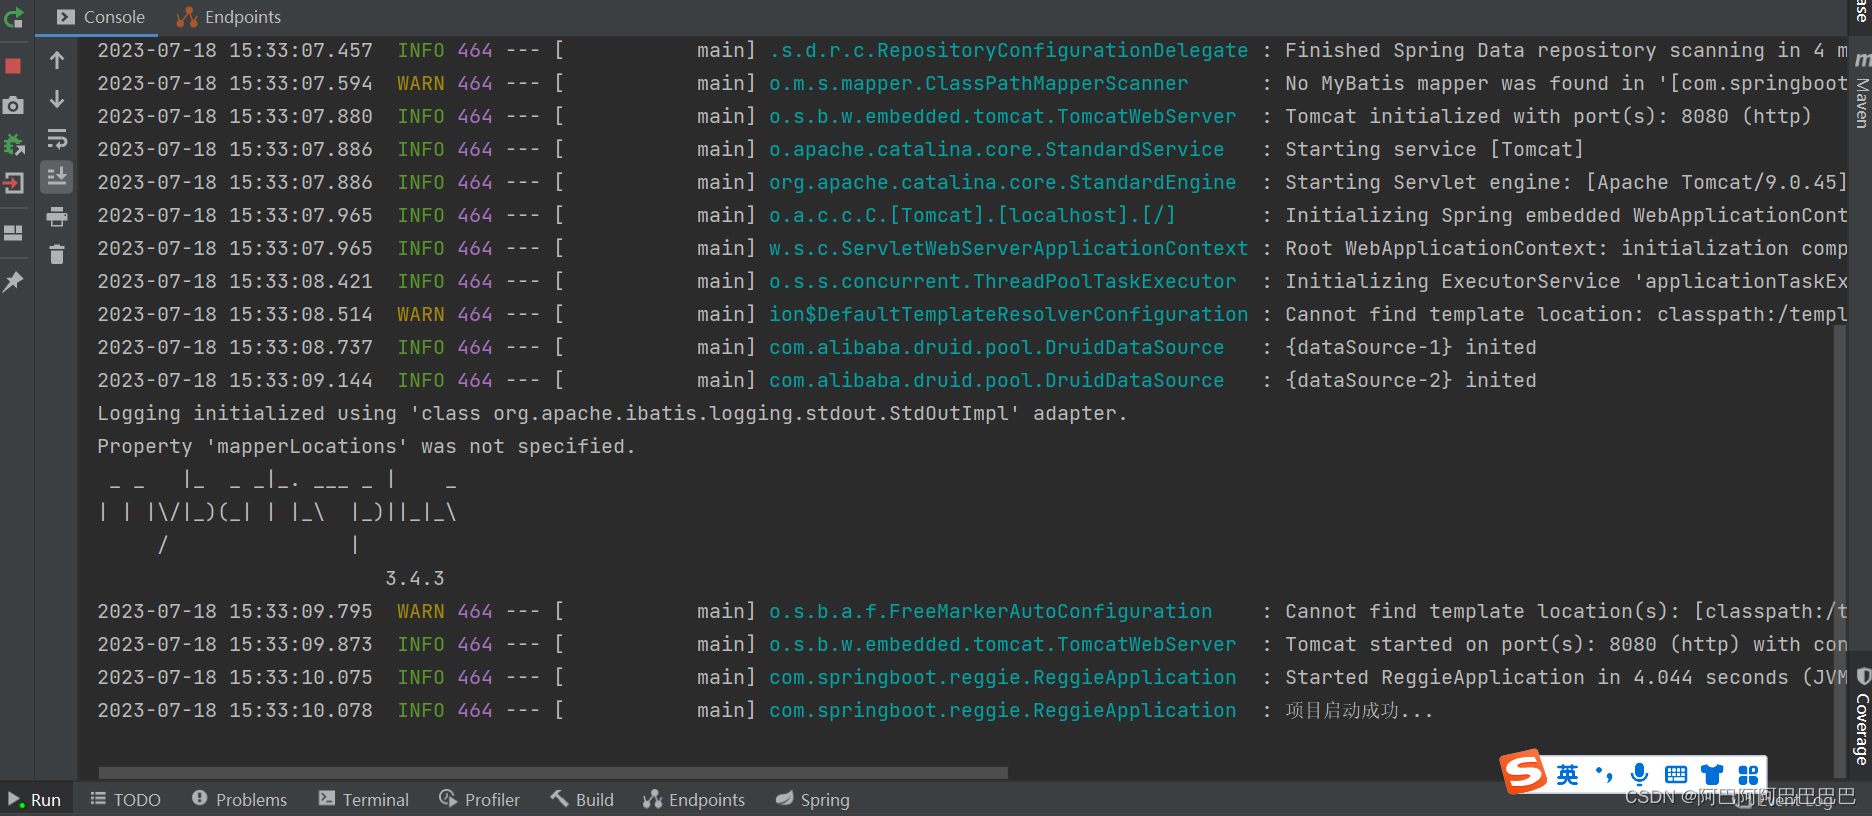
导入前端部分(重点:静态资源的映射)
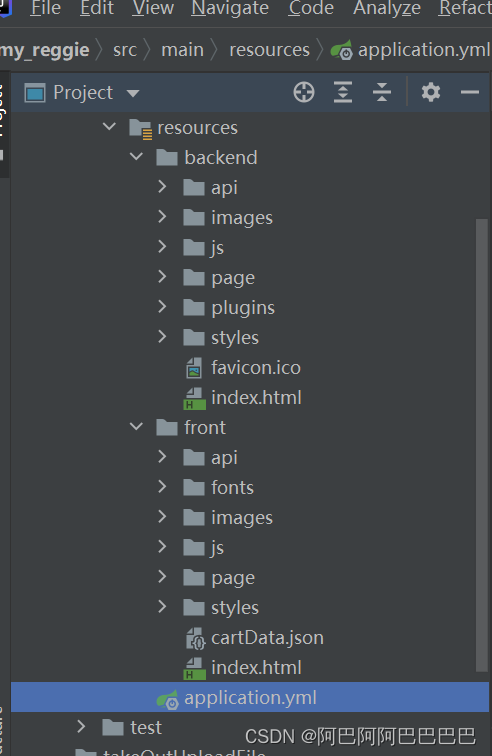
因为这个项目练习的是后端的,所以前端直接导入即可。
直接复制粘贴到resources目录下
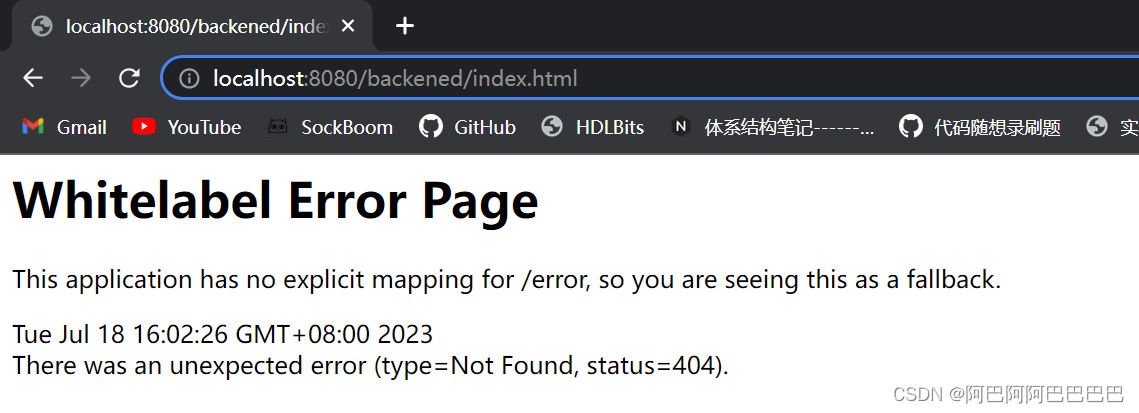
导入之后想要查看后端的index页面,直接输入http://localhost:8080/backened/index.html,发现报错。
package com.springboot.reggie.config;

import lombok.extern.slf4j.Slf4j;
import org.springframework.context.annotation.Configuration;
import org.springframework.web.servlet.config.annotation.ResourceHandlerRegistry;
import org.springframework.web.servlet.config.annotation.WebMvcConfigurationSupport;
@Slf4j
@Configuration
public class WebMvcConfig extends WebMvcConfigurationSupport {
    /**
     * 设置静态资源映射
     * param registry
     */
    @Override
    protected void addResourceHandlers(ResourceHandlerRegistry registry)
    {
        log.info("开始进行静态资源映射");//加上日志,方便调试
        registry.addResourceHandler("/backend/**").addResourceLocations("classpath:/backend/");
        registry.addResourceHandler("/front/**").addResourceLocations("classpath:/front/");
    }

}
原因:默认情况下只能访问static或者是public目录下的资源
解决方法:可以通过配置类的方式,设置静态类的映射。编写一个配置类,配置MVC框架静态资源的映射。
其实上面的backened还拼错了,应该是backend,我用了mvn clean,mvn compile等发现还是不行,还换了端口,将8080换成8060,最后发现是拼写拼错了。
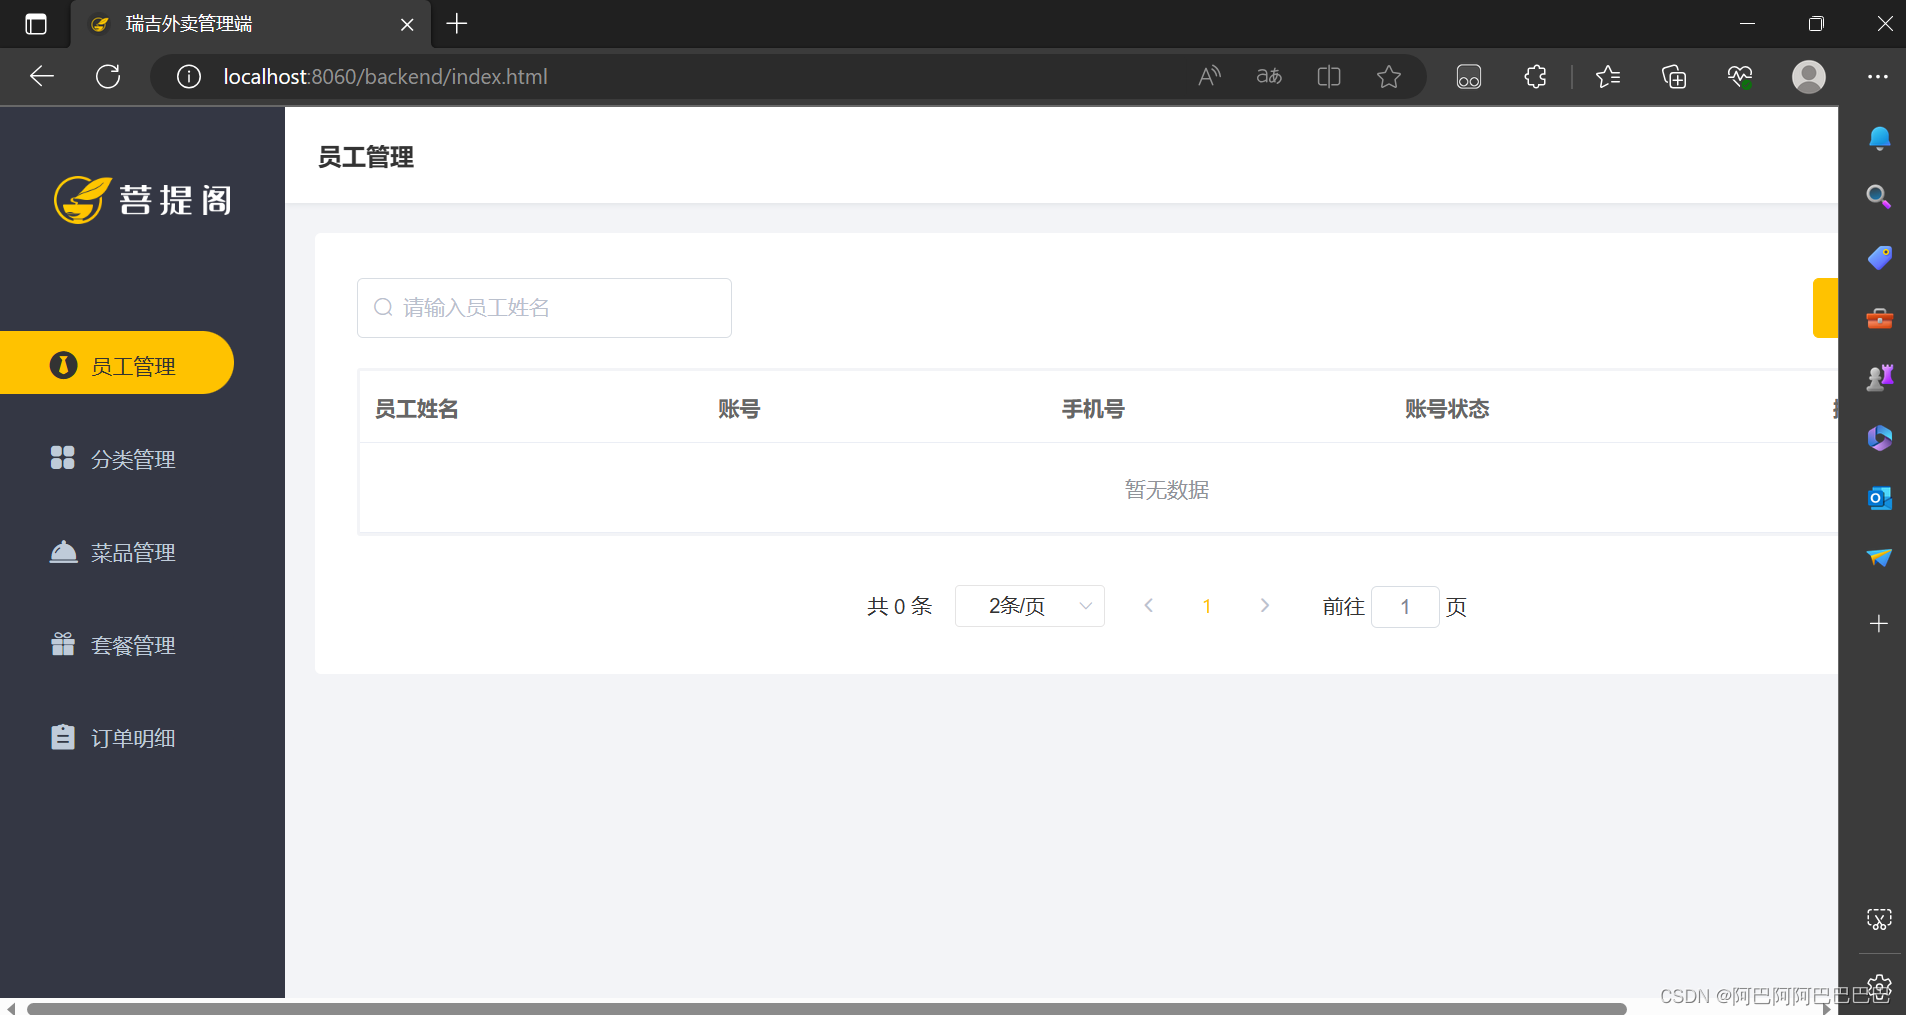
至此,项目的初始环境搭建完毕


