vue3使用Three.js加载外部模型文件
1.安装Three.js
yarn add three
npm install three
2.新建一个renderModel.js 用于处理Three.js相关逻辑
import * as THREE from 'three' //导入整个 three.js核心库
import { GLTFLoader } from 'three/examples/jsm/loaders/GLTFLoader'
import { DRACOLoader } from 'three/examples/jsm/loaders/DRACOLoader'
import { OBJLoader } from 'three/examples/jsm/loaders/OBJLoader'
import { FBXLoader } from 'three/examples/jsm/loaders/FBXLoader'
// 定义一个 class类
class renderModel {
    	constructor(selector) {
    	    this.container = document.querySelector(selector)
		    // 相机
	    	this.camera
		    // 场景
		    this.scene
		    //渲染器
		    this.renderer
		    // 控制器
		    this.controls
		    // 模型
		    this.model
		     //文件加载器类型
		    this.fileLoaderMap = {
			'glb': new GLTFLoader(),
			'fbx': new FBXLoader(),
			'gltf': new GLTFLoader(),
			'obj': new OBJLoader(),
		}
         }
         // 初始化加载模型方法
        init(){
         	return new Promise(async (reslove, reject) => {
			//初始化场景
			this.initScene()
			//初始化相机
			this.initCamera()
			//初始化渲染器
			this.initRender()
			// 添加物体模型 TODO:初始化时需要默认一个  filePath:'threeFile/glb/glb-3.glb' 放在 vue项目中的public/threeFile文件下
			const load = await this.setModel({ filePath: 'threeFile/glb/glb-3.glb', fileType: 'glb',scale:0.5})
			//监听场景大小改变,跳转渲染尺寸
			window.addEventListener("resize", this.onWindowResize.bind(this))
			//场景渲染
			this.sceneAnimation()
			reslove(load)
	   	  })
        }
        //创建场景
	initScene() {
		this.scene = new THREE.Scene()
		//创建一个球体 用于映射全景图
		const sphereBufferGeometry = new THREE.SphereGeometry(40, 32, 16);
		sphereBufferGeometry.scale(-1, -1, -1);
		const material = new THREE.MeshBasicMaterial({
			map: new THREE.TextureLoader().load(require('@/assets/image/view-1.png'))
		});
		//设置场景全景图
		this.viewMesh = new THREE.Mesh(sphereBufferGeometry, material);
	     //添加场景
		this.scene.add(this.viewMesh);
	}
		// 创建相机
	initCamera() {
		const { clientHeight, clientWidth } = this.container
		this.camera = new THREE.PerspectiveCamera(45, clientWidth / clientHeight, 0.25, 100)
	}
	 // 创建渲染器
	initRender() {
		this.renderer = new THREE.WebGLRenderer({ antialias: true, alpha: true }) //设置抗锯齿
		//设置屏幕像素比
		this.renderer.setPixelRatio(window.devicePixelRatio)
		//渲染的尺寸大小
		const { clientHeight, clientWidth } = this.container
		this.renderer.setSize(clientWidth, clientHeight)
		//色调映射
		this.renderer.toneMapping = THREE.ACESFilmicToneMapping
		//曝光
		this.renderer.toneMappingExposure = 3
		this.renderer.shadowMap.enabled = true
		this.renderer.shadowMap.type = THREE.PCFSoftShadowMap
		this.container.appendChild(this.renderer.domElement)
	}
	// 使用动画器不断更新场景
	 sceneAnimation() {
		this.renderer.setAnimationLoop(this.render.bind(this))
	 }
     //渲染场景
	render(){
	  this.renderer.render(this.scene, this.camera)
	}
	//加载模型
	setModel({ filePath, fileType, scale,  position }) {
		return new Promise((resolve, reject) => {
			const loader = this.fileLoaderMap[fileType]
			loader.load(filePath, (result) => {
			  //加载不同类型的文件
				switch (fileType) {
					case 'glb':
						this.model = result.scene
						break;
					case 'fbx':
						this.model = result
						break;
					case 'gltf':
						this.model = result.scene
						break;
					case 'obj':
						this.model = result
						break;
					default:
						break;
				}
				// 设置模型大小
				if (scale) {
					this.model.scale.set(scale, scale, scale);
				}
				// 设置模型位置
				if (position) {
					const { x, y, z } = position
					this.model.position.set(x, y, z)
				}
				// 设置相机位置
				this.camera.position.set(0, 2, 6)
				// 设置相机坐标系
				this.camera.lookAt(0, 0, 0)
	             // 将模型添加到场景中去
				this.scene.add(this.model)
				resolve(true)
			}, () => {

			}, (err) => {
				console.log(err)
				reject()
			})
		})
	}

}
3.modelPage.vue 中使用页面
<template>
     <div id="model" ref="model"></div>
</template>
<script setup>
import { onMounted} from "vue";
import renderModel from "./renderModel";
onMounted(async () => {
 const modelApi = new renderModel("#model");
 const load = await  modelApi.init();
 // load =true 表示加载完成
});
</script>
5.完整的代码可参考:https://gitee.com/ZHANG_6666/Three.js3D
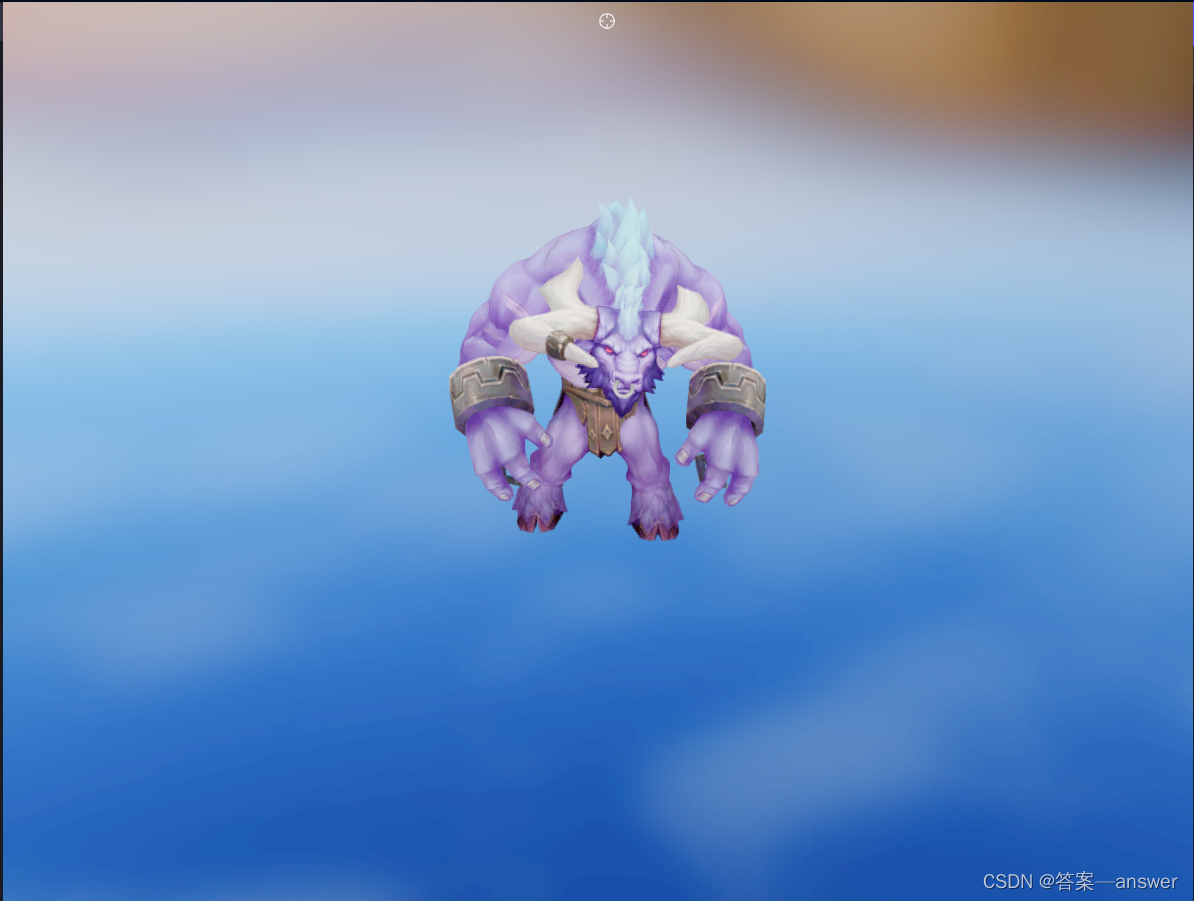
6.效果图:
