利用uniapp开发的时候,需要下载和上传照片,在H5和微信小程序中的写法不一样。
H5环境下
浏览器中下载就是模拟超链接下载。也不需要获取什么权限,比较简单。
// #ifdef H5
this.isLoading = true;
let oA = document.createElement("a");
// 设置下载的文件名,不设置就是默认的
oA.download = '';
// 图片下载链接
oA.href = imgUrl;
document.body.appendChild(oA);
oA.click();
oA.remove(); // 下载之后把创建的元素删除
this.isLoading = false;
// #endif
微信小程序
小程序下载需要先获取相册权限。
downloadPic() {
	// #ifdef MP-WEIXIN
	this.checkAppRight();
	// #endif
	// #ifdef H5
	...
	// #endif
},
// 先校验权限
checkAppRight() {
    // 检查是否之前就调用过uni.authorize
	if (!this.isAuthorize) {
		uni.authorize({
			// 请求相册写入权限
			scope: 'scope.writePhotosAlbum',
			success: () => {
				this.downloadImgOnPhone();
			}
		});
		return;
	}
	// 检查当前小程序的设置信息,这个设置可以看下面的图片说明是什么设置
	uni.getSetting({
	    // 这里可能会触发报错:this 为 undefined,建议使用箭头函数,不要使用普通函数,否则在小程序中调用this会报错。
		success: (res) => {
			// 如果没有相册写入权限,需要先引导用户打开设置权限
			if (!res.authSetting['scope.writePhotosAlbum']) {
				/* 打开设置的方法 */
				uni.showModal({
					title: '提示',
					content: '请先在设置页面打开“保存相册”使用权限',
					confirmText: '去设置',
					cancelText: '取消',
					success: data => {
						if (data.confirm) {
							uni.openSetting()
						}
					}
				});
			} else {
				this.downloadImgOnPhone();
			}
		}
	});
},
// 开始下载图片
downloadImgOnPhone() {
	this.isLoading = true;
	// 下载文件,必须先调用downloadFile,不然会报错。
	uni.downloadFile({
		url: imgUrl, // 图片链接
		success: (res) => {
			if (res.statusCode === 200) {
			    // 保存下载的文件到相册
				uni.saveImageToPhotosAlbum({
					filePath: res.tempFilePath,
					success: () => {
						this.isLoading = false;
						uni.showToast({
							title: '下载成功',
							icon: "none",
							duration: 5000
						})
					},
					fail: (err) => {
						this.isLoading = false;
						uni.showToast({
							title: '下载失败',
							icon: "none",
							duration: 5000
						})
					},
				})
			}
		},
		fail: (err) => {
			this.isLoading = false;
			uni.showToast({
				title: JSON.stringify(err),
				icon: "none",
				duration: 5000
			})
		}
	});
}
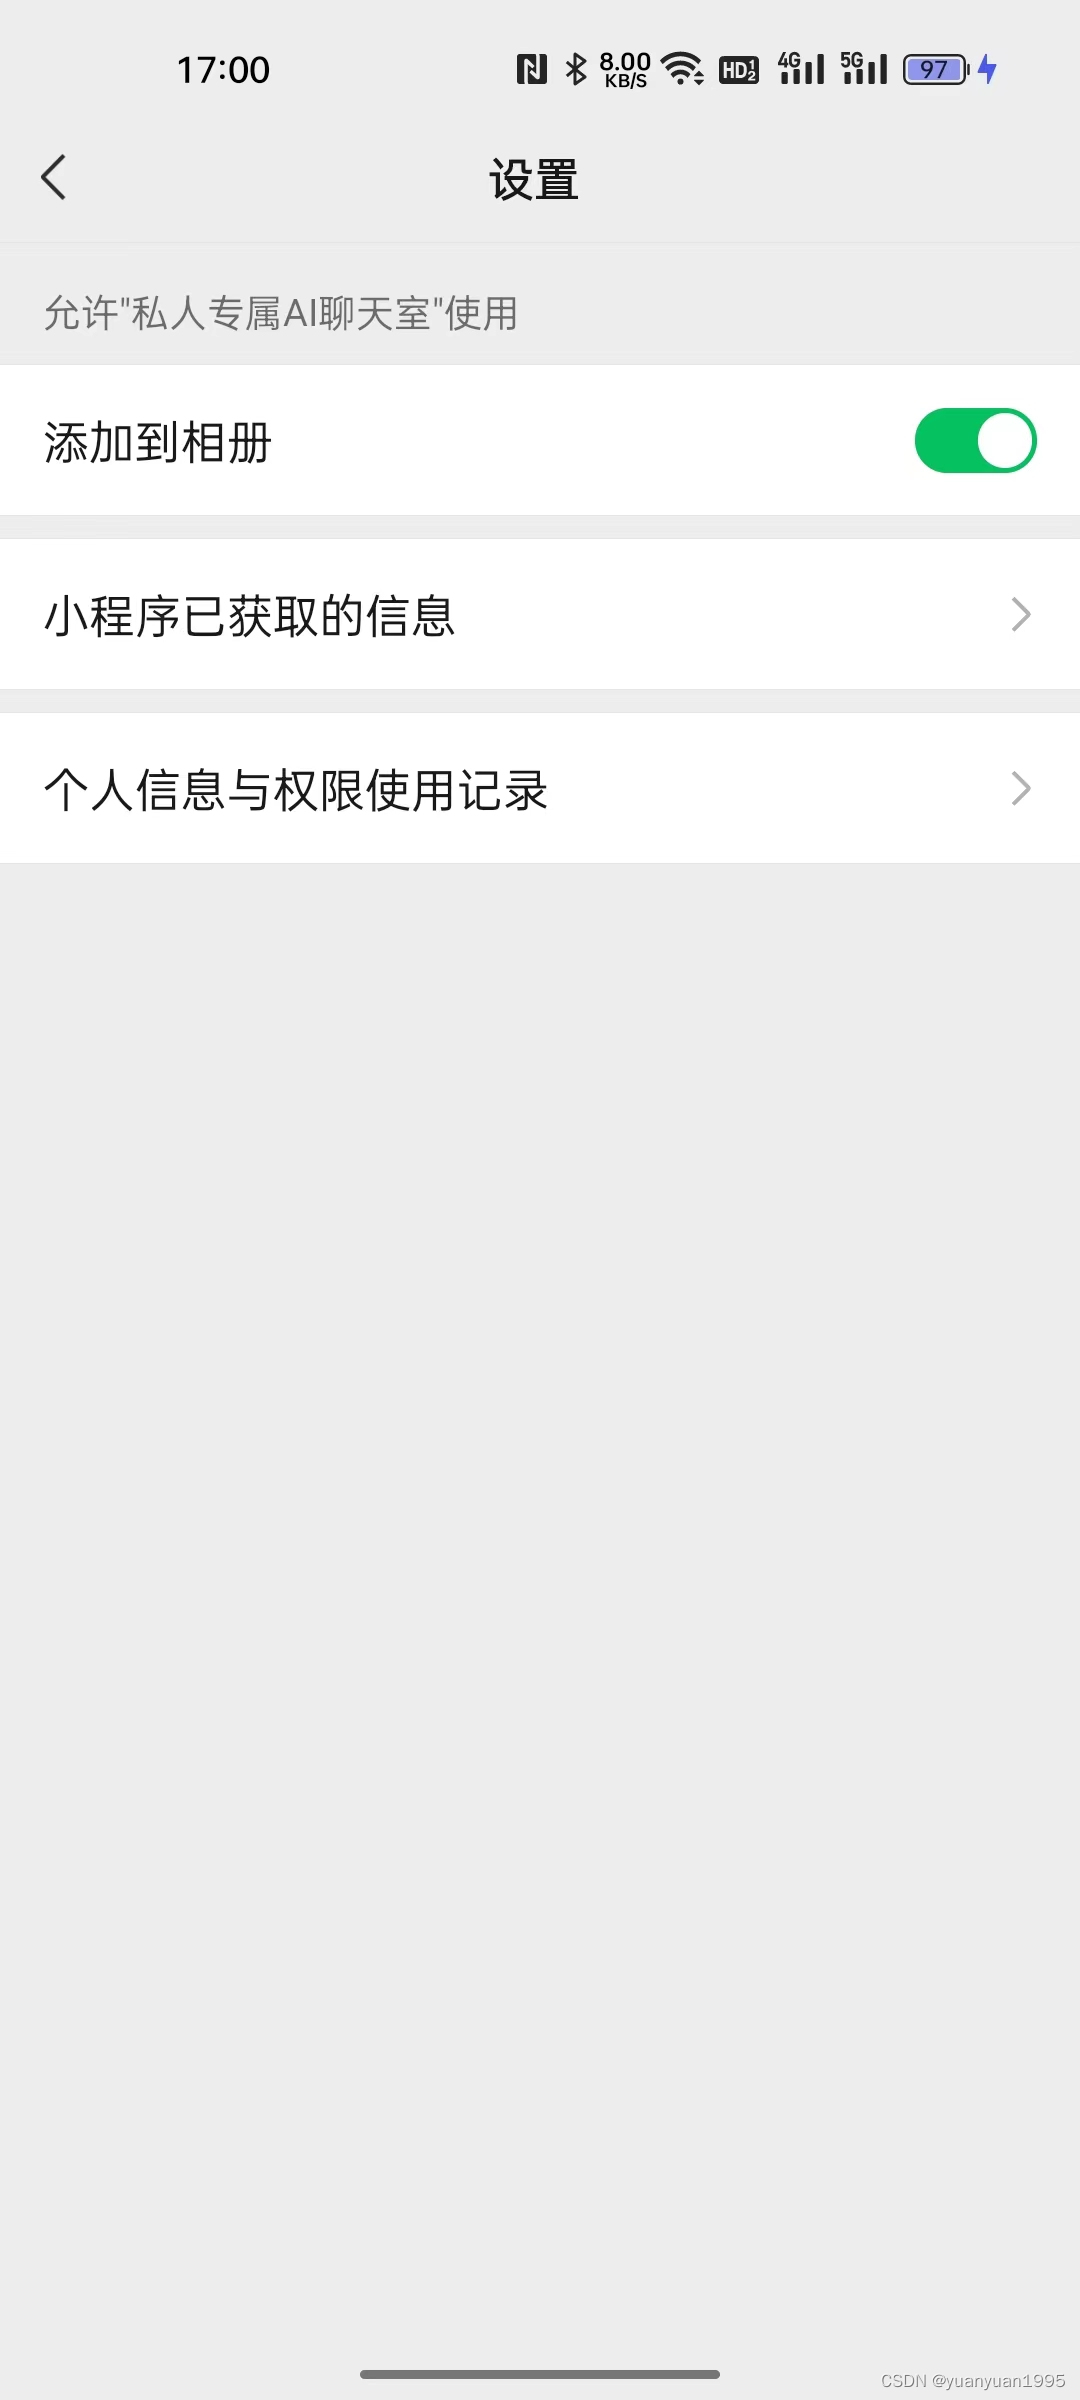
查看微信小程序的设置信息,点击设置进去即可查看,uni.openSetting接口就是会打开这个设置页面:
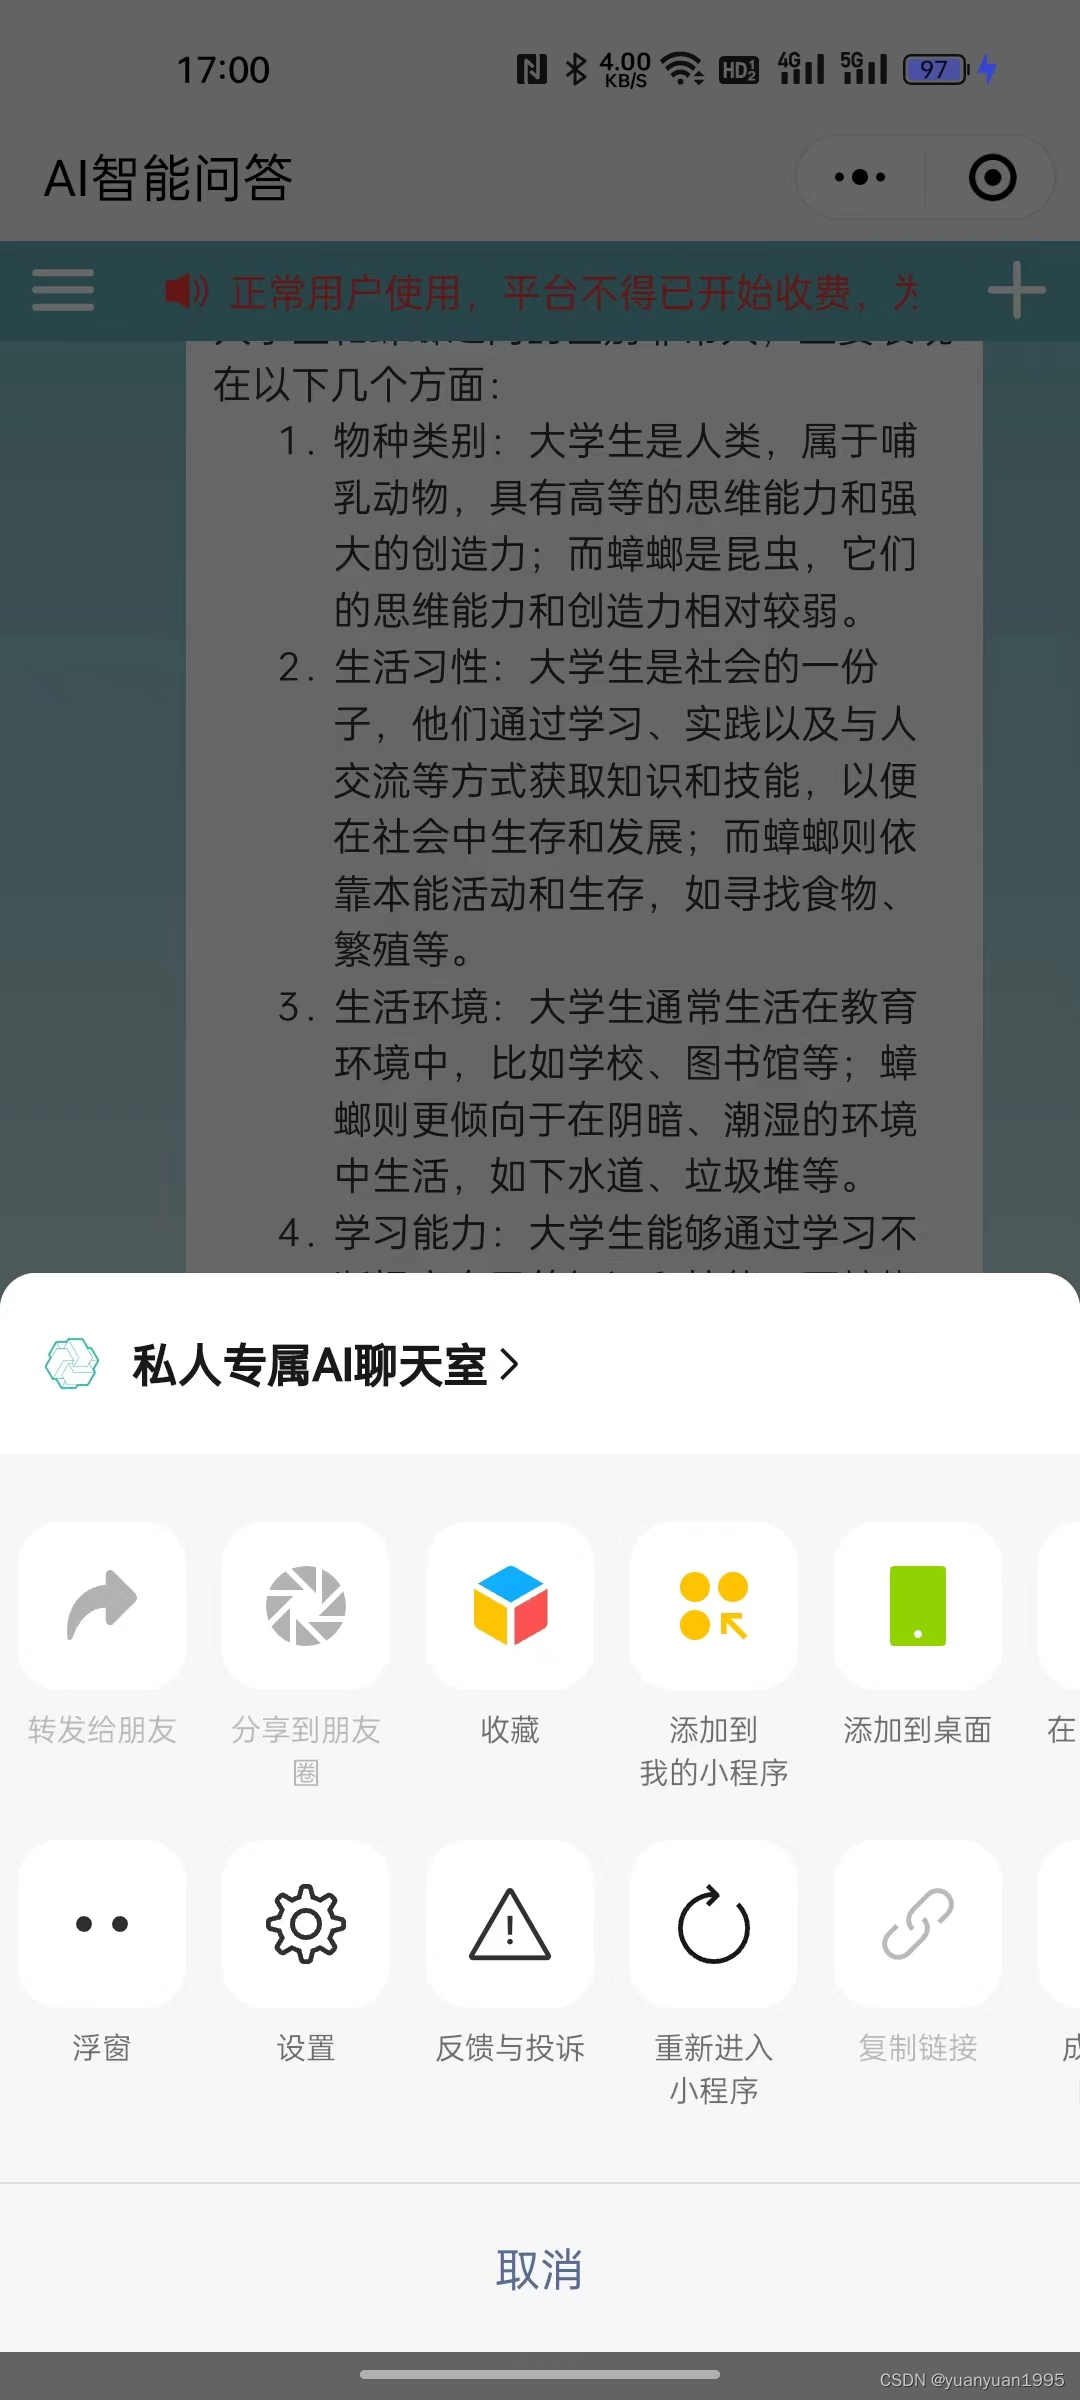
uni.authorize 申请授权,会触发底部弹窗:

如果小程序被用户授权成功,在openSetting页面会显示“添加到相册”,如果用户手动关掉该选项,那么下次就不应该调用uni.authorize,而是调用uni.openSettin,引导用户开启开关。
更多uniapp的开发文章可以关注博主,后续还会继续更新。
如果对于uview组件的开发效果感兴趣的童鞋,可以访问链接查看:https://ext.dcloud.net.cn/plugin?id=12603
![[软件工具]姓氏谐音梗随机生成工具使用教程](https://i0.hdslb.com/bfs/archive/1373a7c71fa54b2707f9b430c59a36d597059301.jpg@100w_100h_1c.png@57w_57h_1c.png)

