说明:之前做过一个自定义的OSS起步依赖(http://t.csdn.cn/9aYr5),但是当时只是新建了一个Demo模块来测试自定义起步依赖能成功使用,本文介绍如何把自定义的起步依赖打成jar包,供其他项目或其他人引入依赖就可以使用。
第一步:自定义起步依赖
依赖提供给他人使用,应该考虑自定义依赖的内容尽可能精简、且尽可能减低使用门槛。
OSS配置类
不要使用@Data注解,因为使用该注解,需要引入lombok依赖
import org.springframework.boot.context.properties.ConfigurationProperties;

/**
 * OSS配置类
 */
@ConfigurationProperties(prefix = "aliyun.oss")
public class OssProperties {
    private String endpoint;
    private String accessKeyId;
    private String accessKeySecret;
    private String bucketName;

    public String getEndpoint() {
        return endpoint;
    }

    public void setEndpoint(String endpoint) {
        this.endpoint = endpoint;
    }

    public String getAccessKeyId() {
        return accessKeyId;
    }

    public void setAccessKeyId(String accessKeyId) {
        this.accessKeyId = accessKeyId;
    }

    public String getAccessKeySecret() {
        return accessKeySecret;
    }

    public void setAccessKeySecret(String accessKeySecret) {
        this.accessKeySecret = accessKeySecret;
    }

    public String getBucketName() {
        return bucketName;
    }

    public void setBucketName(String bucketName) {
        this.bucketName = bucketName;
    }
}
OSS工具类
这里将阿里云的文件(Multipart)上传流,转为了字节上传流,因为文件上传流需要引入SpringBoot-web的依赖,然后为了避免上传的文件在OSS上不会被重复,使用方法时需要加两个值,一个是文件字节流,一个是文件名(带扩展名)。
import com.aliyun.oss.OSS;
import com.aliyun.oss.OSSClientBuilder;
import org.springframework.beans.factory.annotation.Autowired;
import org.springframework.boot.context.properties.EnableConfigurationProperties;
import org.springframework.stereotype.Component;

import java.io.ByteArrayInputStream;
import java.io.IOException;
import java.io.InputStream;
import java.text.SimpleDateFormat;
import java.util.Date;
import java.util.UUID;


/**
 * OSS功能实现类
 */
@Component
@EnableConfigurationProperties(OssProperties.class)
public class OssUtils {

    @Autowired
    private OssProperties ossProperties;

    /**
     * 实现上传图片到OSS
     */
    public String upload(byte[] bytes, String fullName) throws IOException {

        // 获取上传的文件的输入流
        InputStream inputStream = new ByteArrayInputStream(bytes);

        // 避免文件覆盖
        String fileName = UUID.randomUUID() + fullName.substring(fullName.lastIndexOf("."));

        SimpleDateFormat sdf = new SimpleDateFormat("yyyy-MM-dd");

        String date = sdf.format(new Date());

        // 上传到OSS Bucket下面的image文件夹内
        fileName =  "image"+ "/" + date + "/" + fileName;

        // 上传文件到 OSS
        OSS ossClient = new OSSClientBuilder().build(ossProperties.getEndpoint(), ossProperties.getAccessKeyId(), ossProperties.getAccessKeySecret());
        ossClient.putObject(ossProperties.getBucketName(), fileName, inputStream);

        // 文件访问路径
        String url = ossProperties.getEndpoint().split("//")[0] + "//" + ossProperties.getBucketName() + "." + ossProperties.getEndpoint().split("//")[1] + "/" + fileName;

        // 关闭ossClient
        ossClient.shutdown();

        return url;
    }
}
pom.xml
pom.xml文件中,引入以下六个依赖就可以,四个OSS的,两个Spring的
<?xml version="1.0" encoding="UTF-8"?>
<project xmlns="http://maven.apache.org/POM/4.0.0"
         xmlns:xsi="http://www.w3.org/2001/XMLSchema-instance"
         xsi:schemaLocation="http://maven.apache.org/POM/4.0.0 http://maven.apache.org/xsd/maven-4.0.0.xsd">
    <modelVersion>4.0.0</modelVersion>

    <groupId>com.essay</groupId>
    <artifactId>oss-essay-spring-boot-start</artifactId>
    <version>1.0-SNAPSHOT</version>

    <properties>
        <maven.compiler.source>11</maven.compiler.source>
        <maven.compiler.target>11</maven.compiler.target>
    </properties>

    <dependencies>
        <!--阿里云OSS依赖-->
        <dependency>
            <groupId>com.aliyun.oss</groupId>
            <artifactId>aliyun-sdk-oss</artifactId>
            <version>3.15.1</version>
        </dependency>
        <dependency>
            <groupId>javax.xml.bind</groupId>
            <artifactId>jaxb-api</artifactId>
            <version>2.3.1</version>
        </dependency>
        <dependency>
            <groupId>javax.activation</groupId>
            <artifactId>activation</artifactId>
            <version>1.1.1</version>
        </dependency>
        <!-- no more than 2.3.3-->
        <dependency>
            <groupId>org.glassfish.jaxb</groupId>
            <artifactId>jaxb-runtime</artifactId>
            <version>2.3.3</version>
        </dependency>

        <dependency>
            <groupId>org.springframework</groupId>
            <artifactId>spring-context</artifactId>
            <version>5.3.22</version>
            <scope>compile</scope>
        </dependency>
        <dependency>
            <groupId>org.springframework.boot</groupId>
            <artifactId>spring-boot</artifactId>
            <version>2.7.3</version>
            <scope>compile</scope>
        </dependency>
    </dependencies>
</project>
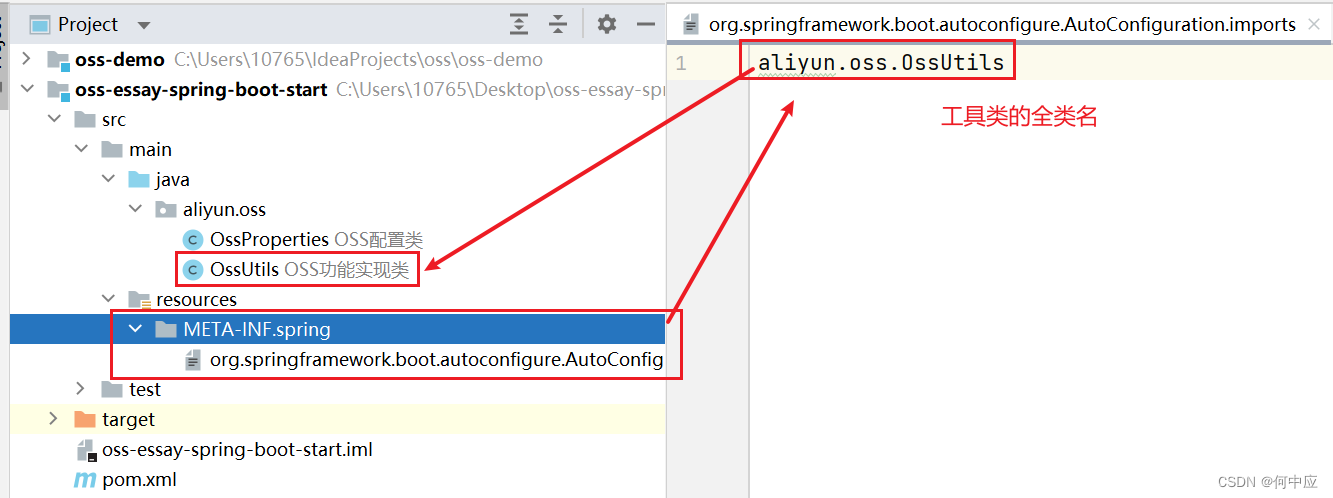
然后,在resources文件夹下创建一个文件夹(META-INF.spring),文件夹下创建一个文件(org.springframework.boot.autoconfigure.AutoConfiguration.imports),文件内写OSS工具类的全类名,表示在项目启动时,将该类自动注入到IOC容器中。
第二步:测试&打包
测试模块功能
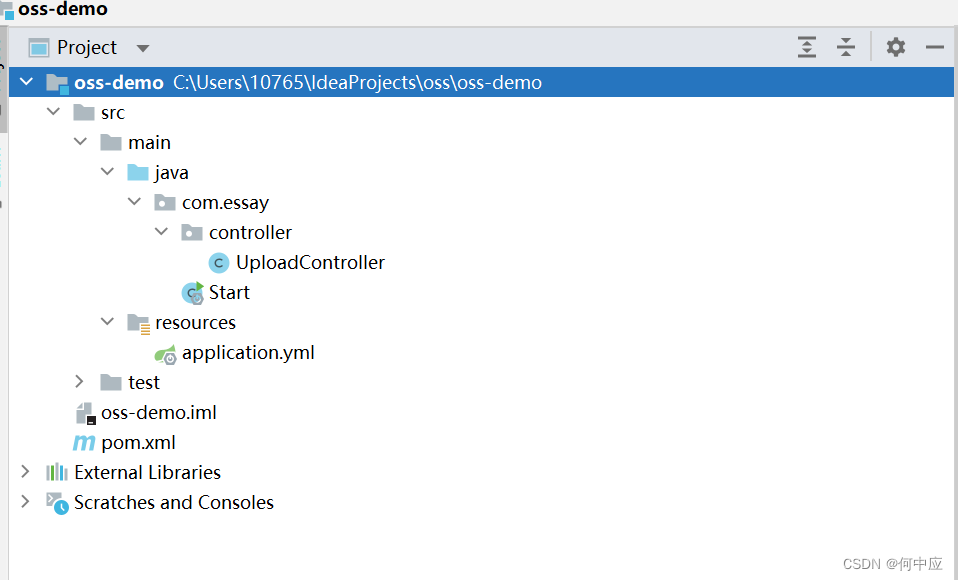
在打包前,先创建一个Demo模块测试一下,该模块为SpringBoot项目,仅添加SpringBoot-web依赖和自定义的OSS起步依赖
<?xml version="1.0" encoding="UTF-8"?>
<project xmlns="http://maven.apache.org/POM/4.0.0"
         xmlns:xsi="http://www.w3.org/2001/XMLSchema-instance"
         xsi:schemaLocation="http://maven.apache.org/POM/4.0.0 http://maven.apache.org/xsd/maven-4.0.0.xsd">
    <modelVersion>4.0.0</modelVersion>

    <groupId>com.essay</groupId>
    <artifactId>oss-demo</artifactId>
    <version>1.0-SNAPSHOT</version>

    <parent>
        <groupId>org.springframework.boot</groupId>
        <artifactId>spring-boot-starter-parent</artifactId>
        <version>2.7.12</version>
    </parent>

    <dependencies>
        <!--web起步依赖-->
        <dependency>
            <groupId>org.springframework.boot</groupId>
            <artifactId>spring-boot-starter-web</artifactId>
        </dependency>

        <!--自定义起步依赖-->
        <dependency>
            <groupId>com.essay</groupId>
            <artifactId>oss-essay-spring-boot-start</artifactId>
            <version>1.0-SNAPSHOT</version>
        </dependency>
    </dependencies>
</project>
UploadController类
import aliyun.oss.OssUtils;
import org.springframework.beans.factory.annotation.Autowired;
import org.springframework.web.bind.annotation.PostMapping;
import org.springframework.web.bind.annotation.RestController;
import org.springframework.web.multipart.MultipartFile;

import java.io.IOException;

@RestController

public class UploadController {

    /**
     * 因为我们引入了自定义的OSS起步依赖,所以可以直接注入OSS的Bean对象
     */
    @Autowired
    private OssUtils ossUtils;

    @PostMapping("/upload")
    public String upload(MultipartFile file) throws IOException {
        // 先将文件转为字节数组
        byte[] bytes = file.getBytes();

        // 获取文件名
        String filename = file.getOriginalFilename();

        String upload = ossUtils.upload(bytes, filename);

        return upload;
    }
}
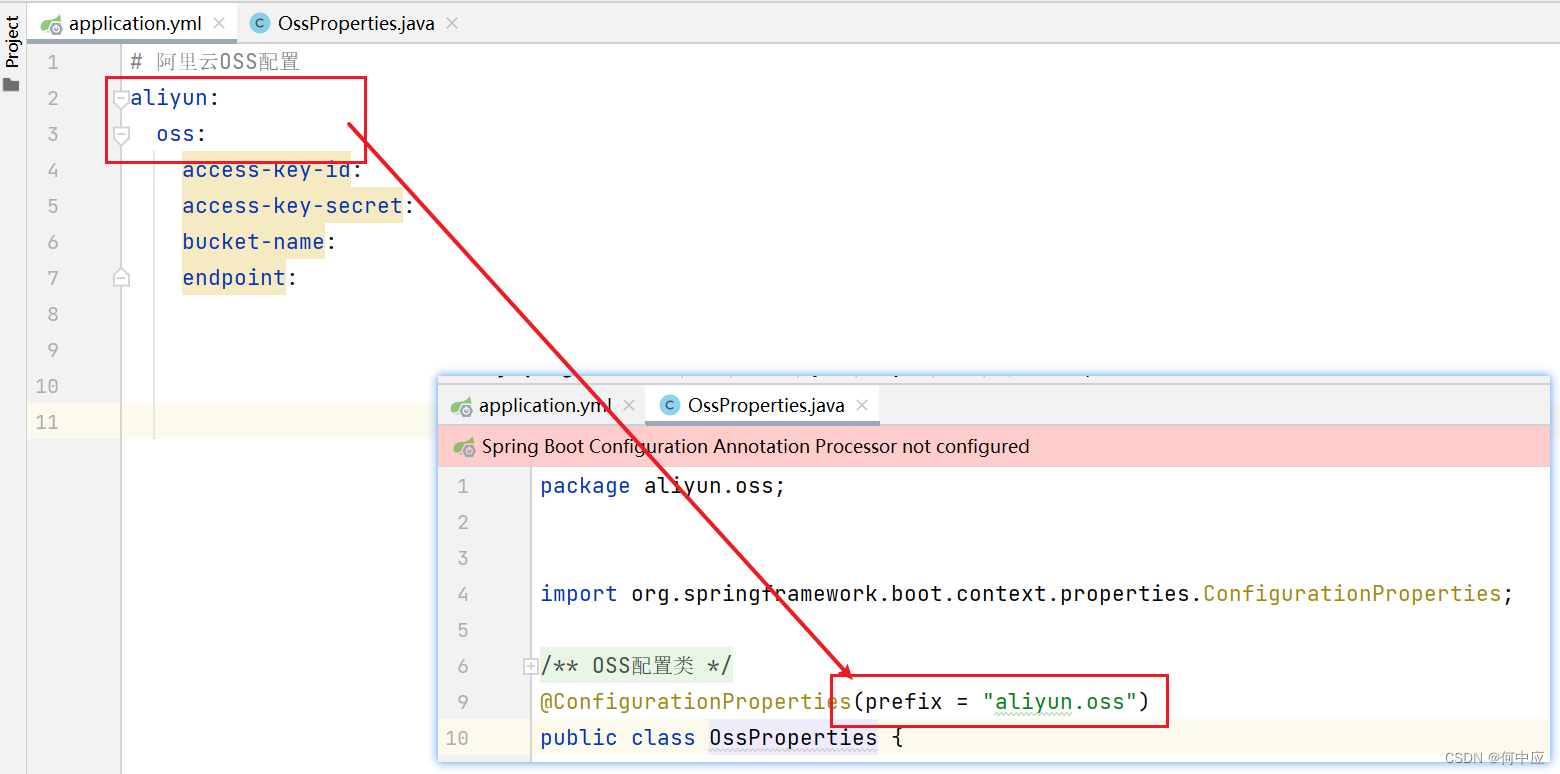
application.xml(注意配置结构要与起步依赖中的设置的一致)
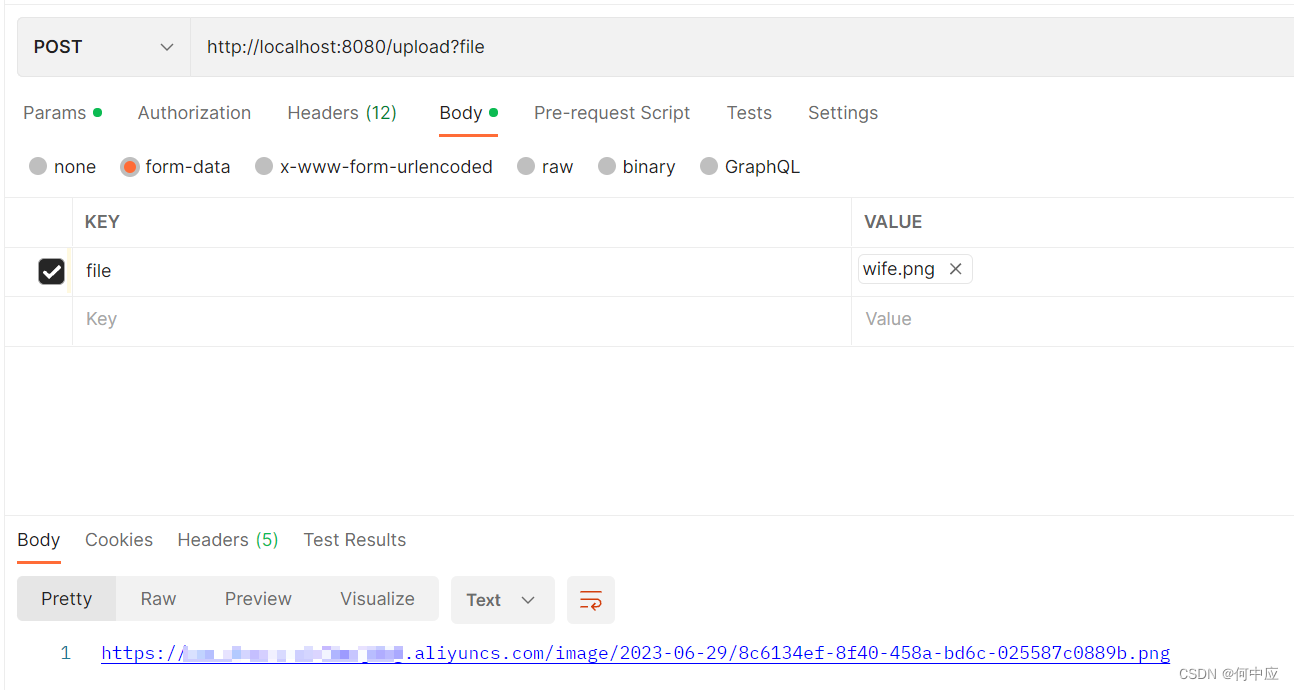
以桌面上的这张图片为例,启动项目,使用Postman测试
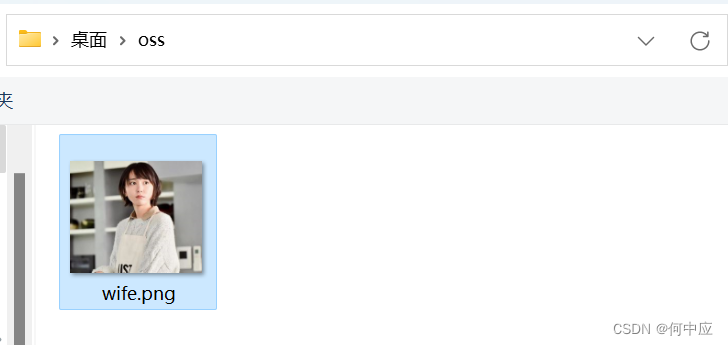
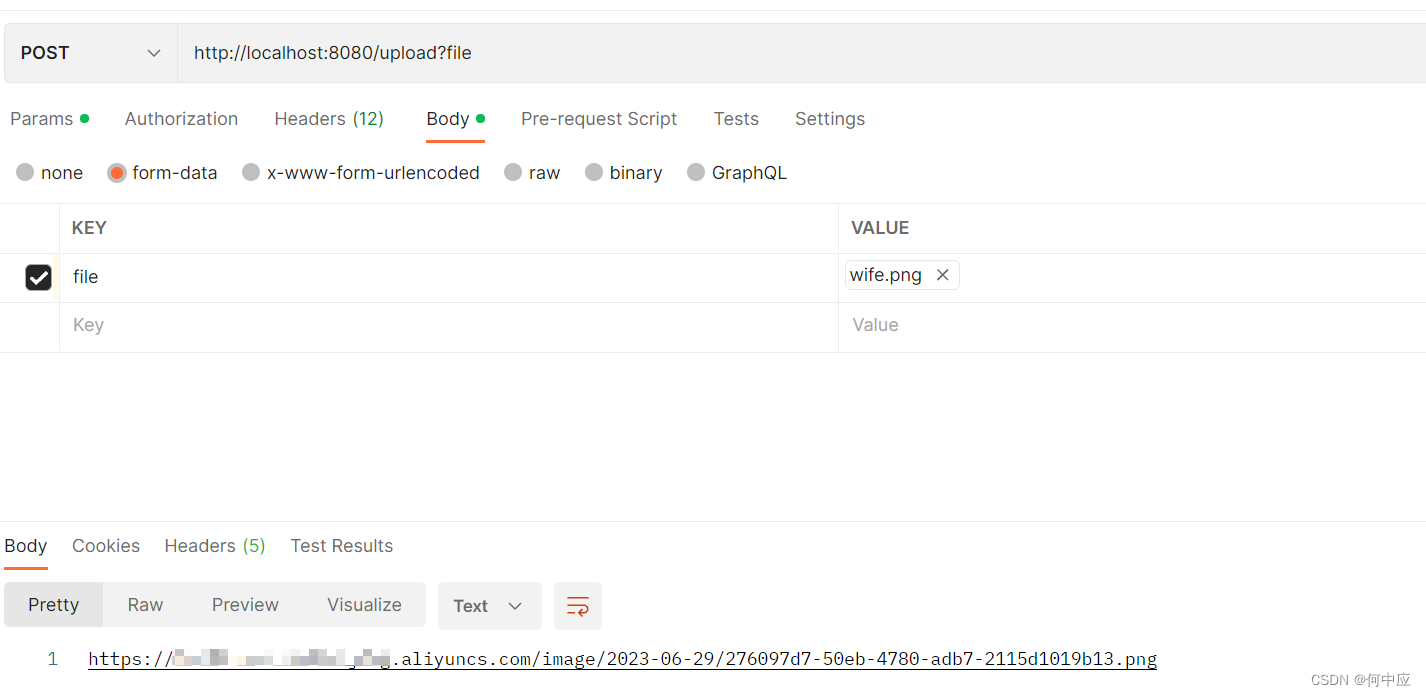
注意路径、请求提交方式(POST)、文件名(file,要与Controller那边接收的形参名一致),图片要以请求体(Body),表单数据(form-data)的方式发送

测试完成
打包
在idea界面右侧,选择Maven,在Maven中选择自定义的起步依赖,点install
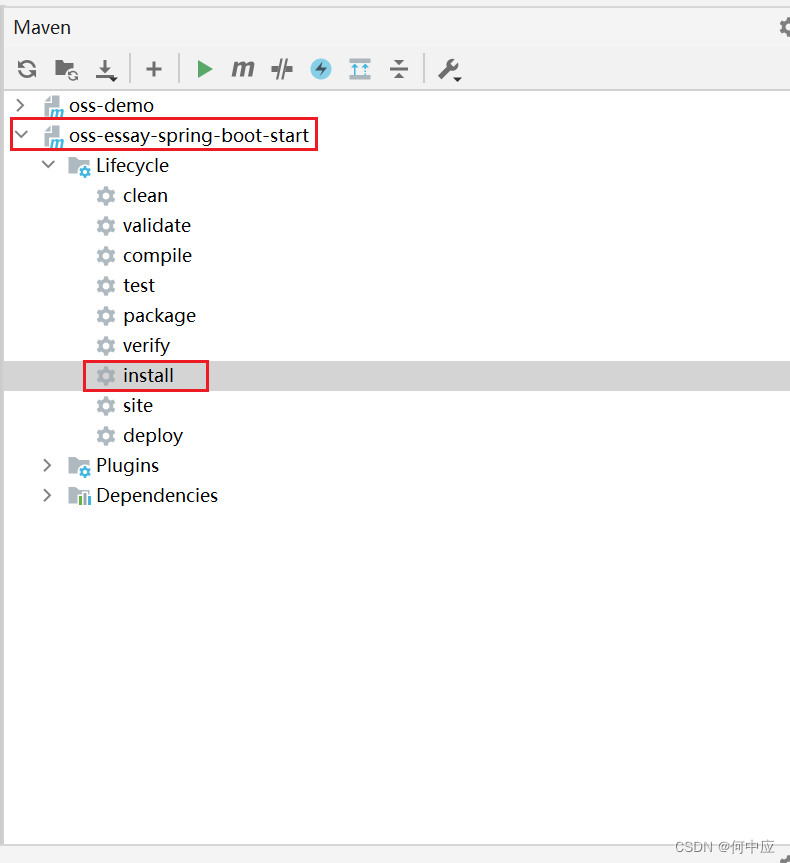
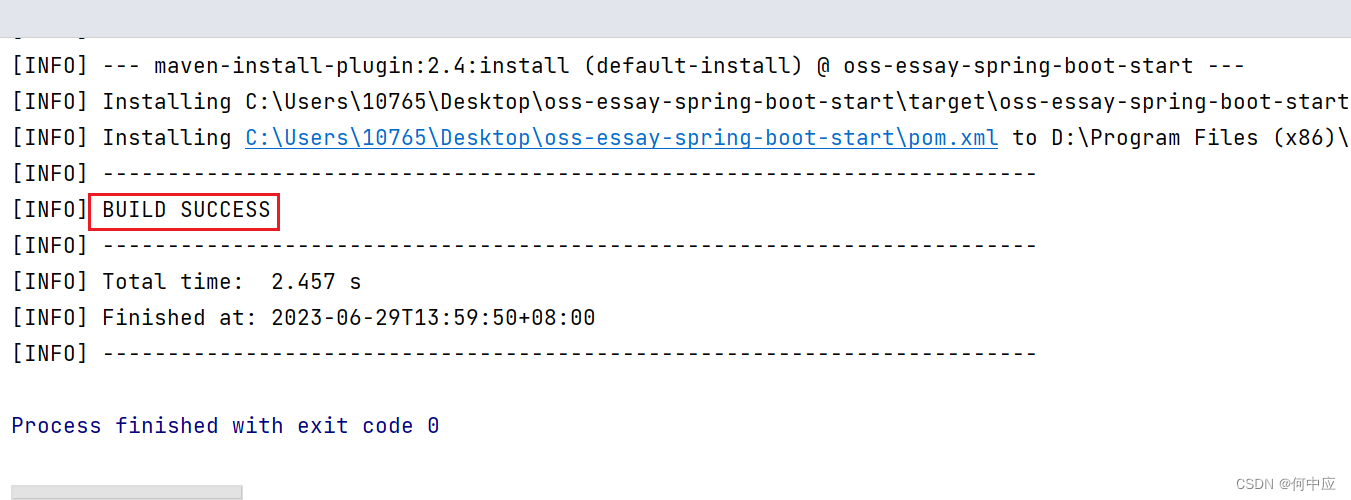
在本地的Maven仓库中就可以找到自定义的依赖,之后就可以在其他项目中直接引入该依赖,调用Bean对象(OssUtils)使用OSS文件上传功能。

最后测试
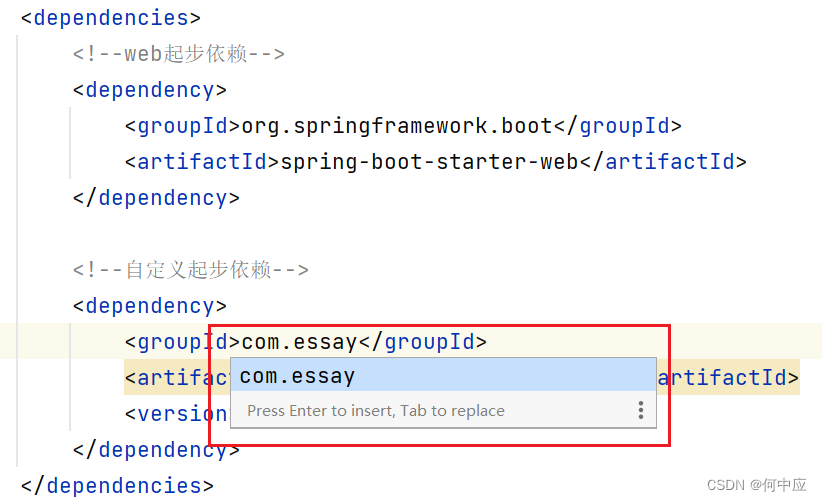
把起步依赖模块删除掉,试下Demo模块还能不能跑。把起步依赖模块从idea中删除掉很重要,不然用的是起步依赖模块的依赖(依赖传递),而不是从本地仓库中引入的,等于没有测试
idea中,pom.xml文件有提示,说明本地仓库找到了我们自定义的依赖
功能正常,说明自定义OSS起步依赖,打包成功
